DIY Wooden Planter Box: A Step-by-Step Guide
Wooden planter boxes can be a beautiful and practical addition to any garden or outdoor space. They offer a natural and rustic look that can complement a range of styles and aesthetics. DIY wooden planter boxes are a popular project for those who want to add a personal touch to their outdoor space while also saving money.

Building a wooden planter box can be a simple and rewarding DIY project. With some basic tools and materials, anyone can create a custom planter box to fit their specific needs and style. Wooden planter boxes can be used to grow a variety of plants, from flowers to herbs and vegetables, making them a versatile addition to any garden or outdoor space. Plus, building a planter box yourself allows you to choose the exact dimensions and design to fit your space and plant preferences.
Overall, DIY wooden planter boxes are a great way to add a touch of nature to your outdoor space while also flexing your DIY skills. With a little bit of time and effort, anyone can create a beautiful and functional planter box to enhance their garden or patio.
Choosing the Right Wood
When it comes to building a DIY wooden planter box, choosing the right wood is crucial. The type of wood you select will determine the durability, appearance, and cost of your project. In this section, we will discuss the different types of wood and factors to consider when selecting the best wood for your planter box.
Types of Wood
There are several types of wood that are suitable for building a wooden planter box. Cedar and redwood are popular choices due to their natural resistance to decay, insects, and rot. They are also lightweight and easy to work with, making them ideal for DIY projects.
Untreated wood is another option, but it may not last as long as cedar or redwood. However, it is a more affordable choice and can be painted or stained to match your outdoor decor.
Treated lumber is also an option, but it should be used with caution. The chemicals used to treat the wood can be harmful to plants and may leach into the soil. If you choose to use treated lumber, make sure it is labeled as safe for gardening or use a liner to protect your plants.
Considering Durability and Cost
When selecting the best wood for your planter box, you should consider both durability and cost. Cedar and redwood are more expensive than untreated wood, but they will last longer and require less maintenance. Untreated wood is a more affordable option, but it may need to be replaced sooner.
To make the most of your budget, consider using a combination of different woods. For example, you could use cedar for the sides and redwood for the base. This will provide the best of both worlds in terms of durability and cost.
In conclusion, choosing the right wood for your DIY wooden planter box is important for both appearance and function. Cedar and redwood are popular choices due to their durability and natural resistance to decay, insects, and rot. Untreated wood is a more affordable option, but may not last as long. Treated lumber should be used with caution and only if labeled safe for gardening. By considering both durability and cost, you can select the best wood for your project and create a beautiful and functional addition to your outdoor space.
Designing Your Planter Box
When it comes to designing your DIY wooden planter box, there are a few important considerations to keep in mind. By taking the time to carefully plan out your design, you can create a planter box that is not only functional but also aesthetically pleasing.
Size and Shape
The first thing to consider when designing your planter box is the size and shape. The size of your planter box will depend on the space where you plan to place it, as well as the types of plants you want to grow. If you’re planning to grow large plants or multiple plants, you’ll need a larger planter box. On the other hand, if you’re only planning to grow a few small plants, a smaller planter box may be sufficient.
In terms of shape, there are many options to choose from. Modern planter boxes are often sleek and simple, with clean lines and minimal ornamentation. Tapered planter boxes are another popular option, with a wider top and narrower base. Window boxes are also a great choice for those who want to add some greenery to their windowsills.
Drainage Considerations
Another important consideration when designing your planter box is drainage. Without proper drainage, your plants can become waterlogged and die. To ensure proper drainage, make sure your planter box has plenty of drainage holes in the bottom. You may also want to consider adding a layer of gravel or sand to the bottom of the planter box to help with drainage.
Aesthetic Choices
Finally, when designing your planter box, don’t forget about the aesthetic choices. The texture of the wood you choose can have a big impact on the overall look of your planter box. You may also want to consider adding some decorative elements, such as metal accents or painted designs.
To help you visualize your planter box design, consider creating a diagram or sketch. This can help you see how all the different elements fit together and ensure that your planter box is both functional and beautiful.
Gathering Your Tools and Materials
Essential Tools
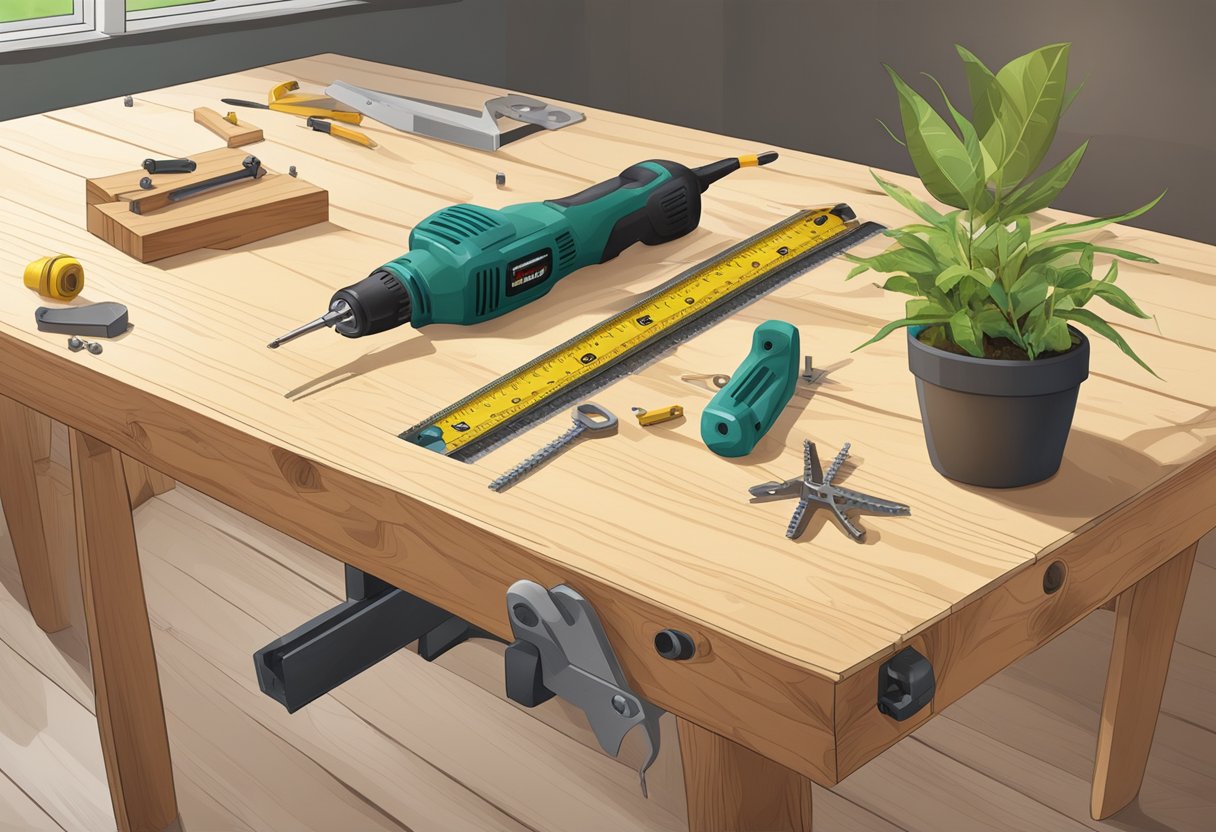
Before beginning any DIY project, it’s important to gather all the necessary tools and materials. For this wooden planter box project, the following tools are essential:
Saw: A saw is necessary to cut the wood to the correct size. A handsaw or circular saw will work, but a miter saw or table saw will make the job easier and more precise.
Drill: A drill is needed to make pilot holes for screws and to attach hardware.
Power Tools: While not essential, power tools such as a jigsaw or router can make the job easier and quicker.
Woodworker: If you don’t have experience working with wood, consider consulting with a woodworker or carpenter for advice and guidance.
Hardware and Supplies
In addition to tools, the following hardware and supplies are needed for this project:
Wood: Choose a high-quality wood such as cedar or redwood that is resistant to rot and insects. A cut list can be obtained from a hardware store or home depot.
Screws: Use screws that are appropriate for outdoor use and the thickness of the wood.
Joints: Choose a joint that is appropriate for the design of your planter box. Common joints include butt joints, miter joints, and lap joints.
Hardware Store/Home Depot: Visit your local hardware store or home depot to purchase all necessary hardware and supplies.
By gathering all of the necessary tools and materials beforehand, you can ensure a smooth and successful DIY wooden planter box project.
Building the Planter Box
Cutting the Wood
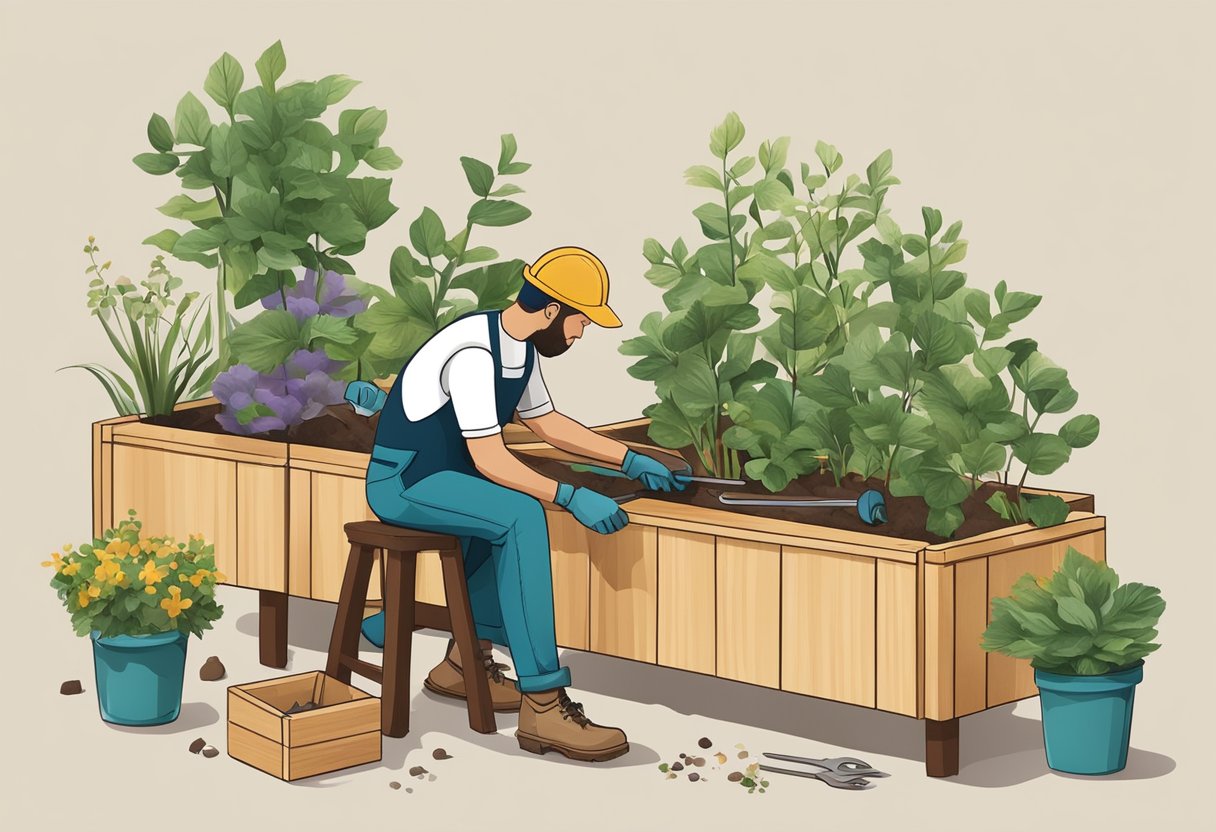
Before starting to build the planter box, the first step is to cut the wood into the required dimensions. The DIY planter box can be made in any size, but it is recommended to keep the width at a maximum of 24 inches to make it easier to move around. The wood should be cut into four equal pieces for the sides of the box, and two pieces for the bottom platform. Additionally, two pieces should be cut for the legs and two pieces for the supports.
Assembling the Frame
Once the wood is cut to the required dimensions, the next step is to assemble the frame of the planter box. The four pieces of wood should be attached to form a rectangular shape, with the shorter sides fitting inside the longer sides. This can be done using wood screws or nails. The bottom platform can then be attached to the frame using screws or nails.
Adding Legs and Supports
After the frame and bottom platform are assembled, the legs and supports can be added. The legs should be attached to the corners of the frame, and the supports should be attached to the legs and the bottom platform. This will provide stability to the planter box and prevent it from tipping over. It is recommended to use wood screws or nails for attaching the legs and supports.
Finishing Touches
The final step in building the planter box is to add the top trim and any other finishing touches. The top trim can be added to the top of the frame to give it a more finished look. The planter box can also be painted or stained to match the decor of the surrounding area. If the planter box will be used for outdoor storage, it is recommended to use a weather-resistant finish to protect the wood from the elements.
In conclusion, building a DIY wooden planter box is a simple and rewarding project that can be completed in a few hours. By following these instructions, anyone can create a beautiful and functional planter box that can be used for gardening or outdoor storage.
Finishing and Protecting Your Planter
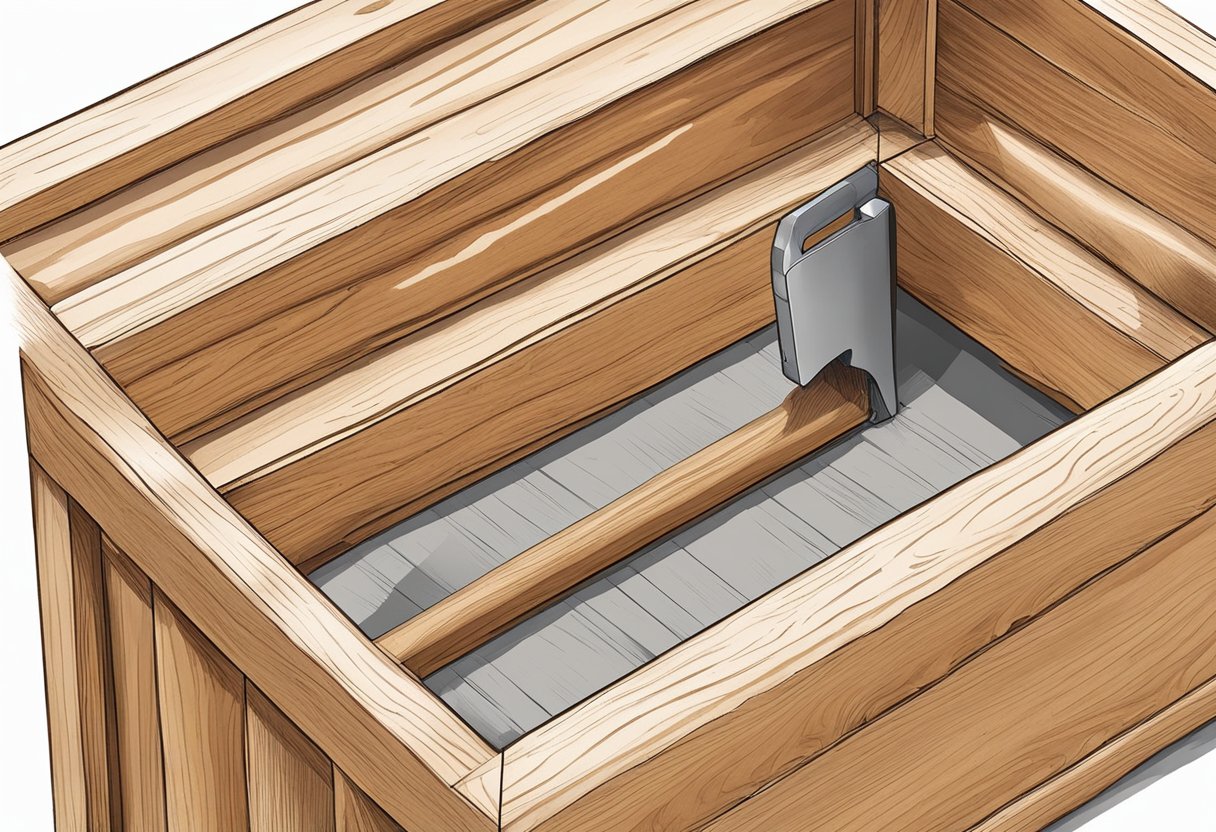
Once you have built your DIY wooden planter box, it is important to finish and protect it to ensure its longevity. This section will cover the steps involved in sanding and smoothing the wood, staining and painting the planter, and sealing it for outdoor use.
Sanding and Smoothing
Before applying any finish to your planter, it is important to sand and smooth the wood. This will ensure that the finish adheres properly and will give your planter a professional look. Start by using a coarse-grit sandpaper to remove any rough spots or splinters. Then, move on to a finer-grit sandpaper to smooth out the surface. Be sure to sand with the grain of the wood to avoid damaging it.
Staining and Painting
Staining or painting your planter is a great way to add color and protect the wood from the elements. If you choose to stain your planter, be sure to choose a stain that is specifically designed for outdoor use. Apply the stain with a brush or rag, and wipe off any excess with a clean cloth. If you prefer to paint your planter, use an exterior-grade paint and apply it in thin, even coats. Allow each coat to dry completely before applying the next.
Sealing for Outdoor Use
To protect your planter from water damage and other outdoor elements, it is important to seal it properly. There are a variety of sealers available, including polyurethane and varnish. Apply the sealer with a brush or spray, and allow it to dry completely before using your planter. Be sure to follow the manufacturer’s instructions for best results.
By following these steps, you can ensure that your DIY wooden planter box will look great and last for years to come.
Planting and Maintenance

Choosing Plants for Your Planter
When it comes to choosing plants for your wooden planter box, the options are endless. You can go for colorful flowers, fragrant herbs, or even grow your own veggies. However, it’s important to keep in mind the size of your planter box and the amount of sunlight it receives. Some plants require full sun, while others thrive in partial shade. Make sure to choose plants that are suitable for your planter box’s size and environment.
Soil and Fertilization
The quality of soil you use is crucial for the success of your planter box. Make sure to use a high-quality potting mix that is rich in nutrients and has good drainage. You can also add organic fertilizers to promote healthy growth. It’s important to follow the instructions on the fertilizer package and not over-fertilize, as this can harm your plants.
Ongoing Care and Seasonal Tips
Once you’ve planted your planter box, it’s important to provide ongoing care to ensure the health and longevity of your plants. Regular watering is key, but be careful not to overwater as this can lead to root rot. You should also prune your plants regularly to promote healthy growth and remove any dead or damaged parts.
During the summer months, make sure to keep your planter box well-watered and provide shade if necessary. In the winter, protect your plants from frost and cold temperatures by covering them with a cloth or moving them indoors. By following these tips, you can enjoy a beautiful and thriving planter box all year round.
Customization Ideas
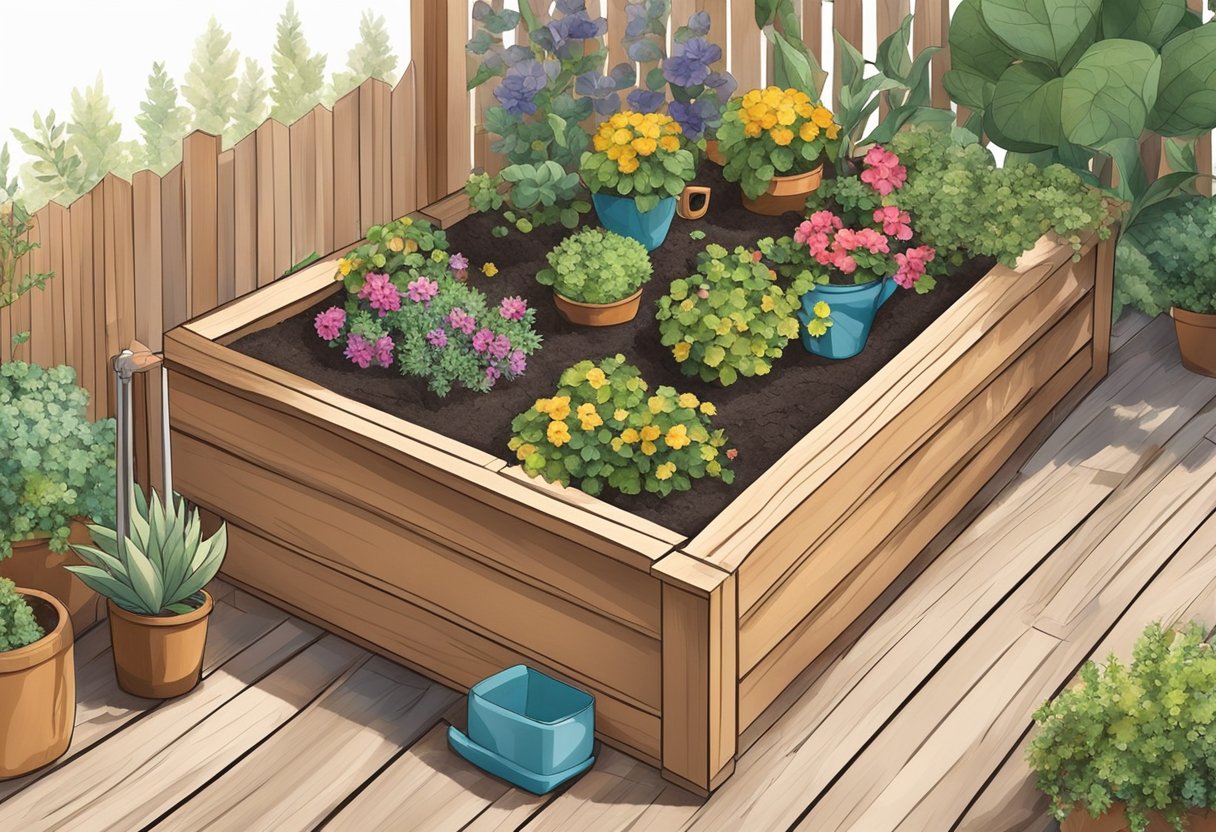
Wooden planter boxes offer a lot of flexibility when it comes to customization. They can be modified to suit any taste and style, and can be used to create a variety of different looks. Here are a few ideas to help inspire your own unique design.
Adding a Trellis or Privacy Screen
One way to customize a wooden planter box is to add a trellis or privacy screen. This can be especially useful if you’re using the planter box to grow climbing plants like tomatoes or cucumbers. A trellis or privacy screen can also help to create a sense of privacy and seclusion in an outdoor space.
To add a trellis or privacy screen, you will need to attach it to the back of the planter box. This can be done using screws or nails, depending on the type of trellis or screen you choose. Once the trellis or screen is in place, you can begin planting your climbing plants.
Creating Multi-Level Planters
Another way to customize a wooden planter box is to create a multi-level design. This can be done by attaching several planter boxes together, either vertically or horizontally. A multi-level planter can be used to create a stunning focal point in a garden or outdoor space.
To create a multi-level planter, you will need to attach the planter boxes together using screws or nails. You can also add legs to the bottom of each planter box to create a tiered effect. Once the planter boxes are in place, you can begin planting your favorite flowers or herbs.
Incorporating Storage or Shelves
If you’re looking for a way to maximize your outdoor space, consider incorporating storage or shelves into your wooden planter box design. This can be especially useful if you have a small outdoor space or if you’re looking for a way to keep your gardening tools organized.
To incorporate storage or shelves, you will need to add a compartment to the bottom of the planter box. This can be done by attaching a wooden box or shelf to the bottom of the planter box using screws or nails. You can also add hooks or other storage solutions to the sides of the planter box to create even more space for your gardening tools.
Overall, there are many different ways to customize a wooden planter box. By adding a trellis or privacy screen, creating a multi-level design, or incorporating storage or shelves, you can create a unique and beautiful addition to your outdoor space.
Innovative Planter Box Variations
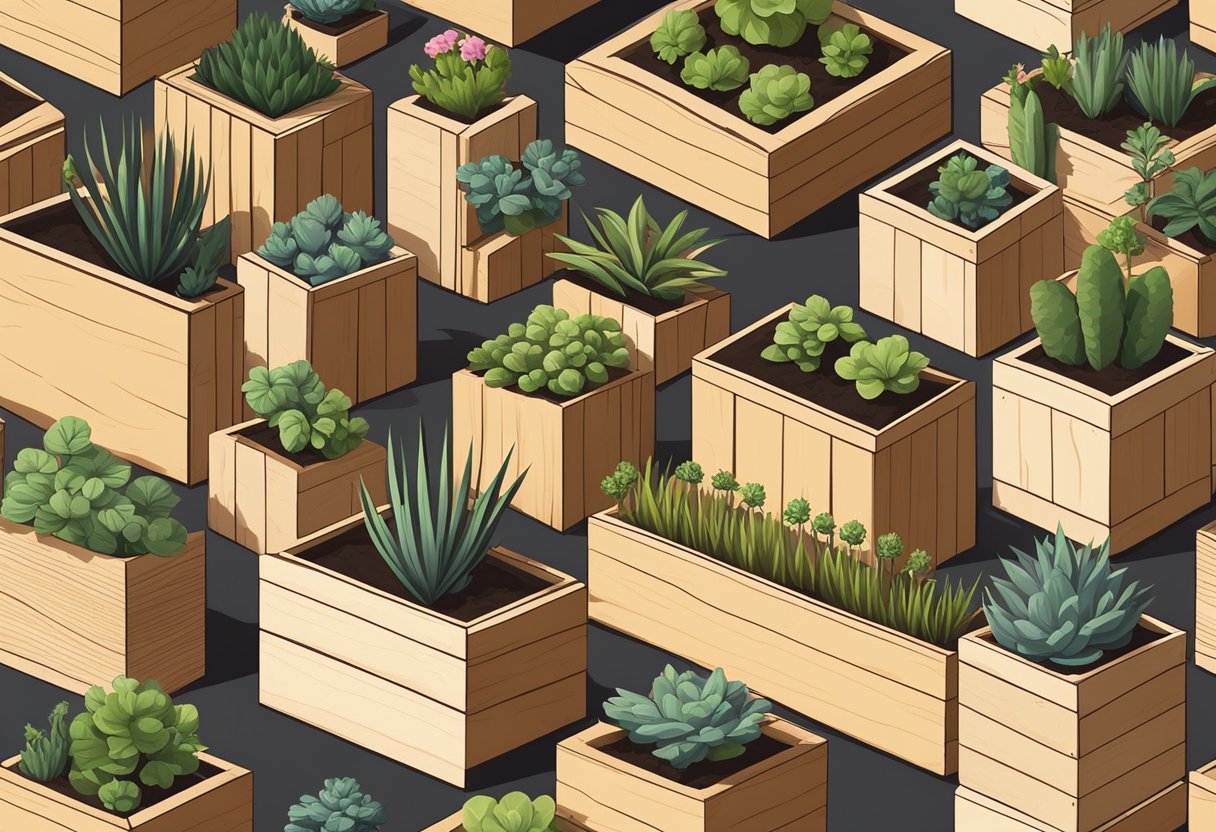
There are many innovative variations of wooden planter boxes that can add a unique touch to any garden or patio. Here are a few popular options to consider:
Self-Watering Systems
For those who want to simplify their gardening routine, a self-watering planter box can be a great option. These boxes have a built-in reservoir that allows plants to absorb water as needed, reducing the need for constant watering. Some modern planter boxes even have a water level indicator to alert you when it’s time to refill the reservoir.
Mobile Planters with Casters
If you like to rearrange your outdoor space frequently, a mobile planter box with casters can be a great choice. These boxes are easy to move around, allowing you to experiment with different layouts and configurations. Cedar planter boxes are a popular choice for this type of planter, as they are lightweight yet durable.
Hanging or Wall-Mounted Boxes
For those with limited outdoor space, a hanging or wall-mounted planter box can be a great solution. These boxes can be mounted on a wall or hung from a balcony railing, allowing you to maximize your space while still enjoying the beauty of plants. Pallet planter boxes are a popular choice for this type of planter, as they can be easily repurposed and customized to fit any space.
No matter which type of planter box you choose, there are many options available to suit your needs and preferences. By exploring these innovative variations, you can create a unique and beautiful outdoor space that reflects your personal style.
Enhancing Your Outdoor Space

Creating a beautiful outdoor space is a great way to add value to your home and increase your curb appeal. One of the best ways to enhance your outdoor space is by adding a DIY wooden planter box. These versatile pieces not only add visual interest but also serve as functional pieces to your outdoor space.
Planter Box Placement
One of the most important things to consider when adding a planter box to your outdoor space is placement. You want to ensure that your planter box is in a location that receives adequate sunlight for the plants you choose to grow. If you’re placing your planter box on your front porch, you may want to consider the size of the box to ensure it does not obstruct walkways or doorways.
Complementing Your Home’s Exterior
When choosing the design of your planter box, it’s important to consider the style and color of your home’s exterior. A DIY wooden planter box can complement your home’s aesthetic and add to its overall curb appeal. You can even choose to paint or stain your planter box to match the color scheme of your home.
Planter Boxes as Functional Pieces
In addition to adding visual interest, planter boxes can also serve as functional pieces to your outdoor space. For example, a planter box can be used as an outdoor end table, providing a surface for drinks or snacks. You can also use planter boxes to create a container garden, allowing you to grow herbs or vegetables in a small space.
Overall, a DIY wooden planter box is a great addition to any outdoor space. With careful consideration of placement and design, you can create a beautiful and functional piece that complements your home’s exterior and adds value to your outdoor space.
DIY Planter Box Project Tips
When it comes to creating a DIY planter box, there are many factors to consider, such as budget, skill level, and safety. Here are some tips to help you get started on your project.
Budget-Friendly Options
One of the great things about DIY planter boxes is that they can be made from a variety of materials, including scrap wood and reclaimed wood. If you’re on a tight budget, consider using cedar fence boards, which are cost-effective and readily available at most home improvement stores.
Adapting the Project for Beginners
If you’re new to woodworking, a DIY planter box can be a great beginner project. Look for free plans online that are designed for beginner skill levels. These plans will typically include step-by-step instructions and a list of necessary materials.
Safety and Best Practices
When working with power tools and sharp objects, it’s important to follow safety guidelines. Always wear protective gear, such as safety glasses and gloves, and make sure to read the instructions before using any tools. Additionally, consider container gardening as an alternative to traditional garden beds, as it can be a safer and more convenient option for those with limited space or mobility.
By following these tips and guidelines, you can create a beautiful and functional DIY planter box that meets your needs and fits your budget.
Frequently Asked Questions
What are the best types of wood to use for building a planter box?
When choosing wood for a planter box, it’s important to select a type of wood that is durable and resistant to rot. Cedar, redwood, and cypress are all popular choices due to their natural resistance to decay. Pressure-treated lumber is also an option, but be sure to choose a type that is safe for use with plants.
Is it more cost-effective to construct a planter box myself?
Building a planter box yourself can be a cost-effective option, especially if you already have some of the necessary materials on hand. However, keep in mind that the cost of materials can add up quickly, and it may be more cost-effective to purchase a pre-made planter box if you don’t have access to affordable lumber or tools.
What materials should be used to line the inside of a wooden planter box?
To prevent soil from spilling out of the planter box and to protect the wood from moisture, it’s important to line the inside of the box with a barrier. Plastic sheeting or a layer of landscape fabric are both effective options.
Can I place soil directly into a wooden planter or is additional preparation necessary?
It’s generally not recommended to place soil directly into a wooden planter box, as the wood can absorb moisture and eventually rot. To prevent this, it’s a good idea to line the inside of the box with a barrier, such as plastic sheeting or landscape fabric, before adding soil.
What are some simple designs for constructing a beginner-friendly planter box?
A basic rectangular planter box is a simple and beginner-friendly design that can be easily customized with paint or stain. Another option is a tiered planter box, which can add visual interest to a garden or patio.
How do I build a raised planter box with legs for my garden?
To build a raised planter box with legs, first construct a rectangular box using durable wood such as cedar or redwood. Attach legs to the bottom of the box using screws or brackets, making sure they are level and secure. Line the inside of the box with plastic sheeting or landscape fabric, and add soil and plants as desired.

