Benefits of Planting Native Kale for Sustainable Gardening and Health
Last updated: October 5, 2026
Planting native kale brings real benefits for both gardeners and the environment. It fits right in with local conditions, so you don’t need to drown it in water or spray it with chemicals like some non-native varieties.
That means healthier soil and less environmental impact—pretty good trade-offs, if you ask me.
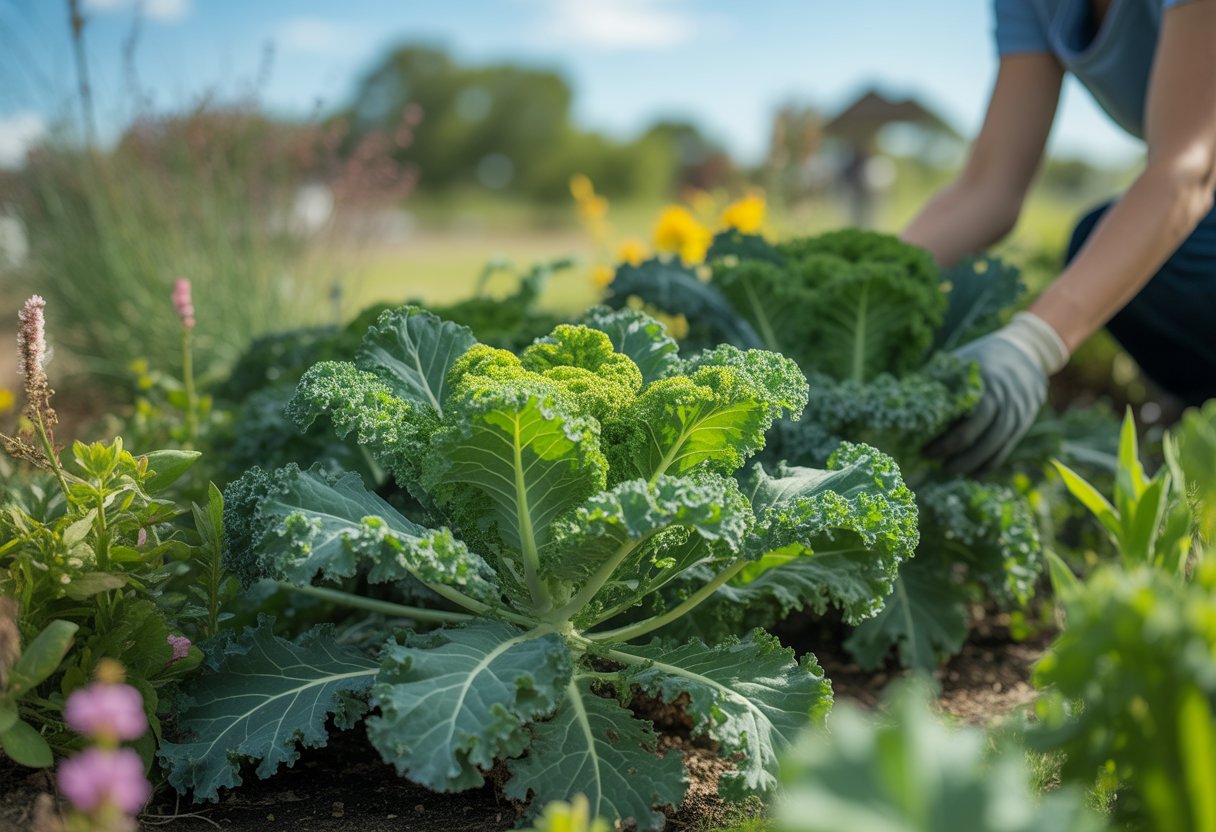
Native kale supports local ecosystems by providing food and habitat for native pollinators and beneficial insects. It’s tough, too, so even if your weather can’t make up its mind, you’ll still get a reliable harvest.
Key Advantages of Planting Native Kale
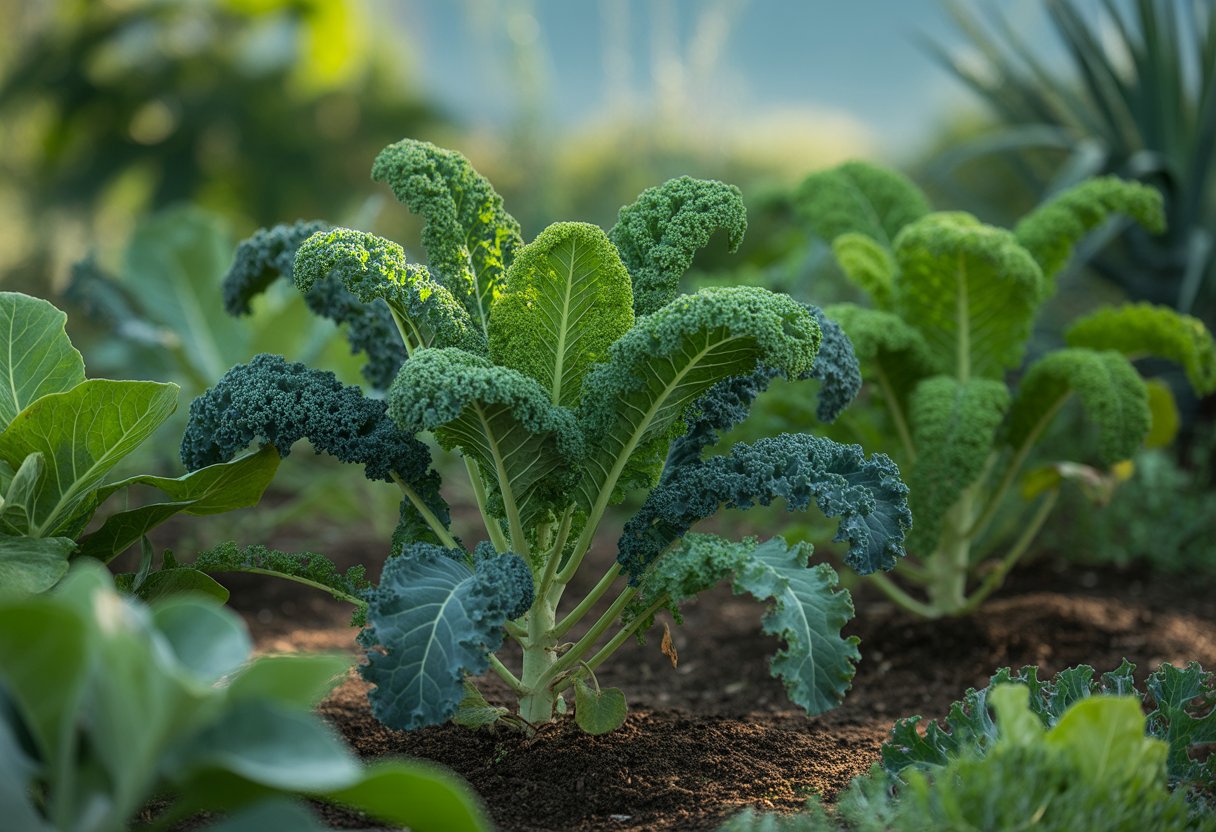
Native kale stands out for how it grows, its nutrition, and its natural defenses. These perks add up to healthier plants and make life a bit easier for folks who want their gardens to be both sustainable and productive.
Superior Adaptation to Local Soil and Climate
Native kale just gets the local soil and climate. As a cool-season crop, it loves those chillier temps that are typical in its home region.
Its roots pull up nutrients like magnesium and iron with surprising efficiency. That means you won’t have to dump in as much fertilizer, which is a win for your wallet and the planet.
You’ll notice native kale shrugs off the usual temperature swings and moisture shifts. It keeps growing even when the weather can’t decide what it’s doing.
Enhanced Nutritional Value
Native kale packs a punch when it comes to nutrients. It’s loaded with vitamin K, iron, magnesium, and antioxidants—no wonder people call it a superfood.
These nutrients help with things like blood clotting and keeping your immune system in shape. The local soil seems to help keep those nutrients high, too.
Compared to non-native kale, you get more antioxidants, so it’s better at fighting off oxidative stress. If you’re into healthy eating, native kale’s definitely worth a spot on your plate.
Natural Resistance to Pests and Diseases
Native kale doesn’t let pests like cabbage loopers push it around. It naturally resists them, so you don’t need to rely on chemical pesticides as much.
It also stands strong against diseases like black rot, which can really mess up other brassicas. Thanks to its long history with local bugs and pathogens, it’s built up some solid defenses.
You’ll probably have fewer crop losses and less hassle managing your patch if you go with native kale.
Best Practices for Growing and Maintaining Native Kale
Native kale does best when you pay attention to timing, soil, and watering. A little care goes a long way for healthy growth and bigger harvests.
Optimal Planting Techniques
You’ll get the best results planting native kale in early spring or late summer. It needs at least 6 hours of full sun each day.
You can sow seeds directly in the ground or start them indoors and transplant after 4–6 weeks. When you move them outside, leave 12 to 18 inches between each plant so the leaves have space.
Thin seedlings early to prevent crowding. Try not to plant kale right next to other brassicas—keeps disease risk lower.
Soil Preparation and Fertilization
Kale likes well-drained, fertile soil with a pH between 6.0 and 7.5. Before you plant, loosen the soil about a foot deep and mix in a couple of inches of compost.
Nitrogen makes a big difference for leaf development. Add a balanced nitrogen fertilizer when you plant, then side-dress every few weeks.
Don’t go overboard, though—too much fertilizer can make the stems weak and the leaves a bit much.
Watering and Feeding Guidelines
Kale wants steady moisture, so water it deeply once or twice a week. Aim for about 1 to 1.5 inches, depending on the rain.
Mulch helps keep the soil damp and cool. Try to water the soil, not the leaves, to keep diseases at bay.
If it’s really dry, a diluted balanced fertilizer every three weeks will keep things moving along.
Maximizing Yields and Sustainability
If you want more from your native kale, timing your harvests, thinning, and pruning really help. Sustainable practices like planting with legumes and rotating crops keep the soil healthy and pests in check.
Proper Harvest and Thinning Methods
Pick kale leaves when they’re young and tender for the best flavor and nutrition. Cut from the outer stalks first, so the inner leaves keep growing.
Thin out crowded plants to boost airflow and cut down on disease. More space means bigger, better leaves.
Start thinning early in the season to avoid tough leaves later. If you’ve got collards mixed in, pull out the smaller or damaged ones to give your kale more room.
Companion Planting and Crop Rotation
Pair native kale with beans or peas—legumes naturally add nitrogen to the soil. That means you won’t need as much synthetic fertilizer.
Rotate kale with crops like tomatoes or root veggies to break up pest and disease cycles. It keeps the soil in better shape, too.
Skip planting kale next to other brassicas to dodge pest problems. Companion planting brings more variety to your garden, and your kale will be healthier with fewer chemicals involved.
Pruning and Reducing Toughness
Pruning kale helps encourage tender new growth. It also cuts down on the toughness you usually find in older leaves.
If you shear off the top leaves, you’ll notice lateral shoots starting to pop up. That means you can harvest several times in a single season—pretty handy, right?
When you remove those older, bigger leaves on a regular basis, they stop hogging energy from the younger ones. You’ll end up with leaves that are less fibrous and just plain nicer to eat.
If you’ve got collards growing close to your kale, pruning them can actually send more nutrients toward the kale. With steady pruning, you can enjoy a steady supply of softer, tastier kale all through the season.