How to Propagate Pepper: A Step-by-Step Guide for Successful Growth
Propagating pepper plants is honestly one of the easiest ways to get more peppers without buying new seeds or plants. Most folks either start peppers from seeds or take cuttings, and with a bit of care, those can turn into healthy plants.
It’s a handy trick for expanding your pepper patch or just replacing a plant that’s not looking so hot.

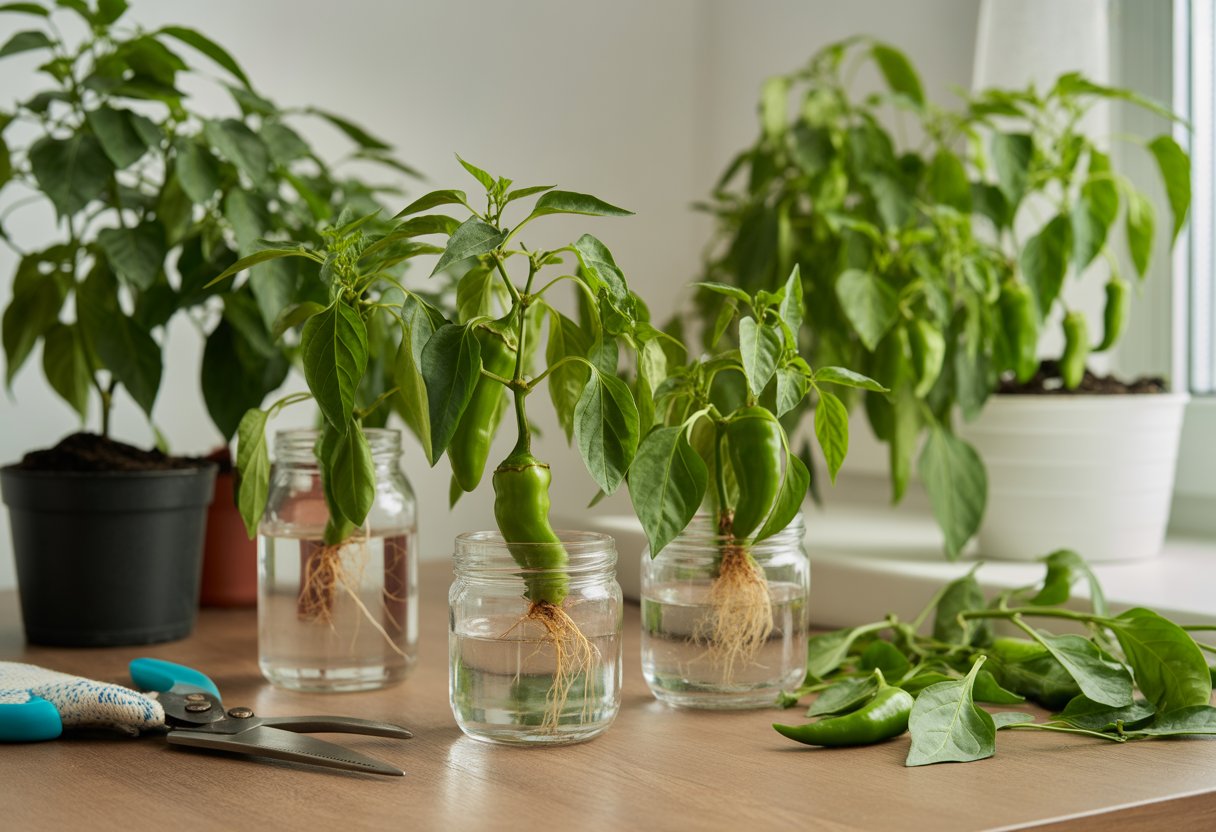
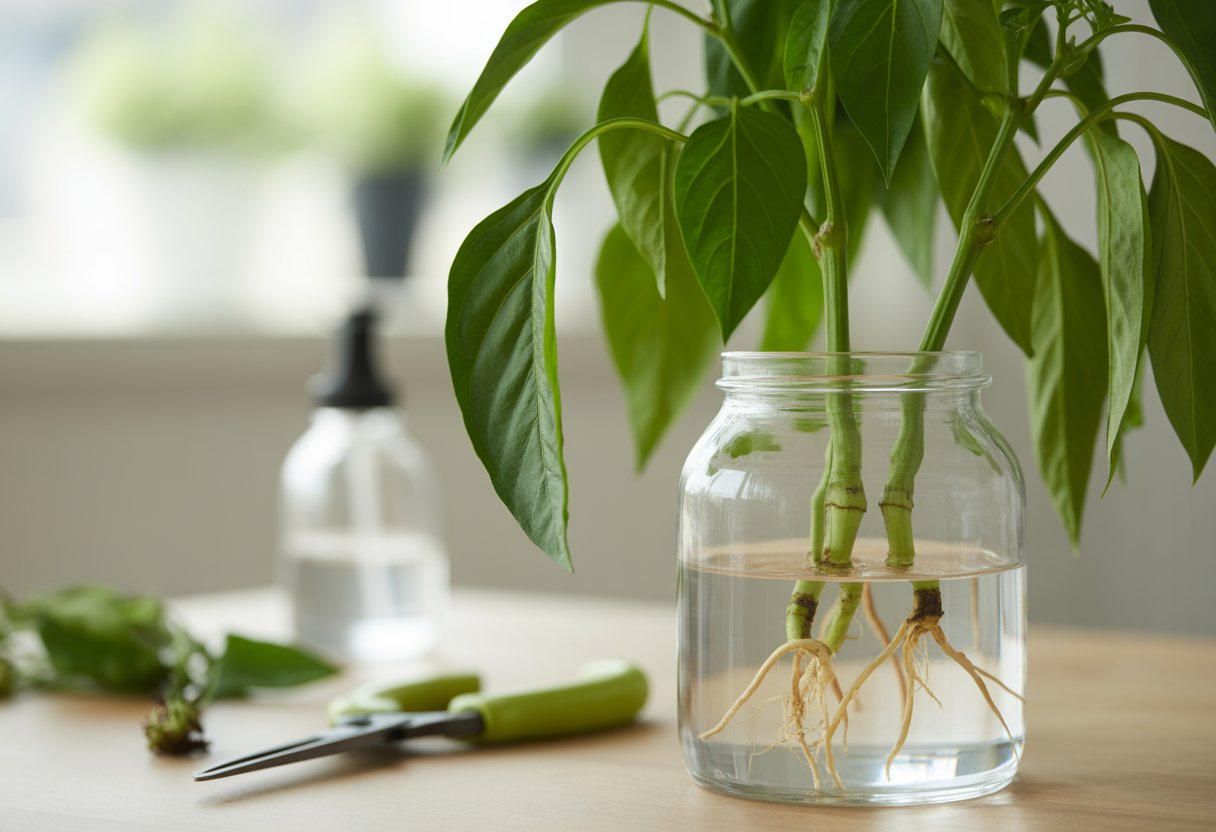
Seed propagation means planting pepper seeds in warm, moist soil to kickstart germination. Cuttings, on the other hand, involve snipping a healthy stem and encouraging it to root in water or soil.
Both methods can give you strong plants in just a few weeks if you keep an eye on light, temperature, and moisture.
Essential Conditions for Successful Pepper Propagation
Getting pepper plants to propagate well really comes down to managing the environment and soil. If you can dial in temperature, humidity, and soil quality, you’re already ahead.
Greenhouses and indoor setups make it way easier to control these things.
Optimal Temperature and Humidity
Peppers like it warm—aim for 75°F to 85°F (24°C to 29°C) for good seed germination and early growth. If it drops below 60°F (15°C), growth slows down a lot, and anything above 90°F (32°C) can stress out the seedlings.
Keep humidity in the 50-70% range. Enough humidity keeps seedlings from drying out, but too much can cause fungal problems.
A humidity dome or misting now and then helps keep things steady during those early days.
Soil and Drainage Requirements
Peppers want well-drained, fertile soil with a pH between 6.0 and 6.8. If the soil stays soggy, roots can rot and plants get weak.
A light, loose potting mix with some perlite or sand helps with drainage and lets roots breathe.
Water enough to keep soil moist but not soggy. Roots need a bit of air, too.
Greenhouse and Indoor Setups
Greenhouses are great for peppers since you can really control temperature and humidity. If it gets cold, just add some heat to keep things in the sweet spot.
Indoors, you’ll need solid lighting—grow lights for 12-16 hours a day work well if sunlight is limited. Ventilation matters too, since it keeps humidity in check and helps prevent fungal issues.
Always use containers with drainage holes so extra water doesn’t pool at the bottom.
Propagating Peppers from Seeds
Starting peppers from seed isn’t rocket science, but it does take some patience. You need good seeds, careful sowing, and a bit of TLC for the seedlings.
Temperature, moisture, and light—those are the big three to watch.
Selecting and Preparing Pepper Seeds
Go for high-quality seeds. Varieties like bell pepper, Apache, Hungarian hot wax, and other hot peppers are all solid choices if you get them from a reliable source.
Seeds from super-ripe fruit usually sprout better. Make sure they’re totally dry before storing or planting—mold is the enemy.
If you’re using seeds you saved yourself, soaking them in warm water for about 12 hours can help them sprout faster.
Label your seeds, especially if you’re juggling different types. And check for disease—no one wants a sickly seedling.
Sowing and Germination Techniques
Start seeds indoors about 8-10 weeks before the last frost. Use a sterile seed-starting mix to keep disease at bay.
Push seeds about ¼ inch deep. Keep soil at 75-85°F (24-29°C)—a heat mat does wonders here.
Water just enough to keep things damp, not soggy. Covering the tray with plastic wrap or a humidity dome works to hold in moisture.
Seeds usually pop up in 7-21 days, but don’t panic if they take their time.
Once they sprout, get them under light right away. LED grow lights or fluorescents set about 2-4 inches above for 12-16 hours a day will keep them from getting leggy.
Caring for Pepper Seedlings
When seedlings show up, thin out the weaker ones so the strong survive. Keep temps around 70-75°F (21-24°C) and make sure they get enough light.
Water regularly, but don’t drown them. Once true leaves show, feed with a diluted balanced fertilizer every couple of weeks.
Move them to bigger pots when they reach 3-4 inches tall. Before planting outside, harden them off over a week or so by gradually giving them more time outdoors.
Good air flow helps prevent diseases like damping-off. A little extra care now leads to tougher, more productive plants later.
Propagating Peppers from Cuttings

If you want to try cuttings, picking the right stem and prepping it well makes all the difference. Here’s how I’d go about it.
Choosing the Right Cuttings
Look for cuttings that are 4 to 6 inches long from healthy, disease-free plants. Snip from the top of a non-flowering shoot—these root faster and usually turn into sturdier plants.
Take your cutting just below a leaf node. Strip off the lower leaves, leaving only 2-3 at the top to cut down on moisture loss.
Always use sharp, clean tools to avoid spreading disease.
Thicker, firm stems work better than skinny, floppy ones. If you can, take cuttings in the morning when the plant’s full of water.
Using Rooting Hormone for Better Success
Dip the base of your cutting in rooting hormone powder or gel for a better shot at strong roots.
The hormone helps root cells grow and speeds things up. Don’t go overboard though—a thin layer is plenty.
Tap off any extra powder before planting. Products with indole-3-butyric acid (IBA) seem to work best for peppers.
Honestly, if you’re new to this, rooting hormone really boosts your chances.
Growing Mediums: Vermiculite, Perlite, and Sand
A good rooting medium makes a world of difference. Vermiculite is great—it holds moisture but doesn’t get soggy, so roots can breathe.
Perlite is another go-to. It drains well and keeps air moving, but doesn’t hold as much water as vermiculite, so sometimes people mix the two.
Sand drains quickly but dries out fast, so you’ll need to water more often. Mixing sand with vermiculite or perlite balances things out.
Whatever you use, make sure it’s sterile to prevent fungus. A good mix keeps roots healthy and helps avoid rot.
Transplanting and Ongoing Pepper Plant Care

Getting your propagated peppers to thrive comes down to timing your transplanting right and keeping up with their needs. A little patience and consistency go a long way.
When and How to Transplant Pepper Seedlings
Transplant seedlings when they’ve got 2-3 true leaves and stand about 3-4 inches tall. That’s usually 6-8 weeks after they sprout.
Wait until the soil is consistently warmer than 65°F (18°C).
Gently loosen the root ball and set the seedling in a hole deep enough to cover the roots, but not the stem. Water well to help them settle in.
Space each plant 18-24 inches apart for good air flow and room to grow.
Adapting to Outdoor Conditions
Before you plant them outside for good, harden off your seedlings over a week or so. Start with 2-3 hours of indirect sun and slowly bump up the exposure.
Keep them in a sheltered spot at first to protect from wind and harsh sun. Watch for wilting or discolored leaves—those are signs they’re stressed.
After about 7-10 days, your peppers should be tough enough for the great outdoors.
Supporting Healthy Growth After Propagation
Peppers need about 1-2 inches of water each week, so keeping the soil consistently moist really matters. I usually toss some mulch around the base to help lock in moisture and keep the temperature steady.
Don’t go overboard with watering, though—too much can easily lead to root rot. Once the plants settle in, I like to feed them with a balanced vegetable fertilizer every few weeks.
Keep an eye out for pests like aphids or diseases such as powdery mildew. If you spot any problems, it’s best to jump on them early.
As the plants get taller and start producing fruit, staking or using cages gives them the support they need.


