How to Propagate False Indigo Efficiently for Healthy Growth
Last updated: October 20, 2026
Propagating false indigo (Baptisia) isn’t rocket science, but it helps to know the right tricks. The most effective way to propagate false indigo is by collecting seeds from mature plants and sowing them after scarification to improve germination.
This perennial’s tough seed pods need a little coaxing to wake up.
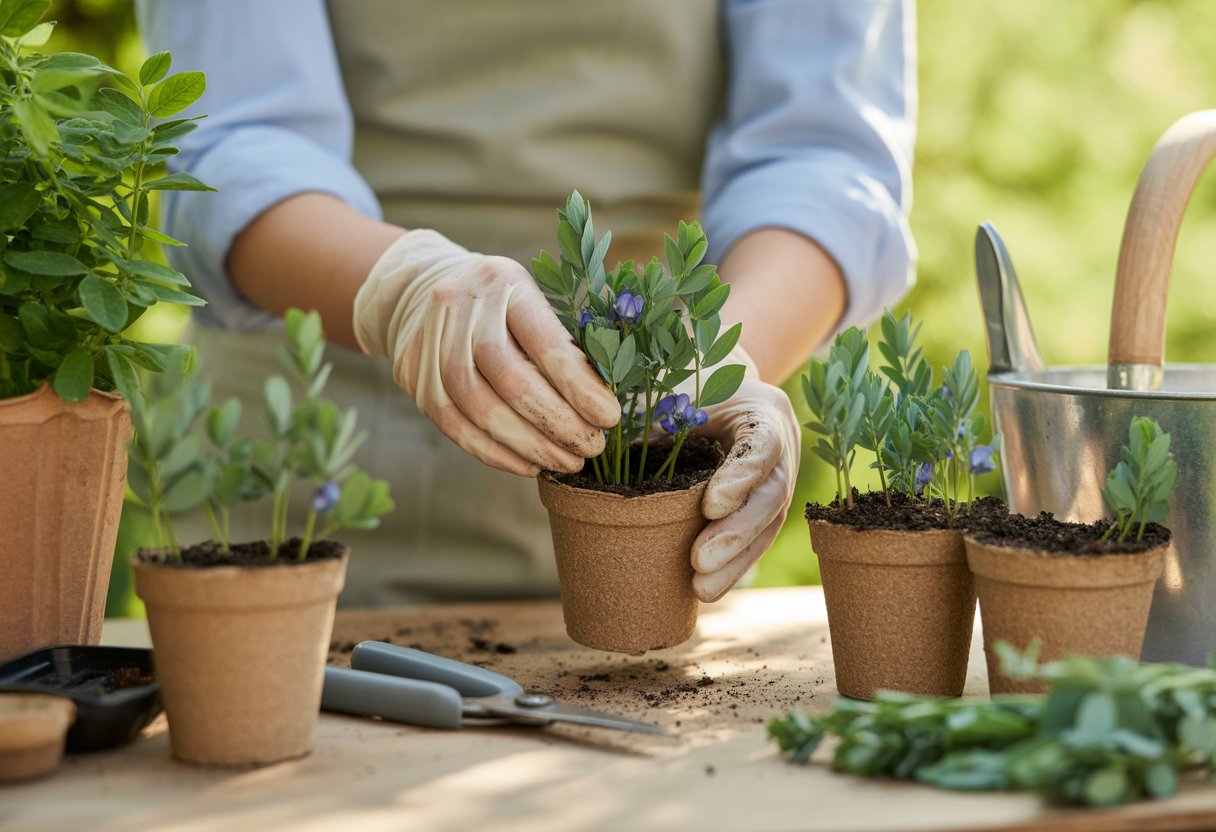
You can divide false indigo, but honestly, that deep taproot makes it a hassle. Seed propagation is just way more practical.
Blue false indigo, probably the most popular variety, gives you vibrant blooms and reliable growth if you start from seed.
Understanding False Indigo Propagation
False indigo (Baptisia australis) is a hardy perennial with blue flowers and cultivars like ‘Blueberry Sundae’ and ‘Lemon Meringue’. It’s propagated through methods that fit its stubborn growth cycle.
Propagation Methods Overview
Most gardeners use seed sowing or division for false indigo. Seed germination works well but takes some patience.
Scarifying the hard seed coat helps water get in and speeds things up a bit. Seeds usually pop up in two to three weeks if you treat them right.
Dividing is a pain because those woody roots and the deep taproot don’t separate easily. If you try, do it in early spring before the plant wakes up. Otherwise, you risk hurting it.
People rarely use stem cuttings since they’re tough to root. If you want to try, go for semi-hardwood cuttings in late spring, keep them moist, and use rooting hormone for a fighting chance.
Best Time to Propagate
Timing matters. Sow seeds in late fall or early spring.
Fall sowing lets nature handle cold stratification, which bumps up germination rates.
If you’re dividing, do it in early spring before new growth appears. That way, the plant bounces back faster.
Don’t divide during bloom or late summer; it’s just too stressful for the plant.
If you’re feeling adventurous and want to try stem cuttings, late spring to early summer is your best bet. The vine should be semi-hardwood and growing strong.
Matching your timing with the plant’s rhythm gives you a better shot at success, especially with varieties like ‘Purple Smoke’ and ‘Pink Lemonade’.
Preparing for Propagation
Getting ready to propagate false indigo means picking a good spot, prepping the soil, and grabbing your tools. Each step can make or break your plants.
Choosing the Right Location
False indigo really likes full sun, but it’ll put up with partial shade if it has to. Aim for at least six hours of direct sunlight each day.
If you can’t do full sun, part shade or part sun works, but don’t expect quite as much oomph.
Plant near perennial beds or wildflower gardens for bonus pollination and friendly neighbors. Protect the area from wind and heavy foot traffic.
Steer clear of spots that stay wet or get too much shade—root rot is a real downer.
Selecting and Preparing Soil
Go for well-drained soil, preferably sandy or loamy. This plant hates wet feet.
Keep the pH neutral to slightly acidic, somewhere between 6.0 and 7.0.
Before planting, loosen the soil down about a foot. If you’re stuck with clay, mix in organic matter or sand to help drainage.
A bit of mulch helps keep moisture in, but don’t let things get soggy. Skip the heavy fertilizer—too much makes leaves grow wild, but you’ll get fewer flowers.
Essential Tools and Materials
You’ll need the basics: a sharp trowel or spade, pruning shears, and gloves.
A little container for rooting hormone helps with cuttings.
Watering cans or hoses with a gentle spray are great for new plants.
Clean pots or seed trays work if you’re starting inside. Labels keep you from forgetting which variety is which.
Keep your tools clean—nobody wants to spread diseases.
Step-by-Step False Indigo Propagation Techniques
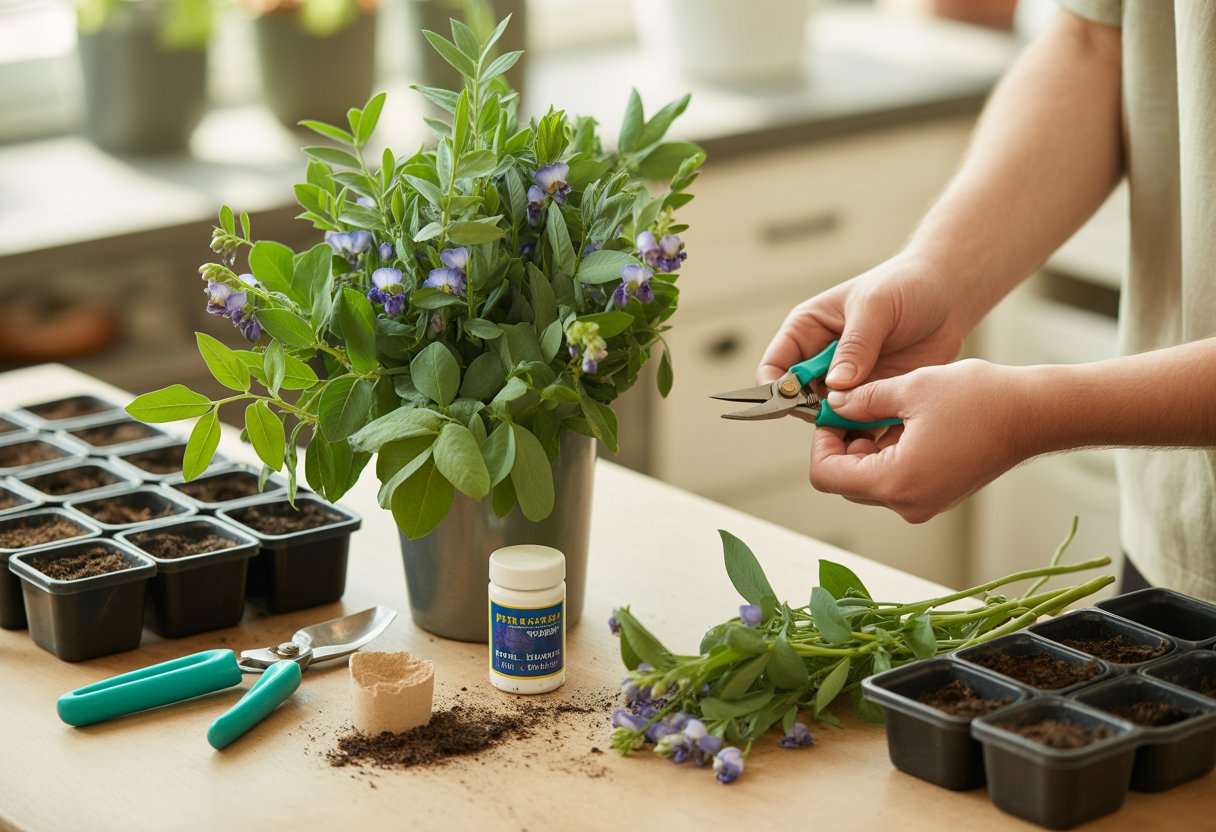
False indigo (Baptisia australis) can be propagated a few ways, each with its quirks. Knowing how to handle division, seed starting, and stem cuttings makes all the difference.
Propagating by Division
To divide false indigo, start in early spring or late fall when the plant’s asleep. That timing helps it handle the shock.
Carefully dig around the root ball and lift the plant. Use a sharp, clean knife or spade to cut the roots into chunks, each with healthy shoots and nodules.
Replant the sections right away, keeping them at the same depth as before. Water deeply.
Handle roots gently—they’re a bit delicate. The less you mess with them, the quicker they settle in.
Growing from Seeds
Seed-growing takes patience because of that tough seed coat.
Scarify seeds by scratching or nicking them. Then soak them in warm water for a day.
Plant in a well-draining mix in early spring, just barely covering them with soil. Keep things moist, not soggy.
Germination takes anywhere from two to four weeks. Seedlings grow slow at first, but once established, they’re tough as nails.
Propagating with Stem Cuttings
Want a faster route or to clone a favorite plant? Try stem cuttings.
Pick healthy, non-flowering stems in late spring or early summer. Cut sections about 4-6 inches long, just below a node, and strip off the lower leaves.
Dip the ends in rooting hormone. Plant in sterile, well-draining media.
Keep humidity high with a plastic cover or regular misting. Roots show up in three to six weeks. Once you see steady growth, transplant to their forever home.
Caring for Young False Indigo Plants
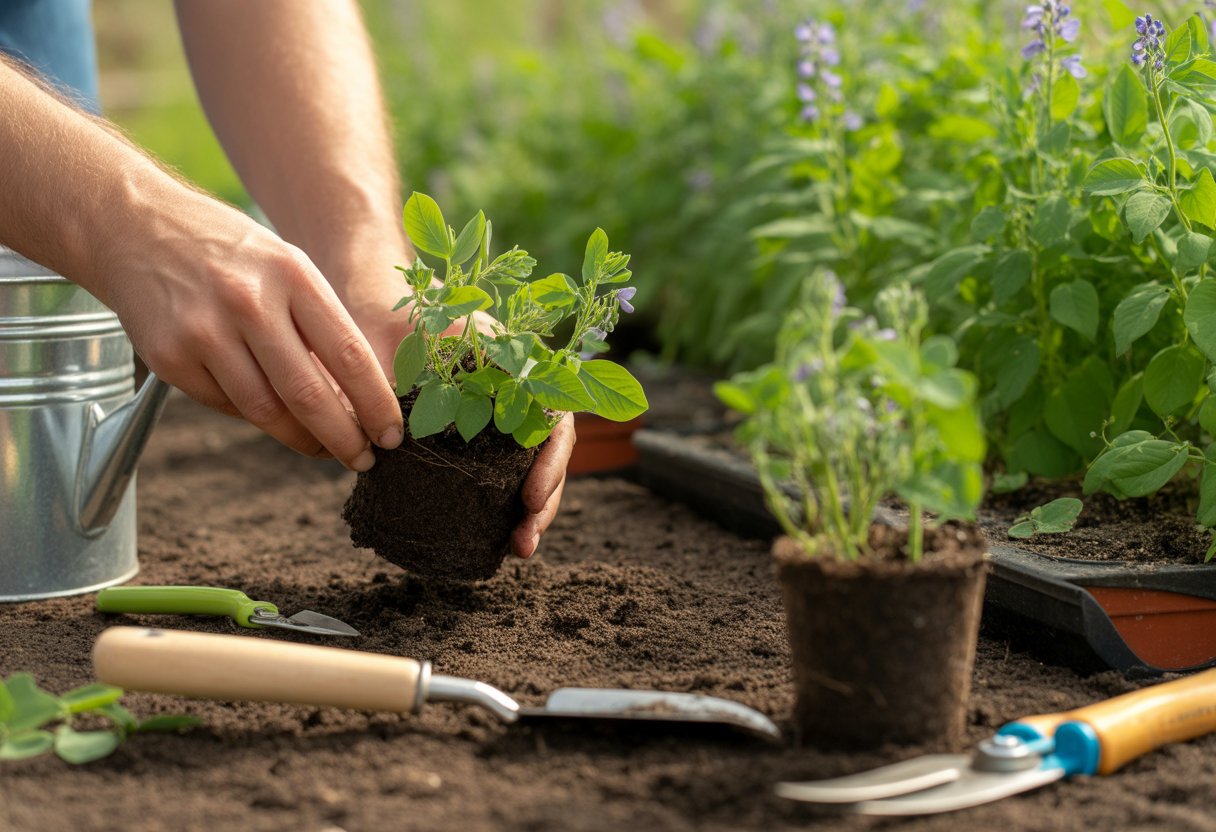
Young false indigo plants need a little pampering at first. Water, light, pruning, and pest checks all matter if you want strong, healthy plants.
Optimal Watering and Lighting
Full sun is best, but some afternoon shade won’t hurt, especially in hot climates.
Keep young plants moist until they settle in—about an inch of water weekly is a good rule.
Don’t drown them, though. Overwatering leads to root rot, especially in heavy soil.
Once mature, false indigo shrugs off drought. Water deeply but not too often, letting soil dry a bit between drinks.
A mulch layer helps keep moisture in and temps steady. Good drainage is your friend.
Pruning and Maintenance
Pruning keeps false indigo tidy and encourages new growth. Cut plants back in late winter or early spring before new shoots show up.
Snip off dead or damaged stems as you spot them. That helps prevent disease.
Light pruning after blooms fade can help shape the plant. You can use the stems for cut flowers, too.
Don’t go crazy with pruning in summer—you’ll lose flowers that way.
Disease and Pest Prevention
False indigo usually shrugs off pests, but rust and root rot can show up if conditions go sideways.
Rust looks like orange or yellow spots and loves humid, wet weather.
Let soil drain well and don’t overwater to keep root rot at bay. Check plants often for trouble.
If you spot rust or pests, act fast—try fungicides or natural remedies. Don’t crowd your plants or stick them in the shade, and you’ll avoid most problems.
Wildlife and Landscape Benefits
False indigo resists deer, so it’s a solid pick for gardens where deer can be a problem. It also draws in butterflies, which adds a nice touch of biodiversity.
This perennial brings lasting structure and visual interest to gardens. It handles drought and poor soil surprisingly well, so it’s a good fit for sustainable landscaping.
If you want to help pollinators and make your garden tougher, plant some false indigo. It really shines in native or wildlife-friendly designs.