How to Propagate Ferns: A Step-by-Step Guide for Healthy Growth
Propagating ferns is a pretty approachable way to grow your collection or share plants with friends. The most common methods to propagate ferns are by division, spores, or runners, depending on the fern species.
Each technique has its quirks but mostly just needs some patience and a bit of care.

Division is usually the easiest—just separate the root clumps of a mature fern. Propagating from spores feels more like what ferns do in nature, though it takes more time and a steady environment.
Some ferns push out runners, too, and you can root those to get new plants.
Understanding Fern Propagation
If you want to propagate ferns successfully, you’ve got to know how they grow and what they need. That knowledge really makes a difference for healthy ferns and getting new plants off to a strong start.
Fern Life Cycle Overview
Ferns go through a two-stage life cycle: sporophyte and gametophyte. The leafy plant everyone recognizes is the sporophyte, and it makes spores under its fronds.
Those spores fall, then grow into a tiny, heart-shaped gametophyte. This little thing produces sex cells that combine, eventually creating a new sporophyte—a baby fern.
Ferns don’t use seeds at all. You can propagate them by spores, division, or even tissue culture, though most folks don’t mess with spores unless they’re feeling adventurous.
Key Requirements for Successfully Growing Ferns
Ferns like things moist and shady. They do best with indirect light and lots of humidity, just like on a forest floor.
The soil should be rich, drain well, and lean a bit acidic. You have to water consistently, but not drown them—too much water means root rot.
Ideal temperature sits between 60°F and 75°F (15°C–24°C). Good airflow helps keep fungus away.
Pick a healthy, mature fern for division. Give the new plant the same care as the parent, and it should settle in nicely.
Propagating Ferns by Division
Dividing ferns means splitting up established plants into smaller chunks, each with roots and fronds. It works great for mature ferns, and honestly, it keeps the parent plant healthier too.
When and How to Divide Mature Plants
Spring is the best time, or right before new growth kicks in. If the fern’s root system is packed or the crown’s crowded, it’s probably ready.
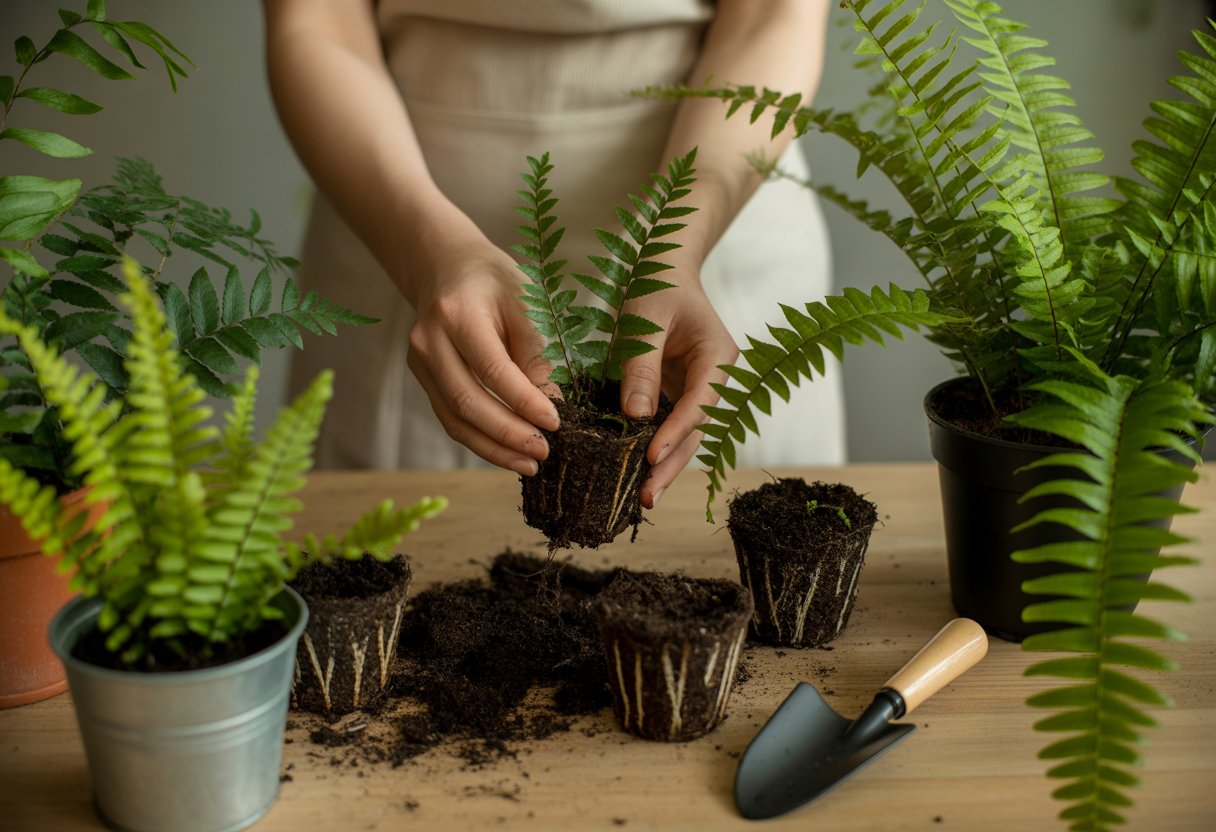
Gently pull the fern from its pot or the ground. Brush off the dirt to really see the roots.
Cut the root ball into sections using a sharp knife or even your hands—just make sure each chunk has a few fronds and healthy roots.
Don’t go too small. If you divide too much, the pieces might struggle to recover.
Caring for Divided Ferns
After you divide, pot up the new plants in fresh soil packed with organic matter. Try a mix of peat moss, loose soil, and compost.
Keep the soil moist—don’t let it dry out, but don’t drown it either.
Put the new ferns somewhere with indirect light, and keep temperatures steady between 60-75°F (15-24°C). Humidity is your friend, especially at first.
If you see wilting or yellow fronds, that’s transplant shock. Mist the leaves, and skip the fertilizer until you spot new growth.
Tools and Supplies Needed
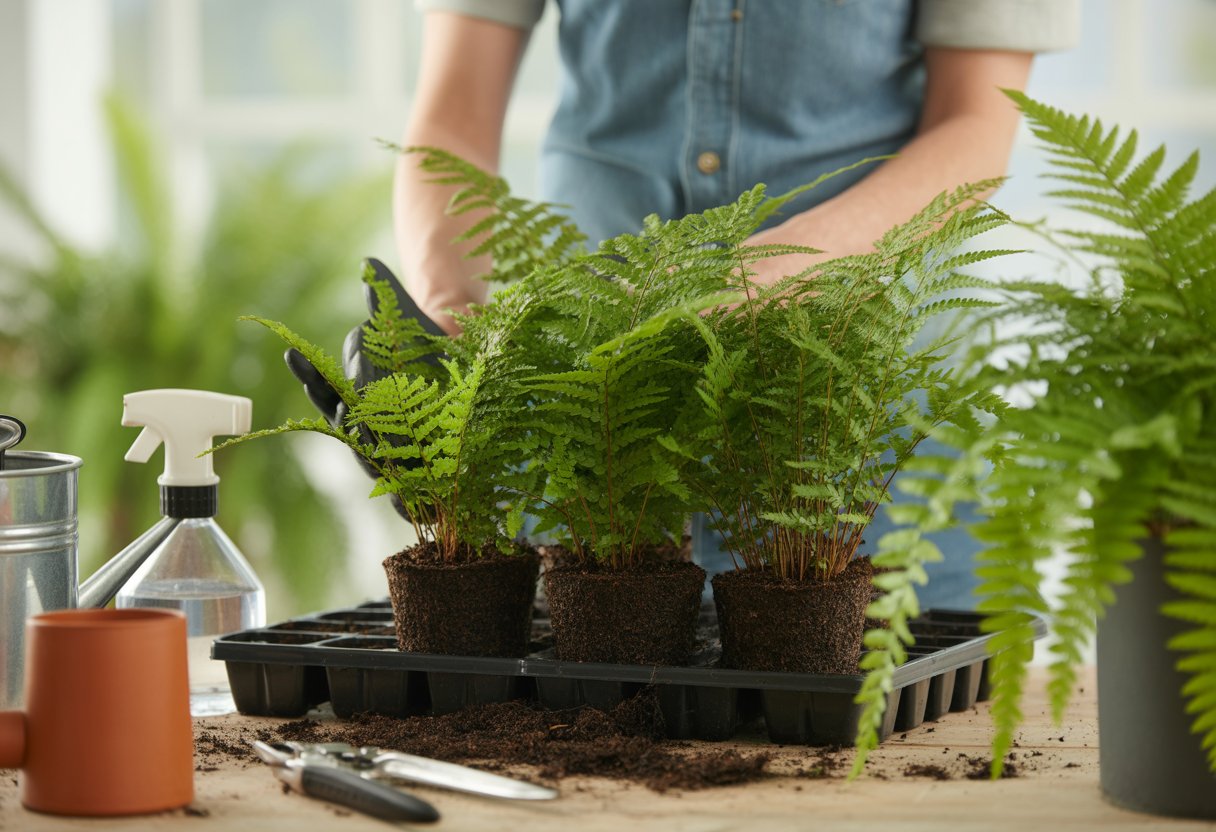
You’ll need a sharp, clean knife or garden shears for cutting. Gloves help if the fronds are rough or the soil’s a mess.
Grab pots with drainage holes to stop root rot. Use a well-draining potting mix with peat moss and organic material.
A trowel makes potting easier. Misting bottles boost humidity, and labels help you keep track.
Always clean your tools before and after—nobody wants to spread plant diseases.
Propagating Ferns from Spores

Growing ferns from spores is a bit more involved—timing and control matter a lot. You’ll collect mature spores, start them on the right medium, and then move the young plants once they’re ready.
Collecting and Harvesting Fern Spores
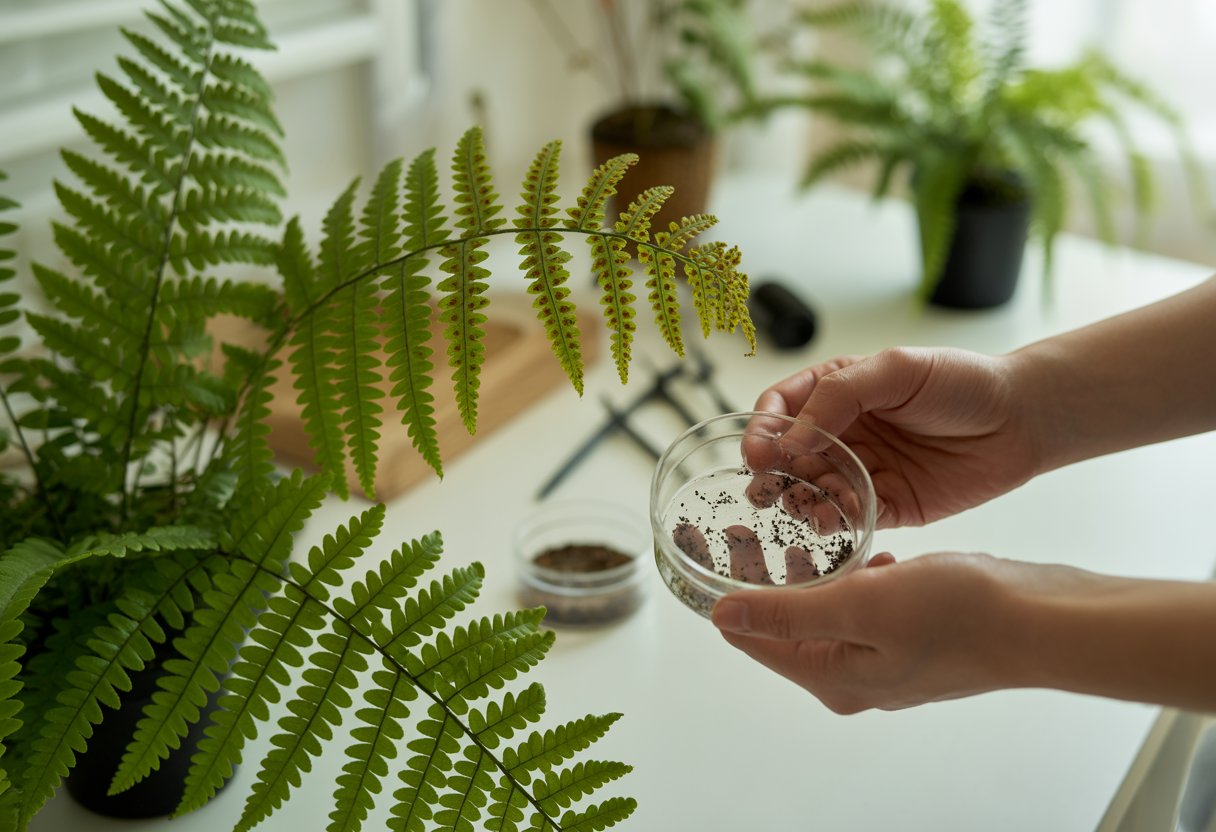
Spores form in sporangia under mature fronds. When those sporangia turn dark and start to open, it’s time.
Pick a dry, calm day so you don’t end up with soggy or lost spores. Place a piece of paper or a glass slide under the frond and tap gently—spores drop like fine dust.
Store them in a cool, dry spot until you’re ready. Clean tools and surfaces help keep things uncontaminated.
Germinating Spores: Step-by-Step Process
Start by prepping a sterile tray with peat moss and sand. Get it moist but not soggy.
Sprinkle the spores evenly across the top.
Cover the tray with plastic wrap to lock in humidity. Set it in indirect light, around 65-75°F (18-24°C).
Spores can take anywhere from two to eight weeks to germinate. You’ll see tiny green prothalli forming.
Lift the cover a bit every day to let in fresh air and keep mold away.
Transplanting Baby Ferns
When you spot baby ferns with roots and fronds, it’s time to move them. Use tweezers or a small tool, and be gentle with those fragile roots.
Pot them in small containers filled with well-draining, moisture-holding soil. Keep the humidity up and the light indirect.
Let them adjust slowly to normal conditions. Water regularly, but don’t let them sit in soggy soil.
Caring for Newly Propagated Ferns

New ferns need extra attention—especially with light, humidity, temperature, and watering. Placement and the right soil matter a lot for strong roots and lush fronds.
Providing Proper Light and Temperature
Stick new ferns in bright, indirect light. Direct sun can fry their delicate fronds, so go for filtered sunlight or a shaded porch.
Keep the temperature steady, ideally 60°F to 75°F. Sudden cold snaps or heat waves don’t do them any favors.
Boston ferns really hate cold drafts, so keep them away from doors and windows that open a lot.
Maintaining Humidity and Watering Needs
High humidity is key for new ferns. Misting or a humidifier helps mimic their natural habitat.
Water to keep the soil moist, but not soggy. Check the soil daily—dryness sneaks up fast.
Don’t overwater, or you’ll risk root rot. Well-draining soil is a must. Room-temperature water seems to work best for absorption.
Potting and Placement Tips
Pick a pot with drainage holes so water doesn’t pool at the bottom. Nobody wants soggy roots.
Go for a lightweight, well-aerated potting mix made for ferns or indoor plants. The right soil really makes a difference.
Set your fern somewhere with steady light and humidity. Try not to move it around too much—ferns get fussy if you do.
If you’ve got a Boston fern, maybe put it on a porch where it gets indirect light and a bit of a breeze. That kind of spot just seems to make them happy.


