How to Propagate Wisteria: Expert Methods for Successful Growth
Last updated: February 2, 2026
Propagating wisteria lets you enjoy more of this stunning flowering vine in your garden. The most effective way to propagate wisteria is by taking hardwood cuttings in late autumn or early winter, which really gets those roots going.
This deciduous vine loves propagation methods that fit its natural rhythm.

You can try propagating wisteria by layering or using softwood cuttings in spring. Still, hardwood cuttings usually give you the best odds.
Understanding how wisteria grows makes a difference when you want more blooms.
Let’s get into the key steps for propagating wisteria effectively.
Preparing to Propagate Wisteria
Start by picking the right plant at the right time. You’ll also want some basic tools to keep your cuttings healthy and roots forming well.
Choosing Healthy Wisteria Plants
Pick a mature wisteria that’s not showing signs of disease or damage. Wisteria sinensis, Japanese wisteria, Chinese wisteria, and American wisteria all work, but make sure the plant is robust and established.
Look for woody stems that feel healthy and a bit flexible, about as thick as a pencil. Skip any growth that’s old or brittle—it just doesn’t root well.
If the plant’s climbing a trellis or pergola, that’s a good sign it’s a strong grower.
Selecting the Ideal Season
Timing matters. Take hardwood cuttings in late winter or early spring, right before the new growth shows up.
Softwood cuttings are best in late spring or early summer, when shoots are just starting to firm up.
Don’t bother with late summer cuttings—hot weather and dry air make rooting tough. Early spring cuttings from mature plants usually root well and get established faster.
Gathering Tools and Supplies
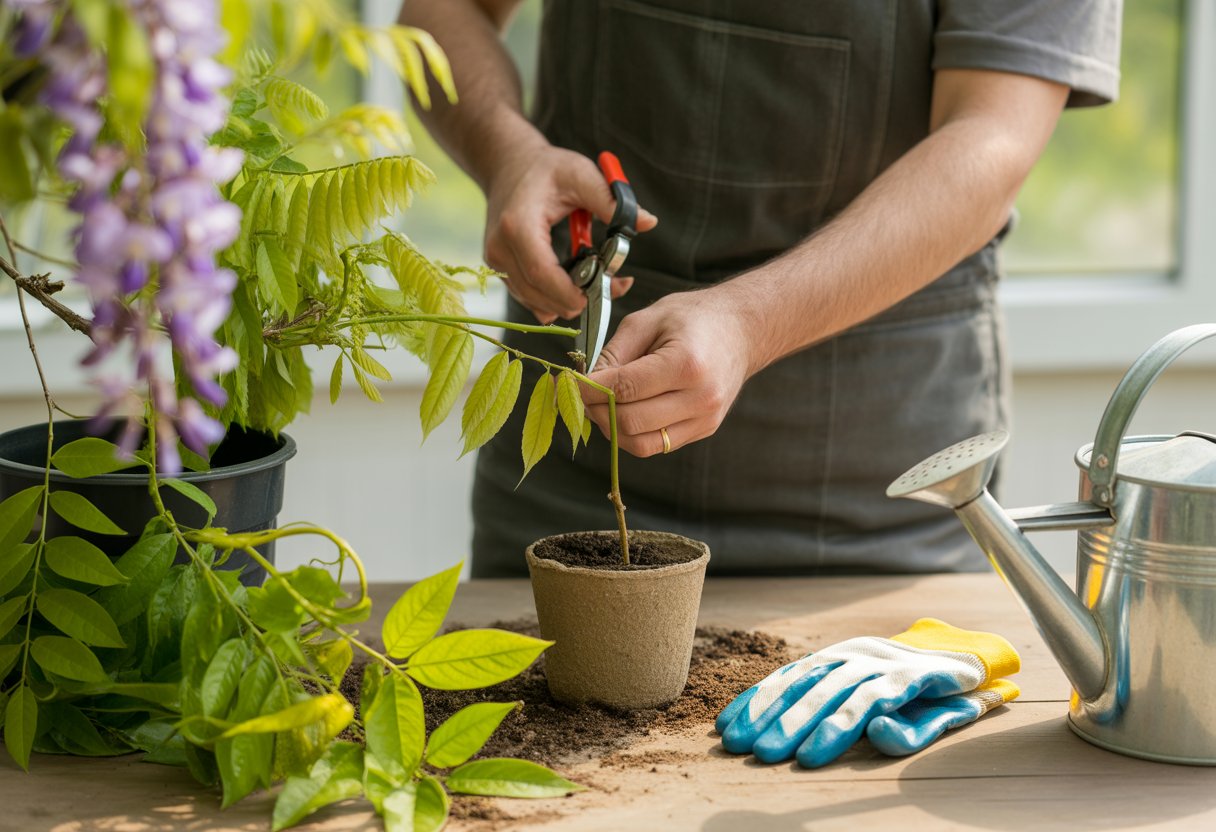
You’ll need sharp pruning shears for clean cuts. Grab some rooting hormone powder or gel to help the roots along.
Have clear plastic bags, plastic wrap, or a dome handy to keep things humid. This helps keep moisture in and roots forming.
Prepare a well-draining propagation mix so you can plant cuttings right after you take them.
Propagation Methods for Wisteria
You can propagate wisteria in a few tried-and-true ways, depending on your space and what you want out of it. Take cuttings, layer shoots on the parent plant, or grow from seed.
The right rooting setup makes a big difference.
Softwood Cuttings Technique
Take softwood cuttings from fresh new shoots in late spring or early summer. Cut a 4-6 inch section just below a leaf node.
Remove the leaves from the lower half, but keep 2-3 sets at the top. Dip the cut end in rooting hormone powder before sticking it in a moist, well-draining mix.
Keep the container warm—around 70°F—and humid, usually with a plastic cover. Roots should form in 4-6 weeks.
Once roots are a few inches long, move the plant to a bigger pot. This method is quick but needs careful moisture control.
Propagating from Seeds
Starting wisteria from seed is pretty simple, but it’s a slow game. Soak seeds overnight to soften the shell, then plant them in well-draining soil and cover lightly.
Keep them warm and moist. Germination usually takes 2-4 weeks.
Seedlings can take years to bloom, so this isn’t the fast track. Also, plants grown from seed might not look like the parent—genetics can be unpredictable.
This method works best if you’re developing new varieties or need rootstock.
Layering Method for Wisteria
Pick a flexible, low shoot from an established plant. Bend it down to the soil and gently wound the underside to expose the tissue.
Press that spot into moist soil and pin it down with a peg or stone. Make sure a few nodes are buried but keep the leaf tips above ground.
Roots start to form over a few months. When the new plant roots well, cut it from the parent.
Layering works well because the shoot keeps getting nutrients while it roots.
Hardwood Cuttings Approach
Take hardwood cuttings in late autumn or winter from mature, dormant shoots, about 8-12 inches long. Make sure each cutting has several nodes.
Store them somewhere cool if you can’t plant right away. Dip the base in rooting hormone, then plant upright in a well-draining mix.
Keep things cool but frost-free, and don’t let the soil dry out. Hardwood cuttings take their time—rooting might take 3-6 months.
Once established, these plants handle outdoor transplanting like champs.
Optimizing Propagation Success

Getting the environment right is huge for wisteria. The right light, temperature, and moisture help your cuttings or seeds thrive.
Creating the Ideal Growing Environment
Wisteria likes a well-draining potting soil. Mix peat moss, perlite, and coarse sand for a light, moisture-holding base.
Add some organic matter for nutrients. Use containers or trays with drainage holes so water doesn’t pool.
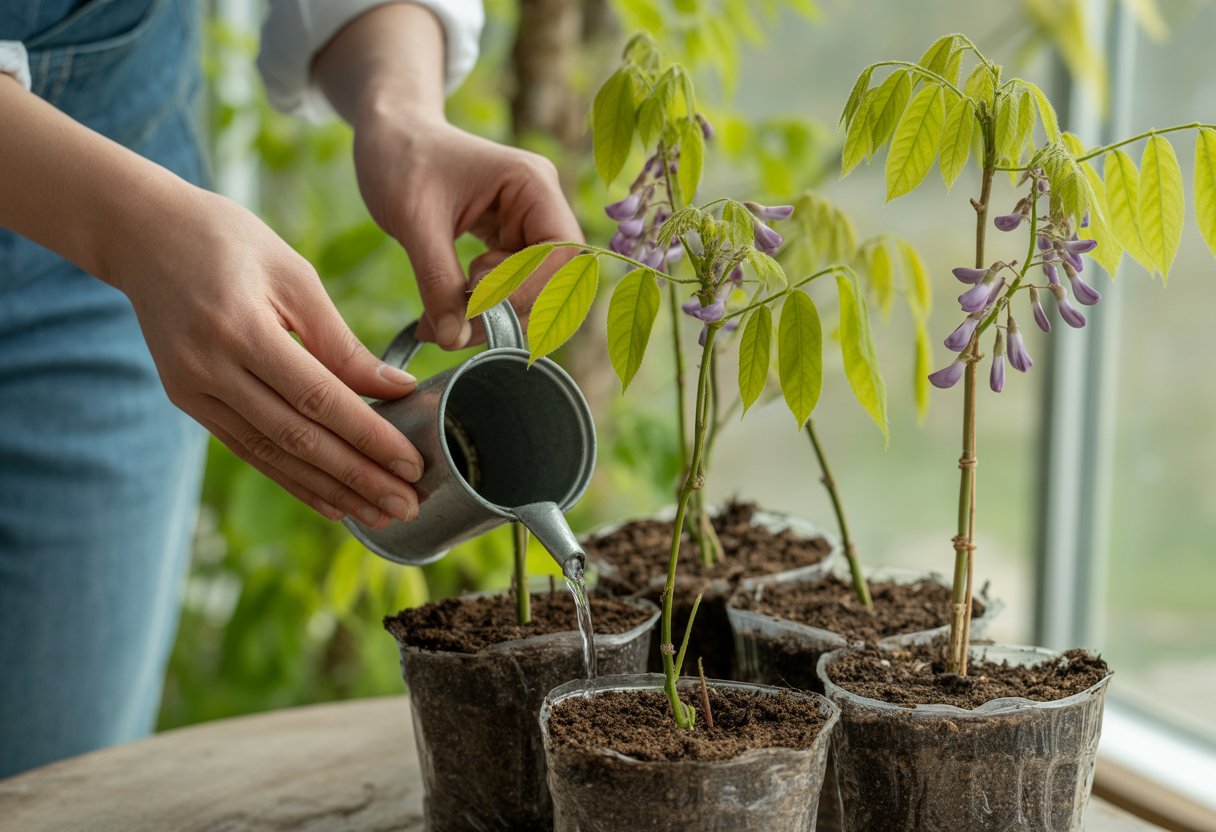
Keep the soil moist but not soggy. Soggy roots rot fast.
Once roots form, move plants to a permanent spot with fertile, well-drained soil. Avoid clay or wet ground.
A solid potting mix helps new plants settle in.
Light, Temperature, and Humidity Requirements
Cuttings root best in indirect light or partial shade. Direct sun can dry out soil and scorch new shoots.
Young plants like less intense light. Once they’re established, full sun is fine.
Aim for temperatures around 65°F to 75°F (18°C to 24°C). Cool nights slow things down, and too much heat stresses the cuttings.
Keep humidity up to help leaves and stems hold onto moisture. A greenhouse or cloche helps with this.
Mist cuttings or use a humidity dome, but don’t go overboard with watering.
Ensuring Root and Shoot Development
Focus on getting strong roots from the node, where leaves and buds grow. Include healthy nodes with flower buds or leaves.
Water consistently to keep soil moist, but not swampy. Pull off any wilted or yellow leaves to ease stress on the plant.
As roots develop, shoots will push out leaves and, eventually, flower buds. Keep an eye on moisture and light—adjust as needed to keep things growing strong.
Caring for Newly Propagated Wisteria Plants

New wisteria plants need some TLC to get established. A bit of extra care with transplanting, pruning, pest control, and encouraging blooms goes a long way.
Transplanting and Establishment
When cuttings or seedlings have roots, move them to a sunny, permanent spot. Use well-drained, slightly acidic to neutral soil with plenty of organic matter.
Dig a hole twice as wide as the root ball. Gently loosen roots before planting.
Water well after planting and keep the soil evenly moist for the first few weeks. Mulch with organic material to help hold moisture and even out temperatures.
Give wisteria space to climb—don’t plant it too close to structures without supports.
Pruning and Training Wisteria
Pruning keeps wisteria in check and helps it bloom. After planting, cut back to two or three buds to get strong shoots going.
During the growing season, remove weak or crowded stems for better air flow and light. In winter, prune long shoots back to about 6 inches to shape the plant and boost flower buds.
Train young shoots onto a trellis or pergola. Use soft ties and don’t pull too tight.
Addressing Pests and Diseases
Wisteria usually holds up well but can get hit by aphids, scale insects, or spider mites. Check plants often.
Use insecticidal soap or horticultural oil if needed. Bringing in ladybugs can help control pests naturally.
Watch out for powdery mildew and root rot. Good airflow and avoiding overhead watering help prevent mildew.
Plant in well-drained soil and don’t let roots sit in water to keep rot at bay.
Encouraging Flowering and Growth
Wisteria bursts out with fragrant flowers in shades of white, pink, and purple. But if you want those blooms to really show off, you’ll need to give the plant balanced nutrition.
Go for a low-nitrogen fertilizer in spring. Too much nitrogen just pushes leafy growth and you’ll get fewer flowers—nobody wants that.
Sunlight matters, too. Find a spot where your wisteria can soak up at least six hours of direct sun every day.
Try deadheading faded flowers now and then. It helps the plant shift its energy toward new blooms.
Give each plant enough space so they’re not fighting for nutrients or light. If your wisteria starts growing a bit wild, grab the pruners and cut it back. That keeps the size manageable and encourages more flowers.


