Step by Step Tomato Planting Guide for Successful Home Gardens
Last updated: February 5, 2026
Planting tomatoes at home takes a bit of planning, but it’s totally doable. The key to growing healthy garden tomato plants is picking the right spot, prepping your soil, and actually following a planting process that works for you. This guide walks you through each step so you can set up strong tomato plants and (hopefully) enjoy a solid harvest.
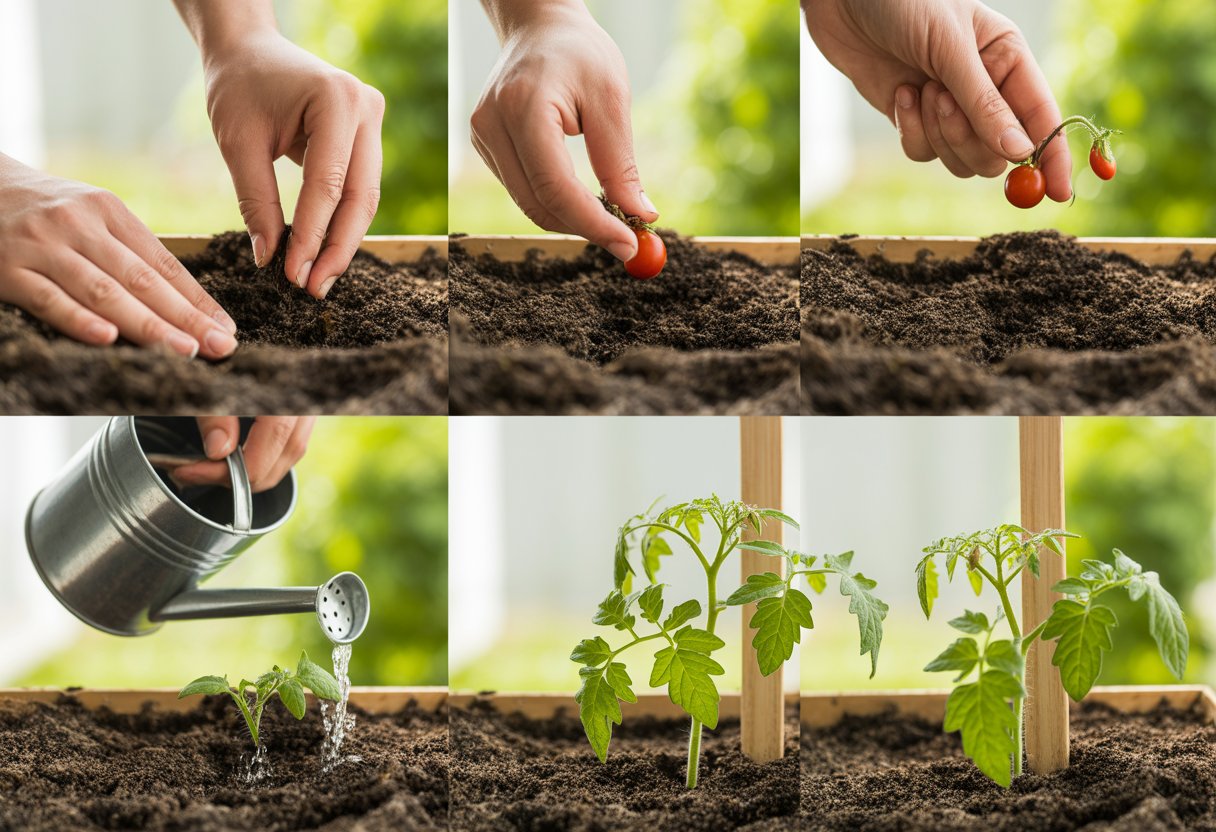
Tomatoes love well-drained, nutrient-rich soil and plenty of sunlight. When you start with good seeds or sturdy seedlings, plant them at the right depth, and give them enough space, you can dodge a lot of common headaches.
Choosing and Preparing Your Tomato Variety
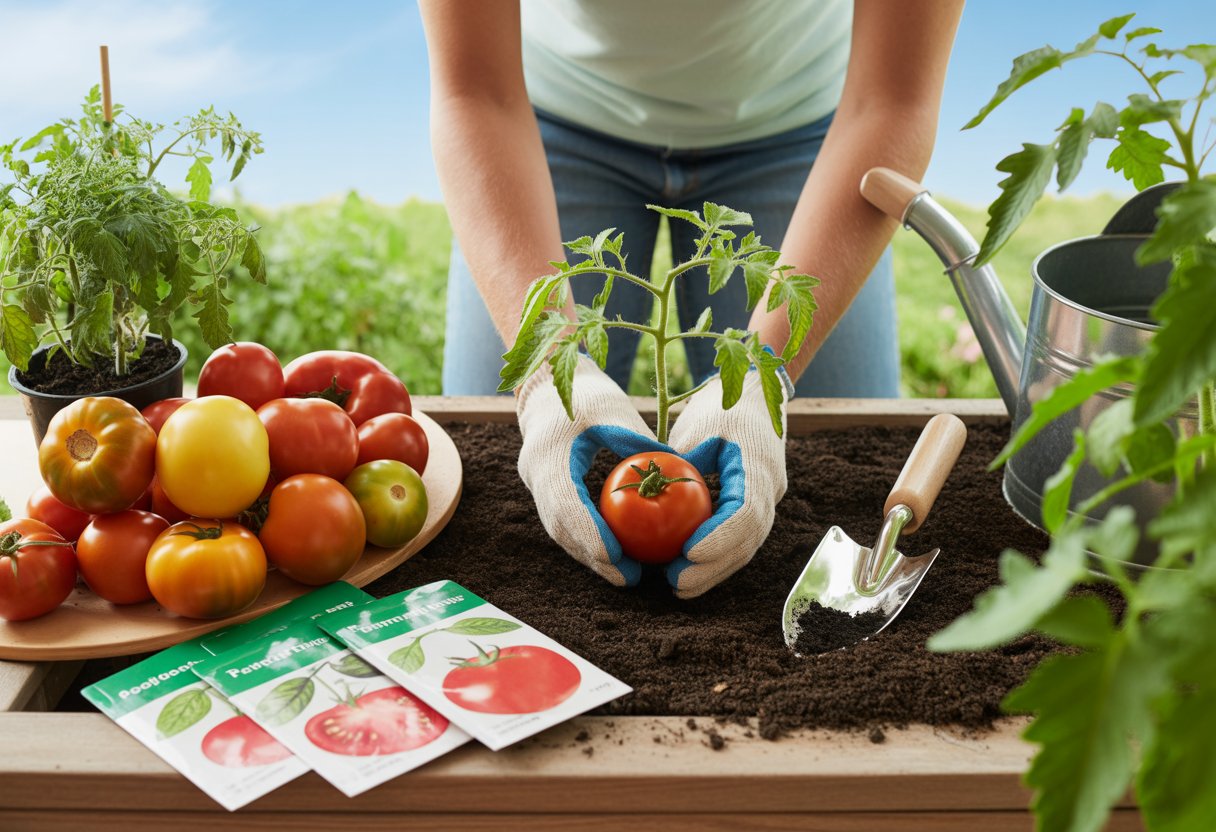
Picking your tomato variety and prepping it sets the stage for everything that follows. Are you starting from seed or grabbing seedlings at the store? What about growth habits or flavor?
Selecting Tomato Seeds or Seedlings
Tomato seeds give you a ton of options, but you’ll need to start them indoors and baby them for a while. Start seeds 6-8 weeks before your last frost, somewhere warm and bright.
If you’re not into all that, seedlings from a garden center save time and skip most early-stage problems. Before planting outside, harden seedlings by gradually introducing them to the outdoors for about a week.
Your choice between seeds and seedlings depends on your experience, climate, and how much of a head start you want.
Understanding Determinate and Indeterminate Tomatoes
Determinate tomatoes (the bushy ones) stop growing at a certain height and put out fruit all at once. They don’t need much staking, which makes them great for containers or small spaces.
Indeterminate tomatoes just keep growing and fruiting until frost comes. You’ll need to support them with cages or trellises. They usually give bigger harvests, but you’ll have to stay on top of maintenance.
Think about your garden size, how much work you want to put in, and when you want your tomatoes to ripen.
Heirloom, Cherry, and Red Tomato Options
Heirloom tomatoes are open-pollinated, often funky-looking, and prized for their flavor. They can be a bit fussier than hybrids, but the taste is usually worth it.
Cherry tomatoes are bite-sized, sweet, and perfect for snacking. They’re usually super productive and can be either determinate or indeterminate.
Red tomatoes are the classic go-to for most recipes. They come in loads of varieties, from early birds to those that hang on till late summer.
| Variety Type | Key Traits | Growing Notes |
|---|---|---|
| Heirloom | Flavor diversity, unique colors | Need gentle handling |
| Cherry | Small, sweet, high yield | Great in containers |
| Red | Classic tomato flavor and size | Lots of growth habits |
Soil Preparation and Site Selection
Location and soil prep really do make or break your tomato crop. Healthy soil and the right spot keep your plants happy and help them fight off diseases.
Finding the Ideal Growing Area
Find a spot that gets at least 6-8 hours of direct sun every day. Tomatoes just won’t fruit well in the shade.
Make sure the soil drains well. Soggy roots are a recipe for disaster.
Good airflow is a bonus—it keeps humidity down and helps prevent fungal problems. Don’t plant tomatoes right next to potatoes or other nightshades; they attract the same pests.
Aim for slightly acidic soil, pH 6.0 to 6.8. Test your soil so you know what you’re working with.
Improving Soil with Compost and Amendments
Mixing in compost adds organic matter and boosts soil structure. Worm castings are awesome for increasing nutrients and good microbes.
Bone meal gives your tomatoes extra phosphorus, which they need for roots and flowers. If you’re starting seeds indoors, blend some potting mix with your local soil to improve drainage.
Use your soil test results to add what’s missing. Keep adding compost every year to keep your garden in shape.
Addressing Soil-Borne Diseases
Tomatoes can fall victim to nasty soil diseases like verticillium and fusarium wilt. If you’ve had issues, rotate crops—plant tomatoes in a different spot for 3 or 4 years.
You can try solarizing soil by covering it with clear plastic during the hottest months to kill off some pathogens. Picking disease-resistant varieties also helps.
Always clear out all old tomato plants and debris after harvest. Don’t replant in the same spot unless you’ve treated the soil or waited a few years.
Planting and Caring for Tomatoes Step by Step
Tomatoes need steady care from the start. If you prep your seedlings, plant them right, and give them support, water, and food, you’ll set yourself up for a good harvest.
Starting Tomatoes from Seed Indoors
Start seeds indoors 6-8 weeks before your last frost. A heat mat helps keep the soil at 70-80°F, which tomatoes love.
Use a seed-starting mix in small pots or trays. Keep things damp but not soggy.
Once you see two sets of true leaves, move seedlings to a bright spot. Grow lights or a sunny window work. Snip off weaker seedlings so the strong ones have space.
Transplanting Seedlings and Deep Planting Method
After your last frost and when the soil’s at least 60°F, move seedlings outside. Dig holes deep enough to bury two-thirds of the stem—this encourages more roots.
Lay the seedling in the hole at an angle, cover most of the stem, and leave just the top leaves showing. Give each plant 18-24 inches of space for air flow and room to grow.
Staking, Caging, and Mulching Techniques
Tomatoes get heavy and need support. Use sturdy cages or stakes. If you stake, tie plants gently with soft ties every 6-8 inches.
Mulch with straw or shredded leaves once plants are established. Two or three inches of mulch keeps moisture in, weeds down, and soil from splashing up.
Watering and Fertilizing Tomatoes
Tomatoes like steady moisture. Water at the base to avoid wetting leaves—drip irrigation or a soaker hose works great.
Once flowers show up, switch to a water-soluble fertilizer high in phosphorus and potassium. Don’t overdo it with nitrogen or you’ll get lots of leaves, not fruit.
Water deeply once or twice a week, depending on the weather. Consistent moisture helps prevent cracking and blossom end rot.
Troubleshooting Tomato Growing and Maximizing Yield
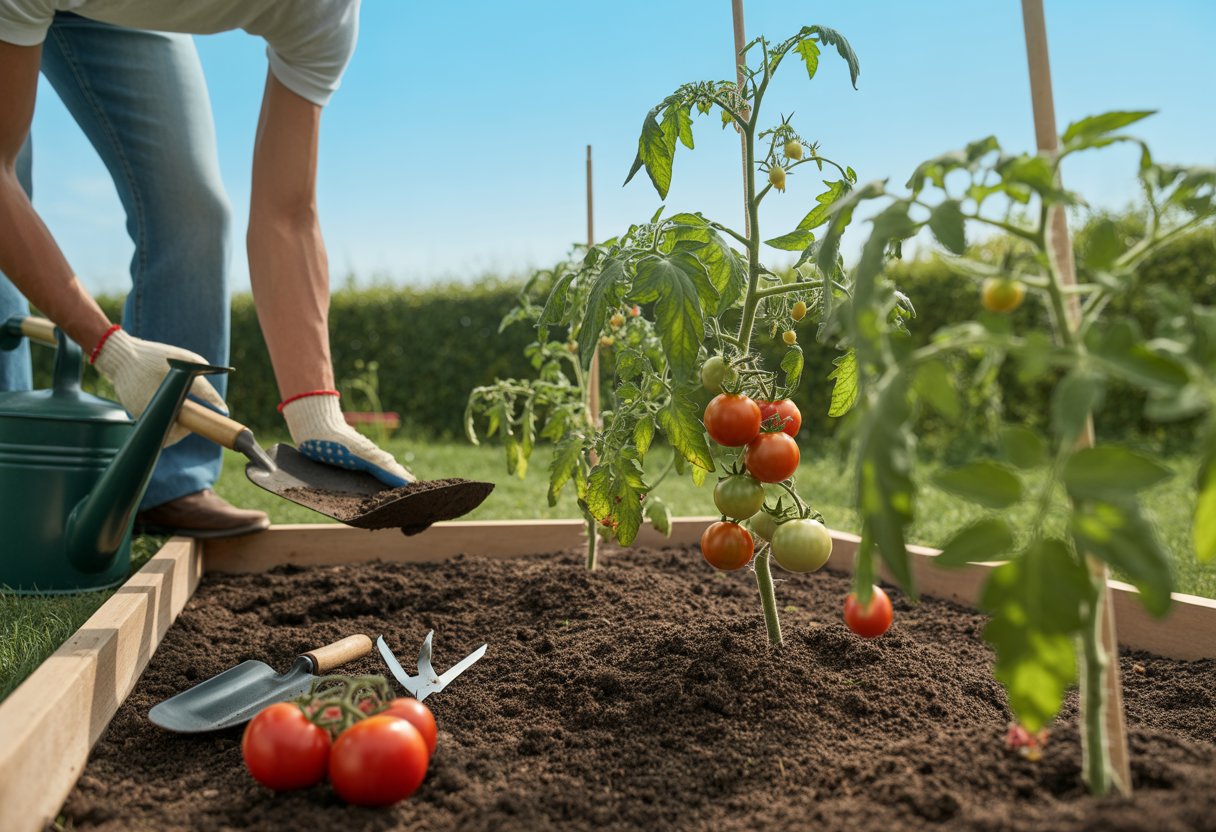
Growing tomatoes isn’t always smooth sailing. If you spot issues early and tweak your care, you can still get a good crop.
Preventing Blossom End Rot and Calcium Deficiency
Blossom end rot shows up as a sunken, dark spot on the bottom of the fruit. It’s usually from calcium deficiency.
Keep the soil evenly moist by watering deeply and regularly. Fluctuating moisture messes with calcium uptake.
Skip heavy nitrogen fertilizers, since they can block calcium. Add gypsum or crushed eggshells to boost calcium, and mulch well to hold in moisture.
Check soil pH and keep it between 6.2 and 6.8 for best calcium availability.
Greenhouse Tomato Tips
Greenhouse tomatoes need a bit more attention to airflow and humidity. Too much humidity means more fungal diseases.
Use fans or open vents to keep air moving. Try to keep days at 70-80°F and nights around 60-65°F.
Support plants with stakes or trellises and trim off lower leaves to reduce disease risk. Fertilize with a balanced greenhouse mix that’s high in potassium for fruiting.
Watch for pests—they can get out of hand fast in a closed space.
Harvesting and Storing Homegrown Tomatoes
Pick tomatoes when they show their full color and feel mostly firm. I usually avoid waiting until they’re too soft since that just invites bruises.
Mornings are a good time to harvest—less heat, less stress on the fruit. Handle them with care; it’s surprisingly easy to nick or squish one.
If you want them to last longer, grab them just before they’re totally ripe. Let them finish ripening on your counter, but keep them out of direct sunlight.
Put ripe tomatoes stem side down on a flat surface. This slows down moisture loss, at least a bit.
Try not to refrigerate unless they’re fully ripe. Cold ruins the flavor and makes the texture a little weird, in my opinion.
Check your stored tomatoes often. If you spot any going bad, pull them out before they mess up the rest.

