How to Propagate Redbud: Effective Techniques for Successful Growth
Last updated: February 15, 2026
Propagating redbud trees is a practical, rewarding way to add more of these beautiful flowering plants to your landscape. The most effective method? Softwood or hardwood cuttings—timing matters here.
Success really comes down to healthy stems and the right rooting conditions.

Redbud cuttings root best in a well-draining medium that stays consistently moist and warm. If you use rooting hormone, you’ll probably see stronger roots.
Gardeners who get the basics down can propagate redbuds reliably—no need for fancy equipment.
Understanding Redbud Propagation Methods
You can propagate redbud trees from seeds or cuttings, and each method comes with its quirks. Your choice depends on the traits you want and the species you’re working with.
Knowing the Cercis genus—especially Cercis canadensis—helps you match your propagation method to your goals.
Propagation from Seeds
To start redbuds from seed, collect mature pods in late summer or early fall. The seeds have a tough coat and need cold stratification to wake them up.
A typical approach is to store seeds in moist peat moss at about 4°C (39°F) for 60–90 days.
After stratification, sow seeds in well-draining soil and keep them moist. Germination usually happens within 20–30 days at 20–25°C (68–77°F).
Seed propagation can give you surprises—offspring might look or flower differently than the parent.
Propagation from Cuttings
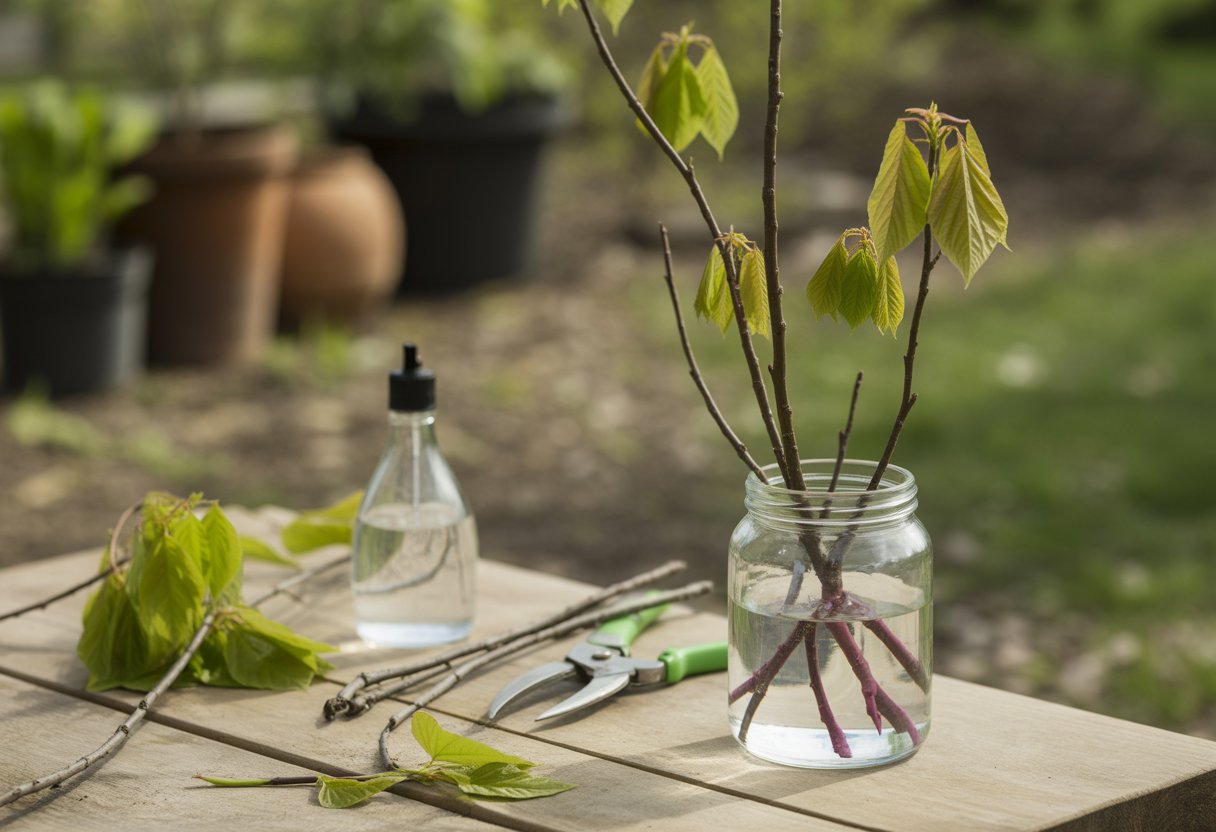
Softwood or semi-hardwood cuttings taken in late spring or early summer offer a faster way to clone redbuds. Cuttings should be 4–6 inches long and have a few leaf nodes.
Remove the lower leaves, dip the cut end in rooting hormone, and you’ll likely boost your odds.
Place cuttings in a moist, well-drained medium under indirect light. Roots usually appear in 3–6 weeks.
High humidity is crucial—cover the cuttings with a plastic dome or bag. This method keeps the parent tree’s traits intact.
Overview of Cercis Species
The genus Cercis includes around 10–12 species, and Cercis canadensis is the most popular redbud in North America. It’s prized for adaptability and those distinctive pink spring flowers.
Different Cercis species vary in cold tolerance and growth habits. Understanding these differences helps you pick the right species for your area.
For example, Cercis canadensis is happy in USDA zones 4–9, but other species might be pickier about climate or soil.
How to Grow Redbud from Seeds
Growing redbud from seed takes some patience and attention to detail. Harvesting pods at the right time, prepping seeds, and caring for seedlings all matter.
Timing and conditions are everything if you want good germination and healthy young plants.
Harvesting and Preparing Seed Pods
Redbud seed pods mature in late spring to early summer across most of North America. They turn brown and dry out before dropping.
It’s best to collect pods as they start to brown but before they split open.
After harvesting, break open the pods and remove the seeds. Rinse off any leftover pod material.
Redbud seeds are tough, so you’ll need to treat them before planting to improve germination.
Seed Stratification and Sowing
To mimic winter, place cleaned seeds in a moist medium like sand or peat moss inside a sealed plastic bag. Store the bag in the fridge at 34–41°F (1–5°C) for 60–90 days.
After stratification, plant seeds about ½ inch deep in well-draining soil—pots or trays both work. Keep the soil moist but not soggy.
Early spring is the best time to plant so seedlings get a full growing season.
Caring for Redbud Seedlings
Once seedlings pop up, give them bright, indirect light and keep the soil evenly moist. Avoid blasting them with hot sun at first—these little guys are sensitive.
When true leaves appear, thin out crowded seedlings. Move them outdoors after the last frost, once they’re sturdy enough.
Harden them off gradually over a week or two to help them adjust.
Propagating Redbud by Cuttings

Propagating redbud from cuttings means following a few key steps. Picking the right softwood cuttings, using rooting hormone, and choosing a good rooting medium all make a difference.
Timing isn’t everything, but it sure helps.
Selecting Softwood Cuttings
Take cuttings from new growth that’s still flexible but starting to firm up. Early summer is usually best, and stems should be 4–6 inches long.
Snip off the lower leaves to expose the nodes. Healthy, pest-free stems from the eastern redbud work best.
Skip shoots that are too woody or too soft—they rarely root well.
Applying Rooting Hormone
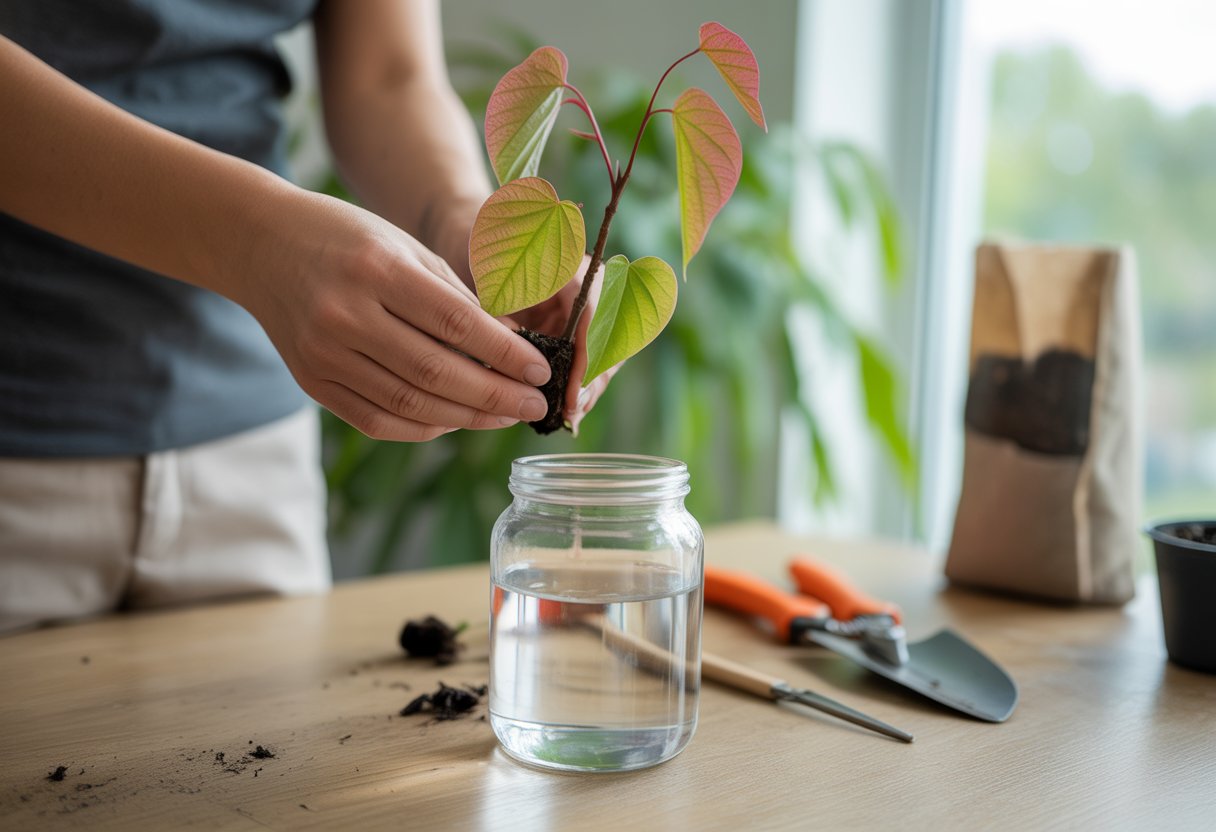
Dip the base of each cutting into rooting hormone powder or gel before planting. This step encourages root growth right where you want it.
A thin, even coat does the trick; too much can actually backfire. Tap off any extra powder before sticking the cutting in the medium.
Rooting in Coarse Sand
Coarse sand works well for rooting redbud cuttings because it drains fast and lets roots breathe. Less risk of rot, more chance for healthy roots.
Push cuttings 1–2 inches deep into damp sand. Keep the sand moist but never soggy.
A propagation tray with a humidity dome or plastic cover helps keep moisture steady.
Timing and Care for Cuttings
Early summer is the sweet spot for taking and rooting cuttings. Warm temps and active growth boost your odds.
Keep cuttings in indirect sunlight at 65–75°F. Mist them regularly to prevent drying out.
Roots usually show up in 4–6 weeks. Once they’re established, gradually expose them to open air before transplanting.
Establishing and Transplanting Young Redbud Trees

Getting young redbuds established depends on careful transplanting, good soil, steady watering, and the right light. Each step matters if you want healthy growth.
Transplanting Seedlings and Rooted Cuttings
Move young seedlings or rooted cuttings once they’ve developed a solid root system, usually after 6–12 months. Handle roots with care to avoid breaking them.
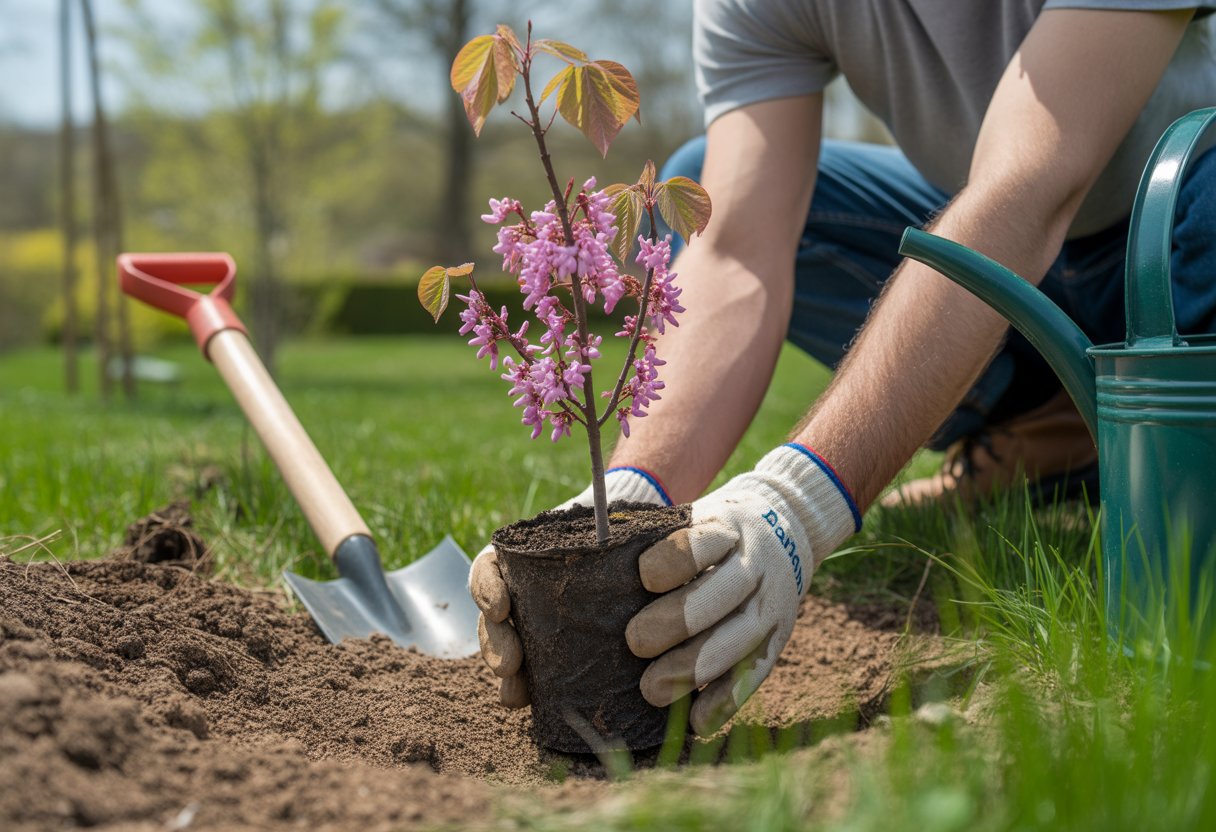
Dig a hole twice as wide as the root ball—but not deeper. Set the root ball so the top is level with the soil surface.
Firm the soil gently around the roots to remove air pockets, but don’t press too hard.
Aim to transplant in early spring or fall to avoid heat or frost stress. Water right after planting to settle the soil and hydrate the plant.
Soil Selection and Garden Preparation
Pick well-drained soil to avoid root rot—redbuds hate heavy clay or soggy spots. Loamy soil with moderate fertility is pretty much ideal.
Clear weeds and loosen soil to 12–15 inches deep. If the soil’s lacking, mix in some compost.
Check that soil pH sits between 6.0 and 7.5. If it’s too acidic, add lime. Good soil makes a big difference for root growth and overall health.
Watering and Mulching Practices
Water new redbuds deeply once or twice a week, depending on the weather, for the first year. Keep the soil moist but not drenched.
Add a 2–3 inch layer of mulch around the base, but don’t pile it against the trunk. Mulch helps keep soil cool, moist, and mostly weed-free.
Top up mulch each year and keep an eye on soil moisture, especially in dry spells. Don’t overwater—roots need air, too.
Sunlight and Ongoing Care
Plant redbuds where they’ll get full sun to partial shade. Aim for at least 4 to 6 hours of direct sunlight each day.
Full sun really brings out strong flowering and richer leaf color. In hotter regions, try to give forest pansy redbuds some afternoon shade so their leaves don’t scorch.
Prune a little in late winter to keep the tree’s shape and snip off any damaged branches. Take a look at your young tree now and then for pests or signs of disease.


![6 Most Common Problems With Altoz TRX Mower: [Helpful Tips] - PlantNative.org Altoz TRX Problems](https://plantnative.org/wp-content/uploads/2023/12/Altoz-TRX-Problems.png)