How To Troubleshoot A Lawn Mower That Won’t Crank
Last updated: February 6, 2026
Have you ever experienced a situation where while starting up your lawn mower it fails to crank, which eventually causes startup failure?
If yes, you must be keen to find out is it possible to troubleshoot this unpleasant problem and how to troubleshoot a lawn mower that won’t crank?
Firstly, gather all the required tools and materials. Next, check the gas tank and take the necessary actions. Check the internal battery, battery terminals, cable leads, solenoid coil, ignition switch, brake switch, and blade switch. Service or replace the faulty elements as required.
Continue reading the article to learn the easy troubleshooting techniques for a lawn mower won’t crank.
What Causes the Problem?
Your lawn mower won’t crank if the internal battery is weakly charged, severely corroded, or dead. The lawn mower will struggle or fail to crank if something is wrong with the internal battery terminals, cable connection, or voltage rate.
Besides that, faulty solenoid coil, blown fuse, damaged ignition switch, defective brake switch, and blade switch can lead to encountering similar commotion at some point of use.
While checking on all the possible areas, do not forget to check the electrical and internal wiring connections cause if any wiring setup or adjustment turns wrong or loose, your lawn mower won’t crank.
6 Steps To Troubleshoot A Lawn Mower Cranking Issue:
Remember, if you go through several consumer forums and YouTube videos, you will find several methods of fixing the lawn mower that won’t crank or fails to crank.
However, not all of them are reliable techniques, and some might worsen the condition of your lawnmower.
Thus, I have enlisted an easy-to-do way to follow to get the perfect results.
Things you will need to troubleshoot the lawn mower:
Have a look at the checklist of the required tools and materials for troubleshooting the lawn mower that won’t crank or start:
| Tools | Materials |
| 4-in-1 screwdriver | Mower deck height lever |
| Clip-on Meter Probes | Gasoline |
| Wire Brush | Battery Charger |
| Jumper Cables | |
| Multimeter | |
| Safety gloves & Goggles |
Step 1- Check the Internal Battery Status:
Before starting the inspection, set the parking brake properly and disengage the blades.
Remember, a dead battery will not power up the starter system and prevent the solenoid coil from cranking.
So, your first task is to test the battery using a multimeter. Put on the safety goggles and gloves and lift the mower seat to access the battery.
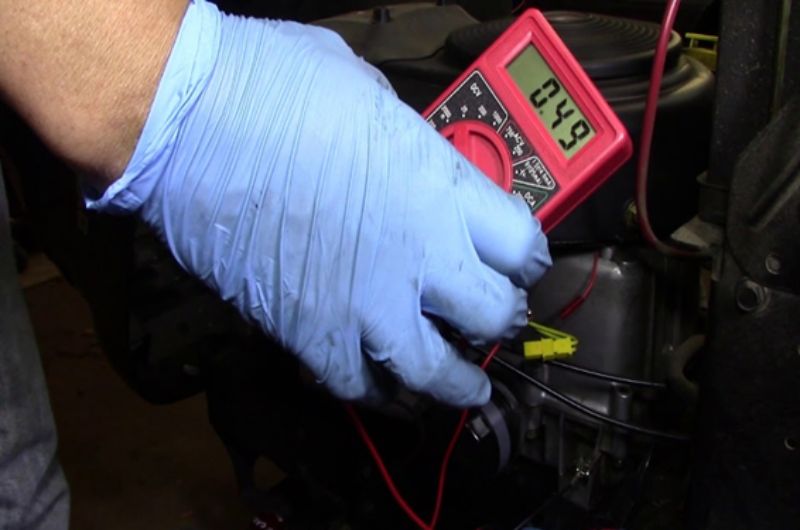
To measure the battery DC voltage, touch the red multimeter probe to the positive (red battery terminal) and the black probe to the negative (black battery terminal).
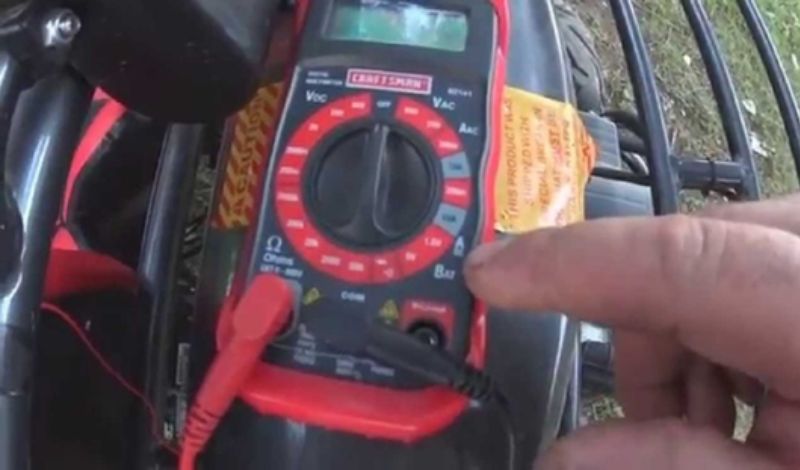
If your battery voltage is 12 V, your battery is working fine, but if it shows less than 12-volt DC, that means the battery is either weak or dead. In that case, fully charge the battery and test the volt DC again.
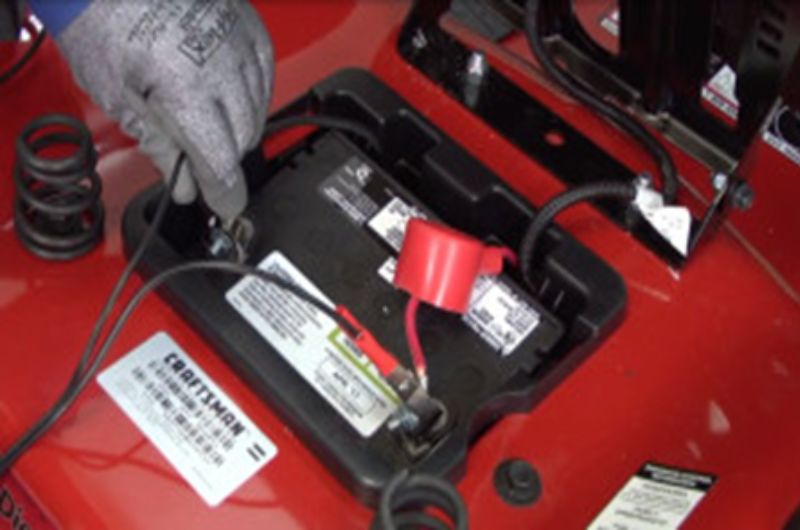
Or, you can use the jumper cables to jump-start the mower. If the result remains the same as before, change the battery.Also, inspect the battery terminals & cable leads. If you see corrosion causing such troubles there, clean the terminals and cables thoroughly using a wire brush.
Note: Make sure you are starting the motor accurately (if you’re a beginner) and remove all the ignition sources such as sparks, cigarettes, stoves, naked flames, or any other hot objects before breaking into a deeper investigation.
Step 2- Inspect the Solenoid Coil’s Condition:
Next, use the clip-on meter probes to measure the voltage of the solenoid coil wires.
Hold the meter probes on the wires while turning the ignition key and pull the white and black wire of the solenoid. Set the multimeter to measure DC voltage.
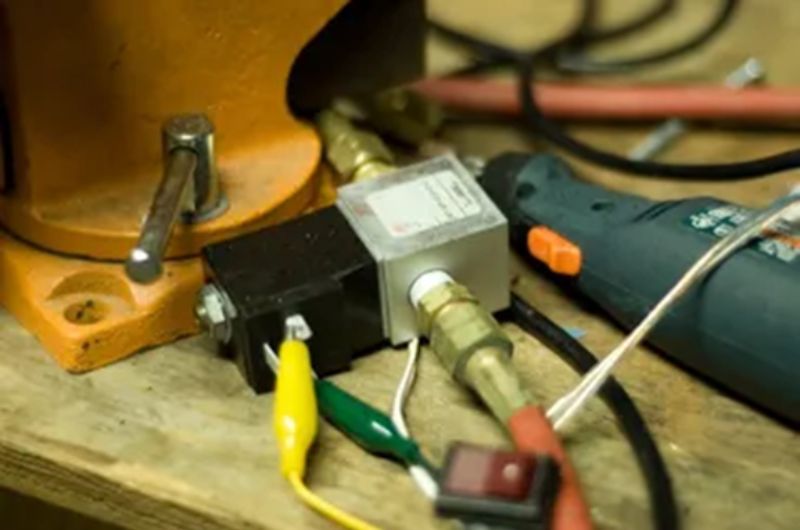
Next, clip the red meter to the white female spade connector wire and the black probe to the black female spade connector wire.
Now, turn on the ignition key and note the voltage reading before turning off the ignition key.
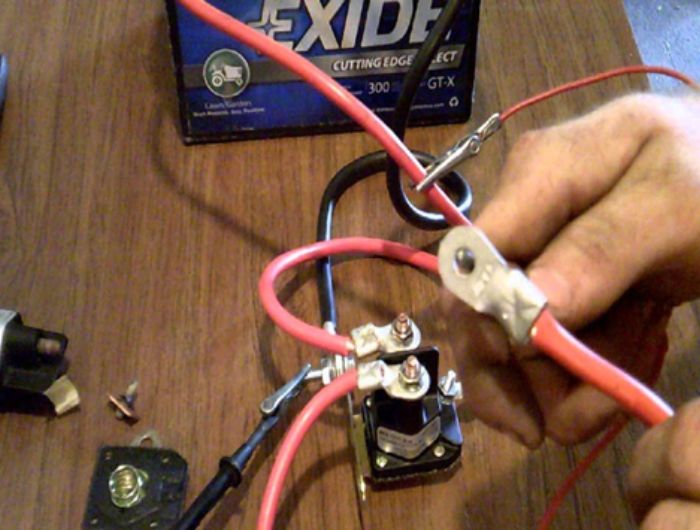
If it measures more than 12 volts, that means the solenoid coil is getting power, but still, there’s no crank or click, replace the solenoid coil.
Tips: Do not let the meter lead touch both solenoid posts at the same time otherwise, you will see a severe spark.
Step 3- Checking on the Fuse:
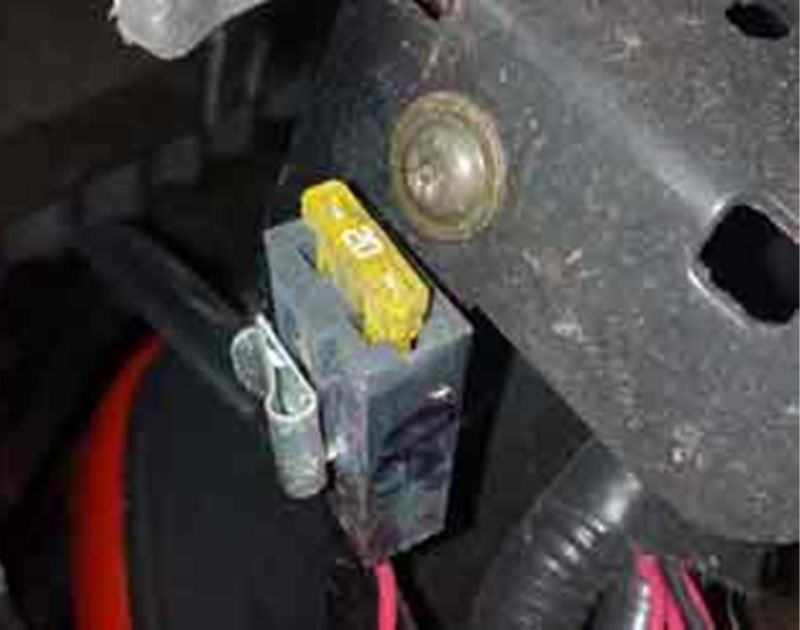
The fuse is located right next to the starter solenoid, so pull the battery and battery box off to access the fuse. Next, move the Zip tie over and pull the fuse from the holder.
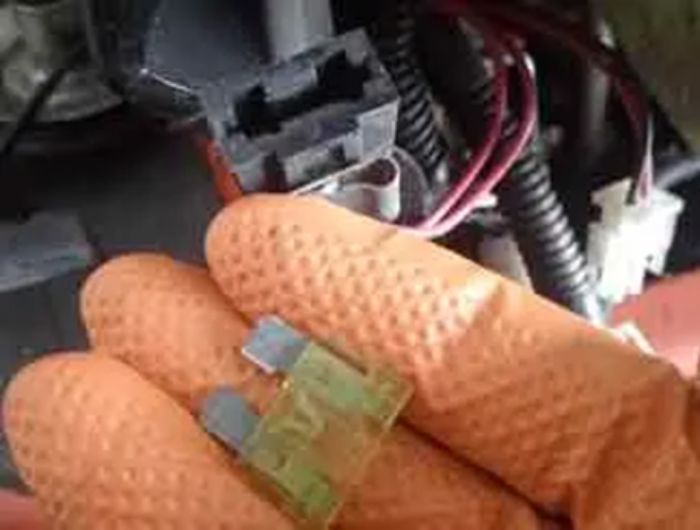
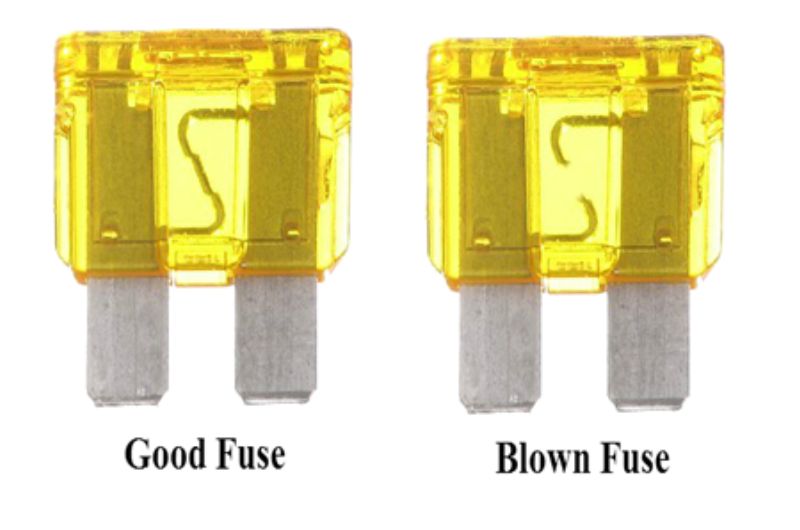
If it looks broken, replace the Fuse. If you are confused either it’s bad or good see the image below. Or, you can do a continuity test to confirm whether it’s blown or working well.
Step 4- Inspect the Ignition Switch:
Next, open your lawn mower hood and pull the wire harness off the ignition switch to access the ignition switch.
Now, set the multimeter to measure resistance.
Then, touch the one-meter probe to the ignition switch B prong located at the switch back and place the other probe to its S prong.
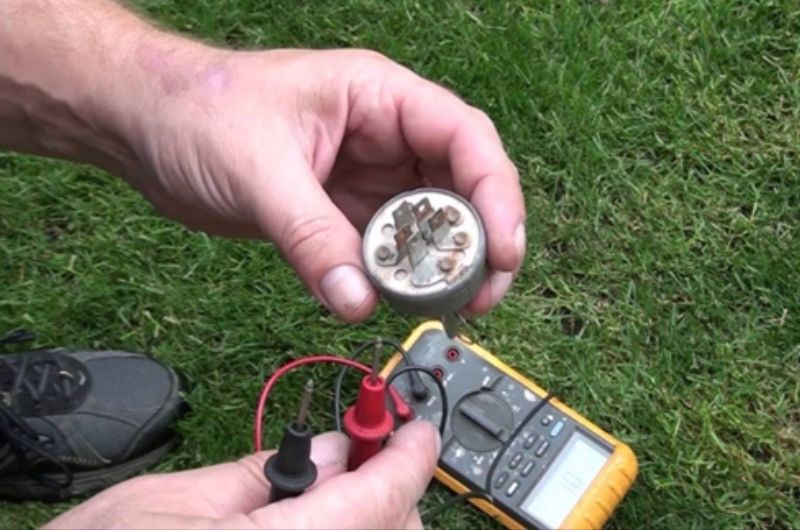
Turn the key on and check the resistance measurement. If the displayed result is not near 0 Ohms, replace the Ignition Switch.
Step 5- Check the Brake & Blade Switches:
First, let’s check the brake switch by removing the hood. Use a screwdriver to remove the air duct mounting screws and pull the air duct out of the way.
Then, move the fuel tank carefully to put aside, and if it seems too heavy to lift, drain some fuel first.
Next, remove the lower right fasteners to pull off the lower dash.
Now pull the wire harness off the brake switch and connect the one-meter probe to one prong and the other probe to the white wire-connected prong.
See the result, and if it does not show 0 Ohms, you need to replace the Brake Switch.
Next, let’s check the blade switch by removing all the clutch lever mounting screws and pulling down the clutch lever slightly.
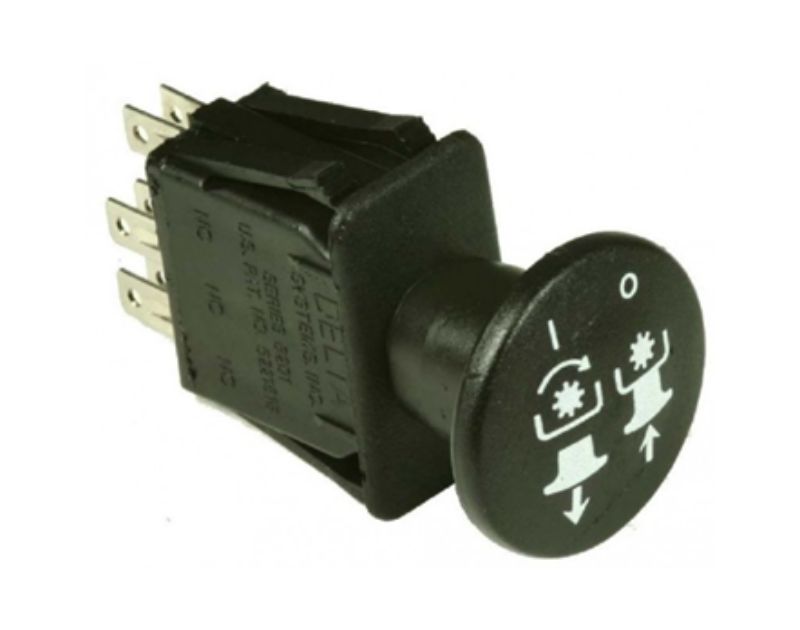
While the multimeter is set to measure the resistance, connect one-meter probes to the white wire-connected prongs.
Now, see the measurement displayed on the meter screen, and if it is not near 0 Ohms, change the Blade Switch.
Step 6- Check the Wiring & Repair:
If the brake switch and blade switch are in good condition, there must be a break between the ignition switch and solenoid coil.
Most probably, this break is preventing the solenoid coil from getting enough power.
Therefore, find the wiring break and repair it.
Warning:
Always read your lawn mower’s instructions manual before operating, servicing, or troubleshooting it. Disconnect all the power sources from your lawn mower before starting your task.
You can also watch this video.
Frequently Asked Questions (FAQs)
How much does it cost to fix a lawn mower that won’t crank from professionals?
Remember, the cost highly varies based on the local labor rate and damage level. Still, the average professional servicing cost will stay between $40 and $100.
How much does it cost to get a Professional Tune-up of your Riding Lawnmower?
If you plan on getting a professional tune-up, the cost will hang between $100 and $250.
How often should you change or replace the gas of your lawn mower?
If you properly treat your mower’s gasoline and accurately use the correct fuel stabilizer, it will last at least up to one year.
Thus, you should change the fuel once a year or replace it after every 50 hours of operation.
Can spark plugs cause such cranking failure of a lawn mower?
Yes, when the spark plug turns broken or bad, it will likely cause such starting failures.
Can a lawn mower crank & start when the oil level is low?
Usually, it will not crank if the oil level is below the required level. Sometimes, the lawnmower can start when the oil is low, but eventually, it will shut down.
Final Verdict
Now that I have explained the steps to troubleshoot a lawn mower that won’t crank or click, you can easily get rid of any such troubles. Sometimes such issues arise due to a lack of operating knowledge or careless handling. Thus, make sure you are not wrongly handling your lawn mower.
Related Posts:


