Planting Tulips in Pots: A Comprehensive Guide
Last updated: February 16, 2026
Planting tulips in pots is a great way to add a splash of color to any outdoor space. Tulips are a popular spring flower that come in a variety of colors and sizes, making them a versatile choice for any gardener. Whether you have a small balcony or a large backyard, planting tulips in pots can be a fun and rewarding experience.
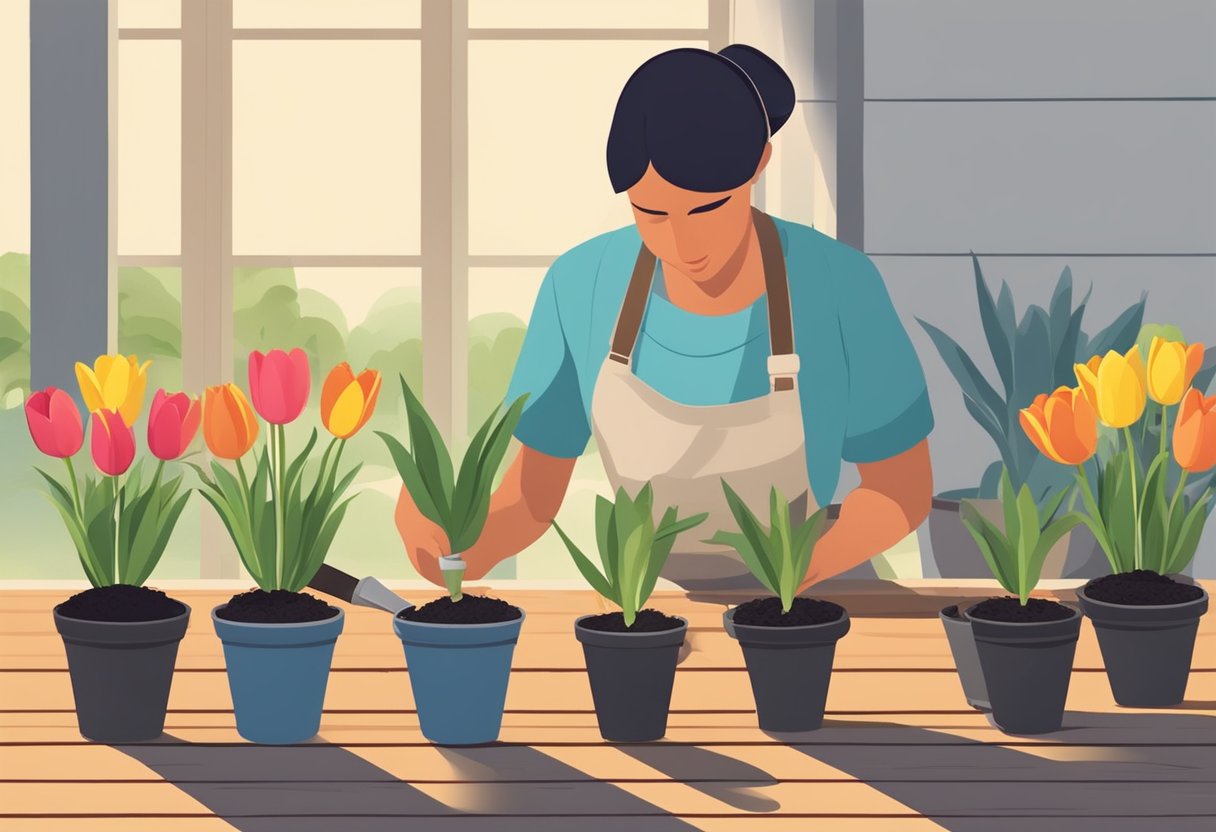
One of the benefits of planting tulips in pots is that it allows you to control the growing conditions. You can choose the soil type, the amount of water, and the amount of sunlight your tulips receive. This is especially important if you live in an area with harsh weather conditions, as you can move your pots indoors or to a more sheltered area if necessary. Additionally, planting tulips in pots allows you to experiment with different color combinations and arrangements, making it a great way to express your creativity.
When it comes to planting tulips in pots, there are a few things to keep in mind. It is important to choose the right size pot for your tulips, as they need room to grow. You should also make sure the pot has drainage holes to prevent water from pooling at the bottom. Finally, it is important to plant your tulips at the right time, usually in the fall, so they have time to establish roots before the winter. By following these tips, you can enjoy beautiful tulips in pots that will brighten up your outdoor space in the spring.
Understanding Tulips
Tulip Varieties
Tulips are one of the most popular flowers in the world, and there are over 3,000 different varieties to choose from. Some of the most popular types of tulips include Triumph, Parrot, Kaufmanniana, and Greigii. Tulips come in a wide range of colors, from red and pink to yellow and orange, and even black and white.
There are several types of tulips, each with their own unique characteristics. Single early and double early tulips are the first to bloom in the spring, while viridiflora tulips have green stripes on their petals. Double late tulips have large, full blooms, while single late tulips are tall and elegant.
Tulip Growth Cycle
Tulips have a specific growth cycle that is important to understand if you want to plant them in pots. Tulip bulbs should be planted in the fall, ideally in October or November, before the ground freezes. The bulbs will then go through a period of dormancy during the winter months.
In the spring, the tulips will begin to grow, and their leaves will emerge from the soil. The blooms will follow shortly after, and the tulips will be in full bloom for about two weeks. Once the blooms begin to fade, the leaves will turn yellow and wither away. This is a natural part of the tulip’s growth cycle, and it is important not to remove the leaves until they have completely withered.
Overall, understanding the different types of tulips and their growth cycle is essential for successfully planting them in pots. With the right care and attention, tulips can be a beautiful addition to any garden or home.
Choosing the Right Pot
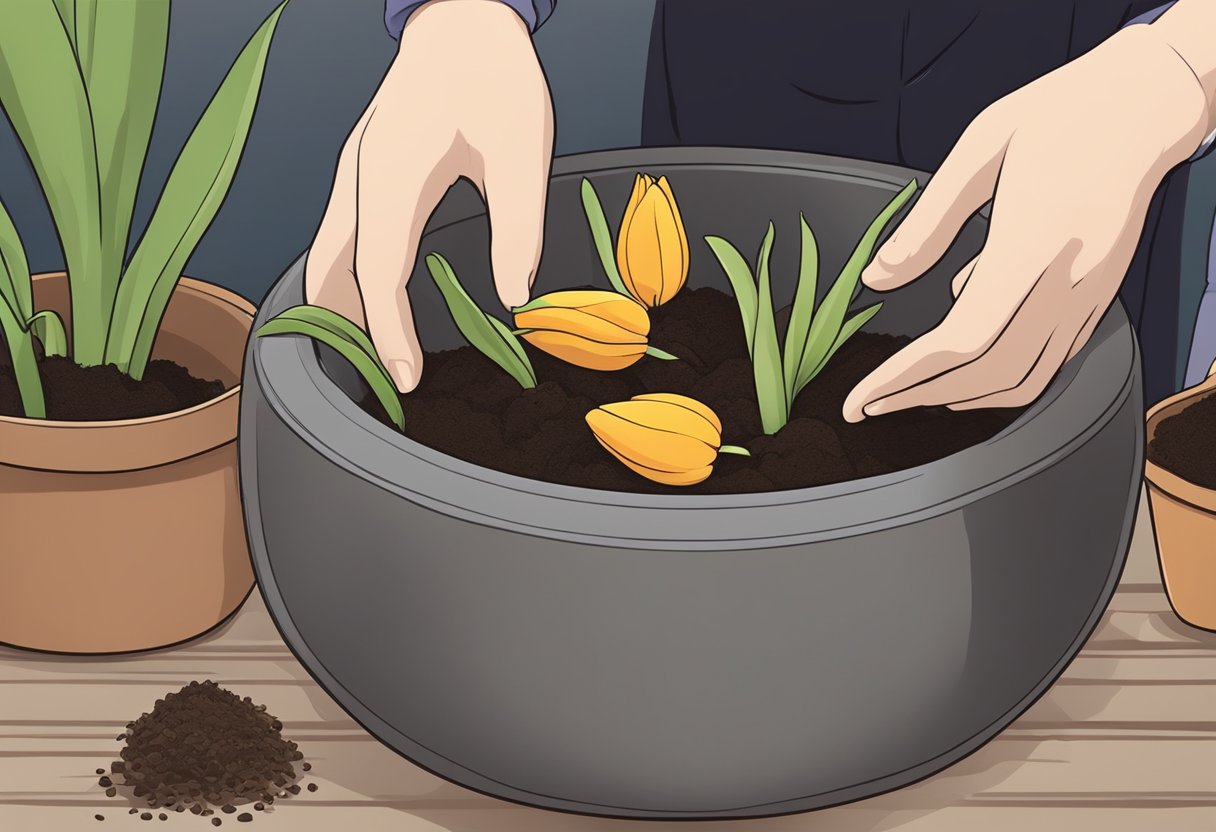
When it comes to planting tulips in pots, choosing the right pot is crucial for the success of your project. Here are some important factors to consider when selecting your container:
Pot Materials
The material of the pot is important for both aesthetic and practical reasons. Terracotta pots are a popular choice for planting tulips because they are porous and allow for good air circulation to the roots. However, they can dry out quickly and may need more frequent watering. Plastic containers are a good alternative because they retain moisture better and are lightweight, making them easier to move around. Metal and ceramic pots are also options, but they may not have adequate drainage holes and can get hot in direct sunlight.
Pot Size and Depth
The size and depth of the pot will depend on how many tulip bulbs you want to plant and how much space you have. Generally, smaller pots are better for indoor planting or for creating a focal point in a garden bed. Larger pots can accommodate more bulbs and allow for a more dramatic display. The depth of the pot should be at least 6-8 inches to provide enough room for the bulbs to grow roots.
Drainage Considerations
Drainage is crucial to prevent water from pooling at the bottom of the pot and causing the bulbs to rot. Look for pots with drainage holes or drill your own if necessary. If you want to use a decorative container without drainage holes, consider planting the tulips in a separate plastic planter with drainage holes and placing it inside the decorative container. This will allow you to water the tulips without risking water damage to your container.
By considering these factors when selecting your pot, you can ensure that your tulips will thrive and provide a beautiful display.
Preparing to Plant
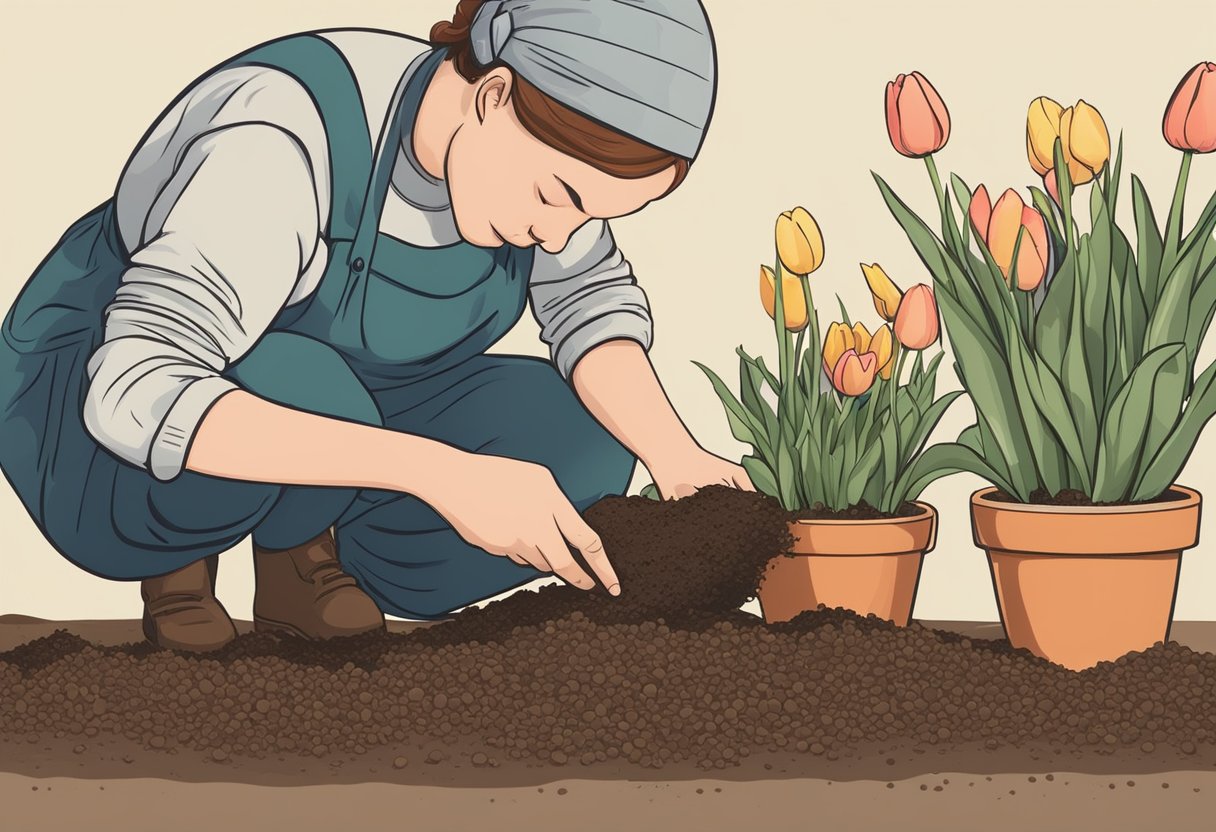
Before planting tulips in pots, it is essential to prepare the bulbs and soil to ensure that they grow healthy and strong. This section will cover the three main aspects of preparing to plant tulips in pots: selecting quality bulbs, soil and fertilization, and chilling requirements.
Selecting Quality Bulbs
To ensure the best possible growth for your tulips, it is important to select quality bulbs. Choose bulbs that are firm, plump, and free from any signs of damage or disease. It is also essential to select bulbs that are the correct size for your pot. Generally, larger pots require larger bulbs, while smaller pots require smaller bulbs.
Soil and Fertilization
The soil used for planting tulips in pots should be well-draining and nutrient-rich. A mixture of potting soil, compost, perlite, and vermiculite can be used to achieve the perfect soil composition. Before planting, mix in a slow-release fertilizer to provide the tulips with the necessary nutrients to grow strong and healthy.
Chilling Requirements
Tulips require a period of chilling before they can begin to grow. This process simulates the winter conditions that tulips experience in their natural habitat. To chill your tulip bulbs, place them in a paper bag and store them in a cool, dark place such as a refrigerator for 8-12 weeks before planting.
By following these simple steps, you can ensure that your tulips grow healthy and strong in their pots. With the right preparation, you can enjoy the beauty of tulips even in the smallest of spaces.
Planting Tulips in Pots
Tulips are a popular and easy-to-grow spring flower that can be planted in pots for a beautiful display. Planting tulips in pots is a great way to add color to a patio, balcony, or other small outdoor space. Here are a few tips for planting tulips in pots.
Planting Depth and Spacing
When planting tulip bulbs in pots, it is important to plant them at the right depth and spacing. The bulbs should be planted at a depth of about 6 inches and spaced about 4 inches apart. This will ensure that the bulbs have enough room to grow and bloom.
Watering and Moisture
Tulips need moist soil to grow properly, so it is important to keep the soil in the pot moist but not waterlogged. Water the pot regularly, but make sure the soil is not too wet. Overwatering can cause the bulbs to rot.
Position and Sunlight
Tulips need plenty of sunlight to grow and bloom, so it is important to position the pot in a sunny spot. However, too much direct sunlight can cause the soil to dry out too quickly, so it is also important to provide some partial shade during the hottest part of the day.
Overall, planting tulips in pots is a great way to enjoy these colorful flowers in a small space. With the right planting depth, spacing, watering, and sunlight, tulips can thrive in a pot on a patio or balcony.
Caring for Potted Tulips
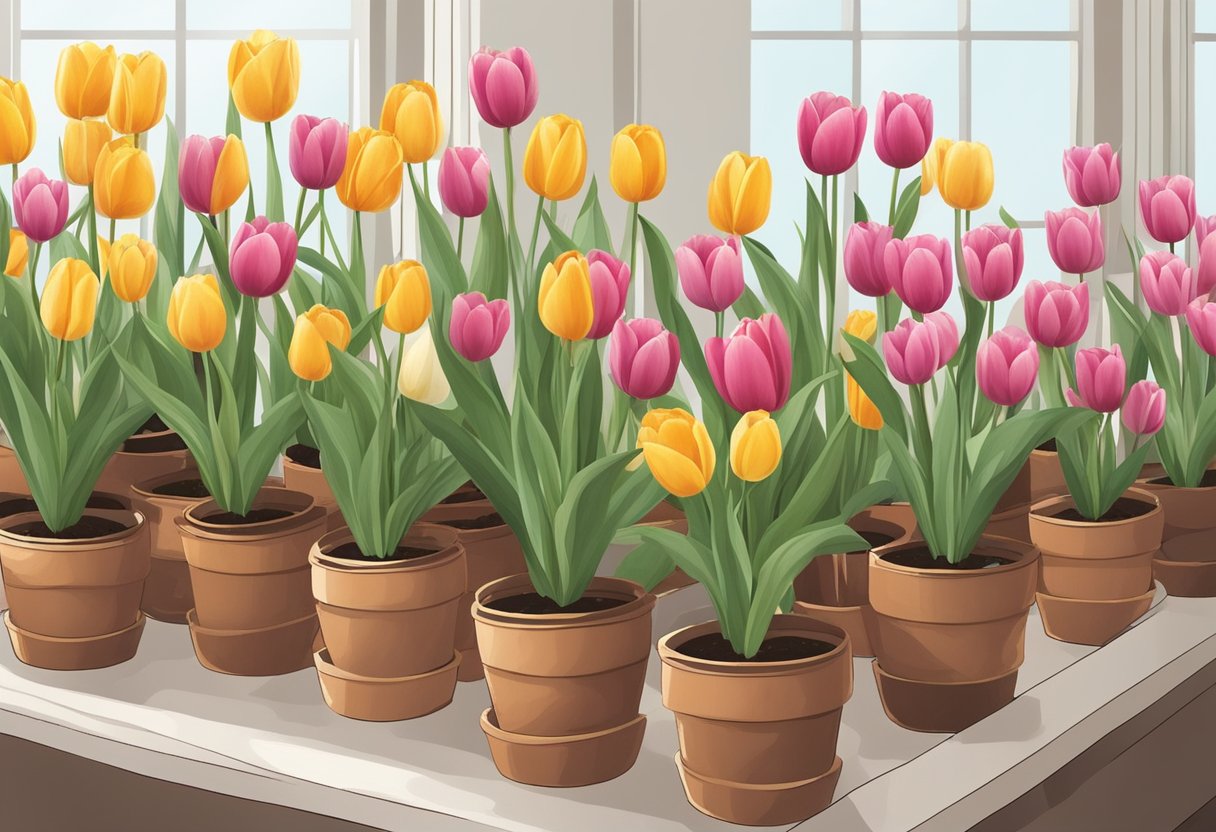
Tulips are a popular choice for gardeners who want to add a splash of color to their gardens. They are also a great option for those who want to grow them in pots. However, caring for potted tulips can be a bit tricky. In this section, we will discuss the key aspects of caring for potted tulips.
Watering Schedule
One of the most important aspects of caring for potted tulips is watering. Tulips need regular watering, especially during the growing season. However, overwatering can be detrimental to their growth. It is important to strike a balance between watering enough and not overwatering.
A good rule of thumb is to water the tulips when the soil feels dry to the touch. During the growing season, this may mean watering every 2-3 days. In the fall and winter, when the tulips are dormant, watering can be reduced to once a week.
Temperature and Environment
Tulips prefer cool temperatures and a humid environment. They do best in temperatures between 45-65°F (7-18°C). If the temperature is too high, the tulips may become stunted or fail to bloom. Similarly, if the environment is too dry, the tulips may wilt or become susceptible to disease.
To create a humid environment, you can place a tray of water near the tulips or mist them with water once a day. This will help to keep the air around the tulips moist.
Common Pests and Diseases
Tulips are susceptible to a few common pests and diseases. Squirrels and voles may dig up the bulbs, so it is important to protect the pots with wire mesh or hardware cloth. Aphids and spider mites may also attack the tulips, but can be controlled with insecticidal soap.
Diseases such as gray mold and tulip fire can also affect potted tulips. To prevent these diseases, it is important to provide good air circulation and avoid overwatering. If you notice any signs of disease, remove the affected plant immediately to prevent it from spreading to other plants.
In conclusion, caring for potted tulips requires regular watering, a cool and humid environment, and protection from pests and diseases. By following these tips, you can enjoy beautiful tulips in your pots year after year.
Post-Bloom Maintenance
After the Tulips Bloom
Once the tulips have finished blooming, it is important to deadhead them. This means removing the spent blooms by cutting off the stem just below the flower head. Deadheading prevents the tulip from putting energy into producing seeds and instead directs it towards storing nutrients in the bulb for next year’s growth.
It is also important to continue watering the tulip regularly until the foliage turns yellow and dies back. This process allows the tulip to absorb the necessary nutrients for next year’s growth.
Preparing for Dormancy
As the tulip foliage begins to turn yellow and die back, it is a sign that the bulb is entering dormancy. At this point, it is important to stop watering the tulip and allow the soil to dry out completely. This helps prevent the bulb from rotting during its dormant period.
It is also important to remove any dead foliage from the pot and clean up any debris around the area. This helps prevent the spread of disease and pests.
To ensure that the tulip bulb has the necessary nutrients for next year’s growth, it is recommended to fertilize the soil with a balanced fertilizer. This provides the bulb with the necessary nutrients to produce healthy blooms next year.
Overall, post-bloom maintenance is an essential part of caring for tulips in pots. By following these simple steps, gardeners can ensure that their tulips will continue to thrive year after year.
Protecting Tulips from Extreme Weather

Winter Care
Tulips are hardy plants that can withstand cool temperatures and even freezing conditions. However, extreme cold can damage their bulbs, so it’s important to take some precautions during the winter months.
If you live in USDA hardiness zones 3-7, where temperatures can drop below freezing, it’s recommended to plant your tulips in pots that can be moved indoors during the winter. An unheated garage or shed is an ideal location to store your tulip pots. Make sure to water them sparingly during the winter, as too much moisture can cause the bulbs to rot.
For added protection, you can cover the pots with burlap or other insulating material. This will help to keep the soil and bulbs from freezing.
Summer Heat Management
Tulips prefer cooler temperatures and can struggle in hot summer weather. If you live in a warmer climate, it’s important to manage the heat to ensure the health of your tulips.
One way to manage the heat is to move your tulip pots to a shaded area during the hottest part of the day. This will help to keep the soil and bulbs cool.
Another option is to chill your tulip bulbs before planting them. This is especially helpful if you live in a warm climate and want to plant your tulips in the fall. To chill your bulbs, place them in a paper bag and store them in the refrigerator for 6-8 weeks before planting.
By taking these steps to protect your tulips from extreme weather, you can ensure that they will thrive and bring beauty to your garden for years to come.
Forcing Tulips in Pots
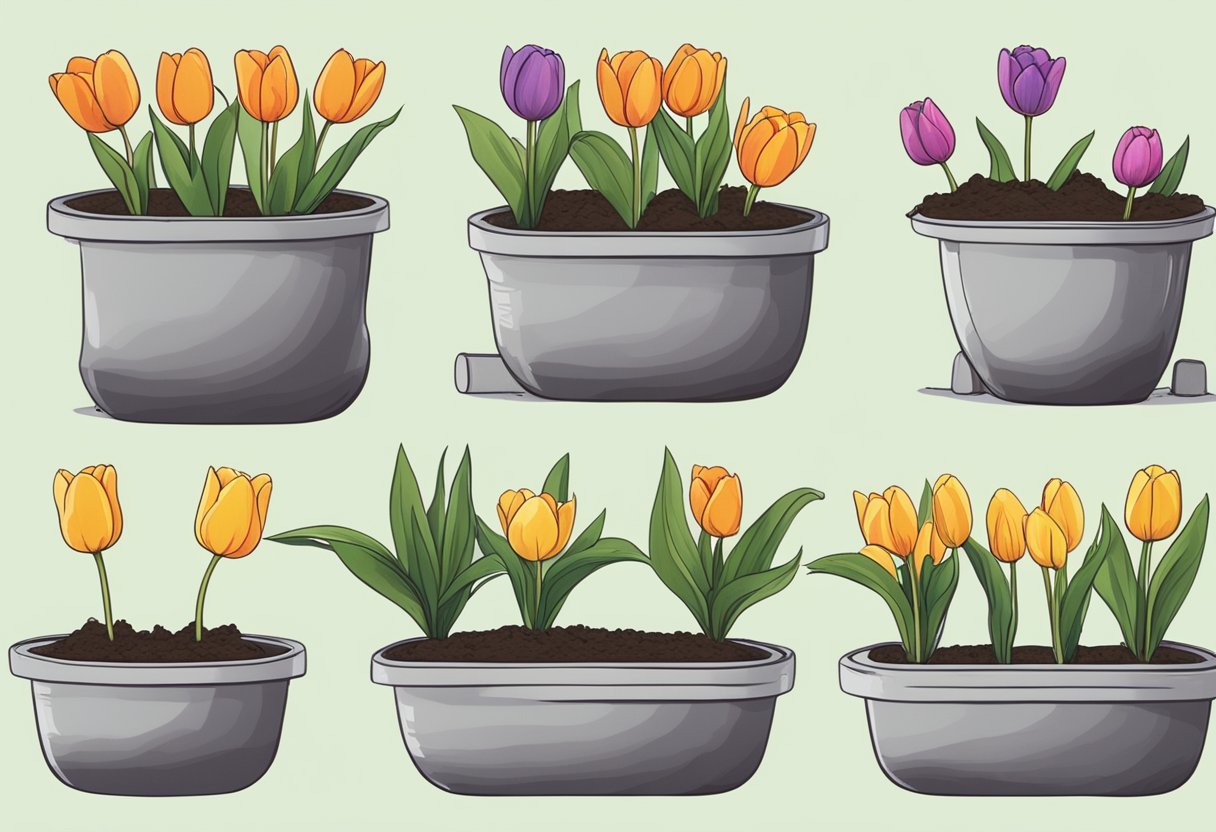
Forcing Basics
Forcing tulips in pots is a great way to enjoy their stunning blooms indoors during the winter months. The process involves manipulating the bulbs to bloom earlier than they would naturally. This can be achieved by simulating the cold temperatures that the bulbs would experience during winter.
Temperature Control
To force tulips in pots, the bulbs must be chilled for a period of 12-16 weeks at a temperature of 40-45°F (4-7°C). This can be done in a spare refrigerator, basement or cellar. It is important to keep the bulbs away from fruits and vegetables as they release ethylene gas which can damage the bulbs.
Once the chilling period is complete, the bulbs can be planted in pots with well-draining soil. The pots should be placed in a cool, dark area with a temperature of 35-45°F (2-7°C) for 2-3 weeks, until the shoots emerge.
Creating a Blooming Schedule
To create a blooming schedule, stagger the planting of bulbs in batches every 2-3 weeks. This will ensure a continuous display of blooms throughout the winter months.
It is important to note that forcing tulips in pots weakens the bulbs and they may not bloom as well in subsequent years. Therefore, it is recommended to plant new bulbs each year for optimal results.
For those who do not have the space or time to chill bulbs, pre-chilled bulbs are available for purchase. These bulbs have already been chilled and are ready to be planted straight into pots.
By following these simple steps, anyone can enjoy the beauty of tulips indoors during the winter months.
Additional Tips and Tricks

Maximizing Bloom Longevity
To maximize the bloom longevity of tulips planted in pots, it is important to follow a few simple tips. First, make sure the pot has good drainage to prevent water from accumulating and causing root rot. Second, choose a potting mix that is well-draining and nutrient-rich. Third, place the pot in a location that receives at least six hours of sunlight per day. Fourth, water the tulips regularly, but avoid overwatering as this can lead to root rot.
Another way to extend the bloom time of tulips is to deadhead them. This means removing the spent flowers before they have a chance to go to seed. Deadheading encourages the plant to put its energy into producing more flowers, rather than producing seeds.
Repotting and Division
Tulips planted in pots will eventually outgrow their container and need to be repotted or divided. Repotting should be done every two to three years to ensure the tulips have enough room to grow and thrive. To repot, gently remove the tulips from their current container and replant them in a larger pot with fresh potting soil.
Division is another option for rejuvenating tulips planted in pots. This involves separating the bulbs and replanting them in new containers or in the ground. Division should be done every three to four years to prevent overcrowding and ensure the tulips continue to bloom.
When dividing tulips, it is important to wait until the foliage has died back completely before digging up the bulbs. This allows the bulbs to store up energy for the next growing season. Once the bulbs have been dug up, gently separate them and replant them in fresh potting soil, making sure to space them out evenly.
Frequently Asked Questions
How should I plant tulip bulbs in pots during the fall season?
To plant tulip bulbs in pots during the fall season, start by filling the container with potting mix. Then, place the tulip bulbs in the pot with the pointed end facing up. Cover the bulbs with soil, leaving about an inch of space between the soil and the rim of the pot. Water the soil thoroughly and place the pot in a cool, dark place for about 12 weeks to allow the bulbs to root and develop.
What is the proper depth for planting tulip bulbs in containers?
The proper depth for planting tulip bulbs in containers is about 6 inches. This will ensure that the bulbs have enough room to grow and develop strong roots.
Can tulips planted in pots survive the winter outdoors?
Tulips planted in pots can survive the winter outdoors, but it depends on the climate and the type of tulip. In areas with mild winters, tulips can be left outdoors. However, in areas with harsh winters, it’s best to move the pots indoors or to a sheltered area.
What are the best practices for caring for tulips in pots after they bloom?
After tulips bloom, it’s important to deadhead the flowers to prevent the plant from putting energy into seed production. Allow the foliage to die back naturally before removing it. Keep the soil moist and fertilize the plant with a balanced fertilizer. If you live in an area with harsh winters, move the pot indoors or to a sheltered area.
Which type of potting mix is most suitable for growing tulips in containers?
A well-draining potting mix that is rich in organic matter is most suitable for growing tulips in containers. Avoid using heavy garden soil or soil that is compacted.
Is it possible for tulips grown in pots to rebloom in subsequent years?
Tulips grown in pots can rebloom in subsequent years if they are properly cared for. After the foliage dies back, store the pot in a cool, dark place for about 12 weeks. Then, bring the pot back out and follow the planting and care instructions as before.


