How to Plant Ranunculus Bulbs: A Step-by-Step Guide
Ranunculus bulbs are a popular choice for gardeners who want to add a splash of color to their garden. These beautiful blooms come in a variety of colors, including pink, red, orange, yellow, and white. However, planting ranunculus bulbs can be a bit tricky, especially for those who are new to gardening. In this article, we will provide a step-by-step guide on how to plant ranunculus bulbs, so you can enjoy these stunning flowers in your garden.
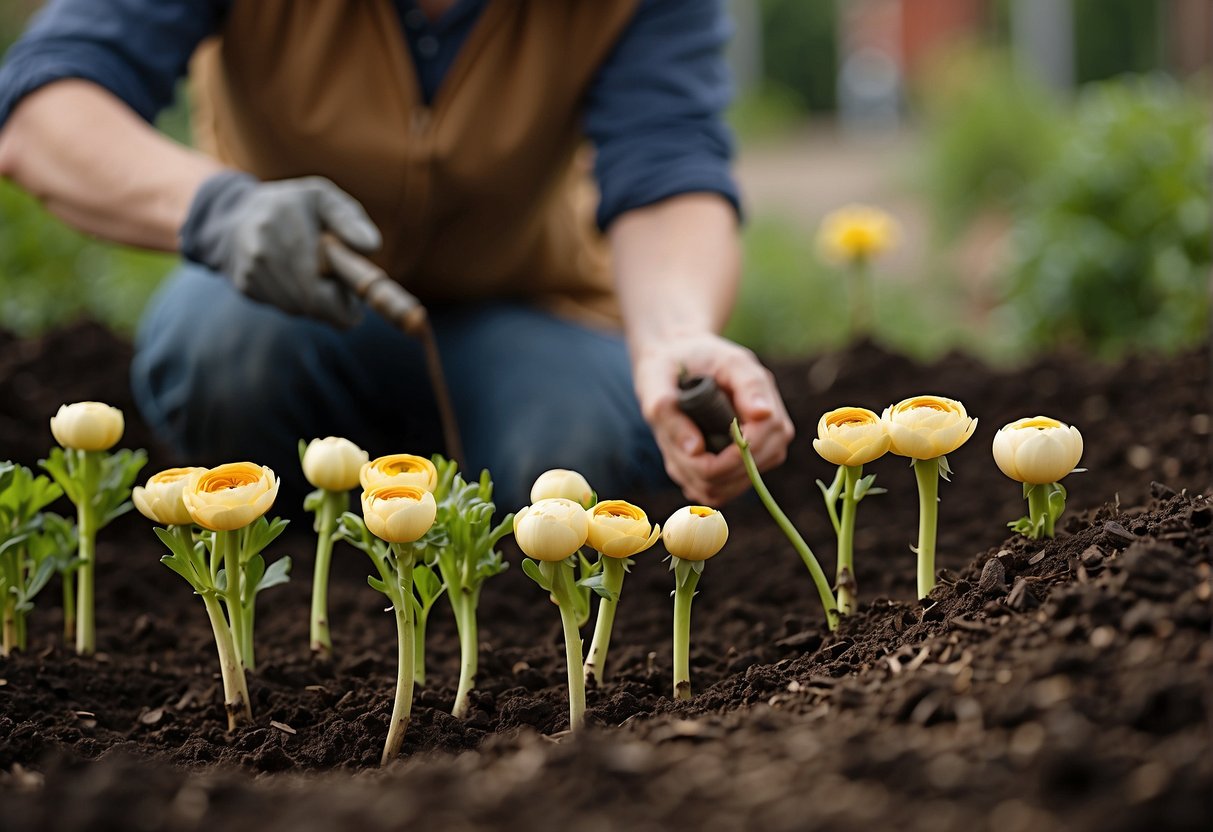
Before planting ranunculus bulbs, it is important to choose the right location. Ranunculus bulbs prefer well-draining soil and full sun to partial shade. They also need plenty of space to grow, so make sure to plant them at least 4-6 inches apart. Once you have chosen the right location, it’s time to prepare the soil. Remove any weeds or rocks from the area and loosen the soil to a depth of at least 8-10 inches.
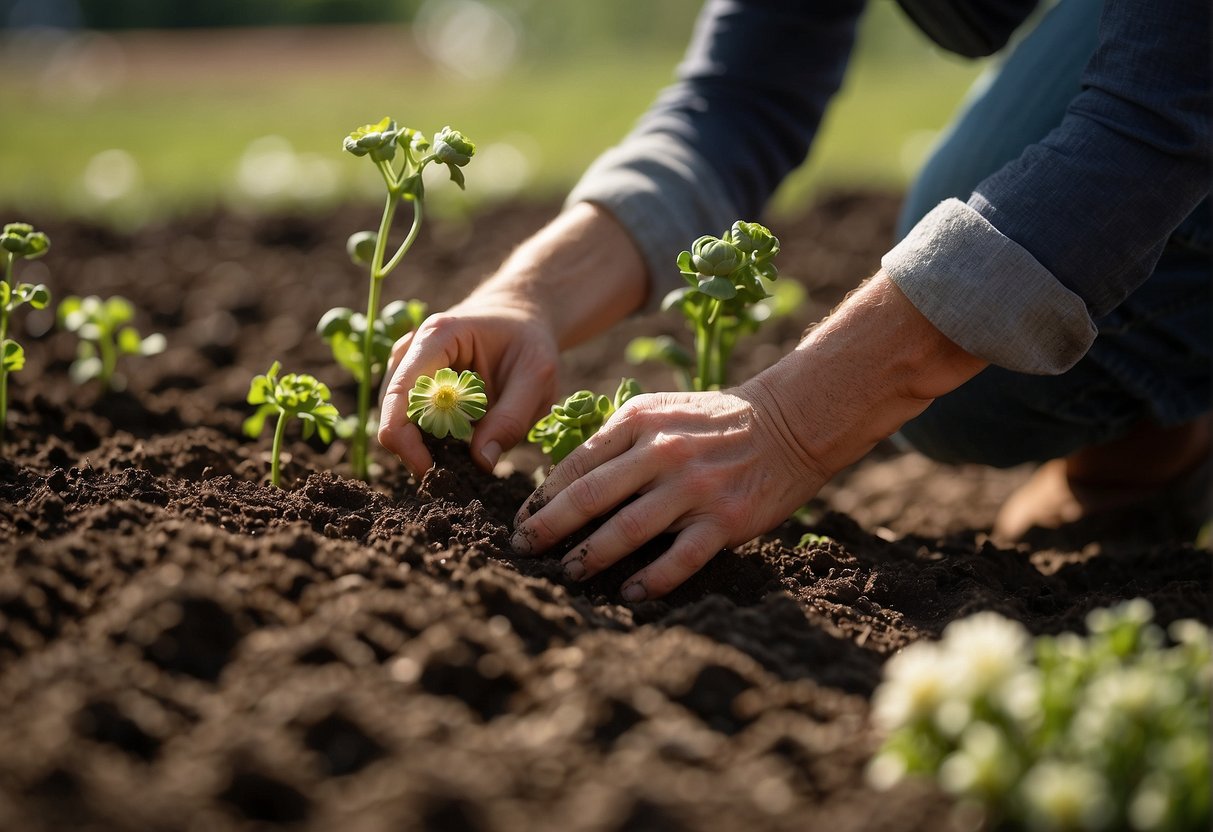
Next, it’s time to plant the ranunculus bulbs. Dig a hole that is about 2-3 inches deep and place the bulb in the hole with the pointed end facing up. Cover the bulb with soil and water thoroughly. Ranunculus bulbs should be planted in the fall, around September or October, for spring blooms. With the right care and attention, your ranunculus bulbs will bloom into beautiful flowers that will brighten up your garden.
Choosing the Right Ranunculus Bulbs
Ranunculus bulbs are a popular choice among gardeners due to their vibrant colors and easy maintenance. However, selecting the right type of bulb is essential for ensuring a successful planting season. In this section, we will discuss the types and varieties of ranunculus bulbs and how to understand bulb quality.
Types and Varieties
Ranunculus bulbs come in a variety of colors, including red, pink, yellow, orange, and white. They are also available in bi-color and multi-color varieties. When selecting bulbs, it is important to consider the color scheme of your garden and choose bulbs that complement it.
There are two types of ranunculus bulbs: annuals and perennials. Annual bulbs are planted in the spring and bloom in the summer, while perennial bulbs can be planted in the fall and will bloom in the spring.
Understanding Bulb Quality
When selecting ranunculus bulbs, it is essential to choose bulbs that are healthy and of high quality. Here are a few tips for understanding bulb quality:
- Look for bulbs that are firm and free of soft spots or mold.
- Choose bulbs that are large and plump, as they will produce larger and more vibrant flowers.
- Avoid bulbs that are dry or shriveled, as they may not produce flowers at all.
By following these tips, you can ensure that you select the best quality ranunculus bulbs for your garden.
Preparing for Planting
Selecting the Location
When selecting a location to plant ranunculus bulbs, it is important to choose an area that receives full sun or partial shade. Ranunculus bulbs prefer well-draining soil and do not tolerate standing water. Therefore, it is best to avoid planting in areas with poor drainage or in low-lying areas that tend to collect water.
Soil Preparation
Proper soil preparation is essential for successful ranunculus bulb growth. The soil should be well-draining, loose, and fertile. If the soil is heavy and compacted, it is recommended to amend it with organic matter such as compost or peat moss. This will improve soil texture and increase nutrient availability.
When to Plant
Ranunculus bulbs should be planted in the early spring or fall, depending on the USDA zone. In warmer climates, it is best to plant in the fall when temperatures are cooler. In cooler climates, it is best to plant in the early spring when the soil has warmed up. It is important to plant the bulbs at the right time to ensure they have enough time to establish roots before the growing season begins.
Overall, preparing the soil and selecting the right location are crucial steps in planting ranunculus bulbs. By following these guidelines, gardeners can ensure healthy and robust growth of their ranunculus plants.
Planting Ranunculus Bulbs
Ranunculus bulbs are a popular choice for gardeners due to their bright and vibrant blooms. Planting ranunculus bulbs is relatively easy, and with the right preparation, you can enjoy a beautiful display of flowers in no time.
Planting Depth and Spacing
When planting ranunculus bulbs, it is important to plant them at the correct depth. The bulbs should be planted approximately 2 inches deep, with the pointed end facing upwards. It is recommended to space the bulbs approximately 4-6 inches apart to allow for proper growth.
Watering After Planting
After planting, it is important to water the bulbs thoroughly to ensure they are properly hydrated. It is recommended to soak the corms in water for a few hours before planting to ensure they are fully hydrated. Once planted, water the bulbs regularly to keep the soil moist but not waterlogged.
Overall, planting ranunculus bulbs is a simple process that can result in a beautiful display of flowers. By following these simple steps, you can ensure that your ranunculus bulbs will thrive and provide a stunning addition to your garden.
Caring for Ranunculus
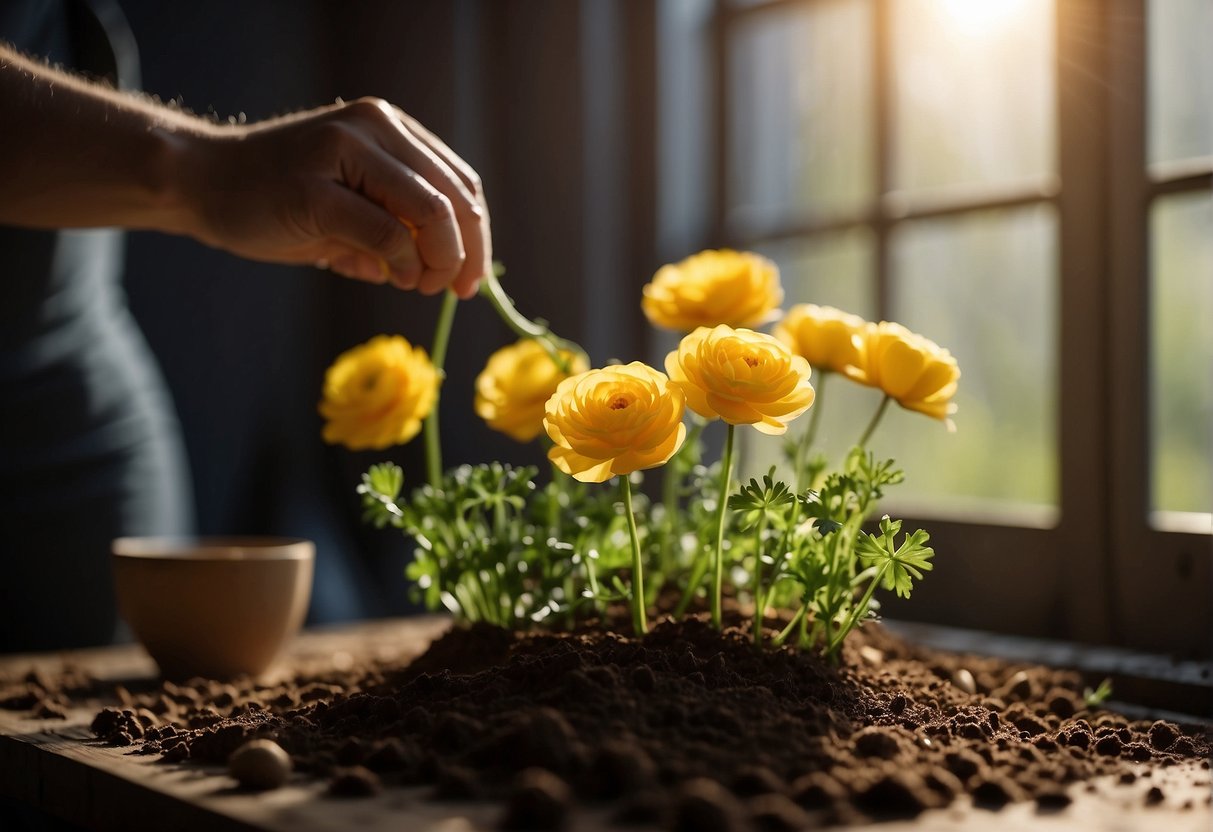
Ranunculus bulbs are easy to care for, but they do require some attention to ensure they grow to their fullest potential. Here are some tips for caring for your ranunculus plants.
Sunlight and Temperature
Ranunculus bulbs require full sun to partial shade to grow properly. They prefer temperatures between 50 and 60 degrees Fahrenheit, but can tolerate temperatures up to 75 degrees Fahrenheit. If the temperature gets too hot, the plants may become stressed and stop blooming.
Watering and Fertilization
Ranunculus bulbs should be watered regularly, but not over-watered. The soil should be kept moist, but not waterlogged. Fertilizer should be applied every two to three weeks during the growing season to ensure healthy growth.
Pest and Disease Management
Ranunculus plants are relatively resistant to pests and diseases, but they can still be affected by them. Common pests include aphids, slugs, and snails. These can be controlled with insecticidal soap or other organic pest control methods. Diseases such as root rot and powdery mildew can be prevented by ensuring proper drainage and air circulation around the plants.
Overall, caring for ranunculus bulbs is relatively easy as long as you provide them with the proper care and attention. With the right amount of sunlight, water, and fertilizer, your ranunculus plants will thrive and produce beautiful blooms.
Enjoying the Blossoms
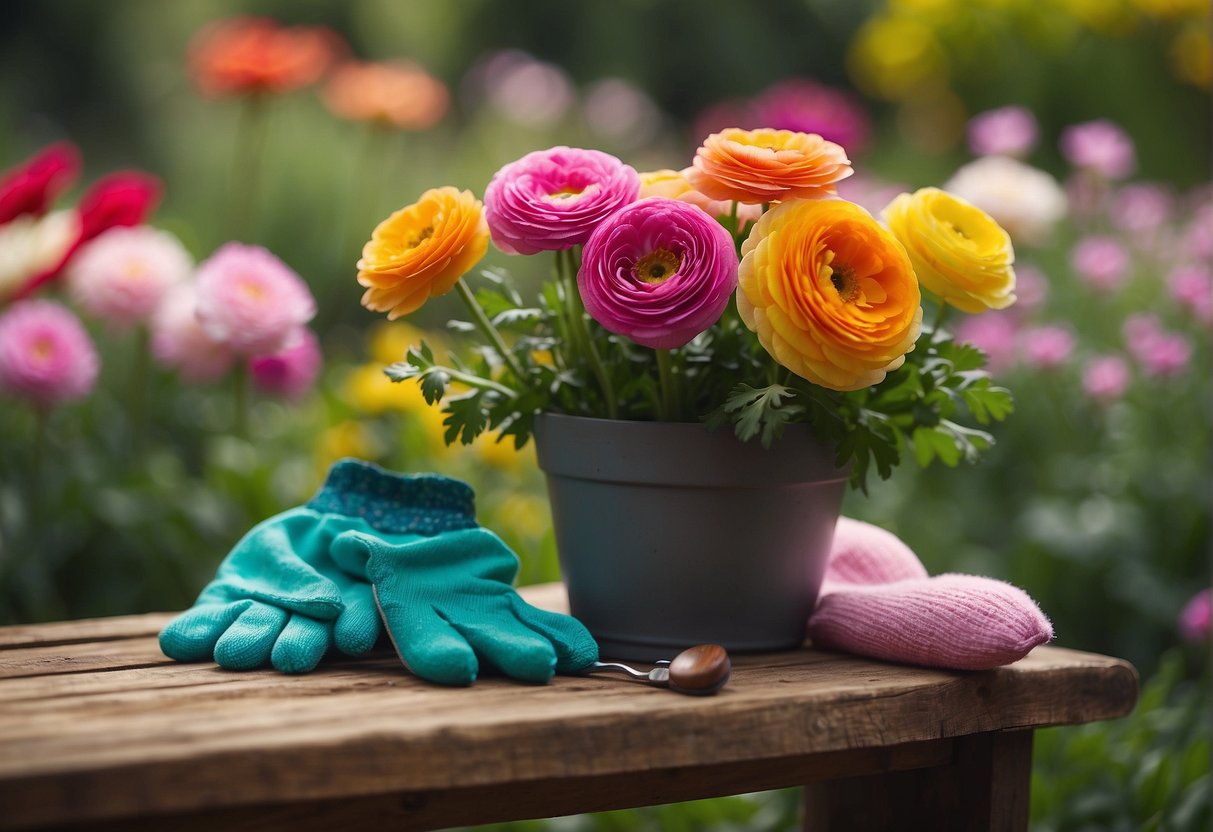
Once the ranunculus bulbs have bloomed, it’s time to enjoy the beautiful flowers. There are a few things you can do to make the most out of your ranunculus blossoms.
Cutting and Vase Life
Ranunculus flowers make excellent cut flowers and can last up to a week in a vase. To ensure maximum vase life, cut the flowers in the morning when the buds are just starting to open. Use sharp scissors or pruning shears to cut the stems at a 45-degree angle and place them immediately in a vase of fresh, clean water. Change the water every other day and recut the stems at an angle to ensure the flowers can continue to absorb water.
Seasonal Blooming Stages
Ranunculus bulbs bloom in the spring and summer, depending on when they were planted. Spring-blooming ranunculus bulbs are planted in the fall, while summer-blooming ranunculus bulbs are planted in the spring. Spring-blooming ranunculus bulbs tend to have larger flowers and longer stems, while summer-blooming ranunculus bulbs produce smaller flowers on shorter stems.
When the ranunculus bulbs first start to bloom, they will produce a single flower per stem. As the plant matures, it will produce multiple flowers per stem. This is the perfect time to start cutting the flowers for bouquets.
Overall, ranunculus bulbs are a beautiful addition to any garden or bouquet. With proper care and attention, you can enjoy their blossoms for weeks on end.
Frequently Asked Questions

What is the best time of year to plant ranunculus bulbs in different climate zones?
Ranunculus bulbs should be planted in the fall in cooler climates and in the winter in warmer climates. The best time to plant ranunculus bulbs is when the soil temperature is between 50 and 60 degrees Fahrenheit. In warmer climates, it is best to plant ranunculus bulbs in late fall or early winter to avoid the heat and give the bulbs time to establish roots before the weather warms up.
What are the steps for planting ranunculus bulbs in containers?
To plant ranunculus bulbs in containers, start by filling the container with well-draining soil. Then, place the bulbs about an inch apart and cover them with soil. Water the container well and place it in a sunny location. Keep the soil moist but not waterlogged and fertilize the bulbs every four to six weeks.
How do you care for ranunculus bulbs when planting indoors?
When planting ranunculus bulbs indoors, it is important to choose a location that receives plenty of sunlight. Plant the bulbs in well-draining soil and keep the soil moist but not waterlogged. Fertilize the bulbs every four to six weeks and make sure the room is well-ventilated to prevent mold growth.
What specific considerations are needed for planting ranunculus bulbs in warm climates like Florida?
In warm climates like Florida, it is important to plant ranunculus bulbs in the winter when the temperatures are cooler. Choose a location that receives partial shade to protect the bulbs from the intense heat. Plant the bulbs in well-draining soil and keep the soil moist but not waterlogged. Fertilize the bulbs every four to six weeks.
Is it necessary to soak ranunculus bulbs before planting, and if so, how?
Soaking ranunculus bulbs before planting is not necessary, but it can help speed up the germination process. To soak the bulbs, place them in a bowl of water for a few hours before planting. This will help soften the outer layer of the bulb and promote faster growth.
What are some tips for ensuring successful growth and multiplication of ranunculus bulbs?
To ensure successful growth and multiplication of ranunculus bulbs, it is important to plant them in well-draining soil and keep the soil moist but not waterlogged. Fertilize the bulbs every four to six weeks and remove any dead or yellowing leaves. To encourage multiplication, leave the bulbs in the ground after they have finished flowering and allow them to naturalize.

