How to Plant Amaryllis Bulbs: A Clear Guide to Growing Beautiful Flowers
Last updated: January 31, 2026
Amaryllis bulbs are a popular choice for indoor gardening, as they produce stunning blooms during the winter months. These bulbs are relatively easy to plant and care for, making them a great option for beginners and experienced gardeners alike. In this article, we will provide step-by-step instructions on how to plant amaryllis bulbs and ensure they thrive.
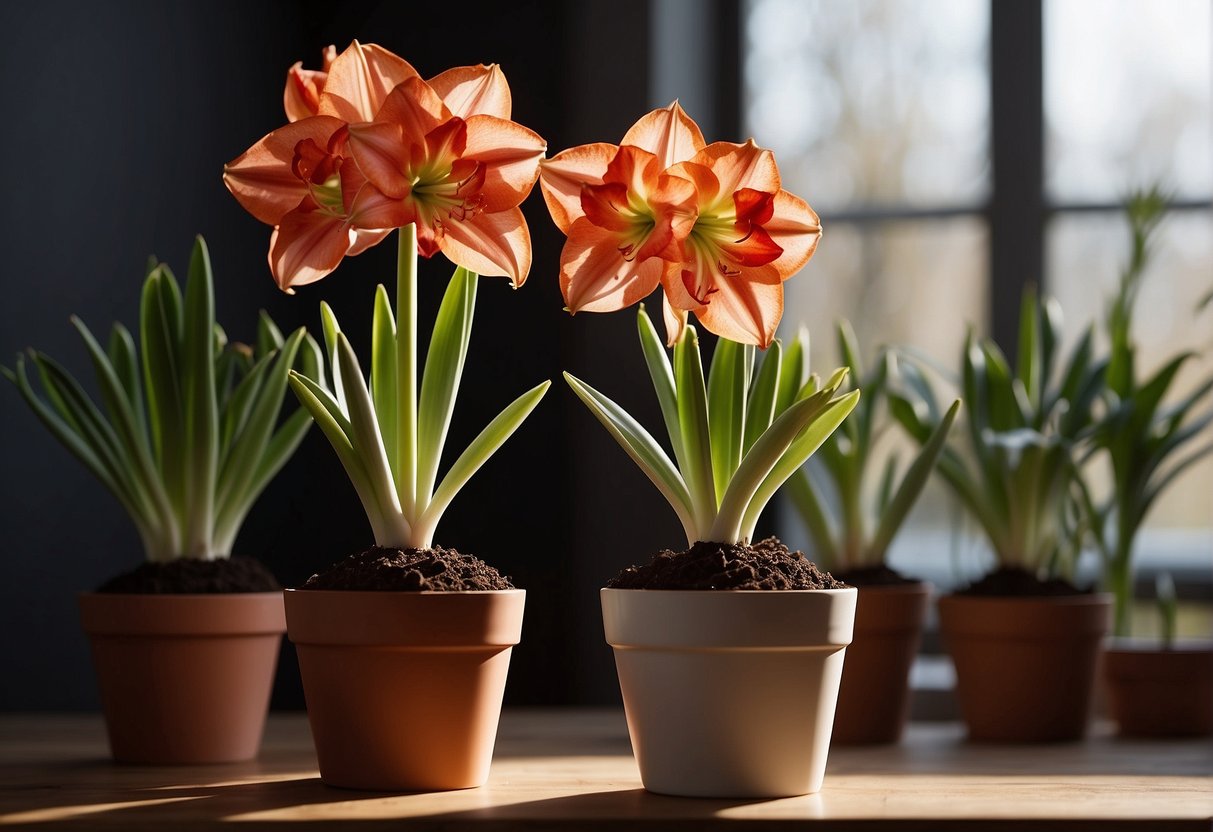
Before planting amaryllis bulbs, it’s important to choose the right type of bulb and pot. Amaryllis bulbs come in many different colors and varieties, so choose the one that best suits your taste. When selecting a pot, make sure it has drainage holes and is large enough to accommodate the bulb, leaving about an inch of space around the edges. Once you have your bulb and pot, it’s time to get started on planting.
Choosing the Right Amaryllis Bulbs
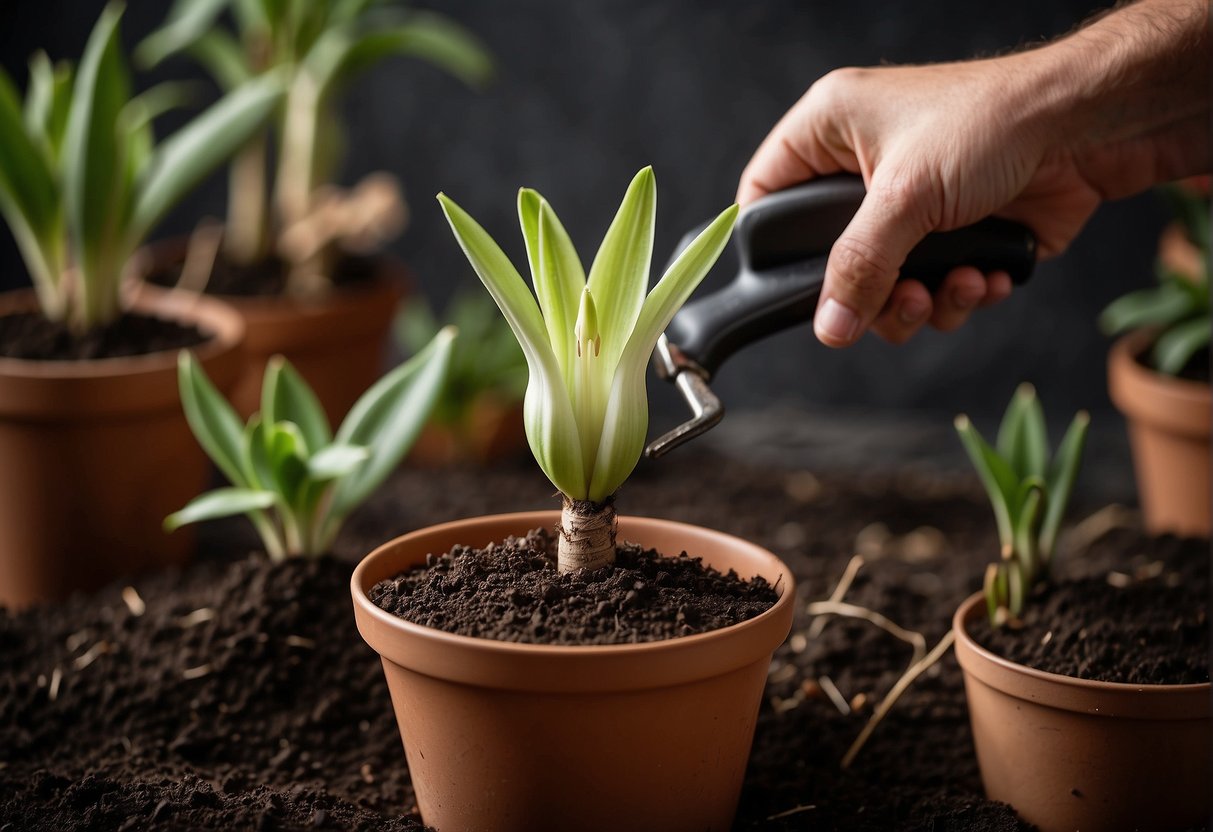
When it comes to planting amaryllis bulbs, choosing the right bulbs is crucial for successful growth and blooming. Here are some factors to consider when selecting amaryllis bulbs.
Identifying Healthy Bulbs
The first step in choosing the right amaryllis bulbs is to identify healthy ones. Look for bulbs that are firm and heavy, with no signs of mold, soft spots, or cracks. Healthy bulbs should also have a papery, dry outer layer that is free from blemishes.
Varieties of Amaryllis
Amaryllis bulbs come in a variety of colors and patterns, including red, white, pink, striped, salmon, and orange. When choosing bulbs, consider the color and pattern you prefer, as well as the size of the bulb. Larger bulbs generally produce larger blooms, so if you want big, showy flowers, look for bulbs that are at least 7-8 cm in diameter.
It’s also important to consider the source of your bulbs. Buying amaryllis bulbs from a reputable supplier can ensure that you are getting high-quality, healthy bulbs that are more likely to produce beautiful blooms.
In summary, when choosing amaryllis bulbs, look for healthy, firm bulbs with no signs of damage or mold. Consider the color and pattern you prefer, as well as the size of the bulb, and purchase from a reputable supplier.
Preparing for Planting
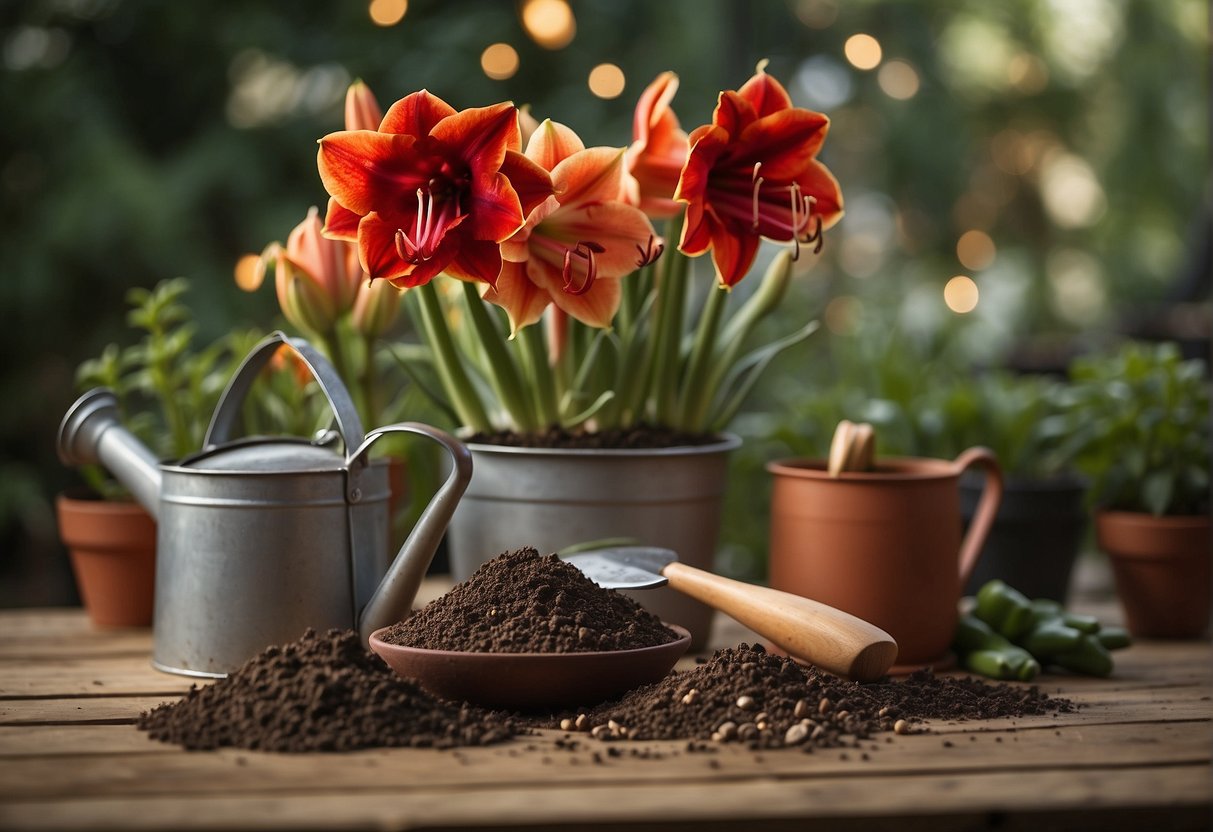
Before planting amaryllis bulbs, it is important to prepare the appropriate environment to ensure successful growth. This section will cover the key aspects of preparing for planting, including selecting the appropriate pot and potting soil, as well as ensuring proper drainage.
Selecting the Appropriate Pot
When selecting a pot for amaryllis bulbs, it is important to choose one that is appropriate for the size of the bulb. A pot that is too small may restrict root growth and lead to stunted growth, while a pot that is too large may hold too much moisture and cause the bulb to rot.
It is recommended to choose a pot that is approximately 1-2 inches larger in diameter than the bulb. Additionally, the pot should have at least one drainage hole to allow excess water to escape.
Potting Soil and Drainage
The type of potting soil used for amaryllis bulbs is also important. A well-draining soil mix that is rich in organic matter is recommended. A mix of potting soil and compost can provide the necessary nutrients for the bulb to grow.
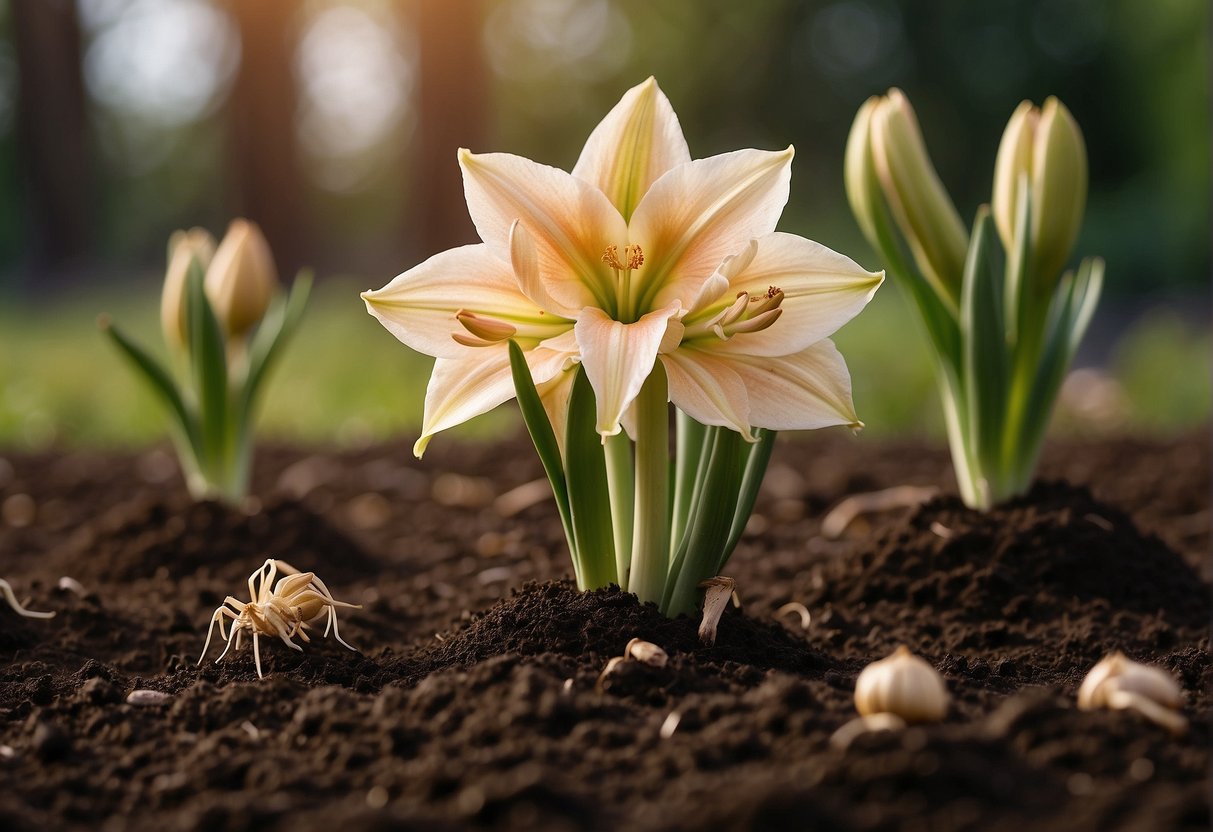
When planting the bulb, it should be placed in the center of the pot with the top third of the bulb exposed above the soil line. The soil should be gently packed around the bulb, but not too tightly.
Proper drainage is crucial for the health of the amaryllis bulb. The pot should have at least one drainage hole, and excess water should be allowed to escape. It is recommended to place a saucer under the pot to catch any excess water and prevent damage to surfaces.
By selecting the appropriate pot and potting soil, and ensuring proper drainage, the amaryllis bulb will have the necessary environment to grow and thrive.
Planting Your Amaryllis Bulbs
When it comes to planting amaryllis bulbs, there are a few important things to keep in mind to ensure your bulbs grow into healthy and vibrant plants. This section will cover two key aspects of planting your amaryllis bulbs: planting depth and spacing, and initial watering and temperature.
Planting Depth and Spacing
When planting your amaryllis bulbs, it’s important to ensure that they are planted at the correct depth and spacing. A general rule of thumb is to plant the bulb so that the top third of the bulb is above the soil line. This will allow the bulb to receive enough light and air to grow properly. As for spacing, each bulb should be planted at least 8 inches apart to allow room for the roots to spread out.
Initial Watering and Temperature
After planting your amaryllis bulbs, it’s important to water them thoroughly with lukewarm water. This will help to settle the soil around the bulb and encourage the roots to start growing. It’s also important to keep the soil moist but not waterlogged, as too much water can cause the bulb to rot.
In terms of temperature, amaryllis bulbs prefer to be kept in a warm environment. The ideal temperature range for amaryllis bulbs is between 60-75°F (15-24°C). It’s important to avoid placing the bulbs in areas that are too hot or too cold, as this can cause the bulbs to become stressed and may impact their ability to grow.
By following these simple guidelines for planting your amaryllis bulbs, you’ll be well on your way to growing healthy and beautiful plants.
Caring for Amaryllis Post-Planting
Light and Location
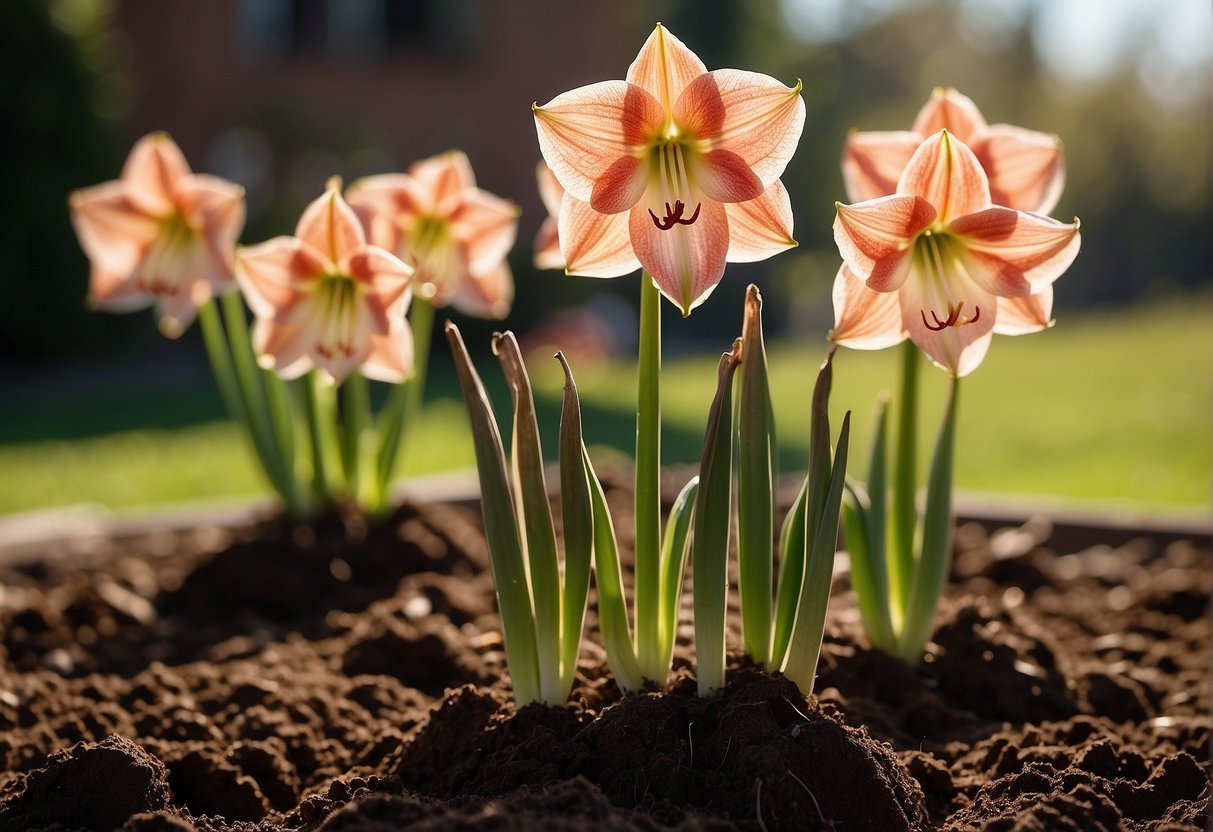
Amaryllis bulbs prefer bright, indirect light and should be placed in a location that receives at least six hours of sunlight per day. Direct sunlight can cause the leaves to burn, so it’s best to place them in an area with partial shade. If the plant is not receiving enough light, the flower stalks may become weak and the blooms may not open fully.
Watering and Fertilizing
Amaryllis bulbs should be watered thoroughly after planting and then allowed to dry out slightly before watering again. Overwatering can cause the bulbs to rot, so it’s important to ensure that the soil is well-draining. A balanced fertilizer can be applied every two weeks during the growing season to encourage healthy growth and blooms.
Staking and Supporting the Stem
As the flower stalks grow, they may become top-heavy and require support to prevent them from bending or breaking. Bamboo stakes can be inserted into the soil next to the stalks and tied loosely with twine to provide support. It’s important to tie the twine loosely to avoid damaging the stalks.
Encouraging Reblooming
Amaryllis bulbs are known for their stunning blooms, but did you know that with proper care, you can encourage your amaryllis to bloom again? In this section, we’ll discuss the after-bloom care and dormancy period necessary to trigger new growth and encourage your amaryllis to flower again.
After-Bloom Care
After your amaryllis has finished blooming, it’s important to continue to care for the plant to ensure it stays healthy and strong. First, remove the spent flowers and any yellowing leaves. This will help redirect the plant’s energy towards new growth.
Next, continue to water and fertilize the plant regularly. Amaryllis bulbs need plenty of water to grow, but be careful not to overwater, as this can lead to root rot. Additionally, fertilize the plant every two weeks with a balanced fertilizer to provide the necessary nutrients for new growth.
Dormancy and Triggering New Growth
In order for your amaryllis to flower again, it needs to go through a period of dormancy. This means that the plant will stop growing and go into a resting phase. To encourage dormancy, reduce watering and stop fertilizing the plant once the leaves begin to yellow and die back.
During the dormancy period, it’s important to keep the bulb dry and cool. Store the bulb in a cool, dark place for at least 8-10 weeks, allowing it to rest and rejuvenate. After the rest period, you can begin to water the plant again and place it in a bright, sunny location.
With proper care and attention, your amaryllis bulb will begin to produce new growth and, eventually, bloom again. By following these tips for after-bloom care and dormancy, you can enjoy beautiful amaryllis blooms year after year.
Common Pests and Diseases
Preventing and Treating Issues
Amaryllis bulbs are generally hardy and resistant to pests and diseases, but they can still fall victim to a few common issues. Here are some tips for preventing and treating potential problems:
Mosaic Virus
Mosaic virus is a common viral disease that can affect amaryllis plants. Symptoms include mottled yellow and green leaves, stunted growth, and distorted flowers. Unfortunately, there is no cure for mosaic virus, so prevention is key.
To prevent mosaic virus, it is important to purchase bulbs from a reputable source and inspect them carefully before planting. If you notice any signs of virus, such as yellow streaks or spots on the bulb, discard it immediately. Additionally, make sure to disinfect your tools and pots before planting to prevent the spread of the virus.
Mealybugs
Mealybugs are small, white, cottony insects that can infest amaryllis plants. They feed on the sap of the plant, causing yellowing, stunted growth, and distorted flowers. To prevent mealybugs, inspect your plants regularly and remove any insects you find.
If you do notice mealybugs on your plants, there are a few treatment options. You can try washing the insects off with a strong stream of water, or applying insecticidal soap or neem oil. Be sure to follow the instructions carefully and repeat the treatment as necessary.
Red Blotch
Red blotch is a fungal disease that can cause red spots or streaks on the leaves and flowers of amaryllis plants. It can also cause leaves to yellow and drop off. To prevent red blotch, make sure to water your plants carefully and avoid getting water on the leaves.
If you notice signs of red blotch on your plants, remove any infected leaves and flowers immediately. You can also apply a fungicide to help prevent the spread of the disease. Be sure to follow the instructions carefully and repeat the treatment as necessary.
By following these tips for preventing and treating common pests and diseases, you can help ensure that your amaryllis bulbs grow healthy and strong.
Frequently Asked Questions
What is the proper depth for planting amaryllis bulbs in soil?
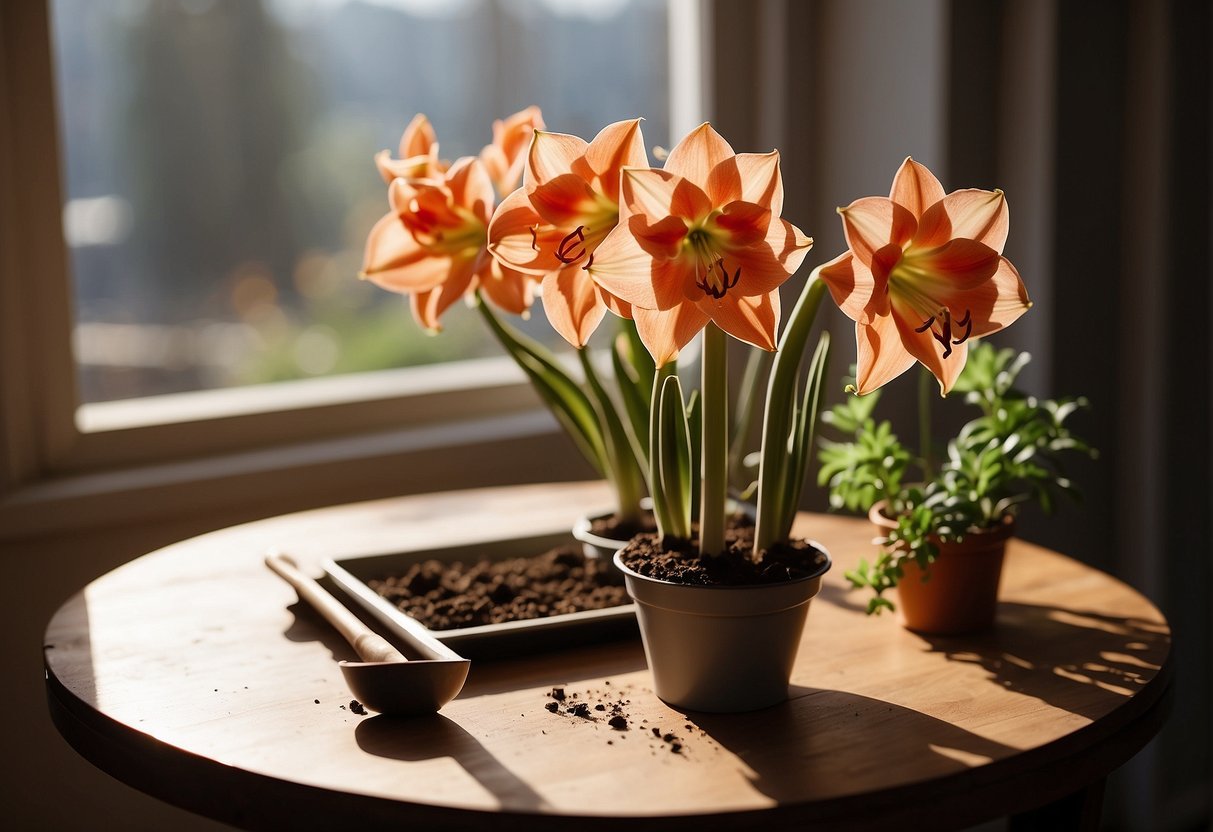
Amaryllis bulbs should be planted with one-third of their height above the soil level. For example, if the bulb is 3 inches tall, it should be planted with 1 inch of soil covering the top of the bulb.
Can amaryllis bulbs be grown in water, and if so, what is the process?
Yes, amaryllis bulbs can be grown in water. The bulb should be placed in a vase or container with water up to the bottom of the bulb. The water level should be maintained at this level, and the bulb should be kept in a bright, warm location. Once the bulb starts to grow roots, it can be moved to soil.
What care should be given to amaryllis bulbs after they have finished blooming?
After the amaryllis has finished blooming, the flower stalk should be cut off, leaving the leaves intact. The plant should be watered and fertilized regularly, and placed in a bright, warm location. The leaves should be allowed to grow until they start to yellow, at which point they can be cut off.
When is the ideal time to plant amaryllis bulbs to ensure a Christmas bloom?
Amaryllis bulbs should be planted in late October or early November to ensure a Christmas bloom. The bulbs should be kept in a cool, dark location for a few weeks before planting to encourage the growth of the flower stalk.
What are the necessary steps to successfully grow amaryllis bulbs indoors?
To successfully grow amaryllis bulbs indoors, the bulb should be planted in well-draining soil, with one-third of the bulb above the soil level. The plant should be placed in a bright, warm location, and watered and fertilized regularly. After the plant has finished blooming, it should be cared for as described above.
Is it beneficial to soak amaryllis bulbs before planting, and why?
Soaking amaryllis bulbs before planting is beneficial because it can help to encourage the growth of the roots. The bulb should be soaked in lukewarm water for a few hours before planting.


