How to Plant and Grow Brussels Sprouts
Introduction
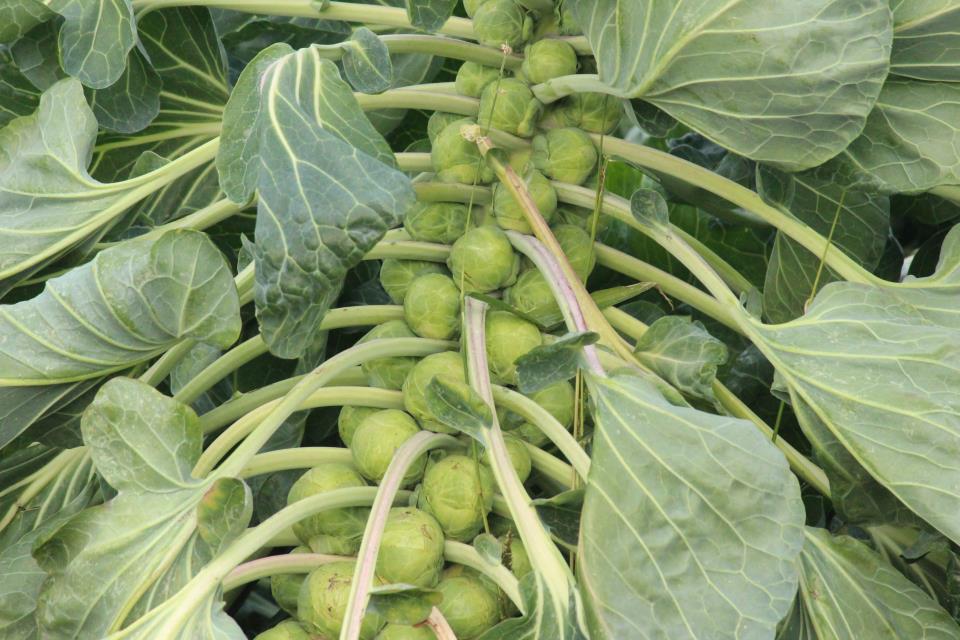
Brussels sprouts are named after the place they were first cultivated, Brussels-Belgium. They are not the easiest vegetable to grow. Therefore, you can see them often in the grocery store but not in a home garden.
They have a relatively long growing season (80-100 days) and are a cool-season crop, meaning they produce best in the fall or early winter. A light frost enhances the flavor of the brussels sprouts.
Spring planting is also acceptable in cooler climates. However, Brussels sprouts grown in hot or dry conditions will be brittle and bitter. Brussels sprouts belong to the cole crop (Brassica oleracea) family, along with cabbage, broccoli, cauliflower, collards, kale, and kohlrabi.
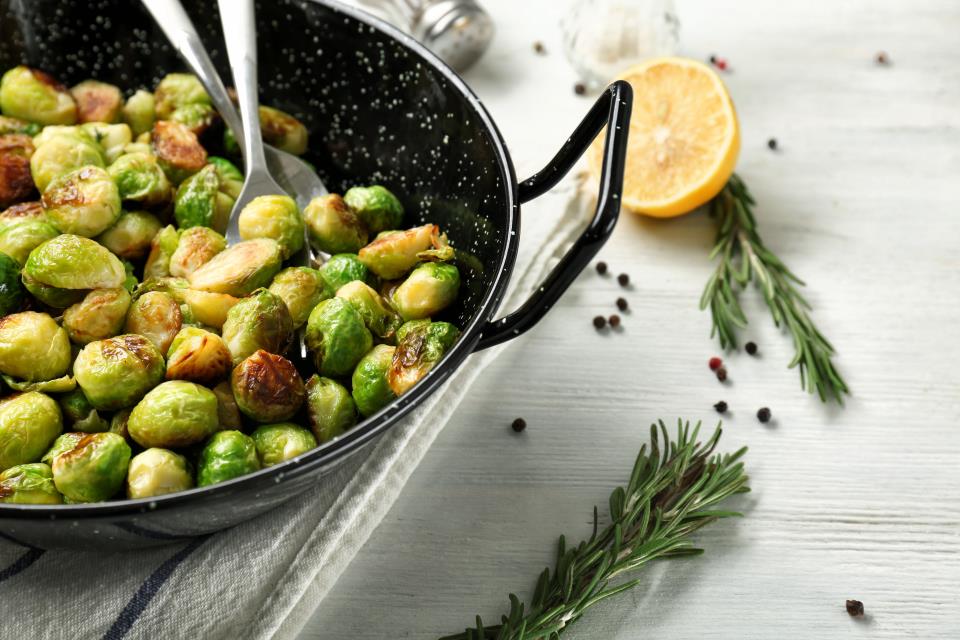
Brussels sprouts are full of vitamins C and D, as well as folic acid and dietary fiber. Glycosinolate glucobrassicin, a naturally occurring sulfur-based compound, is abundant in Brussels sprouts. According to research, this substance may aid in preventing DNA damage, which increases your risk of developing cancer. Additionally, it might prevent cancers from forming new blood vessels. Consuming a lot of Brussels sprouts may help prevent malignancies of the stomach, lungs, kidneys, breast, bladder, and prostate. So, even though this vegetable is not easy to grow, we can say that it is definitely worth your trouble during growing.
Brussels Sprout Seeds
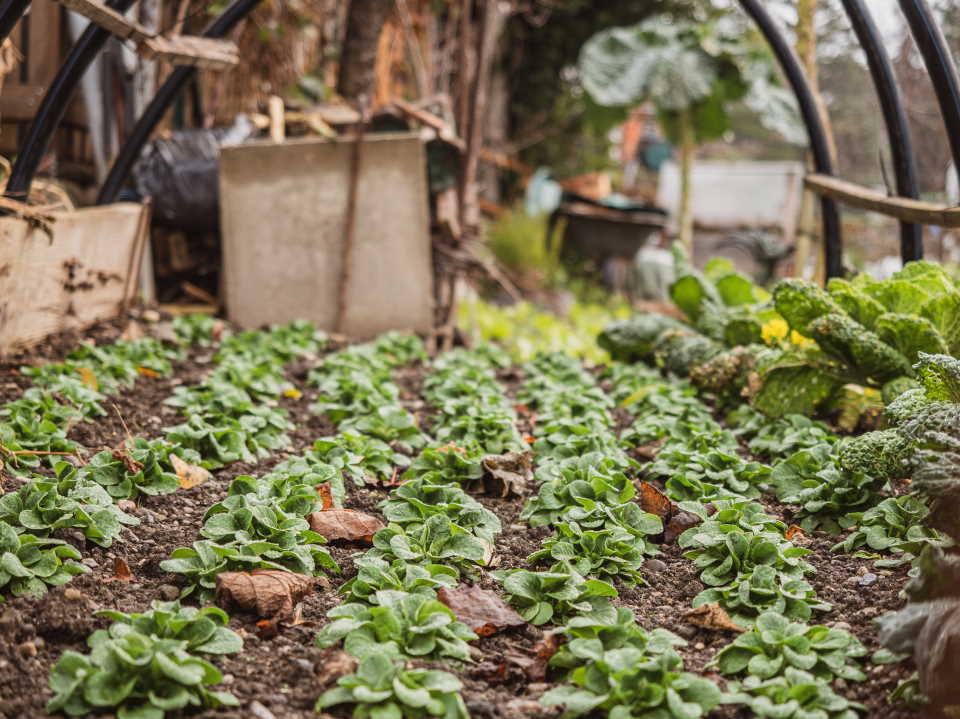
Brussels sprouts love nutrient-rich and well-draining soil. Sowing them from seed, we need to know about all the stages they go through. So let’s check the growth stages step-by-step :
- Seeds should be sown 0.5 cm deep in well-composted soil.
- Sow the Brussels seedlings 45cm by 30cm apart.
- Germination will occur in 8-10 days.
- Harvest time is 50-60 days after sowing.
If you would like to grow your seedlings, here are the steps to take:
- Sow Brussels seeds directly in a prepared garden bed in the late summer or early fall. They love cooler climates and direct sunlight, germinating best at temps about 70°F. Choose an heirloom or open-pollinated cultivar to grow. Plants borne from hybrid seeds won’t be true to type or resemble their parents.
- Monthly fertilization should consist of a side dressing of 12 to 1 inch of compost and regular irrigation. Brussels sprouts, like all brassica family members, require a lot of food.
- When they reach a golf ball’s size, gently harvest about half of them. These Brussels seedlings require a long producing season and can take up to six months to reach maturity.
- Seedlings with low yields or that are stunted should be removed. The seeds from your healthiest seedlings are the ones you want to collect and save.
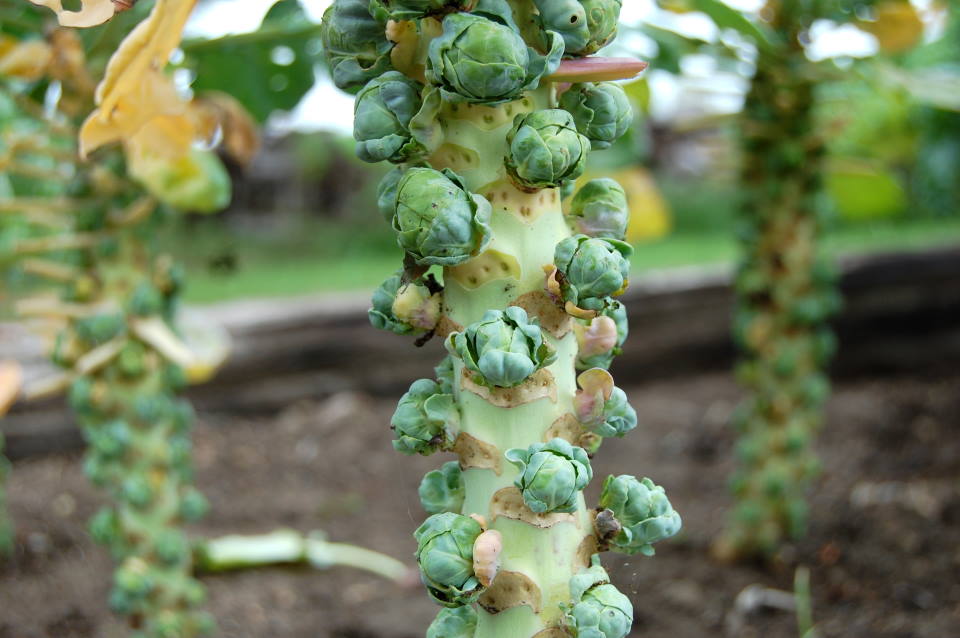
Pods are essential for encasing growing seeds and safeguarding them from diseases and parasites. It has been demonstrated that the photosynthetically active pod wall delivers nutrients and assimilates to feed seed growth in addition to its protective function. According to recent research, signals coming from the pod may also control grain filling and manage the transfer of reserves from damaged seeds to seeds that are still viable. Here are the tips on growing seedpods of brussels sprouts:
- If the weather gets chilly but usually is warmer than 28 degrees Fahrenheit, you should allow the seedlings to overwinter in your garden. The first year of the Brussels seedling’s life produces young buds, while the second year produces blossoms and seedpods. Flowers require a time of cold weather to develop.
- Keep an eye out for the plant’s seed stalk in the spring. The mature pods will begin to become light brown and dry out as they ripen from the bottom up. Ripe pods are generally harvested during a two- to three-week period.
- The gathered pods should be brought inside and allowed to dry out thoroughly.
- By transferring small amounts of the seeds and pods from the cloth bag into a basket and winnowing the combination in front of a low-speed fan, you may separate the seeds from the chaff. Under you, spread a sheet to collect any seeds that may fall.
- Your specially cultivated seeds can be kept for up to four years in a cool, dry place.
How to Plant Brussels Sprouts Seeds
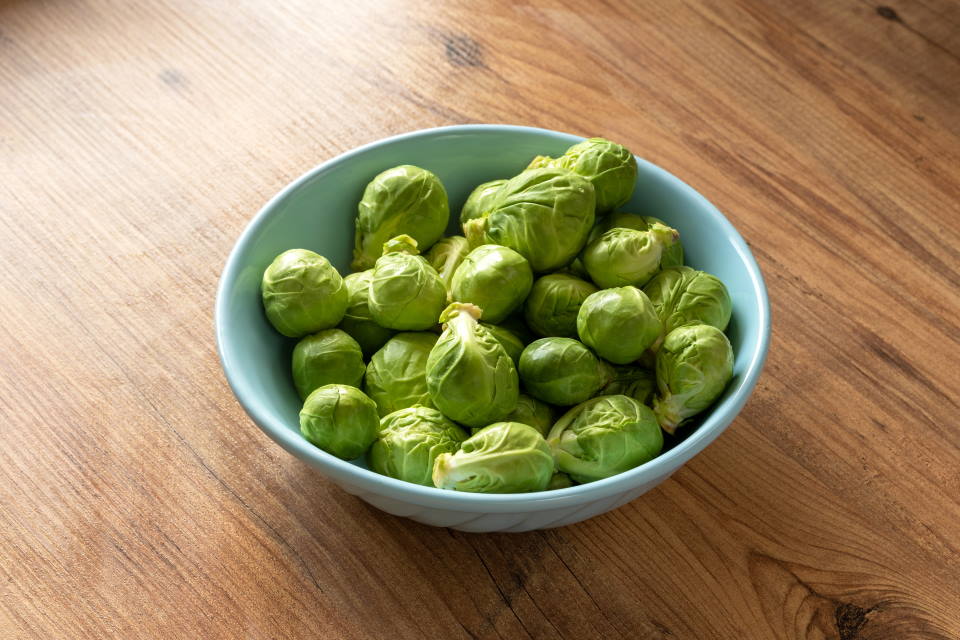
Brussels sprouts, like the majority of vegetables, require a minimum of 6 hours of sunlight each day; more is preferable. These vegetables prefer soils that are rich in organic matter and are moist, well-drained, and productive. For best growth and to prevent clubroot disease, the soil pH should be on the upper side of the range for vegetables, around 6.8. Test the soil to determine the pH for sure. A well-stocked garden center may sell you a test kit, or your local officials may conduct a soil analysis. Using the findings of the soil test as a guide, apply fertilizer and lime. To improve the texture of your native soil and provide nutrition without a soil test, mix in aged compost-enriched Miracle-Gro fertilizer or add a lot of nitrogen-rich additions to the soil, such as blood meal, cottonseed meal, or composted manure. Don’t stop at the soil for the best outcomes in your garden. Growing seedlings require a consistent supply of high-quality nutrients, so feed them frequently with a continuous-release fertilizer that nourishes your seedlings and the beneficial soil bacteria. If you want to use fertilizers that come in boxes, make sure to follow all label instructions.
Additionally, compared to other vegetables, Brussels sprouts require more boron. All seedlings utilize the trace mineral boron in minimal amounts. Without it, Brussels has tiny buds and hollow stalks. Suppose your seedlings exhibit any of these signs. In that case, you can add boron to the soil by combining 1 level tablespoon of borax with 5 quarts of water, then evenly scattering the solution over a 50 square foot area of the bed. Don’t give in to the need to combine more because doing so can lead to issues. Additionally, wait to apply until your seedlings have manifested the aforementioned deficient symptoms.
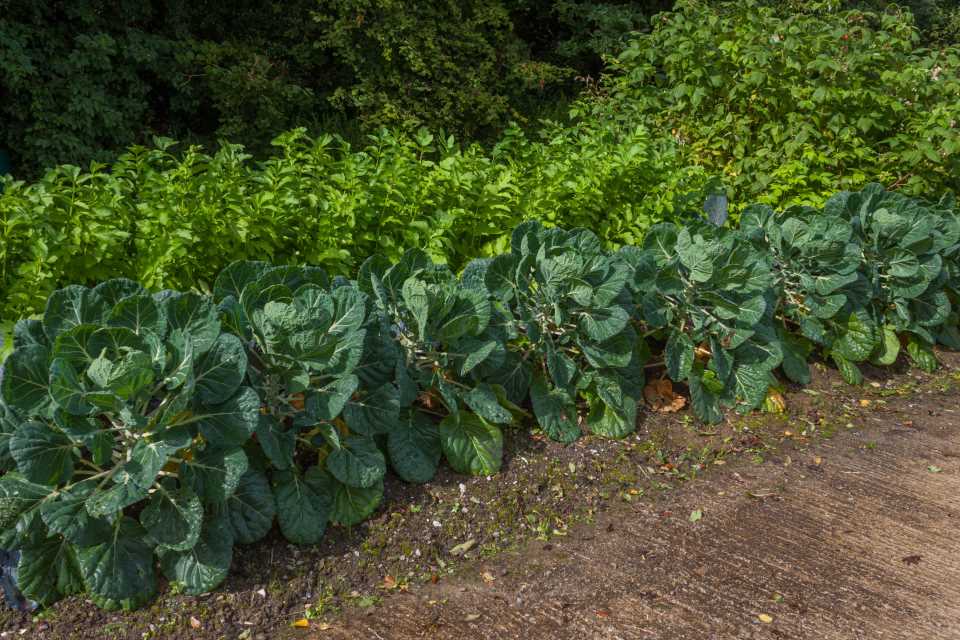
Here are the steps to follow if you want to grow brussels sprouts in your garden:
- Select a seedling tray with medium-sized cells and drainage holes on the bottom.
- Moist coco-peat should be filled into these cells/cups.
- Place 14 to 12-inch deep Brussels sprout seeds on the surface of the medium and sow 2-3 seeds per cell/cup, then cover with cocopeat.
- Indoors, keep this seedling tray.
- For the first week, spray two tablespoons of water into this tray every day.
- Your seedlings will be ready to be moved in container pots or raised beds after about 21-25 days when they are 4 to 6 inches tall and have 2 to 4 leaves. Plant the seedlings 16-18 inches apart when transplanting.
- Use a container at least 12 inches deep and 12-14 inches in diameter (you can only grow one seedling in such a container) or raised beds when transplanting.
- The Organic Veggie Mix is the best vegetable-growing medium. Two parts garden soil and one part organic manure OR one part garden soil, one part coco-peat, and one part vermicompost is the best growing mixture for Brussels seedlings.
- Remember to move the seedling along with the root ball of the medium without disturbing the roots. When sowing or transplanting, water thoroughly.
When to Plant Brussels Sprouts Seeds
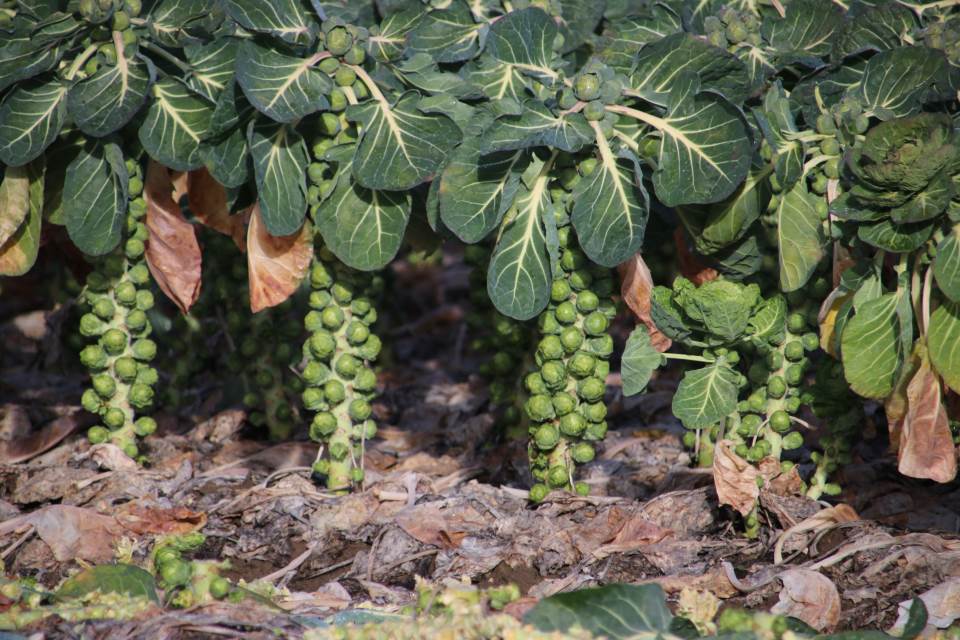
If you decide to grow from seed, you can do it right in the garden in the middle to the end of the summer for a harvest in the fall. In milder climates, gardeners can develop a spring harvest by spreading seeds outside as soon as the soil is pliable. When planting the seedlings in the garden, you should pick the time before the first frost, approximately six to ten weeks. You can sow the seeds or seedling transplants from October until December. Brussels sprouts love the chilly weather, even though they might germinate from seeds at soil temperatures ranging from 45 to 80 degrees.
Where to Plant Brussels Sprouts
Suppose you have ever grown vegetables from the Brassica Oleracea family, which includes cabbage, broccoli, cauliflower, collards, and kale. In that case, you can plant your brussels sprouts in the same space. To prevent garden locations from becoming vulnerable to various soil-borne diseases, we suggest you rotate between different vegetables from the same family if you have received adequate produce before. Brussels sprouts grow best under direct sunlight and in rich and continuously moist soil. So while implementing your rotation routine, we suggest you keep this tip in mind.
Brussels Sprouts Growing Season
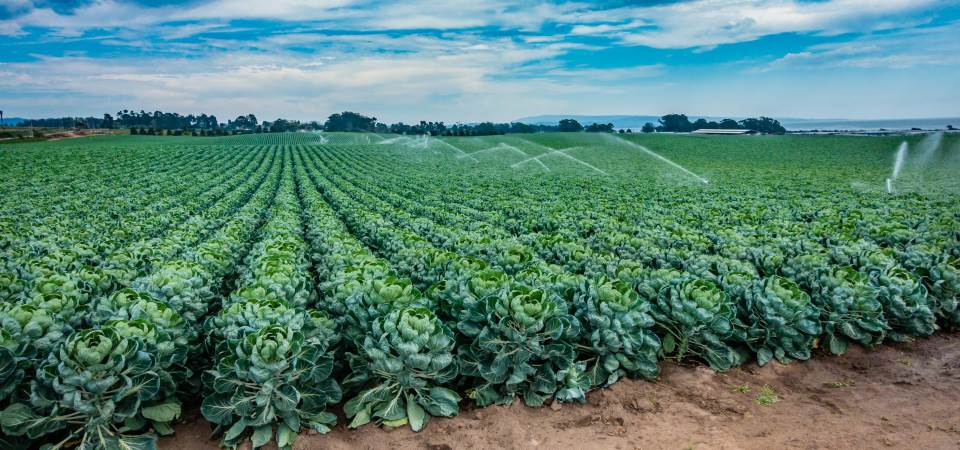
Brussels sprouts should be sown in early spring or mid to late summer for a fall harvest. The small heads mature best in cool, even frosty weather. Spring planting is also acceptable in cooler climates.
Brussels sprouts are a cool-weather crop that grows best at temperatures between 60 and 65 degrees Fahrenheit. As a result, they are one of the last crops that could be left in the garden and, if conditions are favorable, can even survive the winter.
Brussels Sprouts Growing Temperature
As previously mentioned, brussels sprouts like cold weather and grow best between 60 and 65 degrees Fahrenheit. They can grow from seed when soil temperatures range between 45 and 80 degrees. While Brussels sprouts prefer cool weather, if the temperature rises above 80°F/26.6°C, they become puffy and soft. They tend to be more vulnerable to aphid attacks while growing in hot weather. Growing Brussels in a greenhouse is the best option for a dry climate.
Pests and Diseases
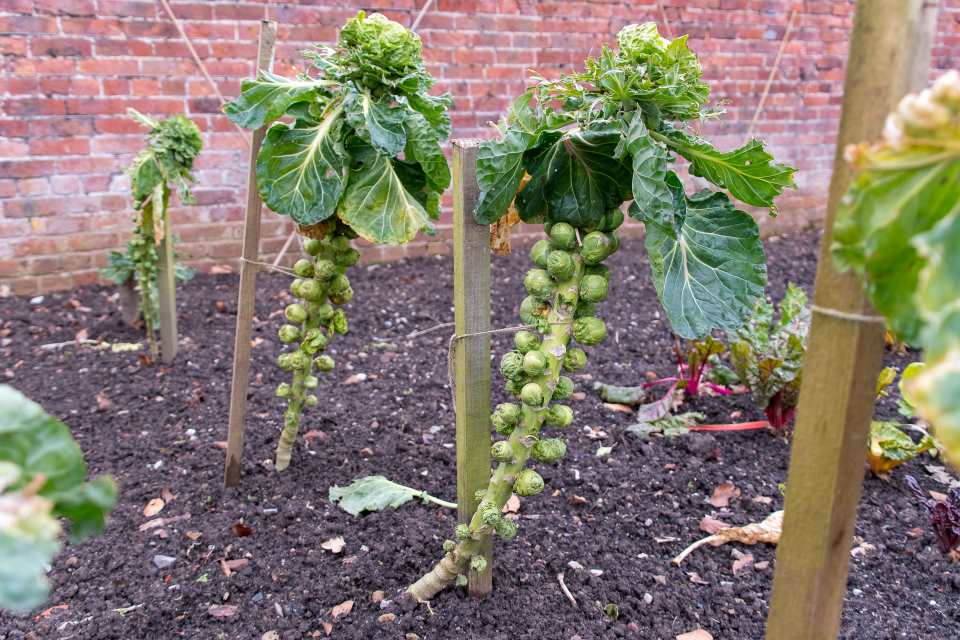
Brussels sprouts are picked in the fall and taste their best when the weather is chilly. Although they are not difficult to grow, Brussels sprouts require additional fertilization or significantly improved soil because they are heavy eaters. Nevertheless, previously worked soils are too loose to sustain healthy growth. This condition produces loose seedlings.
It is a rare seedling that has no problems with pests or diseases. The insects that wreak havoc on cabbage plants also damage brussels sprouts. Some examples of these are maggots, earwigs, cutworms, leaf miners, snails, and slugs.
The two main health issues with Brussels sprouts are bacterial and fungal ailments. Some of these only taint or damage the foliage, while others can defoliate it. This is a concern when present in large quantities since it interferes with the plant’s capacity to photosynthesize. In humid environments, bacterial infections proliferate and spread swiftly. Cut back on overhead watering and get rid of the impacted plants. In a similar way, moist environments favor the growth of fungi.
Over the winter, certain fungi can persist in the garbage. All old plant matter should be removed since it might contain spores. Drip watering and appropriate plant spacing can help to prevent molds like white mold and downy or powdery mildew. With proper cultivation and maintenance procedures, the majority of diseases that affect Brussels sprouts can be easily avoided.
One of the most common issues with Brussels sprouts is a condition called bolting. Seed variants can withstand bolting, which is the process by which a plant develops a bloom and sets a seed. However, these plants are unable to produce the little cabbage heads. Young plants are more likely to bolt if the temperature falls below 50 Fahrenheit. Additionally, the stem of Brussels may be hollow, which prevents the circulation of nutrients and moisture. Rapid growth and an abundance of nitrogen are the causes of this.
- Cabbage root fly is most likely to blame for blueish leaves that wilt in the sun. Keep an eye out for white maggots near the roots. Wrap cabbage collars around the stems to prevent further attack.
- Caterpillars consuming leaves are almost certainly larvae of large and small white butterflies (known as cabbage white butterflies). Transfer the caterpillars to a sacrificial crop of nasturtiums, which are related to caterpillars and will be eaten by both butterfly species.
- The most probable cause of stunted growth is clubroot, a fungal disease that thrives in acidic soil. It can remain in the soil for several years, reinfecting newly planted plants. Although adding ground limestone or calcified seaweed can help prevent its spread, if you find clubroot or allotment in your garden, we suggest you avoid growing brassicas for up to nine years.
- Rather than the tight ‘buttons’ you might expect, blown ones are open brussels sprouts. Among the causes is poor and ailing soil.
How To Get Rid of Cabbage Worms
This is a typical pest for vegetables from the cabbage family, including kale, cauliflower, broccoli, and cabbage. Both “imported cabbage worms” and “cabbage worms” are the same pest that annoys your vegetable. The adult butterflies are sometimes known as little whites or cabbage whites. If you notice a hole in a leaf, do not be excessively alarmed; plants may tolerate significant leaf loss without suffering any adverse effects. Actual damage to a plant’s growth and yield occurs during seedling or early stages of head development. Frequently inspect plants, remove worms by hand, and then squish or drop them into a bowl of soapy water. You can apply Bacillus Thuringiensis dust to plants throughout the growing season and make sure to reapply after rain as an alternative solution.
Brussels Sprouts Growing Tips
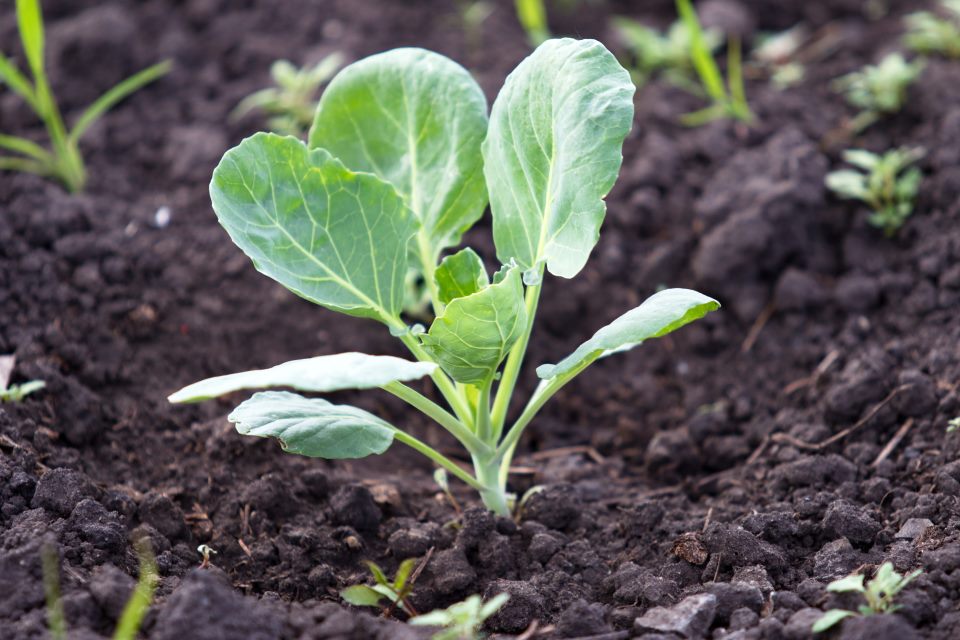
- Brussels sprouts prefer moist, well-drained soil with a pH of 6.5 or higher.
- Find a sunny or partially sunny spot in the garden and add plenty of organic matter. This will help the soil retain moisture during the long growth stage of the vegetable.
- Start your seeds indoors or outside in the garden.
- Indoors, sow the seeds 1/2 inch deep in seed flats 6-8 weeks before the last spring frost.
- Plant the seedlings when they are about 3 inches tall, in early to mid-summer, and space them 12-24 inches apart.
- Sow seeds directly in garden soil four months before the first fall frost to plant outdoors.
- Plant 12 inches deep, 2-3 inches apart. Suppose the plants are thin; the distance should be 12-24 inches when they reach 6 inches tall.
- We suggest you use a mulch to retain soil moisture, water frequently, and fertilize about three weeks after transplanting Brussels sprouts.
- Brussels sprouts are extremely susceptible to pests and diseases like other cabbage family vegetables. The most common problems and diseases are cabbage looper, cabbage worm, cabbage root maggot, aphids, blackleg, black rot, and clubroot.
- Fortunately, with a late-season crop, you have more time to monitor and control problems before the vegetable matures.
- The disease can be reduced by rotating the crop on an annual basis.
How to Harvest Brussels Sprouts
Here are some tips to help you determine when to harvest your brussels sprouts:
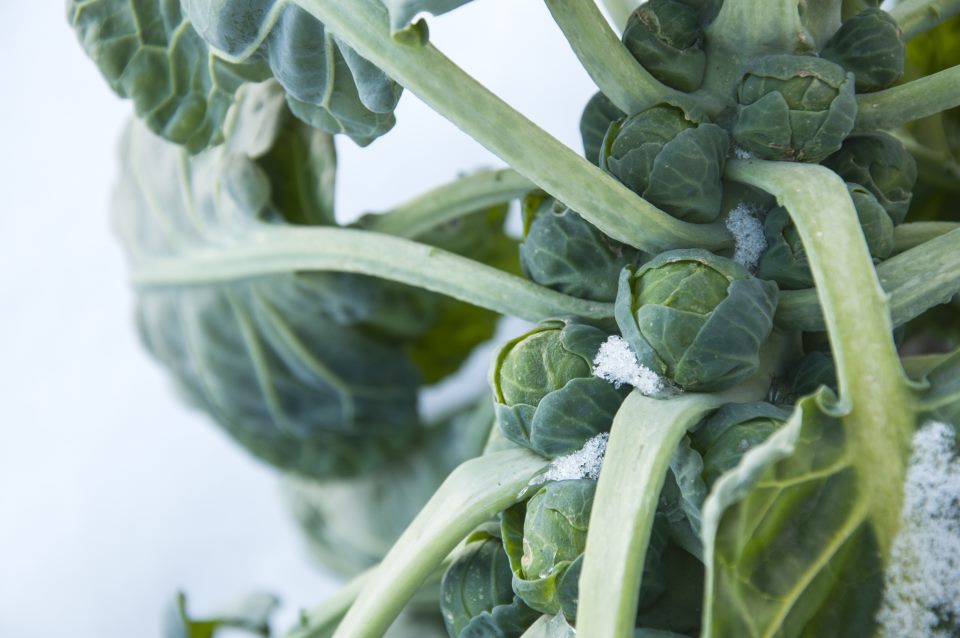
- In areas with cold winters, begin picking after the first frost and carry on into the first few weeks of winter. Seedlings that have been touched by frost grow sweeter and more delicious. Brussels sprouts can be collected under the snow.
- Brussels sprouts sown in the late summer or fall can be harvested all winter long in areas with moderate winters.
- Pick off any soft or little seedlings during harvest, even if you don’t intend to consume them. You should also throw out any leaves below the sprouts you have selected since this will encourage the plant to grow tall and continue to produce more.
- Over two to three months, a single plant will yield roughly 100 sprouts. If sprouts are left on the plant for too long, the leaves will loosen and begin to turn yellow.
- Plants initially produce swiftly, but when the temperature drops, they begin to grow more slowly. In cold conditions, fully developed sprouts can stay on the plant; pick sprouts as needed.
- Straw should be pulled back as you intend to harvest the plants to prevent them from strong frost. Plants should be covered up to their top leaves. If the temperature persistently falls below 20°F (-6°C), finish the harvest and put the sprouts in storage.
After you determine the optimal collection timing, it is time to harvest your brussels sprouts. First, start removing the sprouts from the bottom of the plant and remove sprouts that are at least the size of a marble to harvest. Next, move up the stem to continue the harvest. Sprouts appear at the base of each leaf, close to the plant’s main stem. Use garden shears, being careful not to cut too near to the stem, or just twist each sprout in your hands with two fingers to remove it. Wait until the lower sprouts are approximately half an inch in diameter before cutting off the top of the plant two weeks before you want to harvest if you want to harvest the majority of the sprouts on a plant at once.
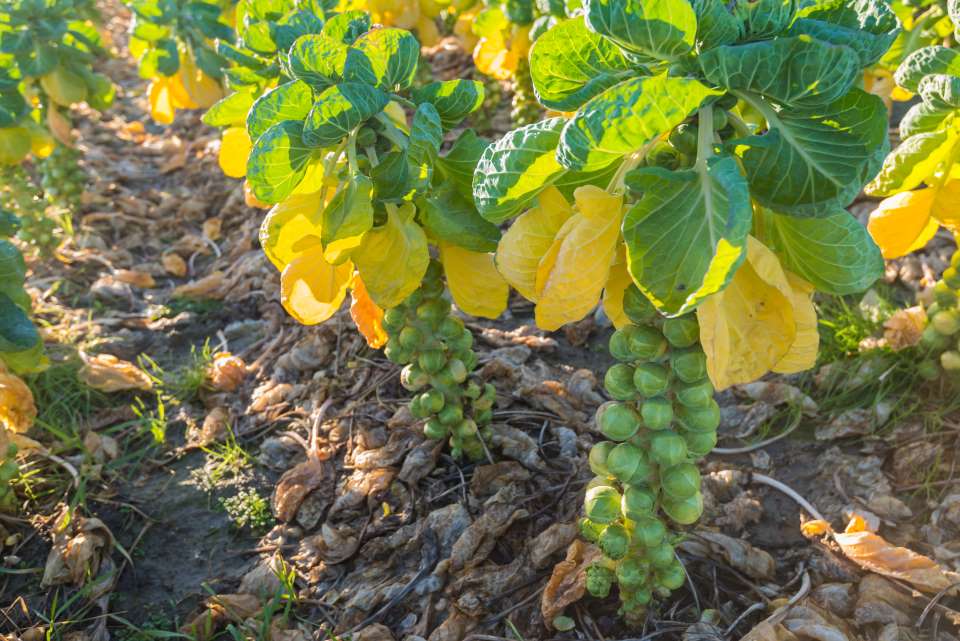
Unfortunately, your job is still not done after harvesting the brussels sprouts. You also need to store your produce properly. Storage conditions for Brussels sprouts should be around 32°–40°F (0°–4°C) with 95% humidity. Storing them in the cold and moisture is quite hard. In addition to providing cold air, unfortunately, refrigerators also dry the air. In the refrigerator’s vegetable crisper, place sprouts in a perforated plastic bag, unwashed and wrapped in a damp towel.
You can keep the sprouts in the refrigerator for 3 to 5 weeks. Sprouts can be kept separately or with the entire stem. If you’re reserving the whole stalk, you can lengthen storage by wrapping the stub in a wet paper towel. You can dig up some of the seedlings in regions with extremely harsh winters and change their location to a cold frame or into containers you put in a cool storage room. You can receive sprouts from these plants for several months. Brussels sprout plant’s leaves are also good to eat. Still, since they are thicker and more difficult to chew than cabbage, it is recommended to slice and steam them before using them.
Companion Plants for Brussels Sprouts
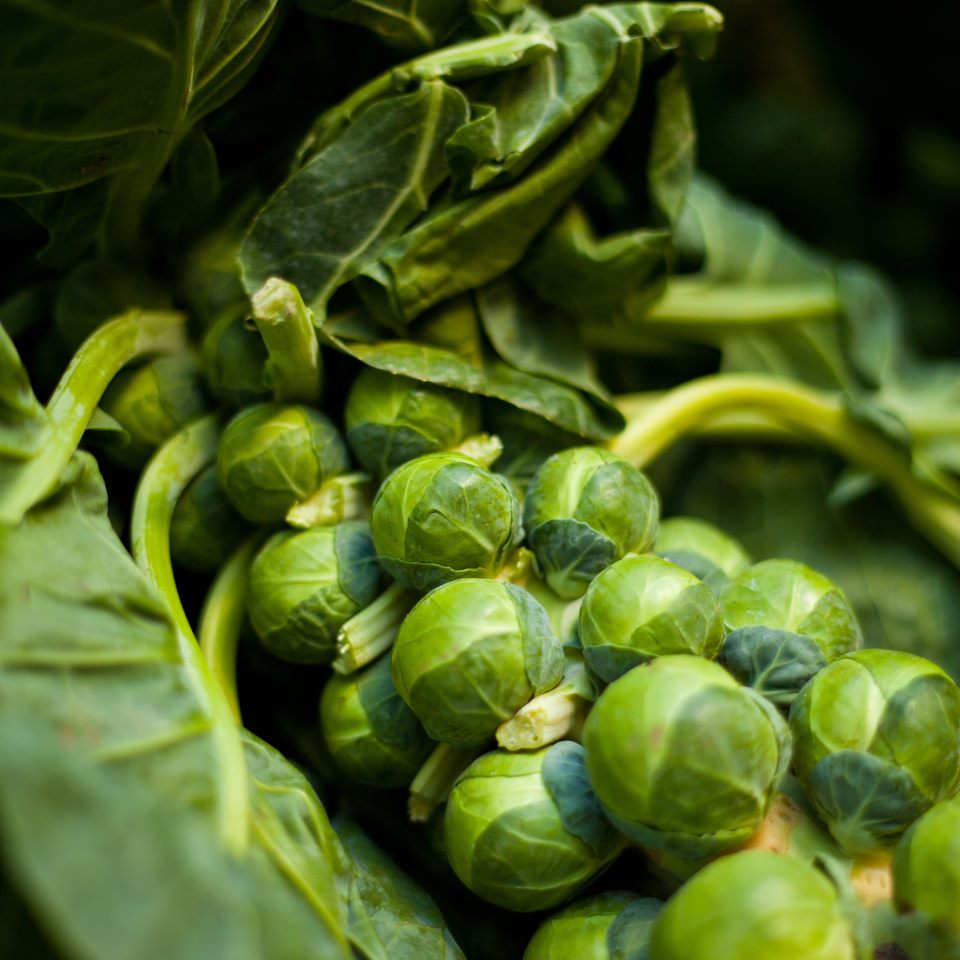
Companion planting is the practice of growing one or more plant species next to another to benefit one or both. Brussels sprouts belong to the Cruciferae family, and the same family members like to hang out together. But, they share the same pest and disease problems, and this makes them less preferable companions to each other. Here are the most common pests brussels sprouts are vulnerable to:
- Aphids
- Beetles
- Thrips
- Caterpillars
- Cabbage loopers
- Leafminers
- Squash bugs
- Beet armyworms
- Cutworms
So then, what should you grow with your brussels sprouts?
Aromatic plants which are pleasantly scented can be great companions for brussels sprouts as they help to ward off these pests. They can even attract beneficial insects like ladybugs and parasitic wasps. Here are some of these scented plants to keep pests away and help your brussels sprout :
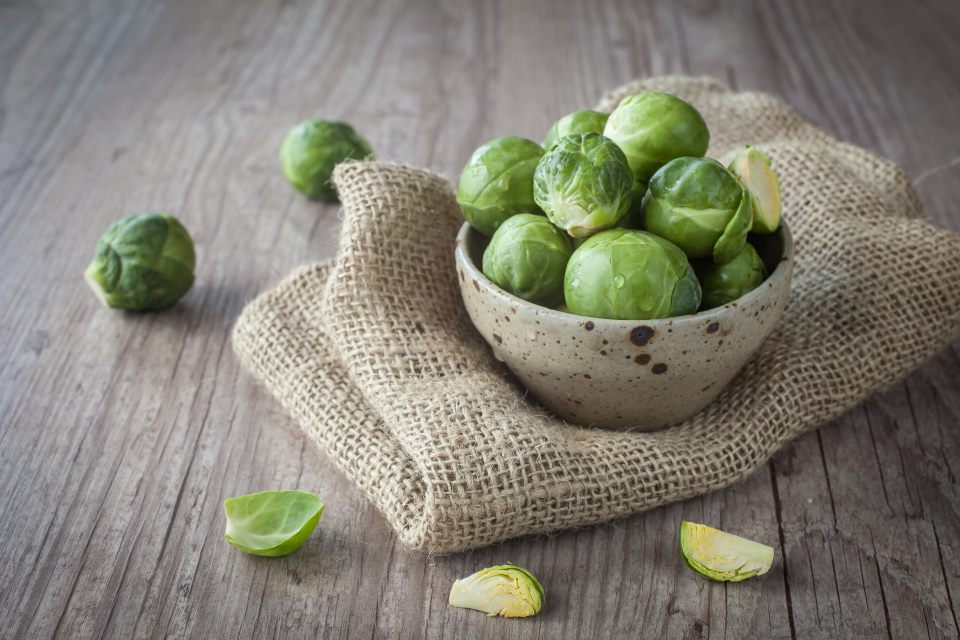
Some other plants that go well with the brussels sprouts are :
- Beets
- Bush beans
- Carrots
- Celery
- Lettuce
- Onion
- Pea
- Potato
- Radish
- Spinach
- Tomato
Conclusion
Even though Brussels sprouts are tough to grow, we assure you if you follow the steps and tend to them carefully, you will be satisfied with the results of this nutritious vegetable. We suggest you grow suggested companions with your Brussels sprouts to simplify the process. Following the suggested tips and plans above will help you grow your vegetables successfully without any issues.
Sea Thrift (Armeria Maritima) : How to Grow & Care

