How to Propagate Clematis: A Step-by-Step Guide
Clematis is a beautiful flowering plant that can add a touch of elegance to any garden. Propagating clematis is an easy and cost-effective way to grow more of these stunning plants. Whether you’re an experienced gardener or just starting out, propagating clematis can be a fun and rewarding experience.
There are several methods for propagating clematis, including layering, cuttings, and seed propagation. Each method has its own advantages and disadvantages, and the best method for you will depend on your level of experience and the resources you have available. With a little patience and some basic gardening skills, anyone can successfully propagate clematis and enjoy the beauty of these plants in their garden.
Understanding Clematis
Types of Clematis
Clematis, a member of the buttercup family, is a diverse genus of flowering vines that includes over 300 species and countless cultivars. They can be deciduous or evergreen, and their flowers come in a wide range of colors, shapes, and sizes.
There are three main groups of clematis:
Group 1: Early-flowering clematis that bloom on old wood in late winter or early spring.
Group 2: Large-flowered clematis that bloom on old wood in late spring or early summer, and then again on new wood in late summer or fall.
Group 3: Late-flowering clematis that bloom on new wood in late summer or fall.
Clematis Growth Requirements
Clematis is a relatively easy plant to grow, but it does have some specific requirements.
Sunlight: Most clematis prefer full sun to partial shade, with at least six hours of direct sunlight per day. Some varieties, particularly the evergreen ones, can tolerate more shade.
Trellis: Clematis are climbing plants that need support to grow. A trellis, fence, or other structure will provide the necessary support for the plant to climb.
Water: Clematis prefers well-drained soil that is kept consistently moist but not waterlogged.
Fertilizer: Clematis benefits from regular fertilization, particularly in the spring when it is actively growing. Use a balanced fertilizer with equal amounts of nitrogen, phosphorus, and potassium.
Pruning: Different groups of clematis require different pruning techniques. Group 1 clematis should be pruned after flowering, while Group 2 and 3 clematis should be pruned in late winter or early spring.
By understanding the different types of clematis and their growth requirements, gardeners can successfully propagate and care for these beautiful flowering vines.
Preparation for Propagation

When propagating clematis, it is important to prepare properly to ensure the success of the process. This section will cover the key steps to take when preparing for propagation.
Choosing the Right Time
The best time to take clematis cuttings is in late spring or early summer when the plant is actively growing. It is important to choose a time when the plant is healthy and free from disease or pests.
Selecting Cuttings
When selecting cuttings, it is important to choose healthy stems that are free from damage or disease. Use a sharp knife or secateurs to take cuttings that are around 4-6 inches long. Make sure to take cuttings from the current year’s growth.
Gathering Supplies
To propagate clematis, you will need a few supplies. These include rooting hormone, a potting mix that is high in perlite and vermiculite, and a container with a lid to create a high humidity environment. It is also important to use sterile soil to prevent the spread of disease.
Overall, preparing for clematis propagation involves selecting healthy cuttings at the right time and gathering the necessary supplies. With the right preparation, propagating clematis can be a rewarding and successful process.
Propagation Techniques
Clematis can be propagated using different methods. In this section, we will discuss the most common ones: layering, stem cuttings, and seeds propagation.
Layering Method
Layering is a simple and effective way to propagate clematis. This method involves bending a stem down to the ground and burying a section of it in the soil. The buried section will develop roots and form a new plant.
To propagate clematis using the layering method, follow these steps:
- Select a healthy stem that is long enough to reach the ground.
- Choose a spot where you want the new plant to grow and dig a shallow hole.
- Bury the selected stem in the hole, making sure that a leaf node is covered by soil.
- Secure the stem in place using a U-shaped wire or a small stake.
- Water the soil and keep it moist until the new plant has established roots.
Stem Cuttings Method
Stem cuttings are another way to propagate clematis. This method involves taking a cutting from a healthy stem and rooting it in soil or water.
To propagate clematis using the stem cuttings method, follow these steps:
- Select a healthy stem that is at least 6 inches long and has several leaves.
- Cut the stem just below a leaf node using a sharp and clean pair of scissors or pruning shears.
- Remove the lower leaves from the stem, leaving only two or three at the top.
- Dip the cut end of the stem in rooting hormone to encourage root growth.
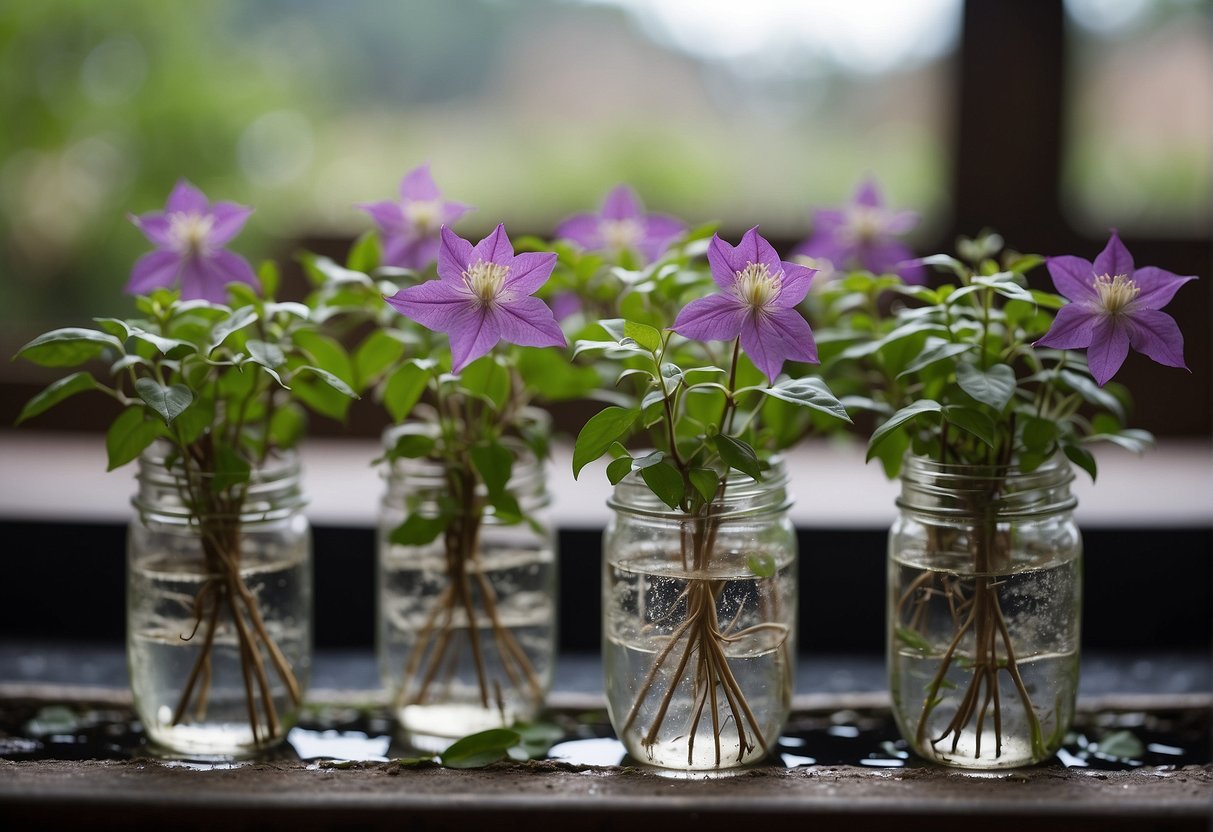
- Plant the stem in a pot filled with moist soil or place it in a jar of water.
- Keep the soil or water moist and place the pot or jar in a bright and warm location.
- After a few weeks, the stem should start to form roots and new leaves.
Seeds Propagation Method
Clematis can also be propagated using seeds. This method involves collecting seeds from a mature plant and germinating them in seed trays.
To propagate clematis using the seeds propagation method, follow these steps:
- Collect seeds from a mature clematis plant and remove any debris or chaff.
- Fill seed trays with a well-draining potting mix and water it thoroughly.
- Sprinkle the seeds on top of the soil and cover them lightly with more soil.
- Place the seed trays in a warm and bright location, but away from direct sunlight.
- Keep the soil moist and wait for the seeds to germinate.
- When the seedlings have grown true leaves, transplant them into individual pots and care for them until they are mature enough to be planted in the garden.
By using these propagation methods, you can create new clematis plants and enjoy their beautiful flowers in your garden.
Caring for New Clematis Plants
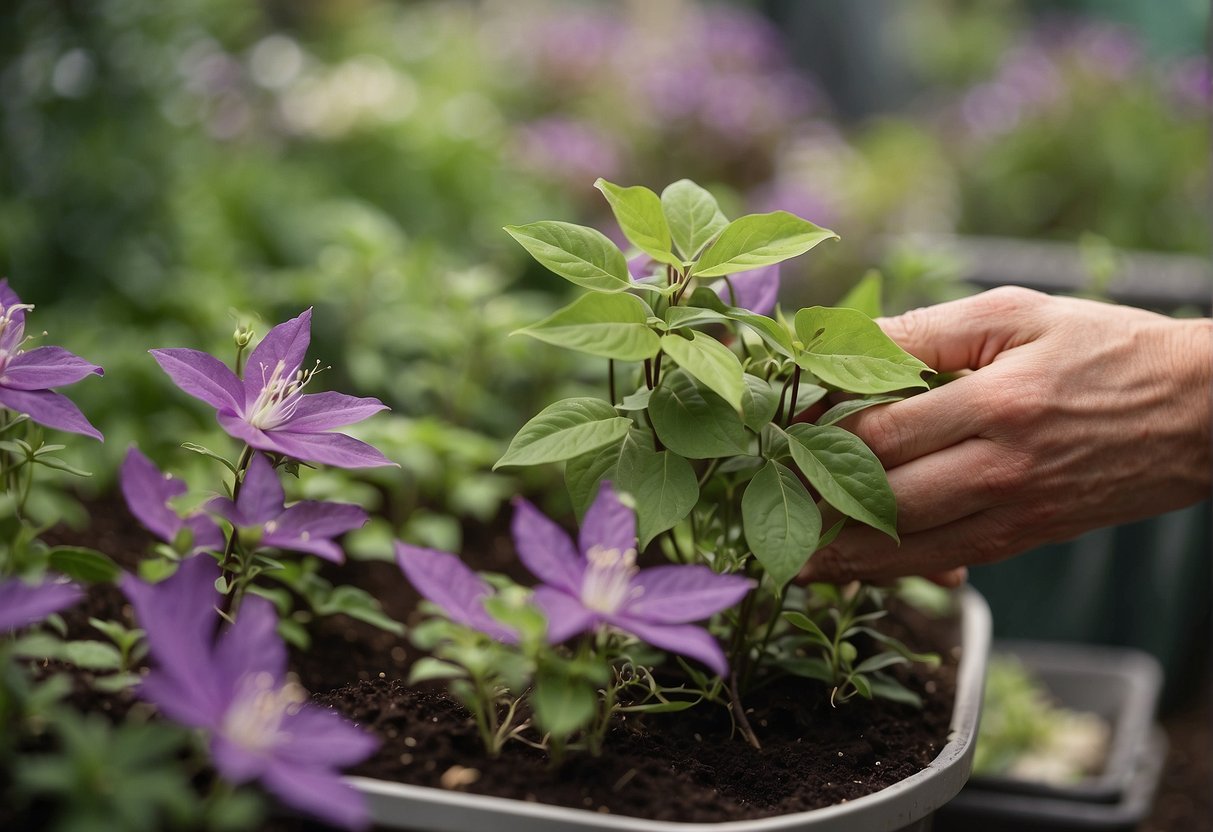
Once you have successfully propagated your clematis, it is important to care for the new plants properly to ensure their healthy growth. This section will cover two crucial aspects of caring for new clematis plants: providing optimal growing conditions and transplanting and aftercare.
Providing Optimal Growing Conditions
Clematis plants thrive in well-draining soil that is rich in organic matter. They also require a lot of direct sunlight to grow and bloom properly. When planting your new clematis, make sure to choose a location that receives at least 6 hours of sunlight per day.
In addition to sunlight, proper drainage is also essential for clematis plants. To ensure good drainage, add horticultural grit or perlite to the soil mix before planting. This will help prevent water from pooling around the roots, which can lead to root rot.
To further support the growth of your new clematis, consider adding a slow-release fertilizer to the planting hole. This will provide the plant with the necessary nutrients to establish strong roots and healthy foliage.
Transplanting and Aftercare
If you are transplanting your new clematis to a different location, make sure to do so carefully to avoid damaging the roots. Water the plant thoroughly before transplanting to help the roots hold together during the move.
After transplanting, make sure to water the plant regularly and deeply to help it establish in its new location. Once the plant has become established, you can reduce watering frequency to once or twice a week.
To further support the growth of your clematis, consider adding a balanced fertilizer every two to three weeks during the growing season. This will provide the plant with the necessary nutrients to produce beautiful blooms.
When planting clematis in containers, make sure to choose a potting soil that is well-draining and rich in organic matter. Water the plant regularly and fertilize as needed to support healthy growth.
By providing optimal growing conditions and proper aftercare, your new clematis plants will thrive and produce beautiful blooms for years to come.
Potential Challenges in Propagation
Propagating clematis can be a rewarding experience, but it is not without its challenges. Here are some potential issues that gardeners may encounter when propagating clematis:
Invasive tendencies: Some clematis varieties can be quite invasive, spreading rapidly and choking out other plants in the area. Before propagating clematis, it is important to research the specific variety and determine whether it is a good fit for the garden.
Disease: Clematis can be susceptible to a number of diseases, including wilt, leaf spot, and powdery mildew. To avoid spreading disease, it is important to sanitize all tools and equipment before and after use, and to avoid propagating from plants that show signs of disease.
Pests: Clematis can attract a variety of pests, including aphids, spider mites, and scale insects. To prevent pest infestations, gardeners should keep the area around the clematis clear of debris and weeds, and may want to consider using natural pest control methods such as ladybugs or neem oil.
Attention: Propagating clematis requires careful attention to detail. Gardeners must ensure that they are using the correct soil mixture, providing the right amount of water and sunlight, and monitoring the plants for signs of stress or disease. In addition, some clematis varieties require special training or pruning techniques in order to thrive.
By being aware of these potential challenges and taking steps to address them, gardeners can successfully propagate clematis and enjoy the beauty of these stunning plants in their gardens.
Frequently Asked Questions
What is the best method to propagate clematis from cuttings?
The best method to propagate clematis from cuttings is by taking semi-ripe cuttings in the summer. Select a healthy stem with a few leaves and make a clean cut below a node. Remove the lower leaves and dip the cut end in rooting hormone. Place the cutting in a pot with well-draining soil and keep it moist and in a warm, bright location.
Can you describe the process of propagating clematis through layering?
Propagation through layering involves bending a healthy stem down to the ground and covering a section of it with soil. The covered section will develop roots and can be cut from the parent plant and transplanted once established. This method is best done in the spring or fall when the plant is actively growing.
How long does it typically take for clematis cuttings to establish roots?
It typically takes 4-6 weeks for clematis cuttings to establish roots, but it can take longer depending on the variety and growing conditions.
What is the optimal time of year to take cuttings from clematis montana?
The optimal time to take cuttings from clematis montana is in the summer when the plant is actively growing.
Is it possible to propagate clematis in water, and if so, how?
It is possible to propagate clematis in water by taking a stem cutting and placing it in a jar of water. Change the water every few days and keep the cutting in a bright location. Once roots have formed, transplant the cutting into soil.
Are there specific techniques for successfully overwintering clematis cuttings?
To successfully overwinter clematis cuttings, it is important to keep them in a cool, dark location with minimal moisture. Wrap the cuttings in paper or store them in a plastic bag with some soil to prevent them from drying out. Check on them periodically and remove any that show signs of rot or disease.


