
How to Propagate Sage Effectively: Step-by-Step Guide for Healthy Plants
Last updated: November 13, 2026
Propagating common sage (Salvia officinalis) is pretty straightforward and lets you expand your herb garden without much fuss. Just take stem cuttings from a healthy sage plant and root them in either water or soil. This way, the new plants end up just like the parent—same flavor, same look.
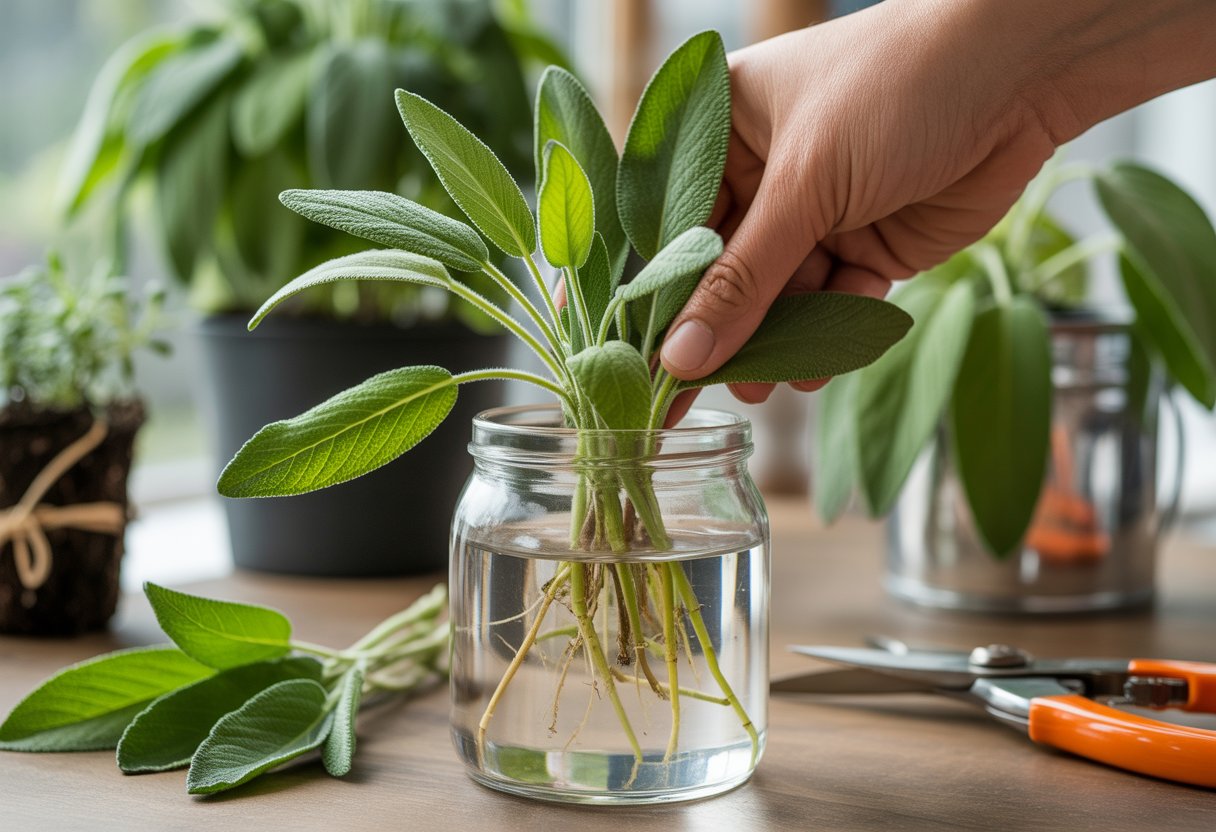
The best time to propagate sage is when it’s actively growing and the stems feel firm but not tough or woody. Pick young, healthy stems and keep them moist, and you’ll have a good shot at growing new sage plants for your kitchen or even just for the looks.
Essential Preparation for Propagating Sage
Success starts with picking the right type of sage, grabbing healthy plants, and setting up the soil and lighting just right. These basics really matter for strong roots and healthy growth.
Choosing the Right Sage Variety
Different sage types have their own quirks and uses. Common sage (Salvia officinalis) is a kitchen favorite, while white sage (Salvia apiana) is all about that strong scent.
When you’re picking, think about your climate and what you actually want to do with the sage. Common sage does well in temperate areas and loves full sun. White sage likes similar sun but really prefers drier, more arid spots.
Since sage is part of the mint family, it’s got those spreading roots and loves well-draining soil. If you pick a variety that fits your local conditions, you’re already halfway there.
Selecting Healthy Parent Plants
Always start with strong, disease-free sage plants. Look for deep green leaves—no weird spots or yellowing.
The stems should feel firm, and you shouldn’t see pests like aphids or spider mites hanging around. Skip any plant that looks wilted or stressed.
Cut mature, non-flowering stems for your cuttings—they tend to root faster. Aim for stems about 4-6 inches long for the best chance at success.
Optimal Soil and Lighting Conditions
Sage hates soggy feet, so well-draining soil is a must. Sandy loam or soil with perlite and compost usually does the trick for good drainage.
Keep the soil pH between 6.0 and 7.0—neutral to slightly acidic works for most types.
Give sage cuttings or seedlings at least 6 hours of direct sunlight every day. Bright light keeps them sturdy and flavorful.
Don’t stick sage in dark corners or swampy spots. Keep watering steady—moist but never soggy—especially when the plants are young.
How to Propagate Sage by Cuttings
Taking sage cuttings is all about picking healthy stems, giving them the right conditions to root, and moving them gently once they’re ready. Paying attention at each step really bumps up your odds of getting strong, happy plants.
Taking and Preparing Sage Cuttings
Grab sharp, clean pruning shears and snip 4-6 inch stems from a healthy sage plant—just below a leaf node. Make sure your stems have a few sets of leaves but skip any with flowers.
Pull off the lower leaves from the bottom couple inches to expose the stem. Leave 2-3 leaves at the top to keep photosynthesis going.
If you want to boost your chances, dip the cut end in rooting hormone (powder or gel is fine) before planting.
Rooting Sage Cuttings Successfully
Stick the cuttings into a potting mix with perlite—it holds moisture but doesn’t drown the roots. Keep the soil damp, not soaked.
Set the pots in indirect light, aiming for temperatures between 65-75°F (18-24°C). Covering them with a clear plastic bag or dome helps keep humidity up, which roots love.
After a couple weeks, give the cuttings a gentle tug. If you feel resistance or see new growth, roots are forming. Usually this takes 2-4 weeks, but nature isn’t always on a strict schedule.
Transplanting Rooted Sage Cuttings
Once roots have formed, carefully lift the cuttings out of the potting mix. Try not to mangle the roots—they’re delicate.
Move the rooted cuttings into bigger pots or straight into the garden, as long as the soil drains well. Don’t go overboard with fertilizer; sage likes its soil a bit lean.
Keep the soil evenly moist for the first week. Gradually let the plants get more sun so they don’t fry. If you see new leaves, you’re in the clear.
Other Methods to Propagate Sage
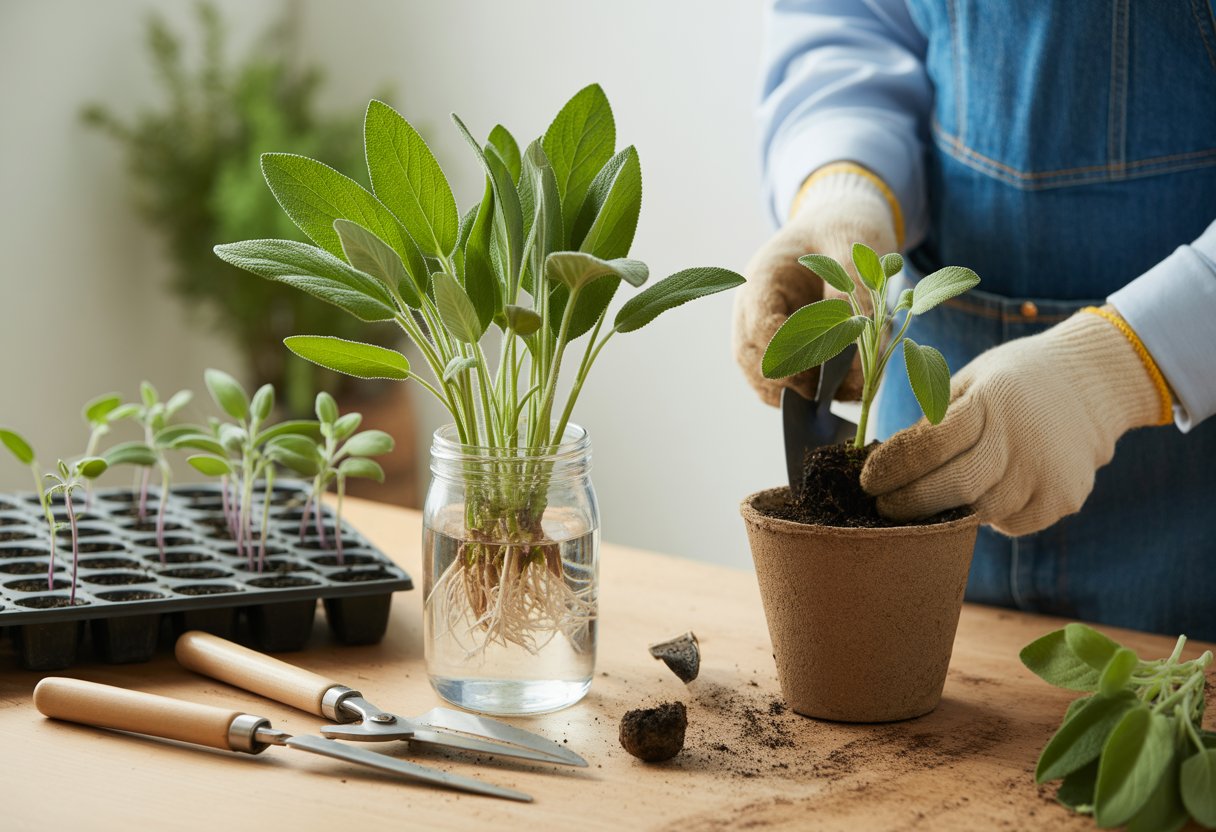
You can also start sage from seeds or divide mature plants. Each method has its own quirks, but both are worth a shot if you’re looking to multiply your sage stash.
Growing Sage from Seeds
Starting from seed takes more time, but you’ll get loads of plants for cheap. Sow seeds indoors about 6-8 weeks before the last frost.
Use a seed-starting mix and keep it damp but not soggy. A temperature between 65-70°F (18-21°C) is ideal for germination—usually 2-3 weeks.
Once the seedlings have two sets of true leaves, thin them out or move them to bigger pots. When frost is no longer a threat, gradually get them used to outdoor life for a week before planting them in the garden.
Dividing Established Sage Plants
Dividing mature sage is a solid way to get more plants and give old ones a fresh start.
In early spring or fall, dig up the sage clump carefully. Use a sharp knife or spade to split the root ball into smaller pieces, making sure each chunk has some roots and a few stems.
Replant each section at the same depth in well-draining soil. Water them well and keep the soil moist until they settle in. Division not only makes new plants but also keeps the original one in check.
Care Tips for Propagated Sage Plants
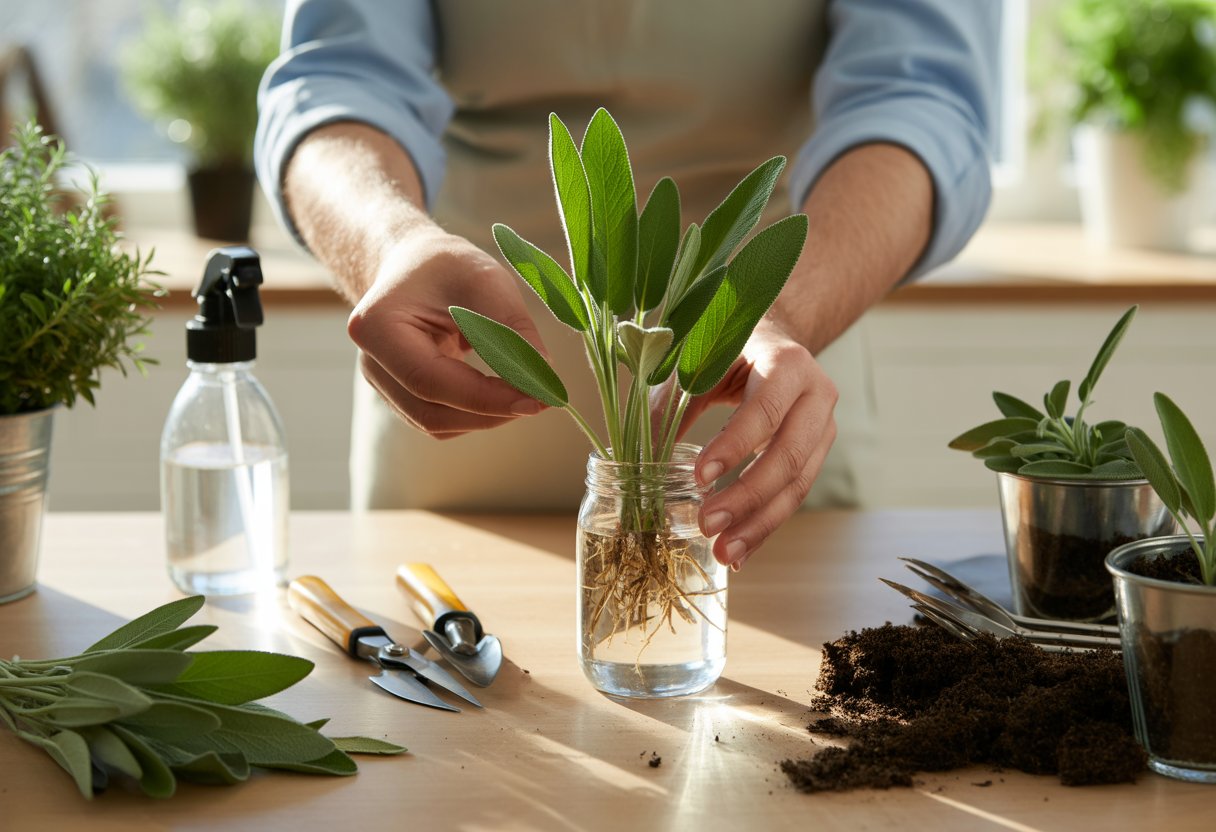
Once you’ve got your new sage plants going, paying attention to water, light, and basic care makes all the difference. Good habits early on mean more robust, flavorful sage down the line.
Water and Moisture Management
Sage likes its soil on the dry side. Water moderately, making sure the top inch dries out between waterings.
If you live somewhere hot or dry, check the soil daily. Mulch can help lock in moisture and keep roots cool.
Don’t drown your sage—overwatering is a fast track to root rot.
Lighting and Sunlight Needs
Sage thrives in full sun, needing at least 6 hours of direct sunlight each day. Without enough light, it gets leggy and weak.
If you grow sage indoors, put it by a south-facing window or use a grow light. Outdoors, pick a spot with no shade from bigger plants or buildings.
A little attention goes a long way—your sage will thank you with lush, fragrant leaves.
Pruning and Ongoing Maintenance
Regular pruning helps your plant grow bushier and keeps it from getting leggy. Once it hits about 6-8 inches, trim the top 1-2 inches to encourage branching.
If you spot dead or yellowing leaves, go ahead and remove them. That little bit of cleanup lets air move through better.
Deadheading spent flowers? It actually pushes the plant to put more energy into leaf growth, which means denser leaves and, honestly, better flavor. Grab some clean, sharp scissors—no need to risk disease with dull or dirty tools.
Try to prune on a regular basis, but don’t take off more than a third of the plant at any one time. That’s just asking for trouble.

