Planting Gladiolus Bulbs in Pots: A Step-by-Step Guide
Planting gladiolus bulbs in pots is a great way to add vibrant colors to any outdoor space. Gladiolus, also known as sword lilies, are popular for their tall, showy spikes of flowers that bloom in a variety of colors. These plants are easy to grow and care for, making them a great choice for both experienced and novice gardeners.
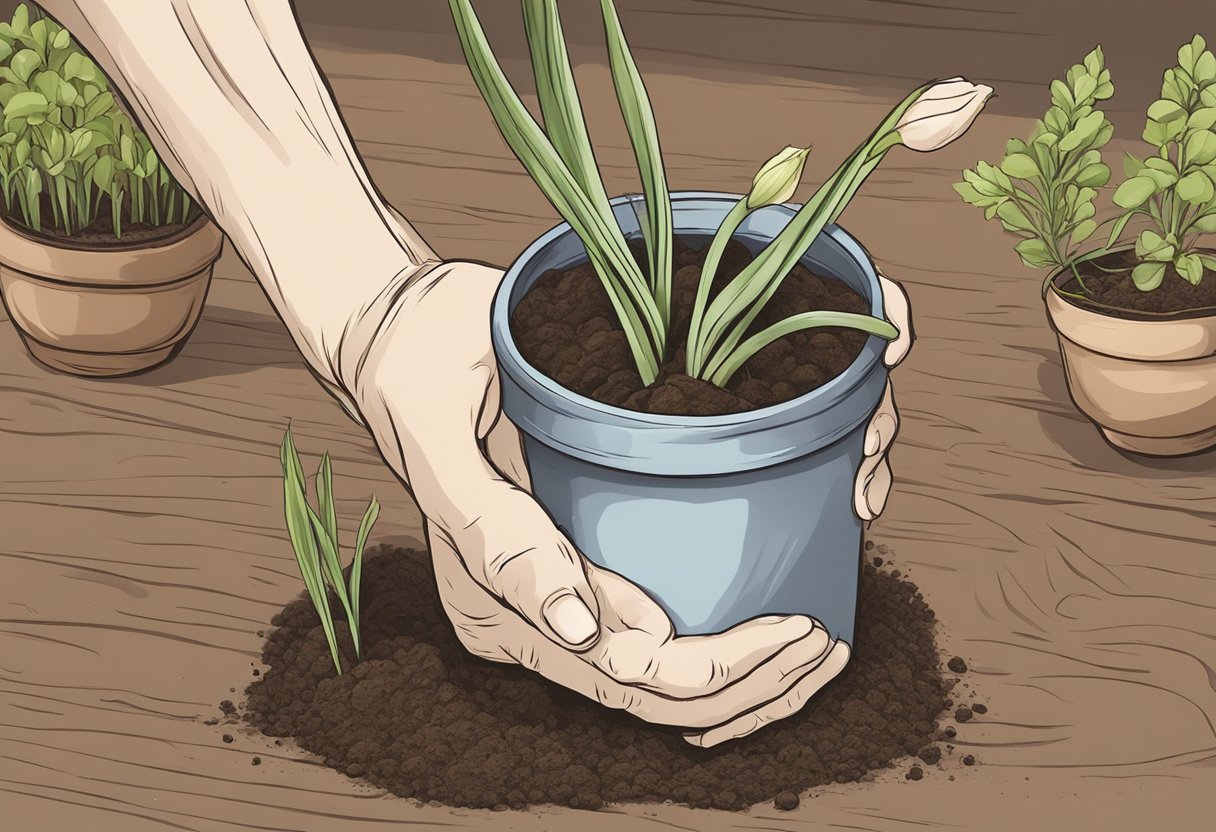
When planting gladiolus bulbs in pots, it is important to use corms instead of seeds. Corms are small, bulb-like structures that contain the nutrients needed for the plant to grow. They are easy to plant and will produce beautiful flowers in just a few months. Container gardens are an excellent way to grow gladiolus, as they allow you to move the pots around to different areas of your outdoor space, depending on the amount of sunlight and shade required by the plants.
Choosing the Right Pots
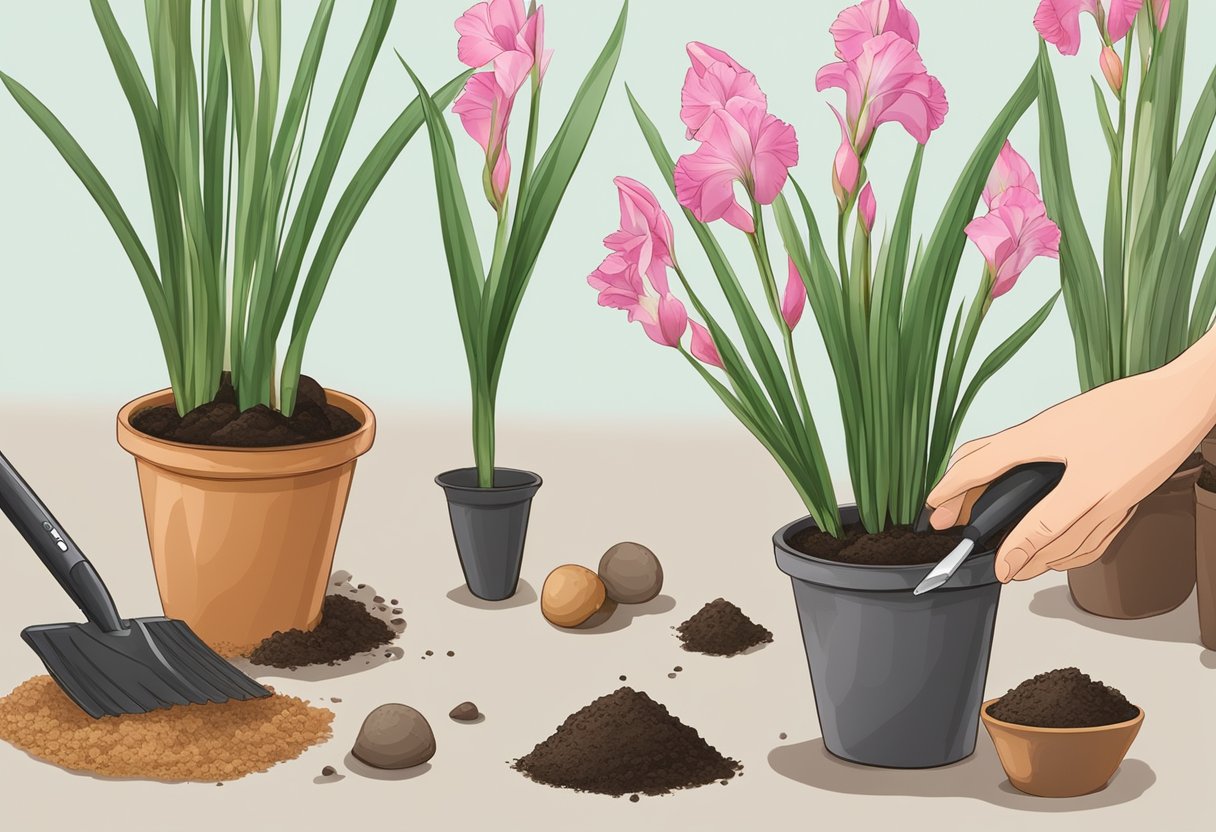
When it comes to planting gladiolus bulbs in pots, choosing the right pots is essential for the success of your plants. Here are some factors to consider when selecting pots for your gladiolus bulbs.
Pot Size and Type
The size and type of pot you choose will depend on the number of bulbs you want to plant and the space you have available. Gladiolus bulbs require a lot of room for their roots to grow, so it’s important to choose a pot that is at least 6 inches deep and 8 inches wide.
In terms of pot type, plastic and ceramic pots are the most common choices for growing gladiolus bulbs. Plastic pots are lightweight and easy to move around, while ceramic pots are more durable and can add a decorative touch to your garden.
Importance of Drainage Holes
Drainage is crucial when it comes to growing gladiolus bulbs in pots. Without proper drainage, excess water can accumulate in the soil and cause the bulbs to rot. That’s why it’s important to choose pots with drainage holes at the bottom.
When selecting pots, make sure they have enough drainage holes to allow excess water to escape. It’s also a good idea to place a layer of gravel or small stones at the bottom of the pot to improve drainage.
By choosing the right pots for your gladiolus bulbs and ensuring proper drainage, you can help ensure the health and vitality of your plants.
Selecting Quality Gladiolus Bulbs
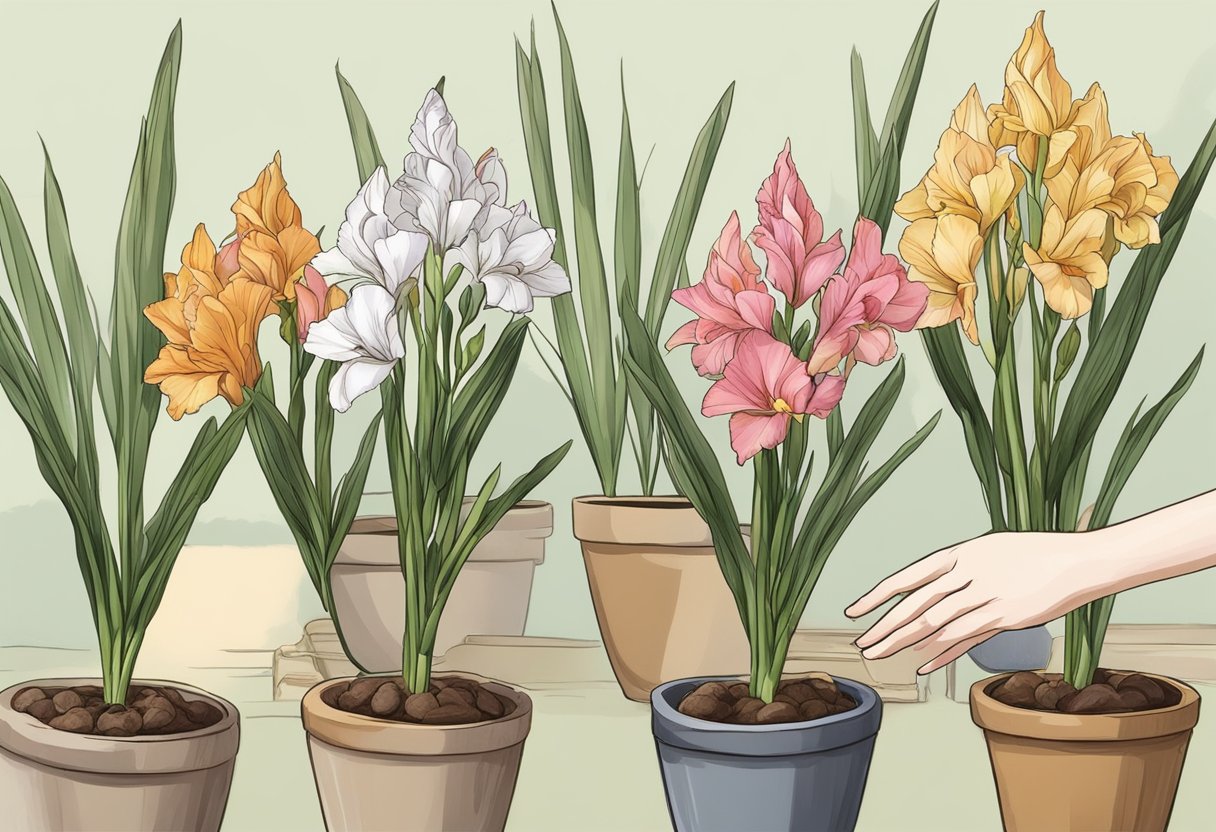
When it comes to planting gladiolus bulbs, selecting quality bulbs is crucial to ensure a successful and vibrant garden. The following subsections will help you understand corms and bulbs and where to purchase quality gladiolus bulbs.
Understanding Corms and Bulbs
Gladiolus bulbs are actually corms, which are modified stems that store nutrients and energy for the plant’s growth. When purchasing gladiolus bulbs, it’s important to look for plump and firm corms that are free from any soft spots or signs of mold. The size of the corms is also important, as larger corms tend to produce bigger and more robust flowers.
Where to Purchase Bulbs
There are several options for purchasing gladiolus bulbs, including local garden centers, online retailers, and mail-order catalogs. It’s important to purchase bulbs from a reputable source to ensure their quality and authenticity. When purchasing bulbs online, be sure to read reviews and check the company’s return policy in case of any issues.
In addition, consider purchasing bulbs from a supplier that specializes in gladiolus bulbs and has a wide variety of colors and sizes available. This will allow you to choose the perfect bulbs for your garden and ensure a beautiful and diverse display of flowers.
By understanding corms and bulbs and where to purchase quality gladiolus bulbs, you can ensure a successful and vibrant garden.
Preparing the Planting Medium
Mixing Potting Soil
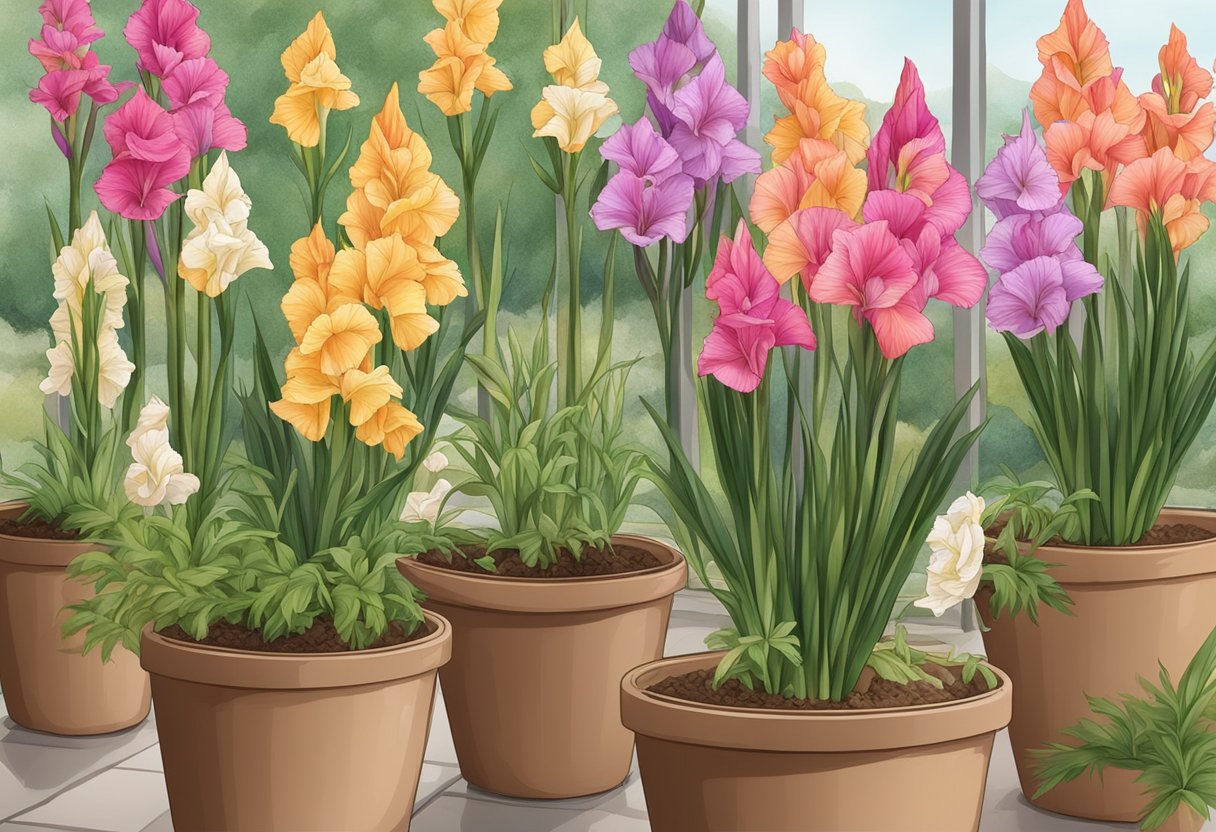
Before planting gladiolus bulbs in pots, it is important to prepare the planting medium. The first step is to mix potting soil with a well-draining soil. This will ensure that the soil has the right texture and nutrients to support the growth of the bulbs.
To mix the potting soil, start by filling the pot halfway with the soil. Then, add a layer of well-draining soil on top of the potting soil. Repeat this process until the pot is filled to within 2 inches of the rim.
Adding Fertilizer and Compost
In addition to potting soil and well-draining soil, it is important to add fertilizer and compost to the planting medium. Fertilizer will provide the bulbs with the nutrients they need to grow, while compost will improve the soil structure and help retain moisture.
To add fertilizer and compost, mix them into the potting soil and well-draining soil mixture. Use a ratio of 1 part fertilizer to 3 parts compost and mix well.
It is important to note that too much fertilizer can burn the bulbs and cause them to rot. Therefore, it is recommended to use a slow-release fertilizer and follow the manufacturer’s instructions for application.
By preparing the planting medium with the right combination of potting soil, well-draining soil, fertilizer, and compost, the gladiolus bulbs will have the best chance of thriving in pots.
Planting Gladiolus Bulbs in Pots
Gladiolus bulbs are a popular choice for gardeners who want to add color and height to their gardens. However, they can also be grown in pots, which is a great option for those with limited space or who want to move their plants around. Here are some tips for planting gladiolus bulbs in pots.
Correct Planting Depth
When planting gladiolus bulbs in pots, it’s important to plant them at the correct depth. The bulbs should be planted about 4-6 inches deep, with the pointed end facing up. If the bulbs are planted too shallow, they may not produce flowers, and if they are planted too deep, they may not be able to emerge from the soil.
Spacing and Arrangement
Gladiolus bulbs should be spaced about 4-6 inches apart in the pot. If you are planting multiple bulbs in a pot, make sure they are arranged in a circular or triangular pattern, rather than in a straight line. This will help to create a more natural look and ensure that the bulbs have enough space to grow.
When planting gladiolus bulbs in pots, it’s important to use well-draining soil and to water them regularly. The pots should also be placed in a location that receives full sun for at least six hours a day. With proper care, gladiolus bulbs can produce beautiful flowers in pots, adding color and height to any space.
Providing Optimal Growing Conditions
Sunlight and Temperature
Gladiolus bulbs require plenty of sunlight to grow and thrive. It is recommended to plant the bulbs in a location that receives at least 6-8 hours of direct sunlight per day. If you are planting the bulbs indoors, place them near a south-facing window where they can receive ample sunlight.
In terms of temperature, gladiolus bulbs prefer warm weather. The ideal temperature range for growing gladiolus is between 60-75°F (15-24°C). If the temperature drops below 50°F (10°C), the bulbs may not grow properly. Therefore, it is important to ensure that the growing environment is warm and consistent.
Watering and Humidity
Gladiolus bulbs require regular watering to grow properly. The soil should be kept moist but not waterlogged, as excessive moisture can lead to root rot. It is recommended to water the bulbs deeply once a week, rather than giving them frequent light watering.
In terms of humidity, gladiolus bulbs prefer a slightly humid environment. If the air is too dry, the leaves may become brown and withered. To increase humidity, you can mist the leaves with water or place a tray of water near the plants.
By providing optimal growing conditions for your gladiolus bulbs, you can ensure that they will grow healthy and strong. Remember to keep them in a sunny location with consistent warm temperatures, and water them deeply once a week while maintaining a slightly humid environment.
Supporting Tall Gladiolus Varieties
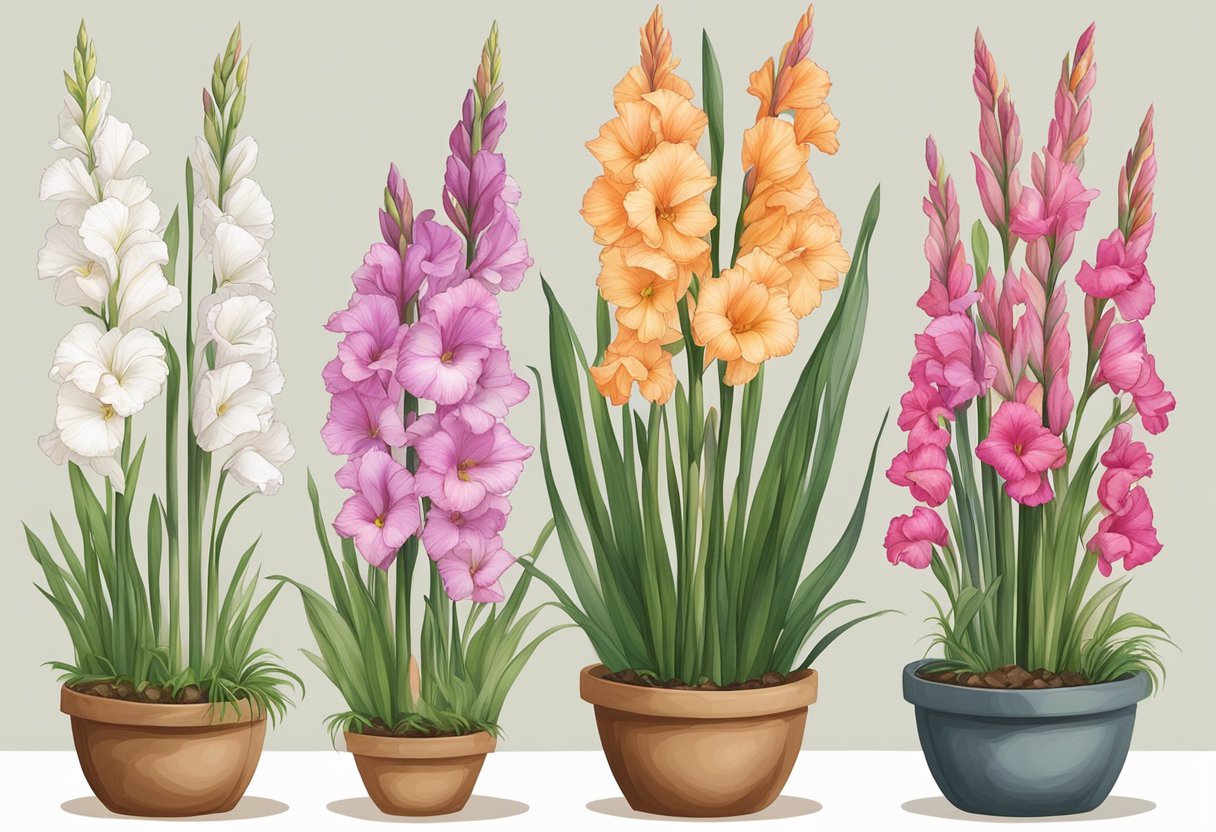
Growing tall varieties of gladiolus can be a challenge, but with proper support, it is possible to keep these beautiful flowers upright and healthy. In this section, we will explore the different methods for supporting tall gladiolus varieties.
Using Stakes and Supports
One of the most common methods for supporting tall gladiolus varieties is by using stakes and supports. Stakes are typically made of wood or bamboo and are placed next to the plant, providing a sturdy support structure. Supports, on the other hand, are typically made of metal or plastic and are designed to be placed around the plant, providing a more flexible support structure.
When using stakes and supports, it is important to choose the right size and height for your gladiolus variety. The stake or support should be at least as tall as the plant, and should be inserted into the soil at a depth of at least 6 inches. This will ensure that the support structure is sturdy enough to hold the plant upright.
Techniques for Staking
There are several techniques for staking tall gladiolus varieties. The most common technique is to insert the stake or support into the soil next to the plant, and then tie the plant to the support with a soft, flexible material such as twine or garden tape. This will prevent the plant from bending or breaking in the wind.
Another technique is to create a grid of stakes or supports around the plant, and then tie the plant to the supports at regular intervals. This will provide a more even support structure and will help to distribute the weight of the plant more evenly.
In conclusion, supporting tall gladiolus varieties is an important part of growing these beautiful flowers. By using stakes and supports and following the proper techniques for staking, it is possible to keep your gladiolus plants upright and healthy, ensuring that they bloom to their full potential.
Ongoing Care and Maintenance
Fertilizing Throughout the Season
Gladiolus bulbs require regular fertilization throughout the growing season to produce healthy and vibrant blooms. A water-soluble fertilizer with a balanced NPK ratio of 10-10-10 or 20-20-20 can be applied every two weeks during the growing season. Alternatively, slow-release fertilizers can be mixed into the potting soil before planting the bulbs. It is important not to over-fertilize as this can lead to excessive foliage growth at the expense of flower production.
Managing Pests and Diseases
Gladiolus plants are susceptible to a range of pests and diseases, including thrips and fungal diseases. Thrips are small, slender insects that feed on the leaves and flowers of the plant, causing damage and reducing the quality of the blooms. To manage thrips, neem oil or insecticidal soap can be applied to the plant every two weeks. Fungal diseases, such as botrytis and fusarium wilt, can be prevented by ensuring proper air circulation around the plant and avoiding overwatering. If fungal diseases do occur, affected leaves and flowers should be removed and destroyed to prevent the spread of the disease.
Encouraging and Enjoying Blooms
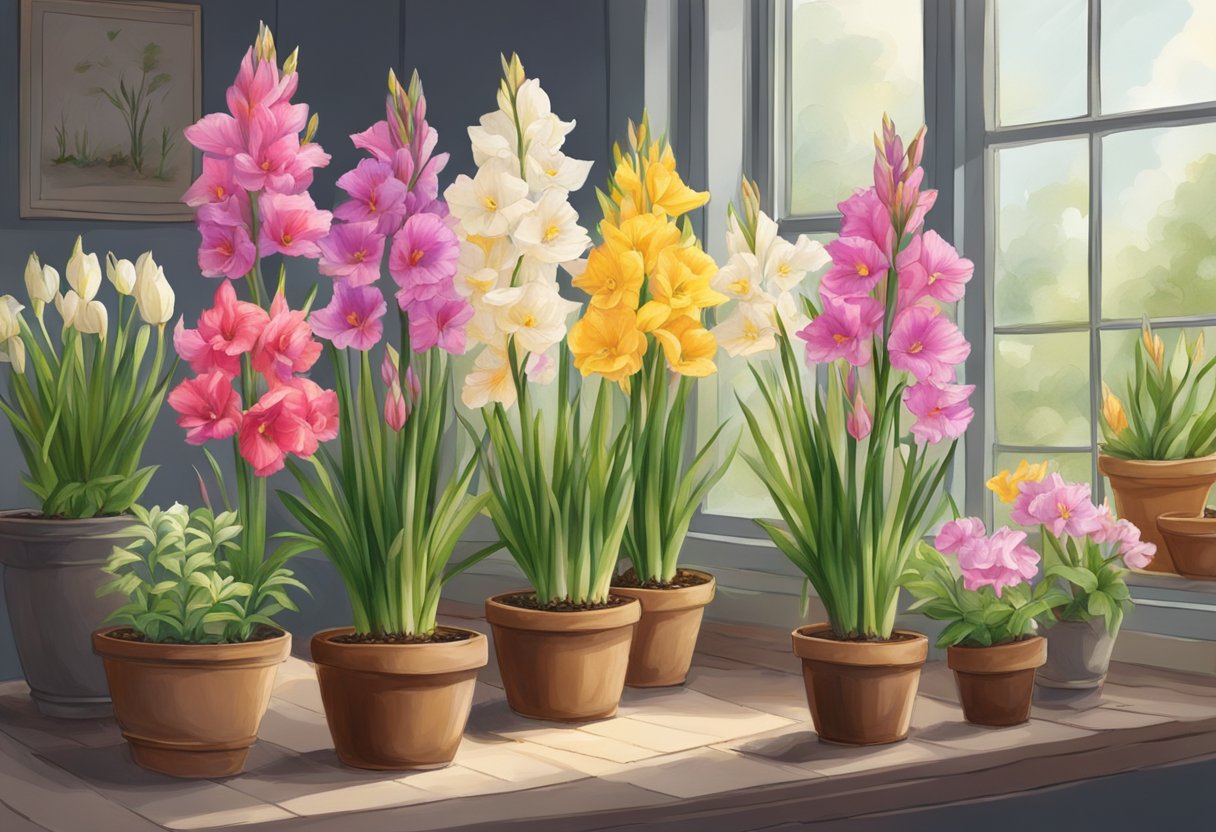
Gladiolus bulbs are an excellent choice for container gardening, as they produce tall, showy flower spikes that can add color and interest to any outdoor space. However, to get the most out of your gladiolus bulbs, it’s important to encourage and enjoy their blooms. Here are some tips to help you do just that.
Deadheading for Continuous Blooms
To keep your gladiolus plants blooming throughout the growing season, it’s important to deadhead the spent flowers. Deadheading is the process of removing the faded blooms from the plant, which encourages the plant to produce more flowers. To deadhead your gladiolus plants, simply cut off the flower spike just above the first or second flower that has faded. This will encourage the plant to produce new flower spikes, which will result in a longer blooming period.
Using Gladiolus as Cut Flowers
Gladiolus flowers are also a popular choice for cut flower arrangements, as they have a long vase life and come in a wide range of colors. To use gladiolus as cut flowers, it’s important to cut the stems when the first few flowers on the spike have opened. This will ensure that the remaining flowers on the spike will continue to open in the vase. It’s also important to change the water in the vase every few days and to add flower food to help prolong the life of the flowers.
In conclusion, by deadheading your gladiolus plants and using them as cut flowers, you can encourage and enjoy their blooms throughout the growing season. With a little care and attention, your gladiolus plants can provide a colorful and eye-catching display in your container garden.
End of Season Care

Preparing for Dormancy
As the gladiolus bulbs begin to fade and the leaves turn yellow, it’s time to prepare them for dormancy. This is an important step to ensure that the bulbs survive the winter and come back strong next year. To prepare for dormancy, stop watering the plant as soon as the leaves start to yellow. This will allow the plant to naturally dry out and begin to go dormant.
Once the leaves have completely died back, carefully dig up the bulbs. Be sure to handle them gently so as not to damage them. Remove any excess soil and cut off the dead foliage. Inspect the bulbs for any signs of disease or damage. Discard any bulbs that are soft, moldy, or show signs of rot.
Storing Bulbs for Winter
To store the bulbs for winter, choose a cool, dry place that is free from frost. A garage, basement, or shed is a good option. Lay the bulbs out in a single layer on a tray or newspaper. Be sure to label the bulbs so you know which ones are which.
It’s important to keep the bulbs dry during storage to prevent mold or rot. You can add a layer of dry peat moss or vermiculite to the tray to help absorb any excess moisture. Check the bulbs periodically during storage to make sure they are not getting too dry or too moist.
By following these simple steps, you can ensure that your gladiolus bulbs survive the winter and come back strong next year. With a little care and attention, you can enjoy beautiful blooms year after year.
Frequently Asked Questions
How deep should gladiolus bulbs be planted in containers?
Gladiolus bulbs should be planted in containers with a depth of at least 6 inches. The bulbs should be planted 4-6 inches deep, with the pointed end facing up. It is important to leave enough space between the bulbs to allow for proper growth and development.
Can gladiolus be successfully grown indoors in pots?
Yes, gladiolus can be successfully grown indoors in pots as long as they receive enough light and are planted in well-draining soil. They should be placed in a sunny window or under grow lights for at least 6 hours per day. It is important to monitor the moisture levels of the soil to prevent over or under watering.
What is the best time of year to plant gladiolus bulbs in containers?
The best time to plant gladiolus bulbs in containers is in the spring after the last frost date has passed. This allows the bulbs to establish roots before the hot summer weather arrives. Fall planting is also an option in areas with mild winters.
How should gladiolus bulbs be prepared before planting in pots?
Before planting, gladiolus bulbs should be soaked in water for 2-3 hours to rehydrate them. They should also be inspected for any signs of damage or disease and discarded if necessary. It is recommended to dust the bulbs with a fungicide powder to prevent rot.
What are the ideal companions for gladiolus in mixed container plantings?
Gladiolus pairs well with a variety of other plants in mixed container plantings, including petunias, marigolds, and zinnias. It is important to choose plants with similar light and water requirements to ensure they thrive together.
What are the necessary steps to overwinter gladiolus in pots?
To overwinter gladiolus in pots, the bulbs should be dug up after the foliage has died back in the fall. They should be stored in a cool, dry location for the winter. In the spring, they can be replanted in fresh soil and started again.

