Rain Barrel Installation for Gardens: A Practical Guide to Efficient Water Conservation
Last updated: January 30, 2026
Rain barrel installation for gardens is honestly one of the simplest ways to collect and reuse rainwater for watering plants. It helps conserve water, reduces runoff, and gives gardeners a handy water source. You end up supporting sustainable gardening and don’t have to rely only on city water.

To set one up, you just need to place the barrel under a downspout, make sure it sits on solid ground, and add a spigot for easy access. Some folks toss in a basic filter to keep out leaves and gunk.
If you’ve got a rain barrel, you’ll probably notice lower water bills and a greener, more eco-friendly way to keep healthy plants. Knowing the right steps helps you get a system that actually works.
Understanding Rain Barrel Installation for Gardens
When you install a rain barrel system, you’re basically catching and saving rainwater from your roof for later. This cuts down on water use, reduces runoff, and supports more sustainable watering habits.
What Is a Rain Barrel System
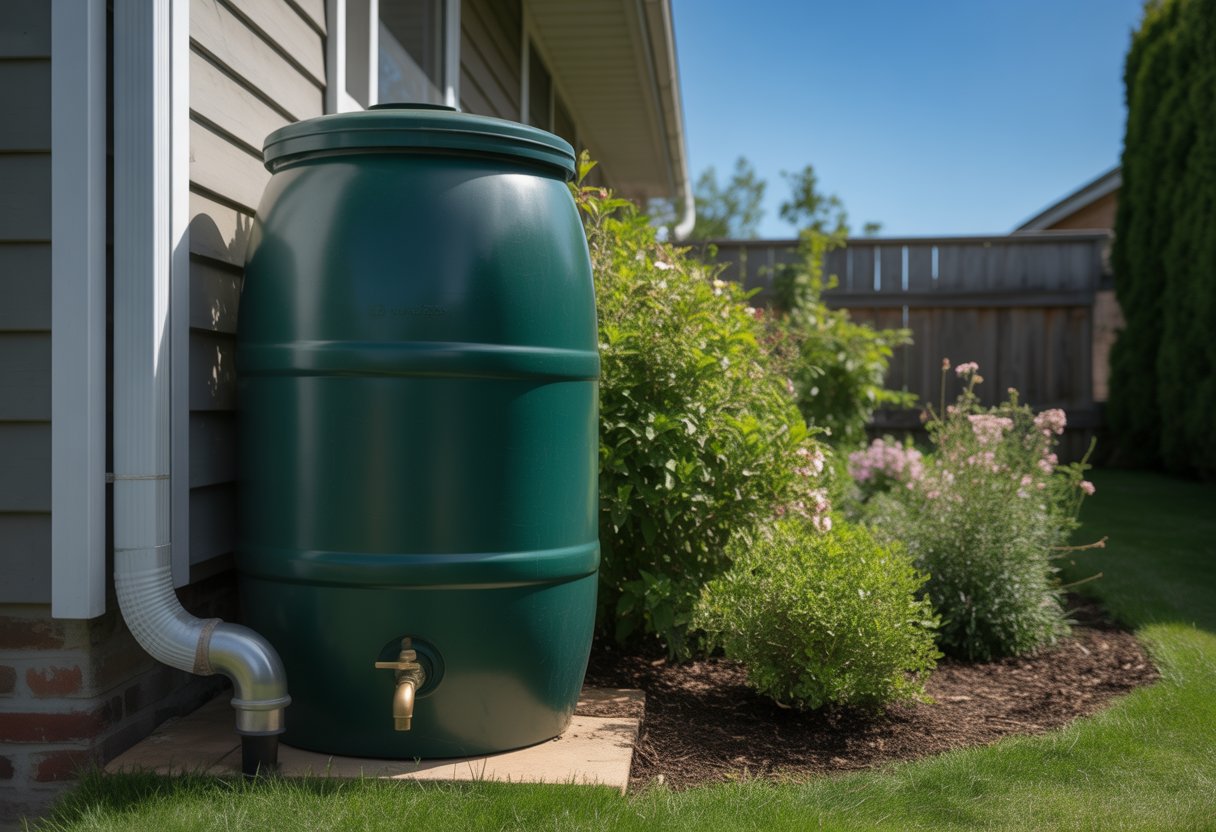
A rain barrel system grabs rainwater from your roof, channels it through gutters, and drops it into a big container. Usually, you’ll park these barrels right under a downspout for maximum efficiency.
You can use the stored water for your garden, lawn, or plants, which means you’re not as dependent on city water. Most barrels have a spigot for easy filling and an overflow valve for when things get a little too rainy.
People use barrels made from plastic, metal, or wood—just make sure they’re sturdy and food-safe. You’ll often see a screen on top to filter out debris and keep mosquitoes out.
Benefits of Collecting Rainwater
Collecting rainwater means you’re saving treated water and trimming down your water bill. With a rain barrel, you can water your garden during the day without putting pressure on the local water supply.
Less runoff means less soil erosion and fewer pollutants heading into streams and rivers. That’s a win for the environment, honestly.
Rainwater doesn’t have chlorine or harsh chemicals, so it’s gentler on your plants and actually helps your soil. Gardens really seem to thrive with the nutrients in rainwater.
Rain Gardens and Sustainable Water Resources
Rain gardens work hand in hand with rain barrels by soaking up overflow. They help absorb and filter runoff, so you’re not flooding your yard or the storm drain.
If you plant native species that can handle different moisture levels, you boost groundwater recharge. Pairing rain barrels with rain gardens just makes sense for sustainable management of water.
This combo cuts down on outside water use and helps prevent flooding. It’s a practical way to keep things balanced in your backyard.
Preparing for Your Rain Barrel Installation
A little planning goes a long way. The right barrel, spot, and tools make all the difference.
Choosing the Right Rain Barrel
Size matters here. Most barrels hold between 40 and 80 gallons, but bigger ones get heavy fast and need a solid base.
Pick food-grade plastic or recycled barrels to avoid any weird stuff leaching in. If the barrel comes with pre-drilled holes for the diverter kit and spigot, your life just got easier.
Overflow valves are pretty much a must to keep water from pooling by your house. Lids help keep out mosquitoes and random debris.
Selecting an Installation Site
Find a spot close to a downspout so you don’t have to mess with extra piping. The ground needs to be flat and strong—remember, a full barrel can weigh more than 400 pounds.
Raise the barrel on cinder blocks or a stand to get better water pressure and make it easier to fill a watering can or attach a hose. Definitely avoid spots where water could collect and mess up your foundation.
Check that the site gets plenty of flow from the roof and is easy to get to for maintenance or water use.
Essential Tools and Materials
You’ll need a diverter kit to channel water from the downspout into the barrel. These usually come with a pipe, connectors, and sometimes a filter.
Grab a drill, screwdriver, level, tape measure, and maybe a hacksaw if you need to trim the downspout. Gloves and safety glasses can save you a headache.
Cinder blocks or a sturdy stand, waterproof sealant, and hoses or attachments round out the list.
Step-By-Step Guide to Installing a Rain Barrel

A solid setup means you’ll catch more water with less hassle. Here’s how to pull it off.
Assembling the Rain Barrel
Start by giving the barrel a good rinse to get rid of dust or leftover smells. If there aren’t any holes, drill one near the bottom for the spigot and another near the top for overflow.
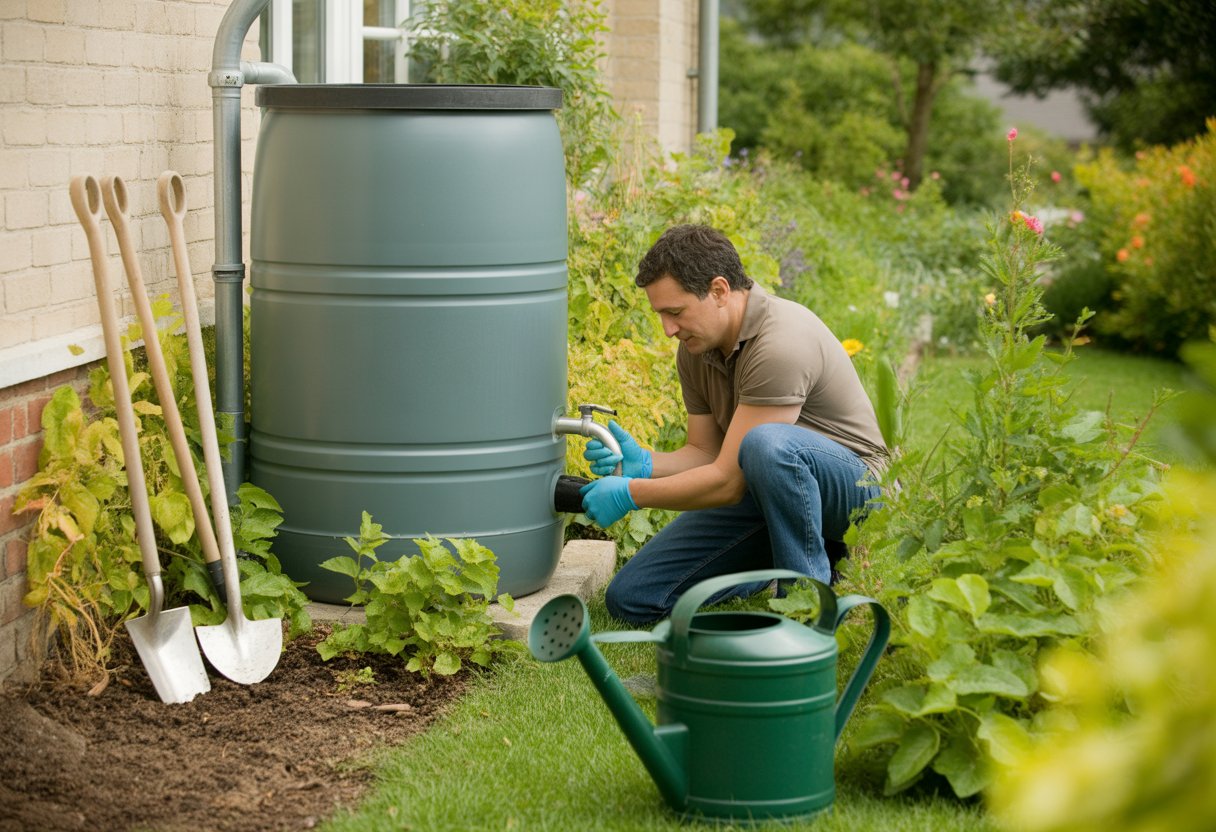
Wrap the spigot threads with plumbers’ tape, add a washer, and screw it in tight to stop leaks. Use a screen or fine mesh over the inlet to keep out bugs and debris.
Set the barrel on a strong base like concrete blocks or a platform. Make sure it’s stable so it doesn’t tip over when it fills up.
Installing a Diverter for Efficient Collection
Cut the downspout at the height marked in the diverter kit instructions—usually about a foot or so from the ground. Attach the diverter and connect its hose to the barrel’s inlet.
The diverter sends rainwater into the barrel but lets extra water keep flowing down the spout. This keeps your yard from flooding.
Keep an eye on the diverter’s filter and clean it out now and then. Some kits even have a shutoff valve for maintenance or winter.
Connecting to Your Garden Watering System
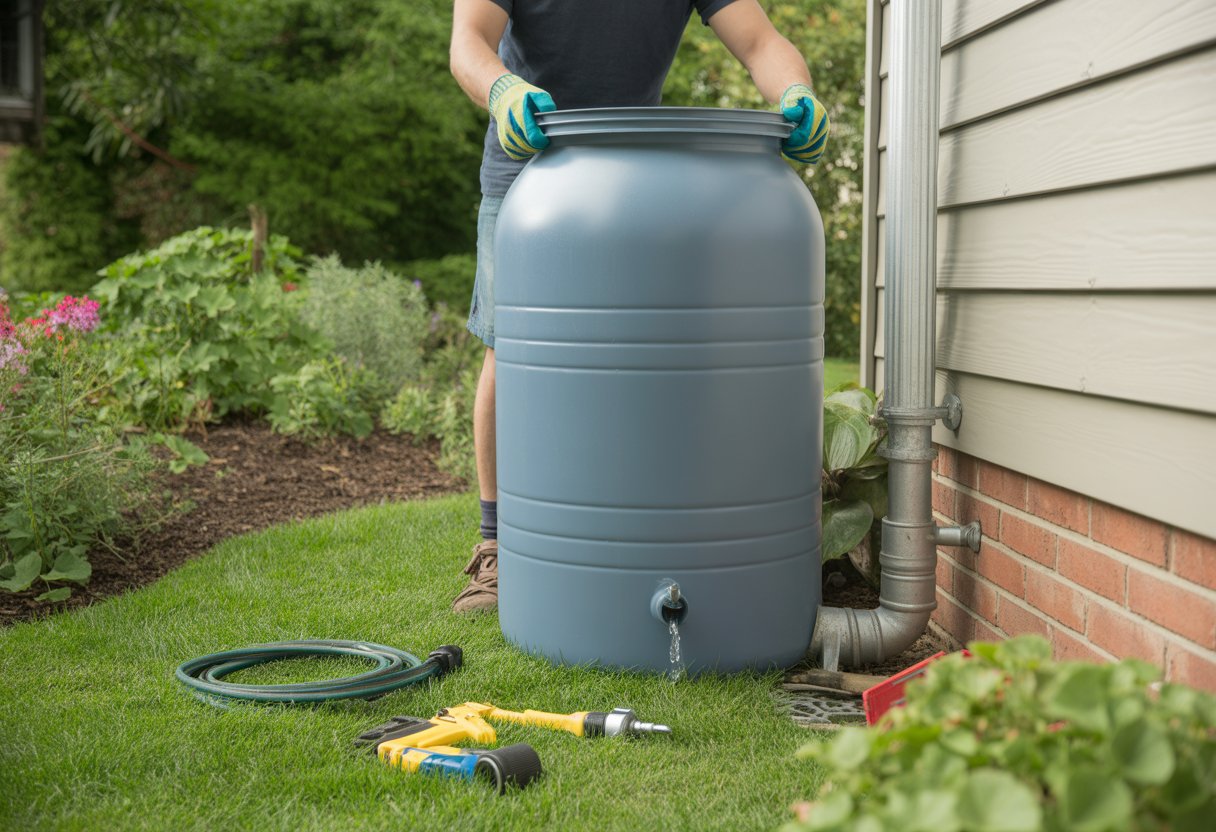
Hook up a garden hose or drip irrigation tube to the spigot. Use washers and clamps to avoid leaks.
Want to get fancy? Add a timer valve if you’re connecting to an irrigation system. The pressure from the raised barrel should do the trick.
Lay out your watering lines so every bed gets a good soak. Adjust the flow to stretch your rainwater further.
Testing and Troubleshooting Your Setup
Once you’re set up, fill the barrel and check for leaks at every connection. Watch the diverter during a rainstorm to make sure water’s going where it should.
If you see drips or blockages, fix them right away. If water pressure feels weak, try raising the barrel higher or using a wider hose.
Regular checkups keep the system running and your water clean.
Rain Barrel Maintenance and Safety Considerations

A little maintenance goes a long way. Clean water and a safe setup mean fewer headaches down the road.
Preventing Contamination and Algae Growth
Clean the barrel every few months—three is a good rule of thumb. Scoop out leaves and dirt before they break down and get gross. A fine mesh screen on top keeps most stuff out.
Algae loves sunlight, so use an opaque barrel or cover it. Stirring the water or popping in a small aerator can help keep things fresh.
Controlling Mosquito Larva in Rain Barrels
Mosquitoes love standing water, so don’t give them a chance. Use a tight lid or mesh screen to keep them out.
If you spot larvae, drop in a plant-safe larvicide tablet. Emptying the barrel during dry spells helps too. Check for any holes or gaps in the cover so bugs can’t sneak in.
Protecting Your Water Quality
Try not to keep water in the barrel for more than six months. Use it up on your garden to keep it fresh. Skip pesticides or harsh chemicals on plants watered from the barrel.
Install a first-flush diverter to catch the dirtiest roof runoff before it hits the barrel. If the water smells or looks off, it’s time to clean or swap it out. A good filter can make a difference if you’re picky about water quality.
Winterizing and Long-Term Care
Before freezing weather hits, disconnect the rain barrel and drain it completely. Otherwise, ice expansion can crack the barrel, which nobody wants.
Store the barrel upside down, or just bring it indoors for winter. It’s a little extra work, but it’ll save you headaches later.
Check spigots, screens, and seals for damage before you set everything up again. If you spot issues, fix them right away.
When spring finally rolls around, give the barrel a thorough cleaning to clear out any sediment or algae. Regular maintenance on the catchment surface and downspouts keeps water flowing and helps prevent flooding around your setup.
![]() Looking for a nursery that carries native plants?
Looking for a nursery that carries native plants?
Browse our native plant nursery directory


