Dividing Dahlia Tubers: Finding Eyes, Necks, and Viable Pieces
Last updated: November 6, 2026
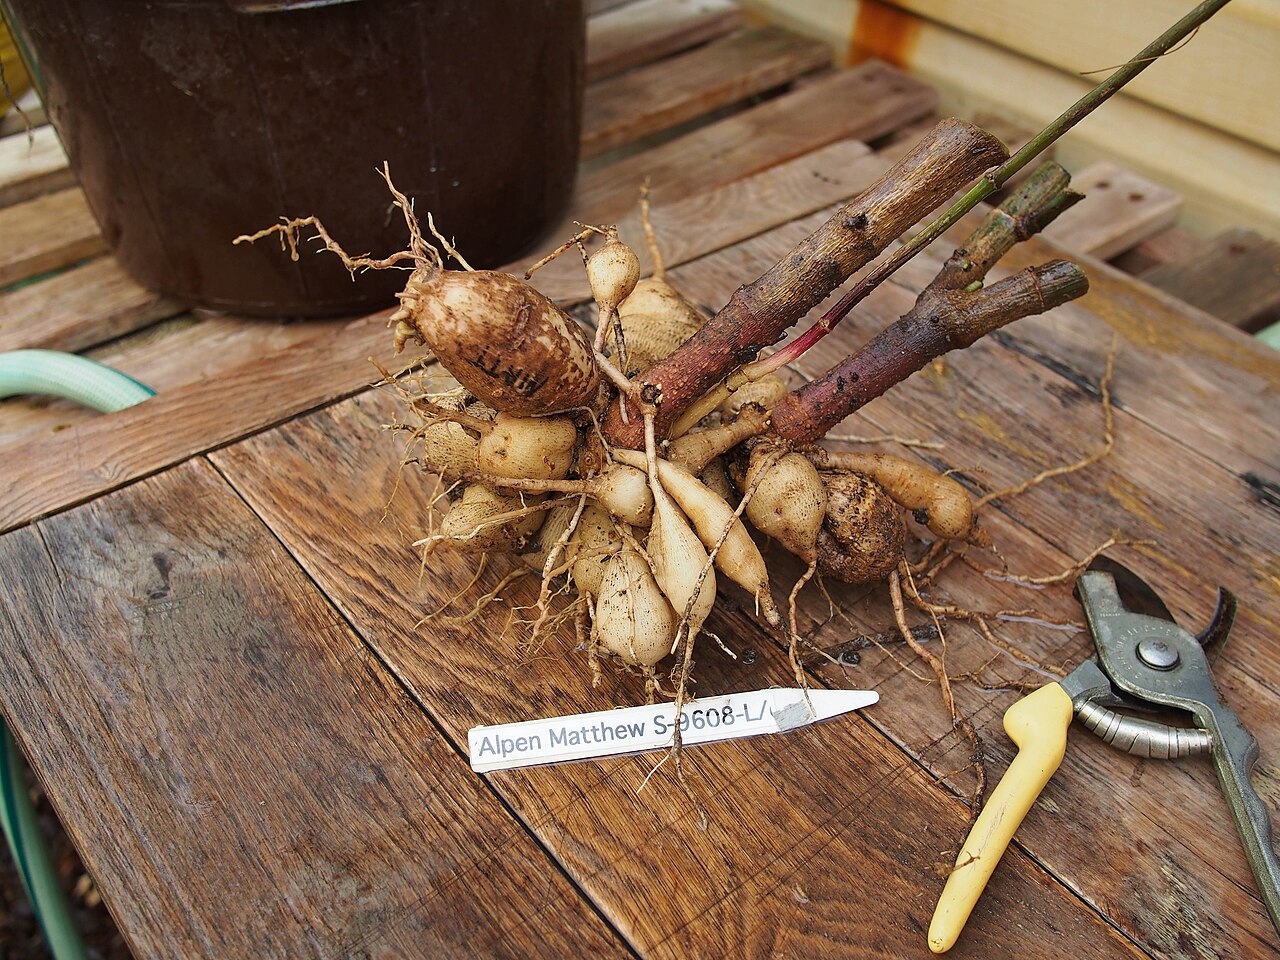
One dahlia tuber planted in spring can come out of the ground in fall as a heavy clump of a dozen or more. Dividing that clump gives you more plants and keeps the next year’s growth vigorous.
The hard part isn’t the cutting. It’s knowing where to cut. A fat, healthy-looking tuber with no piece of crown will never grow, while a skinny one with a single eye can make a full plant.
This guide shows how to read a clump, find the eyes, protect the necks, and judge which pieces are worth keeping.
The Short Answer
- Every division needs three things: a firm tuber body, an unbroken neck, and a piece of crown with at least one eye.
- Eyes are on the crown, the knobby base of the old stem, never on the tuber body itself.
- Remove all of the old stem, which tends to rot, and sterilize your tools between clumps.
- If you can’t see eyes yet, wait a few days or divide in spring when they swell.
- Discard pieces with broken necks, no crown, or brown, rusty or mushy tissue.
Reading a Dahlia Clump
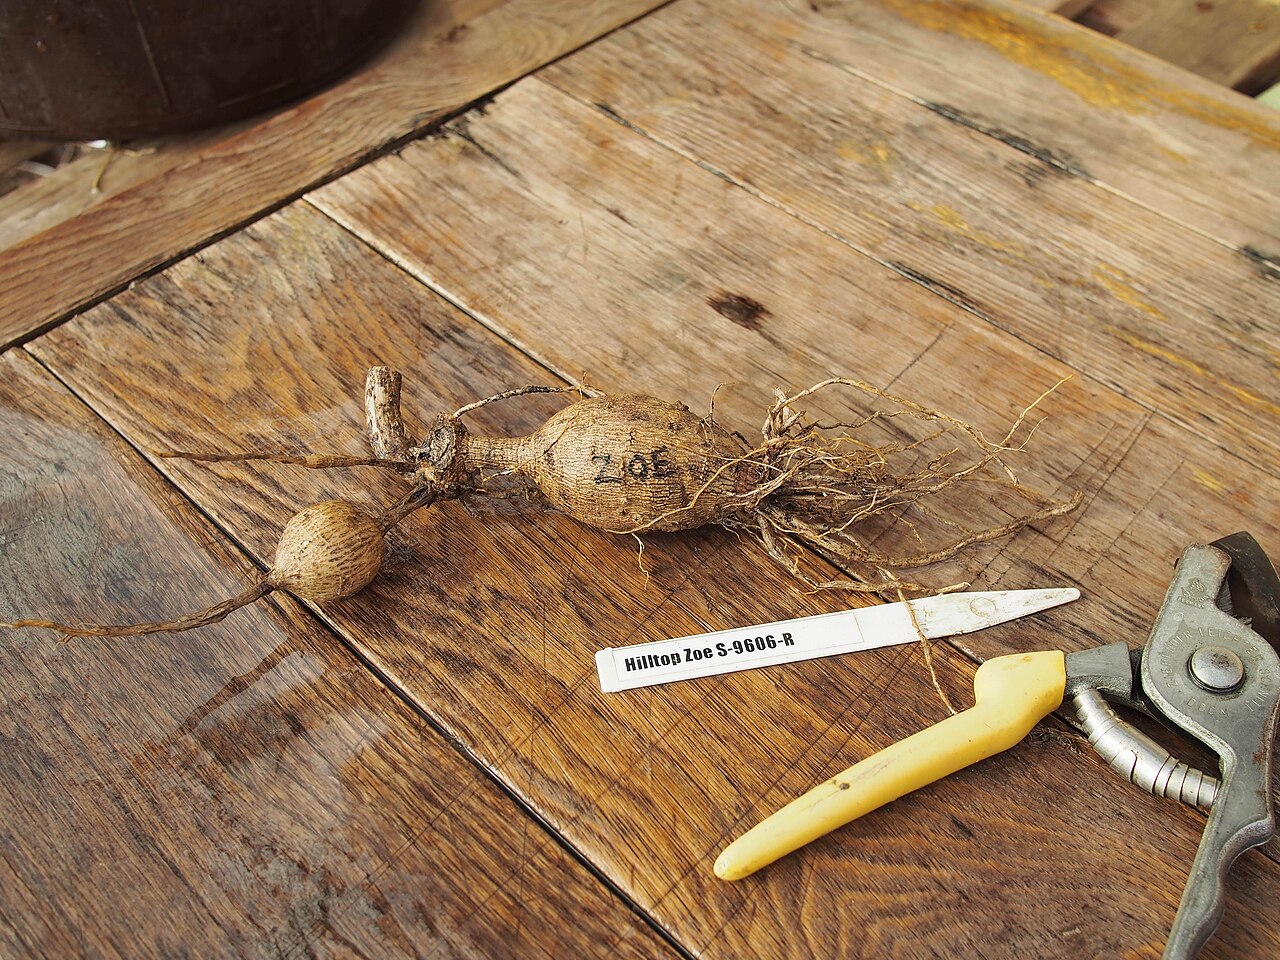
The UC Master Gardeners of San Luis Obispo County describe each tuber in three parts. The body is the swollen storage root. The neck is the narrow link above it. The crown sits on top and joins the old stem.
Eyes sprout only from the crown. The crown must have at least one eye to produce a plant, and if the neck is broken, the tuber isn’t viable.
In a clump, the old stem sits in the middle with the crown tissue around its base. New tubers hang from that crown on their necks. Last year’s planted tuber, the mother tuber, is usually somewhere in the middle, often darker and woodier than the rest.
What Makes a Viable Division
| Crown | A piece about ¼ to ½ square inch with at least one eye (UC master gardeners). |
| Neck | Intact and firm, not cracked or snapped. |
| Body | Firm, at least the size of a pinky finger or AAA battery. |
| Flesh | White when cut. Brown or rusty areas suggest rot. |
| Stem | None left attached. |
Step 1: Decide Between Fall and Spring Dividing
Both work. The UC master gardeners note that the process is the same either way. The difference is how easy the eyes are to see and how hard the clump is to cut.
The American Dahlia Society points out the trade-off. Clumps are much easier to cut in fall, while some varieties get so hard over winter that they’re tough to split in spring. But eyes are harder to find in fall, before they start to swell.
Fall dividing also saves storage space. Spring dividing means you can see swelling eyes clearly, but you’ll be storing whole clumps over winter.
If you’re new to dividing, a good compromise is to divide in fall the clumps where eyes are easy to see, and store the rest whole until spring.
Step 2: Set Up Clean, Sharp Tools
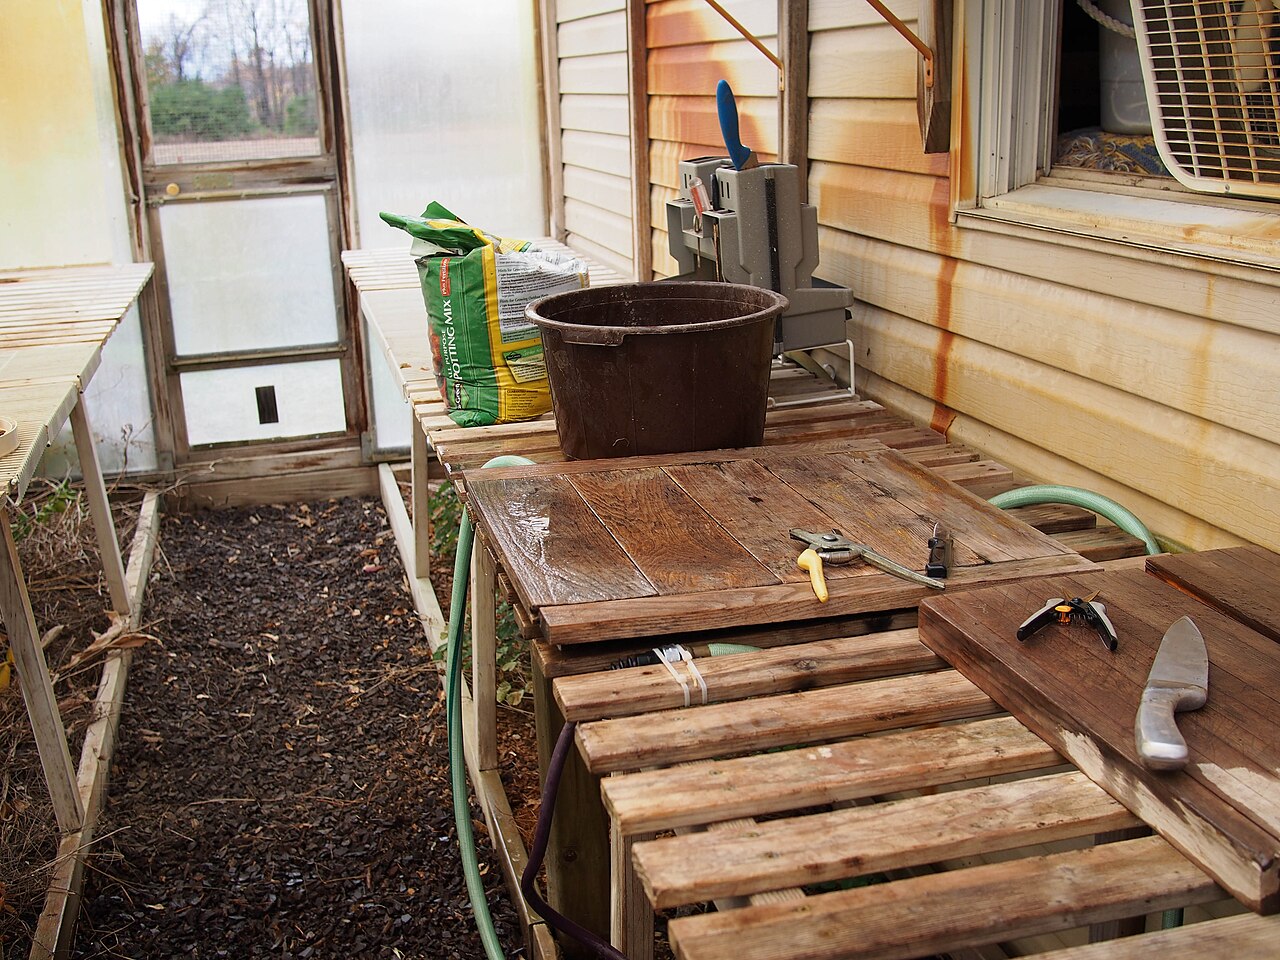
You’ll need a sharp knife, sturdy pruners for thick crowns, labels, and a container of sanitizing solution.
Sanitation matters more with dahlias than with most perennials. The American Dahlia Society found that cutting tools spread virus between clumps, and recommends sterilizing tools after each clump. A solution of 1 part bleach to 10 parts water is its lowest-cost effective option.
Bleach is corrosive and irritating, so wear gloves, work in a ventilated space, and rinse and dry metal tools afterward.
Step 3: Clean the Clump and Make the Eyes Visible
Wash soil off the clump with a hose so you can see the crown. UNH Extension notes that soil carries microorganisms that cause decay in storage.
Turn the clump upside down to drain water from the hollow stem. If the clump is fresh from the ground, the American Dahlia Society notes that letting it sit for a couple of hours makes the tubers less brittle.
If you can’t see eyes, give them time. Some growers cut stalks down several days to a couple of weeks before digging so eyes start to show. The UC master gardeners suggest cutting stems to 5–6 inches one to two weeks before fall digging. Covering cut stalks keeps rain out of the hollow stem, which can cause crown rot.
Step 4: Find the Eyes
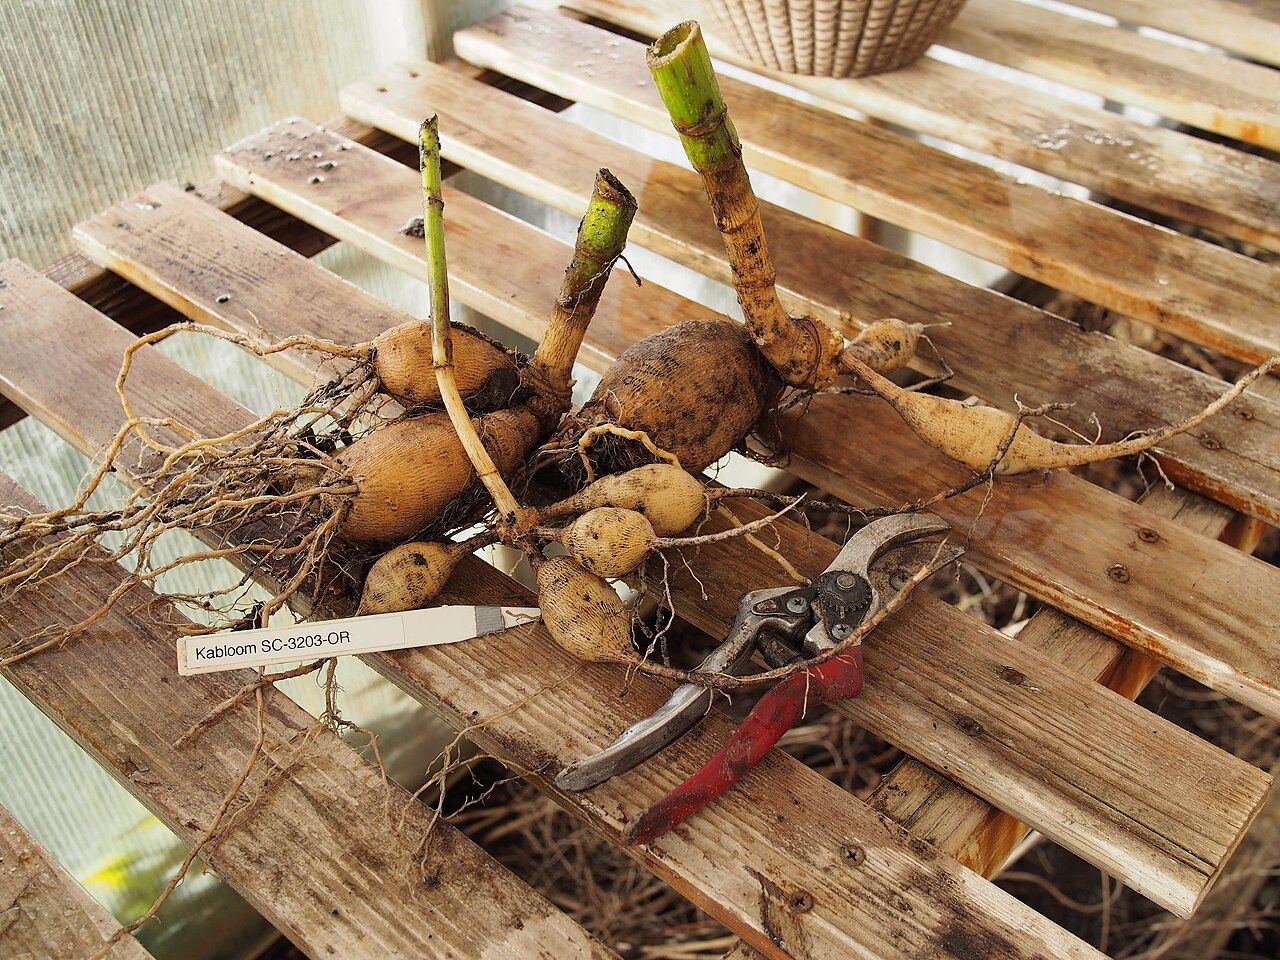
Look at the crown, right where each neck joins the base of the old stem. Eyes are small bumps, a bit like the eyes on a potato. They may be pale, pinkish, or greenish, and they swell and become easier to spot as time passes.
Turn the clump in good light and look from several angles. Eyes are often on the crown just above a neck, but not every neck has one directly above it.
Mark the ones you find with a dot of marker if that helps. Then plan your cuts so each tuber you keep has at least one eye on its piece of crown.
If a variety’s eyes just won’t show, the American Dahlia Society notes that you can simply cut and accept that some divisions will have eyes and some won’t. Another option is to leave several tubers together on a larger piece of crown.
Step 5: Make the First Cuts Through the Crown
Start by splitting the clump into a few large sections. Cut down through the middle of the old stem and crown with a knife or pruners, dividing it in halves or quarters.
The UC master gardeners recommend cutting large crowns in half with pruners as a first step. Smaller sections are easier to see and handle, and you’re less likely to snap a neck by levering a whole clump around.
Remove all of the old stem tissue as you go. The American Dahlia Society warns that leftover stem tends to promote crown rot. Trim off fine feeder roots too.
Step 6: Separate Individual Tubers
Working on each section, cut out single tubers by slicing through the crown so each one keeps its own piece of crown with an eye. Cut toward the eye’s side so it stays with the tuber, not the scrap.
Support each tuber’s body as you cut. Necks are the weak point. If you twist or pry, they crack.
Thin-necked or hard-to-keep varieties can stay in small groups of two or three tubers on a shared piece of crown. The American Dahlia Society suggests this for varieties with especially thin necks, small crowns, or small, thin tubers.
Step 7: Check Each Piece and Sort
Now inspect every division before you keep it.
- Broken neck: discard. It can’t feed the eye.
- No crown or eye: discard. It’s a “blind” tuber and won’t grow, however healthy it looks.
- Brown or rusty areas in the crown: cut them away. The American Dahlia Society says this discoloration probably indicates crown rot.
- Soft spots or rot in the body: cut the end and look. White flesh is healthy. Cut back toward the crown; if you reach clean tissue that still includes the crown, it can be viable.
- Tiny, immature tubers: the UC master gardeners suggest keeping tubers at least the size of a pinky finger or AAA battery.
Most growers discard the old mother tuber. The American Dahlia Society notes that sprouts from it tend to rely on it and form weaker roots. The UC master gardeners note an exception: keep it if it has a healthy new crown attached.
Step 8: Label, Dry and Store
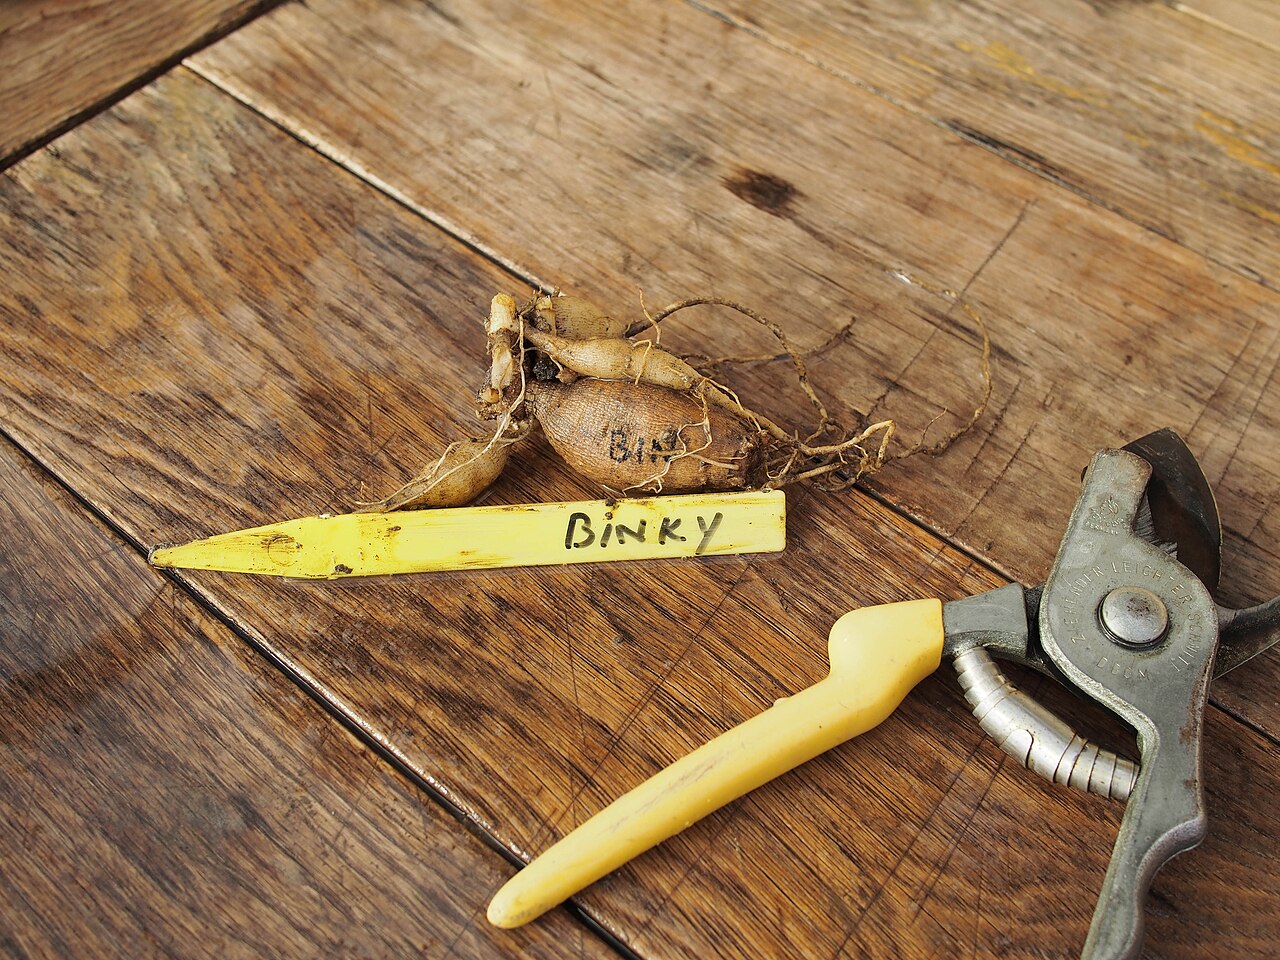
Label every division right away. The American Dahlia Society suggests an indelible pencil on slightly damp tubers, or a fine permanent marker once they’re dry.
Let divisions dry before storing, about 24 hours for small tubers and 24 to 36 hours for medium and large ones, according to the society. Dry them on racks or wood, not on concrete, which draws out moisture and promotes shriveling.
Then pack them in a lightly moist medium in a cool spot. Our guide to dahlia tubers shriveling in storage covers temperatures, containers and winter checks.
Quick Reference
| Keep | Firm body, intact neck, crown with an eye, white flesh. |
| Trim and keep | Rot or insect damage only at the tip, with clean tissue up to the crown. |
| Keep as a group | Thin-necked varieties or clumps with eyes you can’t find. |
| Discard | Broken neck, no crown, rotted crown, mushy body. |
| Every clump | Remove all old stem; sterilize tools before the next clump. |
How Often to Divide
You don’t have to divide every year, but clumps get crowded. The UC master gardeners note that undivided dahlias form massive clumps with weaker stalks and smaller blooms, and suggest dividing at least every two to three years.
In mild-winter areas where dahlias stay in the ground, that’s the main reason to dig. In colder areas where you lift tubers anyway, dividing at the same time is the easiest habit.
The same crown-reading skills apply to many perennials. Our guide to dividing purple coneflower walks through separating healthy crowns on a native plant, and our article on gladiolus bulbs covers storing and dividing another tender summer bloomer.
A Season-by-Season Plan
- Late summer: mark your best plants and toss any that were weak or showed virus symptoms.
- After frost: cut stems, cover the cut ends, and wait a few days before digging if you want eyes to show. Lift clumps carefully by digging around the whole plant.
- Dividing day: wash, split into sections, cut out single tubers with crown and eye, check for rot, label.
- Winter: dry for a day or so, then store cool in a lightly moist medium and check every few weeks.
- Spring: divide any clumps you stored whole, once eyes swell. Plant after frost, with a stake set beside tall varieties.
When spring comes, our step-by-step tuber planting guide and dahlia planting basics cover getting divisions in the ground. If tall varieties get away from you, see our late-season staking guide. For everything else, see the full dahlia growing guide.
Frequently Asked Questions
What does a dahlia eye look like?
A small bump on the crown, near where a tuber’s neck meets the old stem. It looks a bit like a potato eye and often turns pinkish, white or green as it swells in late winter or spring.
Can a dahlia tuber grow without an eye?
No. Shoots come only from eyes on the crown. A tuber broken off without crown tissue is blind and won’t produce a plant. If one of your divisions never comes up, our guide to dahlia tubers not sprouting explains how to check it.
Is it better to divide dahlias in fall or spring?
Each has trade-offs. Fall clumps are softer and easier to cut, but eyes are harder to see. Spring eyes are easy to spot, but some clumps get very hard over winter. Many growers divide in fall and leave difficult clumps for spring.
Should I keep the mother tuber?
Usually not. The American Dahlia Society notes that sprouts from it tend to rely on it and form weaker roots. Keep it only if it has a healthy new crown attached.
How small can a dahlia division be?
UC master gardeners suggest a tuber at least the size of a pinky finger or a AAA battery, with a piece of crown about ¼ to ½ square inch that carries at least one eye.
Sources
- American Dahlia Society, Digging, Dividing, and Storing Tubers: crown and eye requirement, removing stems, fall vs. spring trade-offs, tool sterilization and virus, crown rot, mother roots, thin-necked varieties, labeling and drying.
- UC Master Gardeners of San Luis Obispo County, Dahlias: Digging, Dividing, and Storing: body, neck and crown; minimum tuber and crown size; cutting crowns in half; mother tuber exception; dividing every 2–3 years.
- UNH Extension, When should I dig up dahlia tubers and how should I store them?: delicate necks, washing off soil, dividing in fall or spring.
- Wikipedia, Dahlia: tuberous root structure and propagation.