Drip Irrigation Tips for Beginners: Essential Strategies for Efficient Watering
Last updated: January 27, 2026
Drip irrigation waters plants efficiently by delivering water directly to their roots. If you’re new to this, it’s best to start with a basic system and tweak it as you go, depending on what your plants and soil need.
Setting up drip irrigation the right way saves water and helps plants thrive.
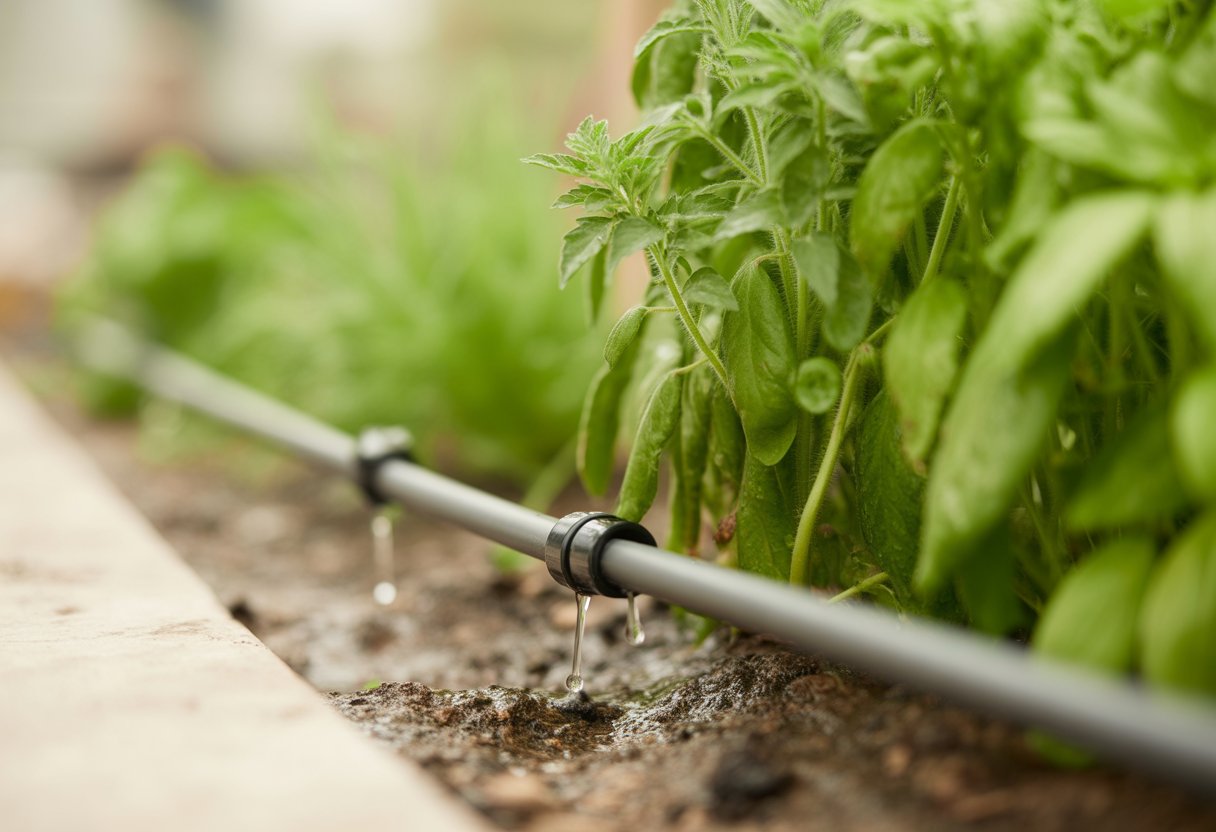
Choosing the right parts—emitters, tubing, connectors—really matters for smooth operation. If you know how much water each plant needs and set up a schedule, you’ll avoid drowning or starving your plants.
Honestly, a lot of beginners forget about maintenance. Regular checks for clogs or leaks keep things running and make drip irrigation a solid pick for almost any garden.
Understanding Drip Irrigation Basics
Drip irrigation sends water straight to the root zone, which cuts down waste and boosts efficiency. The system uses specific components for different watering needs, and those little emitters control water flow right at the source.
How Drip Irrigation Works
Water moves slowly and steadily through a network of tubes, then seeps out near plant roots. It starts at a main source, travels through pipes, and ends up at emitters right where roots need it.
This approach keeps evaporation and runoff to a minimum, way better than old-school sprinklers. You’ll need to regulate water pressure so the delivery’s even—most drip setups run at low pressure, around 10-30 psi, to protect the emitters and avoid busted pipes.
Drip irrigation fits gardens, flower beds, and veggies, targeting water exactly where it’s needed.
Key Components of Drip Irrigation Systems
Every basic drip system needs a water source, filter, pressure regulator, tubing, emitters, and end caps. The filter keeps debris out, which helps prevent clogs.
Pressure regulators keep water at a safe, steady level. Tubing comes in different sizes—main lines are bigger, while smaller lines go out to emitters.
End caps seal the ends. You can toss in micro irrigation parts like soaker hoses or bubblers if your garden has a mix of plant types.
Types of Emitters and Their Functions
Emitters come in a few styles: drip emitters, micro-sprayers, bubblers, and soaker hoses. Drip emitters work best for small plants, letting water out one drop at a time.
Pressure-compensating emitters keep flow steady, even if your garden’s on a slope. Micro-sprayers cover more ground with a soft spray—great for groundcovers.
Bubblers pour out more water for tree roots. Soaker hoses spread water evenly along their length, which works nicely in rows.
Pick emitters based on your plant’s needs and how far apart they are.
Planning and Installing a Drip Irrigation System
Good planning makes drip irrigation efficient and tailored to your plants. Matching your setup to the soil and picking the right gear cuts down on wasted water and helps everything grow better.
Assessing Plant Water Needs
Figure out what each plant or crop really needs. Different plants—like rows of veggies versus a few shrubs—use different amounts of water and need different delivery rates.
Soil plays a big role, too. Sandy soil dries out fast, so you’ll water more often. Clay holds onto water, so less frequent, deeper watering works better.
You can use simple tests or moisture sensors to check if you’re overdoing it. Pay attention to when your plants use the most water and tweak the flow as needed.
Choosing the Right Equipment
Pick parts that fit your water supply and garden size. A pressure regulator is a must for steady flow and to protect your emitters.
Use PVC pipe for big main lines and tough polyethylene tubing for branching out to each plant. An irrigation controller automates watering, taking the guesswork out.
Match emitters to plant types—use low-rate drippers for shrubs, higher flow ones for rows of veggies. Make sure tubing size matches the water volume and pressure you expect.
Layout Design Tips
Group plants with similar water needs together. This way, you can use emitters efficiently and avoid soaking the wrong plants.
Run tubing close to the roots and secure it so it doesn’t wander. Plan mainlines and side lines so water gets everywhere it should.
Use tees and connectors to get around beds and obstacles. After you set things up, test for leaks and check water distribution.
Move emitters or adjust the flow if you see dry or soggy spots.
Optimizing Watering Efficiency
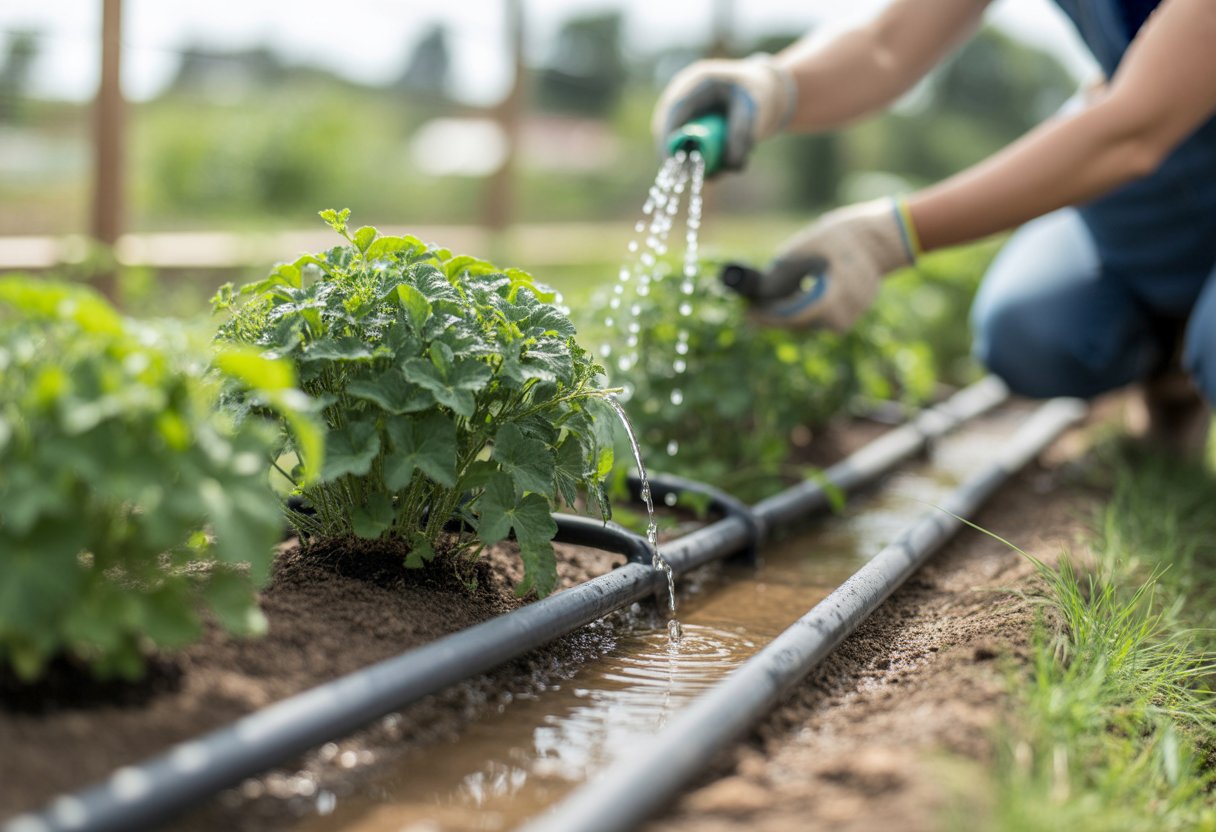
Getting watering right means paying attention to timing, soil, and the weather. Mulch and deep watering help keep moisture in and make your system even more efficient.
Setting Up a Watering Schedule
A steady schedule, set by an irrigation clock, gives plants water when they need it. Early morning or late evening usually works best to cut down evaporation.
How often you water depends on what you’re growing and your climate. Hot or dry spells might mean watering daily, while cooler weather lets you stretch it to twice a week.
Automated timers make this way easier. They deliver the right amount of water on set days, which is honestly a relief if you’re forgetful.
Adjusting for Soil and Weather Conditions
Soil type changes everything. Sandy soil drains fast, so you’ll want shorter, more frequent watering.
Clay holds water longer, so go for less frequent but deeper sessions. Weather throws a wrench in things—skip watering when it rains.
When it’s hot or windy, you might need to water more to fight off evaporation. Use a soil probe or just poke your finger in the dirt; if it’s dry a few inches down, it’s time to water.
Preventing Water Waste and Evaporation
Drip irrigation already helps with evaporation, but you can do more. Place drip lines close to plant roots to keep runoff down.
Keep water pressure on the lower side to avoid misting and waste. Pressure regulators help a lot here.
Don’t water in the heat of the day—10 a.m. to 4 p.m. is a no-go. Check for leaks and busted emitters often, or you’ll waste a ton of water without realizing it.
Applying Mulch and Deep Watering
Mulch keeps soil cool and slows down evaporation. Organic stuff like wood chips or straw works great and even improves the soil over time.
Deep watering makes roots grow down, so plants handle dry spells better. Let water soak in slowly, pushing it deeper.
Using mulch with deep watering keeps soil moist longer, so you don’t have to water as often. It’s a simple combo, but it really pays off for healthy roots and long-term water savings.
Maintenance and Troubleshooting Tips
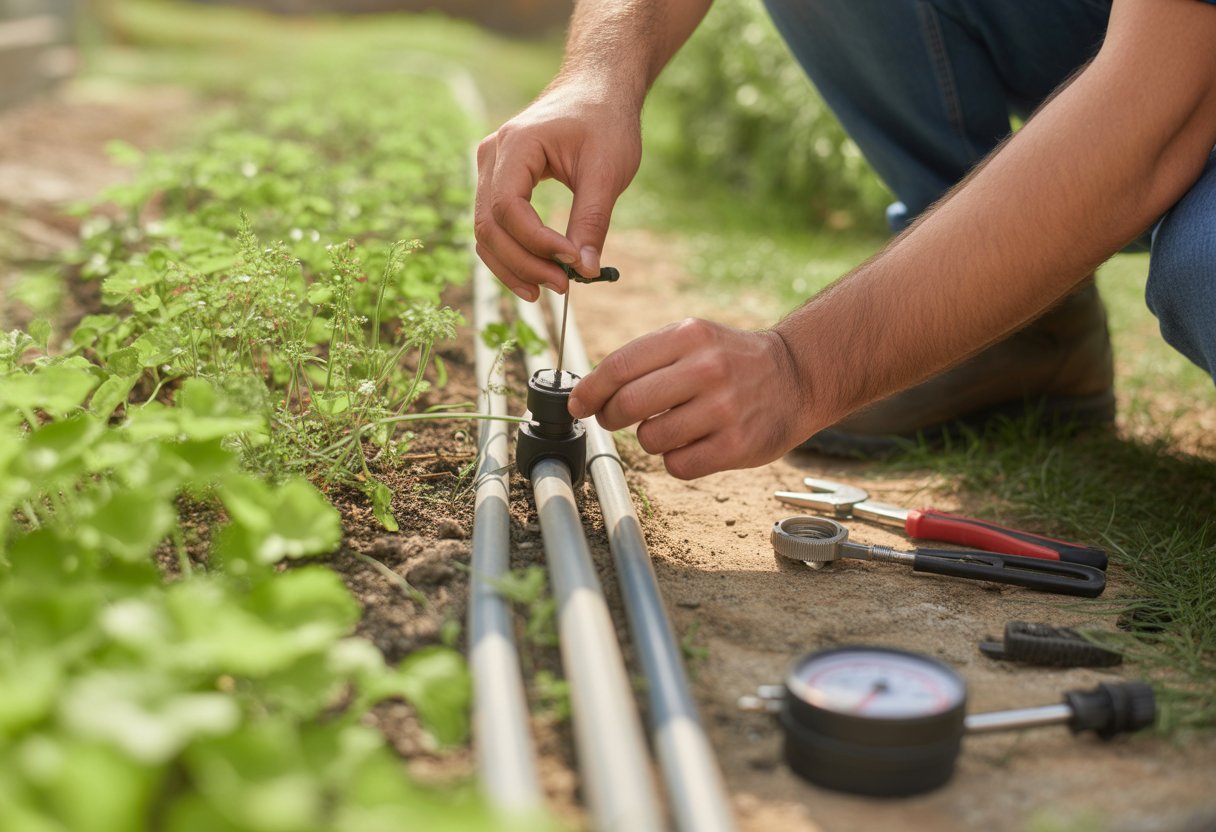
Keeping your drip system in shape is all about regular checks and quick fixes. If you skip maintenance, you’ll end up with clogs, leaks, or uneven watering—none of which your plants will appreciate.
Routine System Checks
Check filters and emitters every couple of weeks. Clean out debris or mineral buildup before it causes trouble.
Flush the whole system now and then, especially if you use low-flow emitters. Keep an eye on pressure—too much can pop tubing, too little means plants get thirsty.
Look over all the connections, fittings, and soaker hoses for leaks or damage. Swap out anything cracked or broken to keep water where it belongs.
Identifying and Fixing Common Issues
Clogged emitters happen a lot. Take them off and soak them in vinegar to clear out minerals. If that doesn’t work, just replace them.
Leaks usually show as soggy spots or puddles. Tighten loose fittings or cut out and replace leaky tubing.
If you notice some plants getting too much water and others not enough, adjust your emitters. Uneven watering can stunt growth, especially for veggies and trees.
Ensuring Healthy Plant Growth
Check soil moisture often to see if the system actually meets your plants’ needs. Too much water can rot roots, especially in grass or trees.
On the flip side, giving too little water just stunts growth. It’s a balance that takes some trial and error.
Use compatible injectors to add fertilizer right into the drip system. This way, nutrients go straight to the roots and help your plants grow stronger.
Change up your watering schedule with the seasons. Try watering more during hot months, and cut back when it’s cool or rainy. Matching your routine to the weather makes a difference.

