Hollyhock Seeds from Plant: How to Collect and Store Them
Last updated: February 10, 2026
Hollyhocks are a popular flowering plant that can add a touch of elegance to any garden. These tall and stately plants have a long history of cultivation and are known for their colorful blooms that attract bees and butterflies. While hollyhocks are typically grown from seedlings, it is also possible to propagate them from seeds harvested from mature plants.
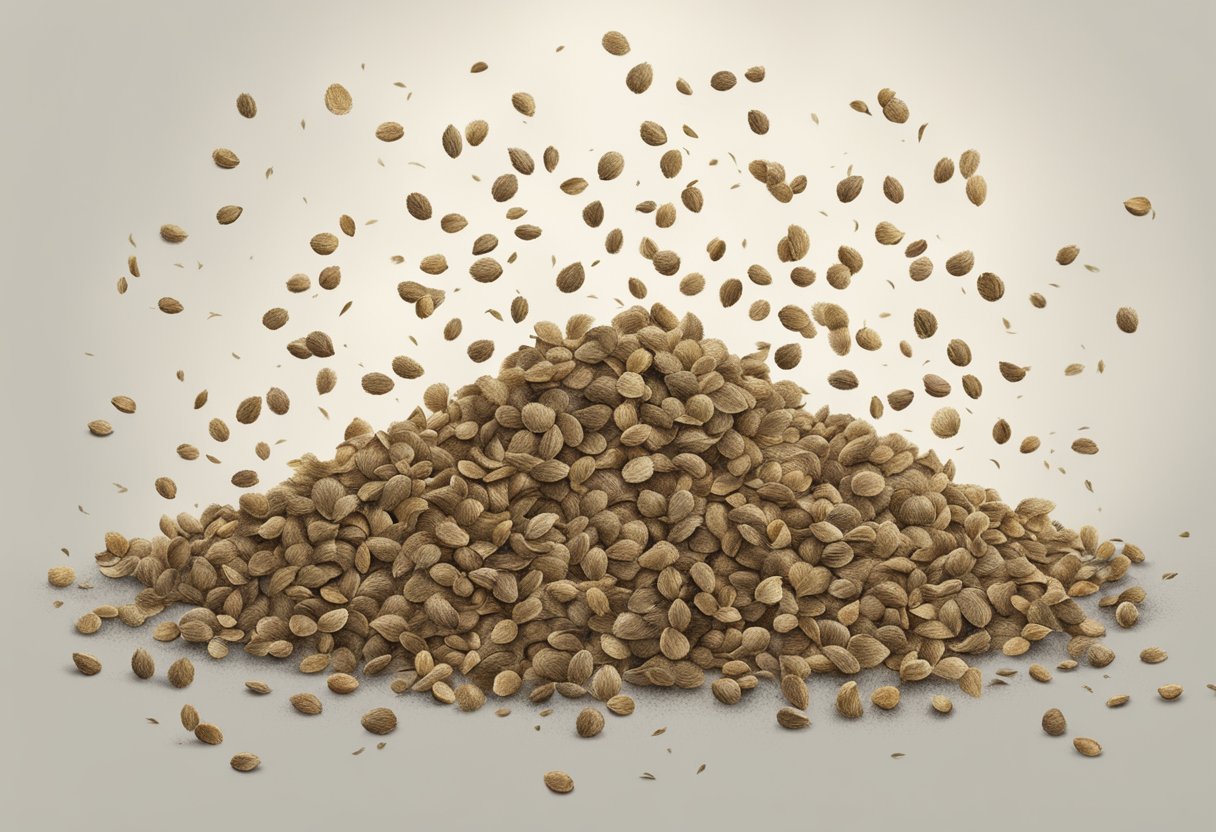
Harvesting hollyhock seeds is a simple process that can be done in the fall once the flowers have faded and the seed pods have dried out. The pods can be collected and stored in a dry place until they are ready to be planted in the spring. Hollyhock seeds are relatively easy to grow and can be sown directly into the ground or started indoors and transplanted once they have sprouted. With a little care and attention, these seeds can produce beautiful hollyhock plants that will add color and charm to any garden.
Understanding Hollyhocks
Botanical Profile
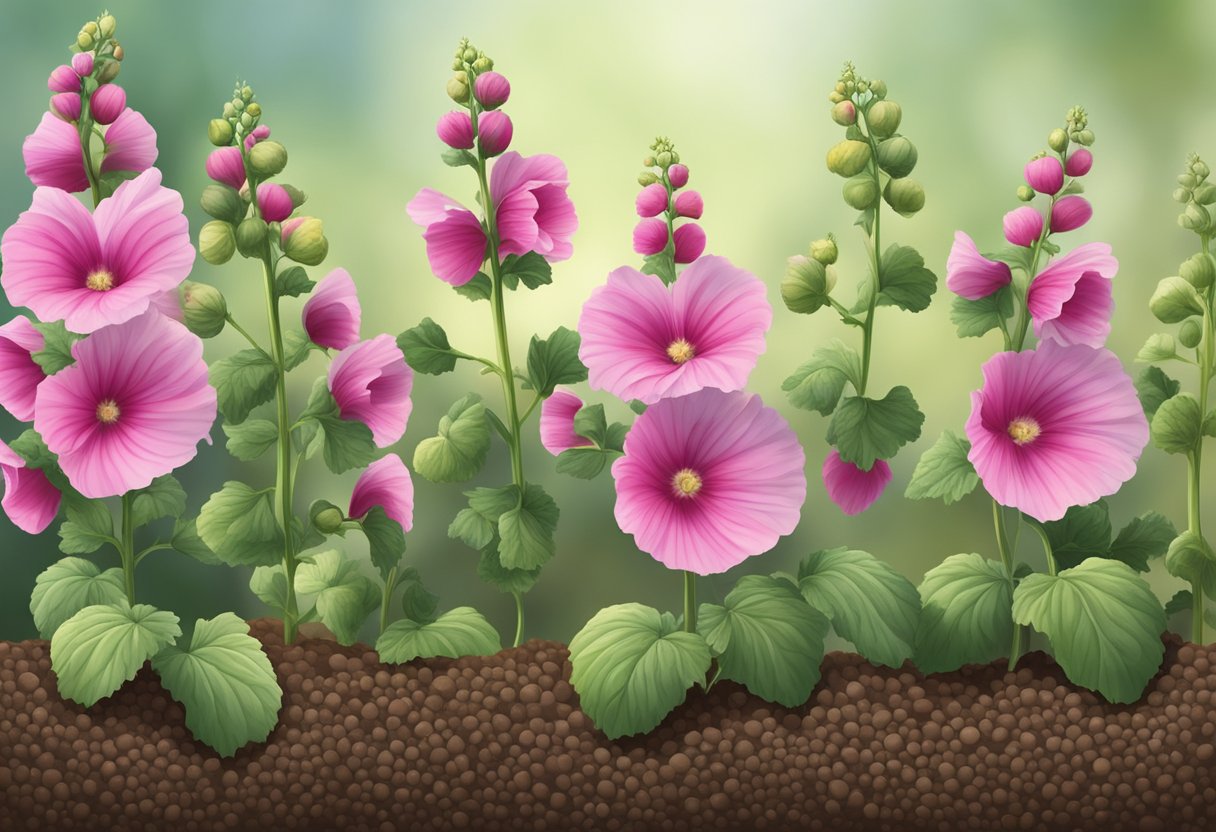
Hollyhocks, scientifically known as Alcea rosea, belong to the family Malvaceae. They are herbaceous plants that can grow up to 6 feet tall and 2 feet wide. Hollyhocks are either biennial or perennial, depending on the variety. Biennial hollyhocks complete their life cycle in two years, while perennial hollyhocks continue to grow year after year.
Growth Habit
Hollyhocks have an upright growth habit and produce tall, slender stems with large, showy flowers. They prefer full sun and well-drained soil. Hollyhocks bloom from mid-summer to early fall and attract bees, butterflies, and hummingbirds to the garden.
Varieties and Colors
Hollyhocks come in a wide range of colors, including pink, red, yellow, white, and purple. Some popular varieties include ‘Creme de Cassis,’ ‘Chater’s Double,’ and ‘Majorette Mix.’ Biennial hollyhocks tend to have more vibrant colors than perennial hollyhocks.
Overall, hollyhocks are a beautiful addition to any garden. Their tall stature and colorful blooms make them a popular choice among gardeners. Whether you choose a biennial or perennial variety, hollyhocks are sure to add a touch of elegance to your landscape.
Cultivation Basics
Choosing the Right Location
When it comes to growing hollyhocks, choosing the right location is crucial. Hollyhocks thrive in well-drained soil and prefer a location that receives full sun to partial shade. It is important to select a spot that is sheltered from strong winds, as the tall stems of hollyhocks can easily break in harsh weather conditions.
Soil Requirements
Hollyhocks prefer a slightly acidic to neutral soil pH of 6.0 to 7.0. It is important to prepare the soil prior to planting by removing any weeds and adding organic matter, such as compost or well-rotted manure. Hollyhocks require a well-draining area, as they are susceptible to root rot in waterlogged soil.
Planting Time Frame
Hollyhock seeds can be planted in the spring, summer, or fall, depending on the climate. In cooler climates, it is best to plant hollyhock seeds in the spring or early summer, while in warmer climates, hollyhock seeds can be planted in the fall for winter growth. It is important to note that hollyhocks are biennial, meaning they will not flower until their second year of growth.
Overall, hollyhocks are a beautiful addition to any garden. By following these cultivation basics, gardeners can successfully grow hollyhocks from seed and enjoy their vibrant blooms for years to come.
Propagation Techniques
Seed Collection
Hollyhock seeds can be collected from the plant after the seed pods have dried and turned brown. It is important to wait until the seed pods have fully matured before collecting the seeds. The seeds can be easily collected by gently shaking the seed pods over a container. It is important to store the seeds in a cool, dry place until ready to use.
Seed Germination
Hollyhock seeds require light for germination, so they should be planted on the surface of the soil and not covered. The ideal temperature for germination is between 65-75°F. Hollyhock seeds can be started indoors in a greenhouse or outdoors in the garden. If started indoors, the seeds should be sown in a seed tray filled with a good quality seed starting mix. Once the seeds have germinated and the seedlings have developed their first true leaves, they can be transplanted into individual pots.
Transplanting Seedlings
Hollyhock seedlings can be transplanted outdoors once they have reached a height of 3-4 inches. It is important to choose a site that receives full sun and has well-draining soil. The seedlings should be spaced 12-18 inches apart. If the soil is not well-draining, it may be necessary to amend it with compost or sand. Hollyhocks are known for self-seeding, so it is important to deadhead the spent flowers to prevent them from reseeding in unwanted areas.
Hollyhock Care
Watering and Moisture
Hollyhocks require regular watering to thrive, especially during the hot summer months. However, they do not tolerate soggy soil, so it is important to ensure proper drainage. To avoid overwatering, it is recommended to water deeply once a week rather than lightly every day. Mulching around the base of the plant can help retain moisture in the soil.
Fertilization and Soil Enrichment
Hollyhocks benefit from regular fertilization and soil enrichment. Adding compost or well-rotted manure to the soil before planting can help improve soil fertility and structure. During the growing season, applying a balanced fertilizer every four to six weeks can help promote healthy growth and blooming.
Disease and Pest Management
Hollyhocks are susceptible to fungal diseases such as rust, which can cause yellowing and browning of the leaves. To prevent fungal diseases, it is important to ensure good air circulation around the plant and avoid overhead watering. If necessary, fungicides can be applied according to the manufacturer’s instructions.
Hollyhocks can also be affected by pests such as aphids and mites. Regularly inspecting the plant for signs of infestation and promptly treating with insecticidal soap or neem oil can help prevent damage. It is also important to remove any diseased or damaged plant material to prevent the spread of pests and diseases.
Maximizing Blooms
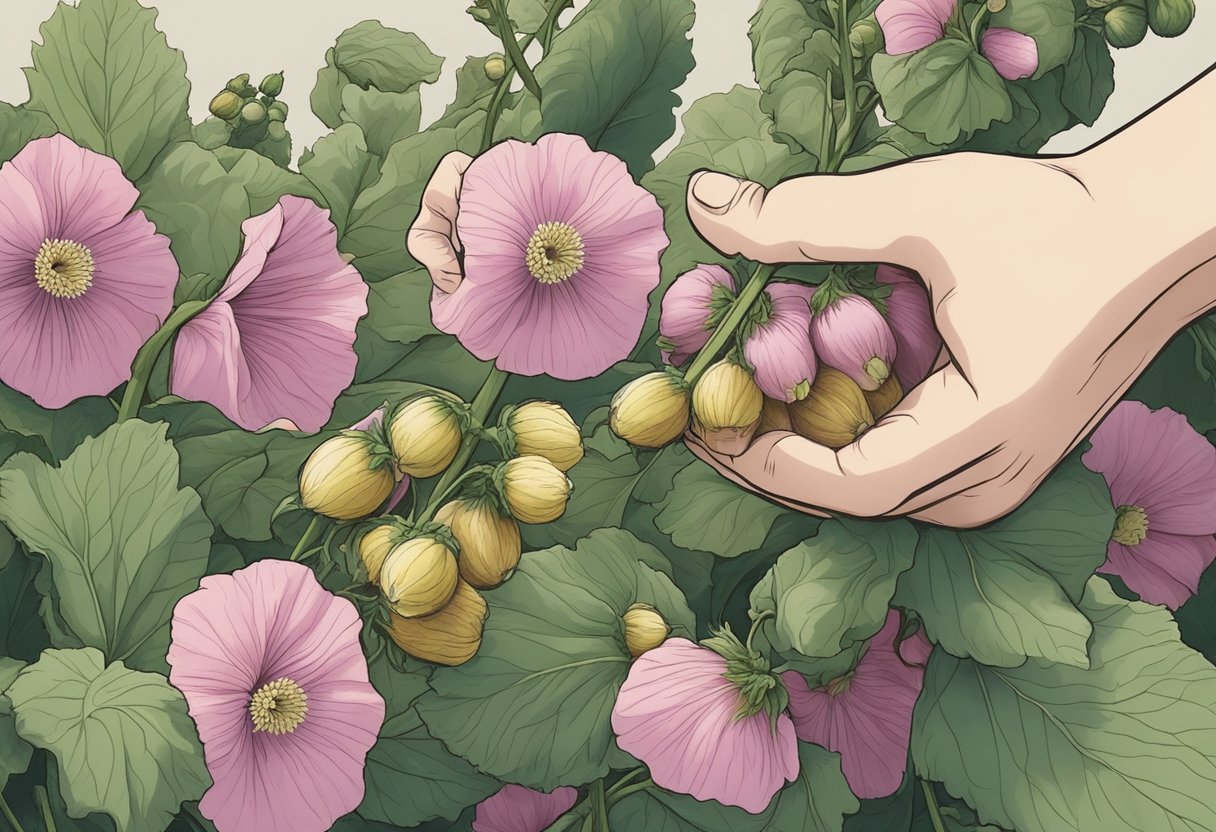
Hollyhocks are known for their tall stems and vibrant blooms, making them a popular choice for gardeners. To get the most out of your hollyhock plants, it’s important to understand how to maximize their blooms. Here are some tips to help encourage blooming and keep your plants looking their best.
Encouraging Flowering
Hollyhocks are biennial plants, meaning they have a two-year life cycle. In the first year, the plant produces leaves and establishes a taproot. In the second year, the plant produces tall stems and blooms. To encourage blooming, it’s important to provide your hollyhocks with the right growing conditions.
Hollyhocks prefer full sun and well-draining soil. Make sure to plant them in an area that receives at least six hours of sunlight per day. Water the plants regularly, but avoid overwatering, as this can lead to root rot.
Deadheading and Pruning
Deadheading is the process of removing spent blooms from the plant. This encourages the plant to produce more blooms and can prolong the blooming period. It’s important to deadhead hollyhocks regularly throughout the blooming season.
Pruning can also help to encourage blooming and keep the plant looking neat and tidy. Cut back any yellow or damaged leaves, and remove any stems that have finished blooming. This will redirect the plant’s energy towards producing new blooms.
Supporting Tall Stems
Hollyhocks can grow quite tall, sometimes reaching six feet or more. To prevent the stems from bending or breaking, it’s important to provide support. Use a trellis or stake to support the stems, and tie them loosely to the support as they grow.
By following these tips, you can help your hollyhock plants produce abundant blooms and stay healthy and vibrant throughout the growing season.
Seasonal Considerations
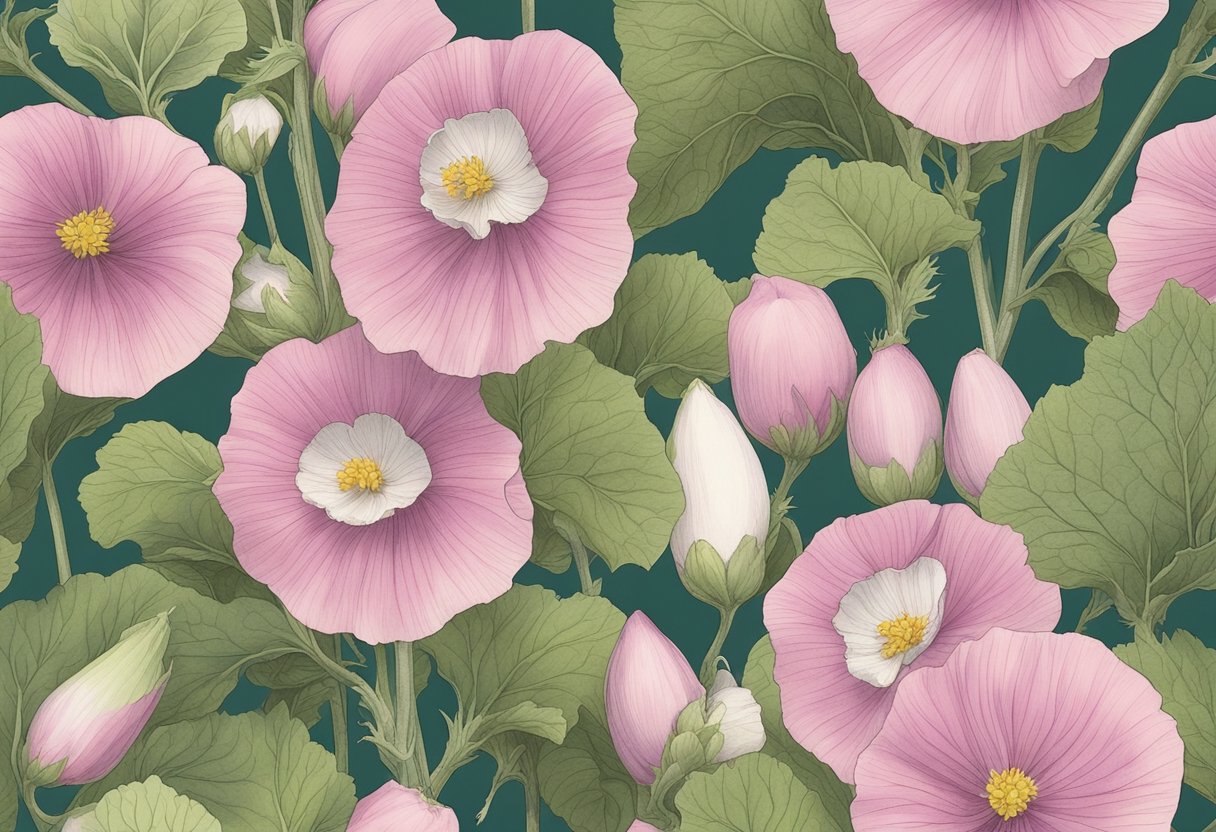
Preparing for Winter
As fall approaches, it’s important to prepare hollyhock plants for the colder months ahead. One of the key considerations is wind protection. Hollyhocks have a tall, slender stem that can easily snap in strong winds. To prevent this, it’s recommended to stake the plants or provide some other form of support. Additionally, adding a layer of mulch around the base of the plant can help insulate the roots and protect them from freezing temperatures.
Managing Self-Seeding
Hollyhocks are known for their ability to self-seed, which can lead to overcrowding and competition for resources. To manage self-seeding, it’s important to deadhead the spent flowers regularly. This will prevent the plant from producing seeds and encourage it to focus on growing healthy foliage instead. If self-seeding is desired, it’s important to allow some of the flowers to go to seed, but be aware that this can lead to a proliferation of hollyhocks in the garden.
Overall, hollyhocks are hardy plants that can survive the winter with proper care and attention. By taking the time to prepare the plants for the colder months and managing self-seeding, gardeners can enjoy beautiful blooms year after year.
Designing with Hollyhocks
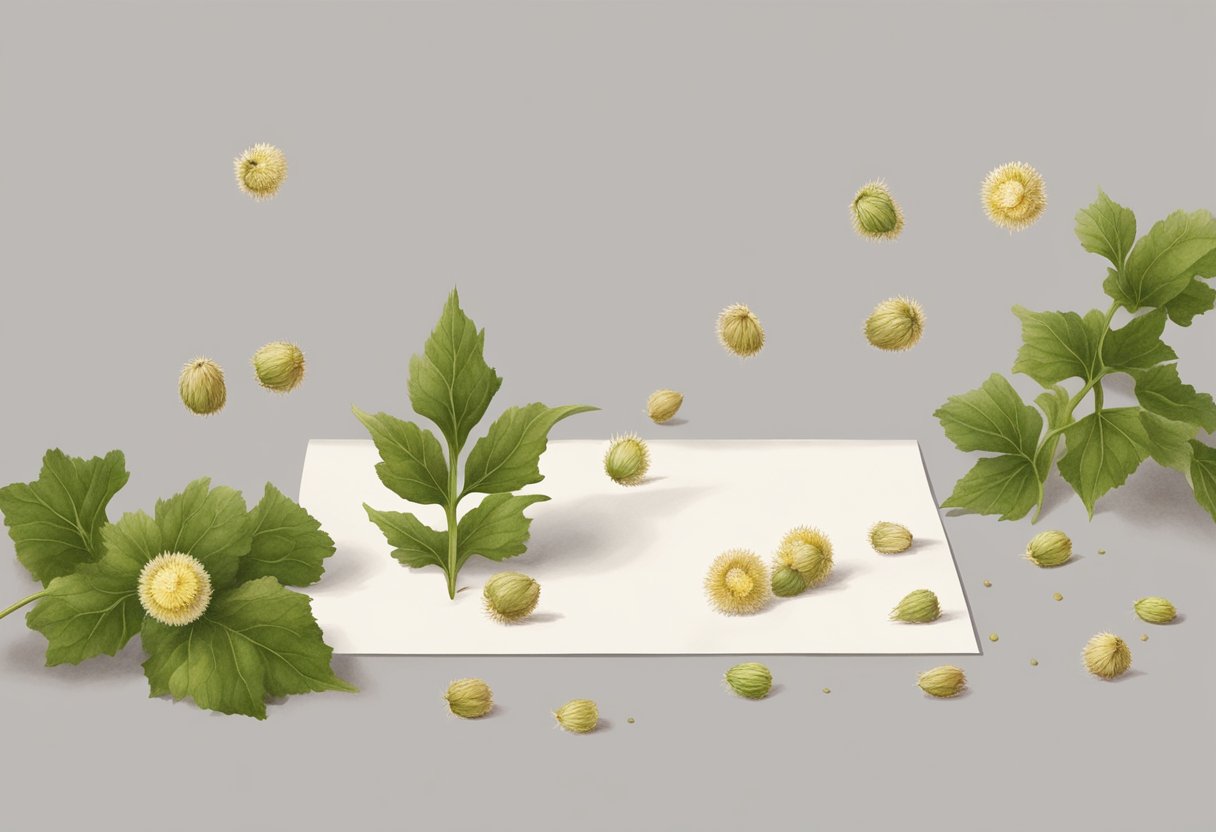
Hollyhocks are a popular choice for gardeners looking to add height and color to their landscape. They are versatile plants that can be used in a variety of settings, including cottage gardens, borders, and flower beds.
Landscape Uses
Hollyhocks can be used to create a stunning focal point in any garden. They are tall plants that can grow up to 8 feet in height, making them perfect for filling in empty spaces or adding height to a fence or wall.
When designing with hollyhocks, it’s important to consider their spread. These plants can take up a lot of space, so it’s important to give them plenty of room to grow. They also prefer full sun, so make sure to plant them in a location that receives at least 6 hours of direct sunlight each day.
Companion Planting
Hollyhocks can be paired with a variety of other plants to create a beautiful and functional garden. One popular combination is hollyhocks and foxgloves. These two plants complement each other well, with the tall spires of the hollyhocks contrasting nicely with the shorter, bell-shaped flowers of the foxgloves.
When choosing companion plants for hollyhocks, it’s important to consider their height and spread. You don’t want to plant anything that will overshadow or overcrowd the hollyhocks. Instead, choose plants that will complement their beauty and enhance the overall look of your garden.
In summary, hollyhocks are a versatile and beautiful plant that can be used in a variety of landscape settings. When designing with hollyhocks, it’s important to consider their height, spread, and companion plants to create a stunning and functional garden.
Harvesting and Storage
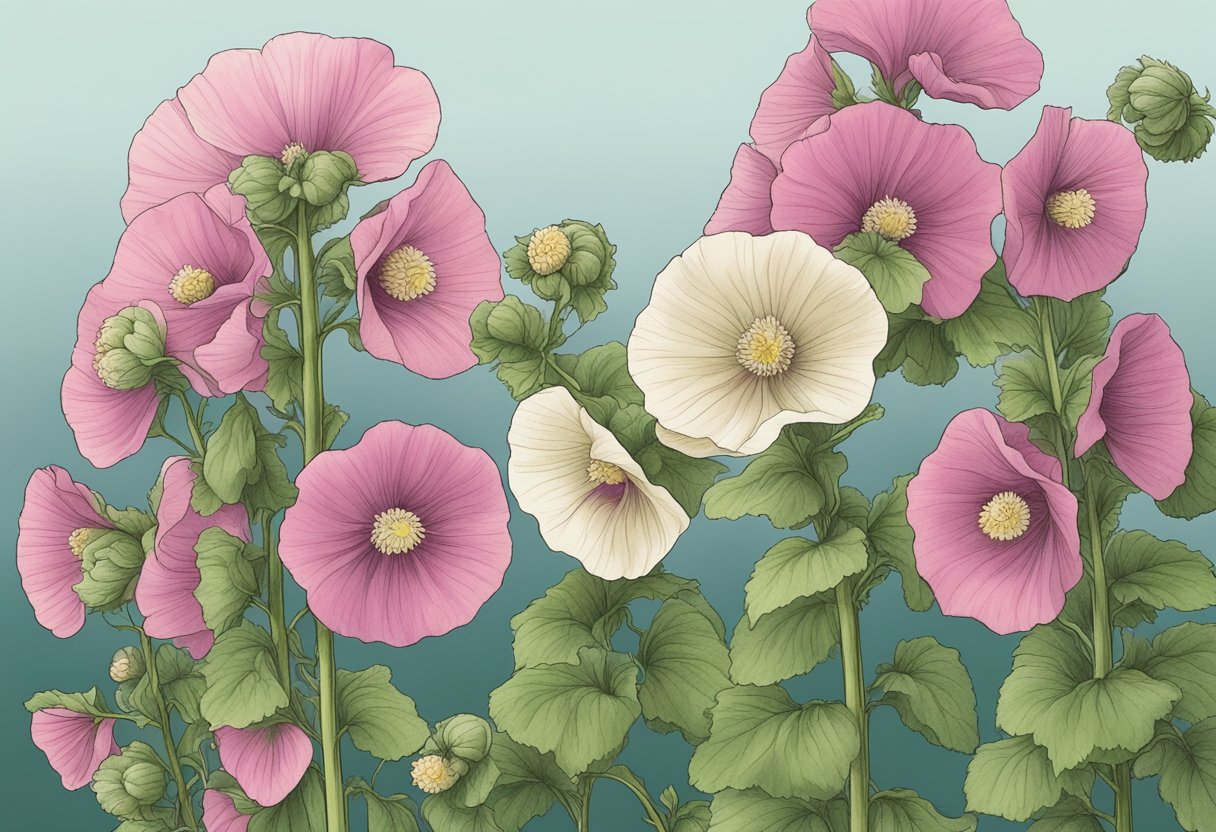
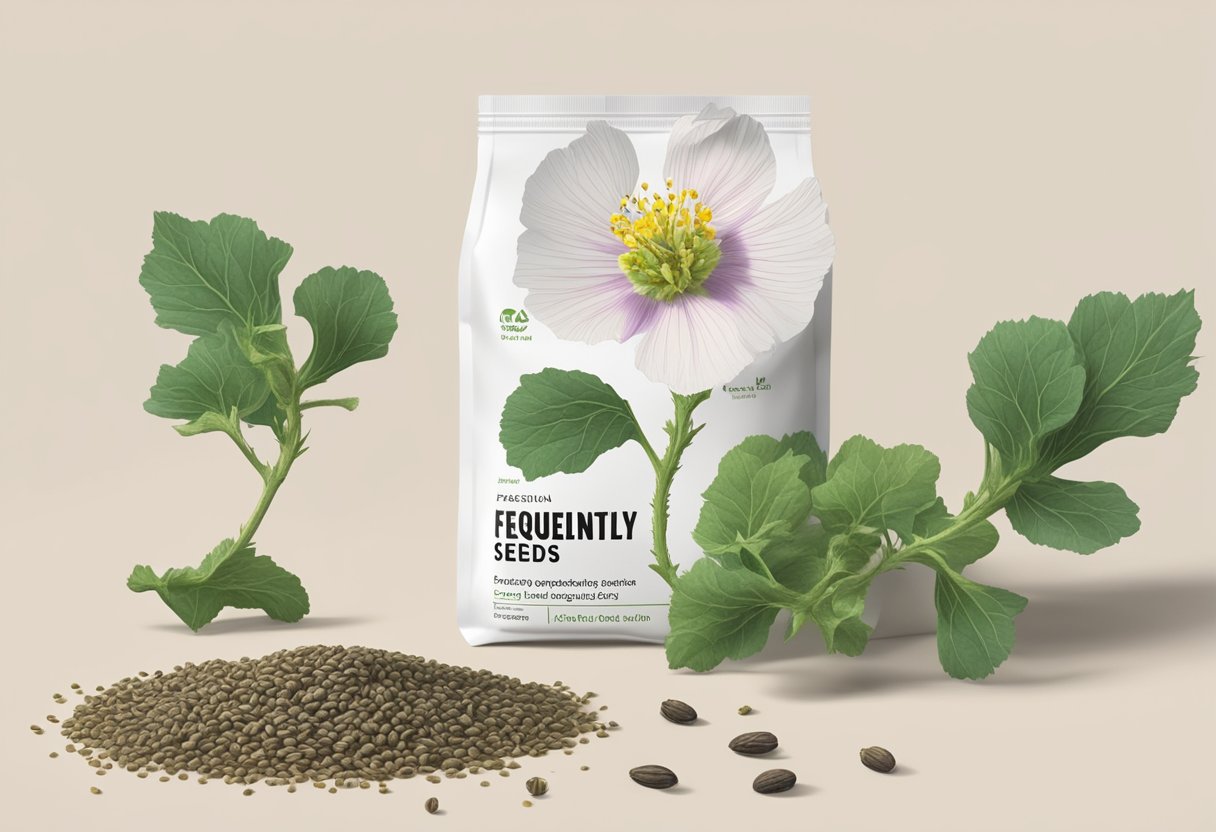
Harvesting hollyhock seeds is a simple process that can be done in the late summer or early fall when the seed pods have begun to dry and fade. It’s important to wear gloves when handling the seed pods as they can be prickly and irritate the skin.
To harvest the seeds, gently pull the dried seed pods from the plant and place them in a paper bag. Once you have collected all the seed pods, shake the bag to release the seeds. You can also open the seed pods by hand to remove the seeds, but this can be a tedious process.
After harvesting, it’s important to properly store the hollyhock seeds to ensure their viability. Store the seeds in a cool, dry place such as a sealed container in the refrigerator or a cool, dark cupboard. The seeds can be stored for up to two years if kept in optimal conditions.
In conclusion, harvesting hollyhock seeds is a straightforward process that can be done with minimal equipment. By following these simple steps and properly storing the seeds, you can enjoy a bountiful hollyhock garden year after year.
Frequently Asked Questions
What is the best time of year to plant hollyhock seeds?
Hollyhock seeds should be planted in the fall or early spring. Fall planting allows the seeds to experience a period of cold stratification, which is necessary for germination. Early spring planting should be done as soon as the soil is workable.
How should hollyhock seeds be collected and stored?
Hollyhock seeds should be collected when the seed pods turn brown and start to open. The seeds should be removed from the pods and allowed to dry completely before storing in a cool, dry place. It is important to label the seeds with the plant variety and the date of collection.
Do hollyhocks self-seed, and will they return annually?
Yes, hollyhocks are known for their ability to self-seed. If left to their own devices, they will drop seeds and return annually. However, it is important to note that the resulting plants may not be true to the parent plant.
What is the proper depth for planting hollyhock seeds?
Hollyhock seeds should be planted at a depth of 1/4 inch to 1/2 inch. It is important to keep the soil moist until the seeds germinate.
Is it necessary to soak hollyhock seeds before planting?
No, it is not necessary to soak hollyhock seeds before planting. However, some gardeners choose to soak the seeds for 24 hours prior to planting to help speed up the germination process.
Can hollyhock seeds be simply scattered in the garden?
Yes, hollyhock seeds can be scattered in the garden. However, it is important to ensure that the seeds are planted at the proper depth and that the soil is kept moist until the seeds germinate.


