How to Grow Watercress From Seed
Last updated: February 7, 2026
Watercress is an ingredient frequently consumed in our homes, thanks to its fragrant and slightly spicy structure. Cress, a mildly spicy structure obtained from cress production, is one of the vegetables frequently consumed as a salad or garnish in your home. In addition, with its many benefits, cress is also known as a vegetable that is not missing from the tables.
Watercress, which contains more vitamin C than oranges, also has more iron than the amount found in spinach. In this way, it is good for diseases such as iron deficiency, cough, weakness, and weakening of immunity, especially in the summer months. In addition, cress consumption is a very effective method for losing weight. So, how do you grow watercress from seed?
Things to Know Before Watercress
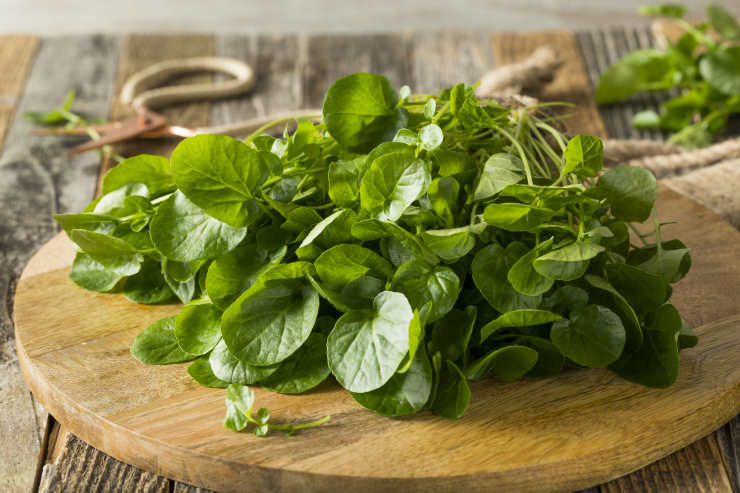
Watercress is a dark, leafy green grown with natural spring water. Over the last 20 years, watercress has been used more than a side dish. However, it is currently seeing a resurgence in its popularity as one of the next big superfoods. This ancient greenery is said to have an important place in the diet of Roman soldiers; Chard is part of the cruciferous group, along with broccoli, arugula, and brussels sprouts.
In fact, the father of medicine, Hippocrates, used cress to treat his patients. It was widely available until the 19th century, and watercress sandwiches were a staple of the working-class diet in England. As more and more varieties of salad leaves were produced over the next 100 years, watercress became known as poor food and was eventually pushed off our plates. Its popularity is partly due to its newly discovered high ANDI score (Total Nutrient Density Index). The ANDI score measures vitamin, mineral, and phytonutrient content in relation to calorie content.
For a nutrient to rank high, it must have few calories and provide a high amount of nutrients. Watercress received the highest possible rank. Look no further than cress if you’re always dieting to improve your health and shrink your waistline. This article takes an in-depth look at the nutritional and possible health benefits of watercress.
7 Steps to Grow Cress From Seed
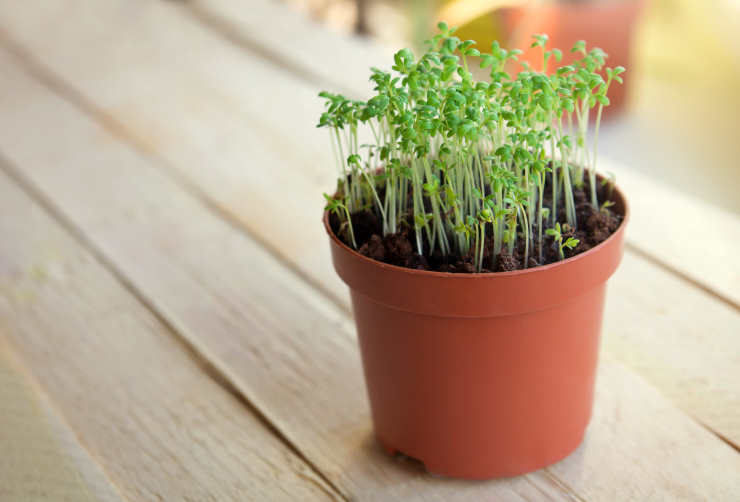
First, the materials we need are; seeds, pots or plastic cups, soil, fertilizer, and water. You can get cheap cress seeds from supermarkets or garden supply stores. So how to grow watercress from seed? Follow the 7 steps below.
1. Soak the seeds overnight in water or a damp cloth
- First, soak their seeds in water or a damp cloth the night before.
2. Prepare fertile garden soil or a mixture of peat + soil + fertilizer in pots or glasses and plant the seeds in them
- Fill the pot or the cups with fertile garden soil or a mixture of peat + soil + fertilizer, moisten the top of the filled soil with the help of a sprayer or slightly in the normal way.
- Place your cress seeds inside and cover them with about 1 cm of soil.
- Lightly press the soil you have covered with your palm; Give the water of life without scattering the soil. At this stage, watering with fish will also work for you.
- Also, the cress seeds are very thin, so don’t over-spray them, thinking that they won’t come out, they will all germinate very often.
3. For the seeds to germinate, keep them in a warm place out of the sun and keep the soil constantly moist
- Covering the seeds we planted in pots or glasses with nylon or cling film will accelerate germination by creating a greenhouse effect. Do not forget to keep the soil moist by opening the nylon cover from time to time after you cover it.
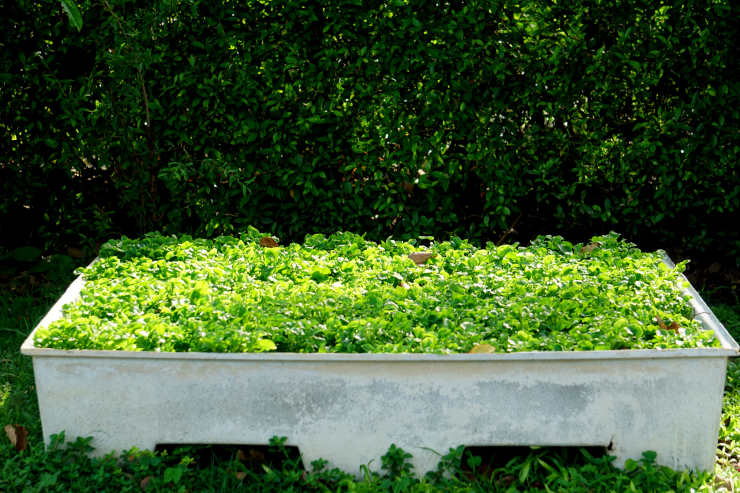
4. Protect germinating cress seeds from the sun
- The estimated germination time of cress seeds is between 6-10 days. When the cress seeds start germinating, remove the transparent nylon and protect it from direct sun.
5. When your seedlings are 4-5 cm; Fill your pot with some garden soil and fertilizer or a mixture of peat + soil + fertilizer and carefully transplant the seedlings
- Add garden soil and fertilizer to your pot.
- Then drill 2-3 cm holes following the root length of your cress seedlings, carefully leave the germinated seedlings into these holes without damaging their roots, and cover them with 2-3 centimeters of soil again.
- At this stage, be careful not to leave the soil you cover too loose or too pressed so that your seedlings and roots are not damaged.
6. Water the cress seedlings you plant regularly and ensure it receives sufficient sunlight
- After planting your cress seedlings in their pots, continue watering, so the soil is always moist.
- Although we need to protect the seeds during the germination phase, the sun is essential for the adequate development of the cress seedlings. Therefore, make sure that it receives sufficient sunlight.
7. Do not uproot the plant when it is large enough to be eaten!
- When the cress leaves grow enough, without removing the branches from the roots, Gather as many as you need by breaking or cutting them. If you let go of the root, the plant will give leaves again in 1-1.5 weeks.
How to Grow Watercress on Cotton
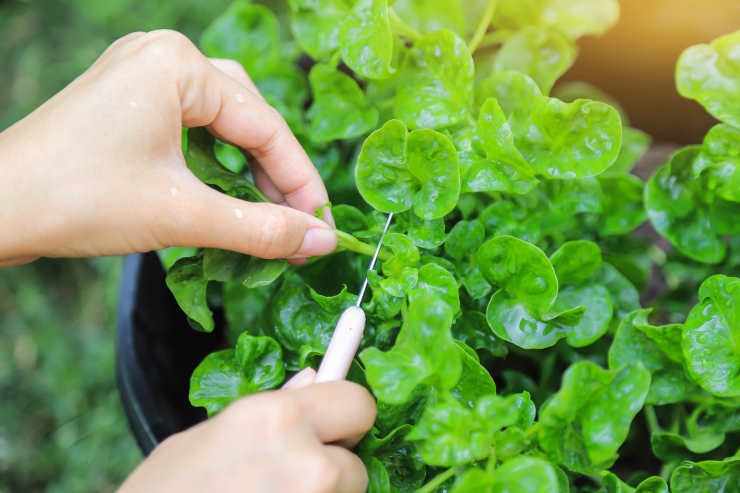
No experience with watercress is required to successfully grow it on cotton wool in your own home or garden. Today, almost everyone knows how to grow watercress from seed. This plant can be planted in a garden or a pot. Watercress can also be grown successfully on cotton, lignin, or gauze.
How to grow watercress from seed? After 5-6 days, the cress sprouts appear, and planting this plant does not require much care to grow and produce a rich harvest. Growing cress can be reduced to a few basic steps.
- To begin with, you need to buy seeds that can be found in almost any store, paying attention to the expiration date and the batch of seeds.
- Once the seeds have been selected, a suitable growing container must be prepared. If you grow cress in the garden, the seeds should be sown in a properly prepared substrate, if this plant is grown on a balcony or terrace, you need to prepare a pot of the appropriate size and fill it with the necessary substrate. Cress can also be grown traditionally by choosing a plate, shallow salad bowl, or other flat and large containers.
- Once the growing site has been selected, the necessary substrate and thus suitable soil must be prepared, or, when growing cress on cotton wool or lignin, the container must be lined with them. Next, moisten the substrate with water, careful not to water too much, as the seeds can rot or mold.
- Seeds are sown on the prepared substrate. Sufficient space should be left between seed shots in pots or the garden.
- Eventually, the plant should be placed in a warm, sunny place and properly cared for, and cress sprouts will appear after a few days.
Cultivation of Cress on the Balcony
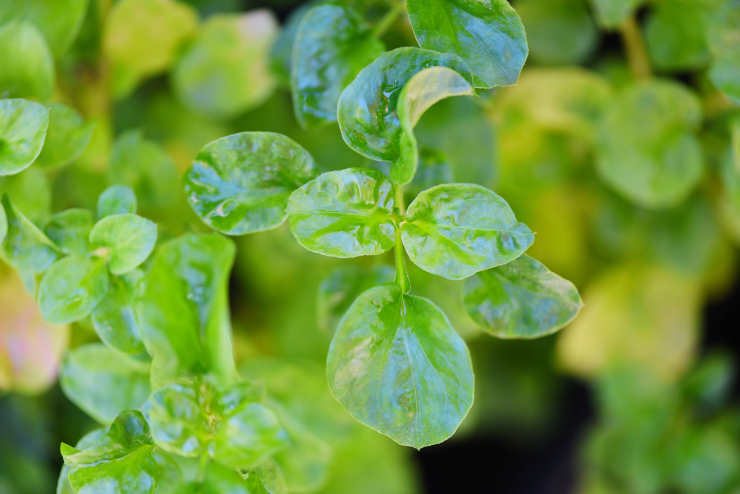
As the importance of cress cultivation on the balcony increased, questions about it began to emerge. The most curious subject, especially for those who will do it for the first time, was how to grow watercress from seed.
- Cress likes soil that does not contain harmful substances, so let’s fill 4/3 of our pot with such soil.
- After wetting the soil thoroughly, sprinkle our seeds on it and cover it very thinly with the soil.
- Then cover the pot with cheesecloth so that it has a greenhouse effect. For the seeds to sprout healthily and start to produce products, very careful irrigation should be done. We should neither kill it by doing too much nor dry it with too little water.
- It takes about 1 week for germination and emergence from the ground. After that, it will pass completely between the sun and water. After 30 days, the cress will be well matured.
How Long Does It Take to Grow Watercress From Seed?
Germination of cress seed takes place between 6-10 days. After the cress seeds start to germinate, the transparent nylon covered should be removed and kept in a place where it will not be exposed to direct sunlight.
Watercress Care
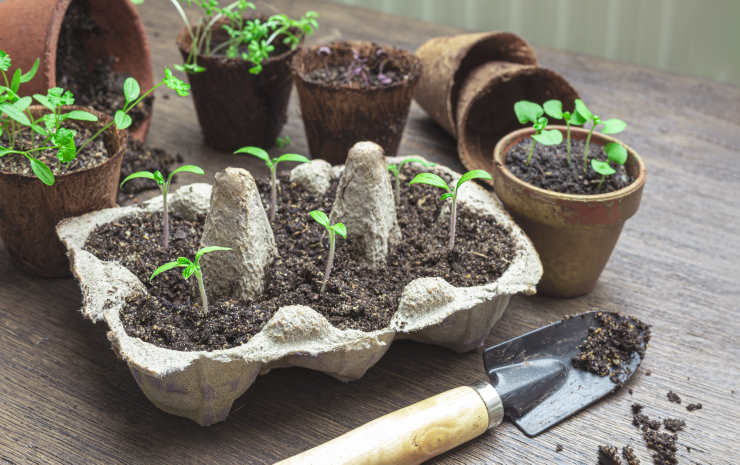
Growing watercress is deficient maintenance: you have to be careful that the water does not stagnate at the bottom of the plant. Watercress requires regular watering due to its aquatic character. The soil must be moist.
In case of culture in the tank or flooded soil, do not forget to constantly replenish the water or change it at least once a week. Do not forget to protect your plants with a hard cover in winter to protect them from frost.
Season of Watercress
It is recommended to plant cress seeds in a period covering the spring, autumn, and summer months. If cress seedlings are used for planting, then the recommended intervals for planting cress seedlings may be the same as the planting intervals of cress seeds. When the cress seeds are in the form of seedlings, they can be transferred to the garden or a large pot when they reach a length of approximately 4-5 cm.
Where Does Watercress Grow Best?
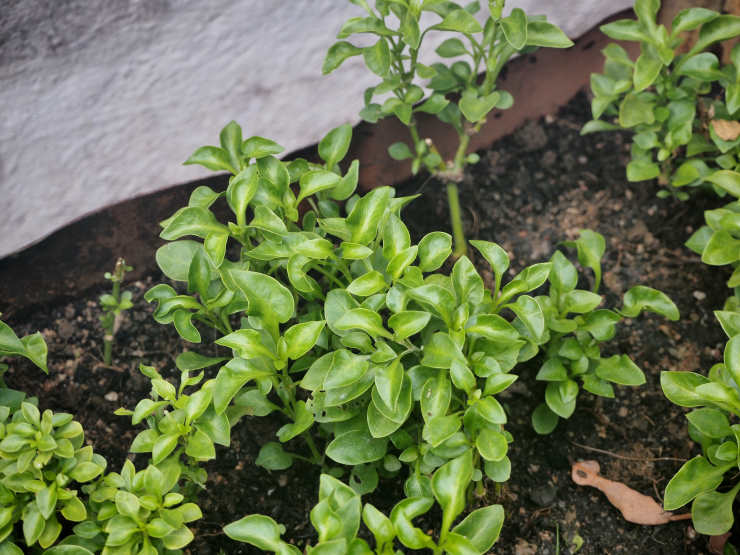
Watercress (Nasturtium officinale) is a medicinal plant that grows in areas with excess water. It grows especially in areas with abundant rainfall and near freshwater streams. The most common names of watercress, which differ in local discourses, are snow fume, sage, and cricket. Although watercress may resemble clover leaves, it consists of 4 petals.
Its dark green leaves have a velvety, hairy texture. The more watercress absorbs, the more it can grow. Its height is 35 cm. with 60 cm. It may vary between watercress, which has white flowers other than its leaves, and a specific smell. This plant, which grows in abundance, especially in the Black Sea Region, has various minerals and vitamins.
It is known that this plant was first grown in European and Asian countries. The plant contains high amounts of vitamins and minerals; It strengthens the immune system, is good for the eyes, is good for brain health, provides weight loss, increases sexual power, and regulates menstrual bleeding.
In the shallow parts of streams and streams, watercress grows spontaneously; It contains vitamins A, C, K, folic acid, pantothenic acid, niacin, and choline. It also has a rich content of phosphorus, magnesium, calcium, copper, selenium, and magnesium.
Does Watercress Need Full Sun?
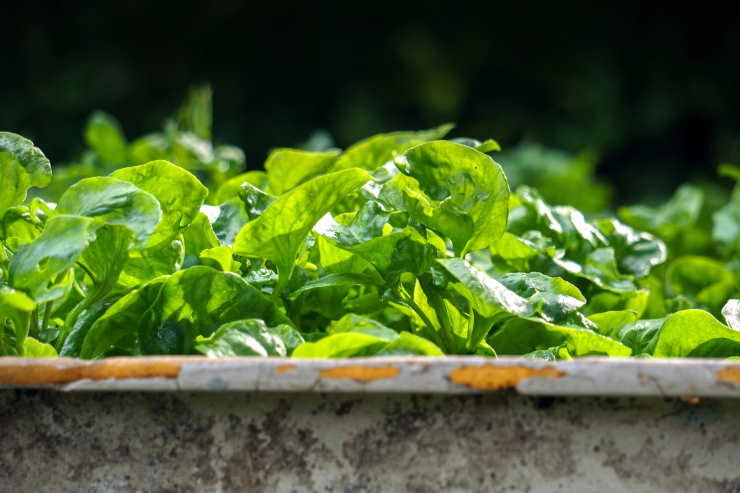
To germinate cress seeds, you need to keep them in a warm environment that does not see the sun. In addition, it is important to keep the soil constantly moist while performing this process. Covering the seeds you have sown in pots or glasses with nylon or cling film will reduce the germination time due to the greenhouse effect.
Opening the soil by opening the nylon cover from time to time after closing the container is also among the crucial tasks. This way, you can keep the soil moist and ensure that the cress germinates faster and healthier. Germination time varies between 6-10 days on average. After your cress seeds germinate, remove the transparent nylon and protect your cress from direct sunlight.
Watercress Harvest
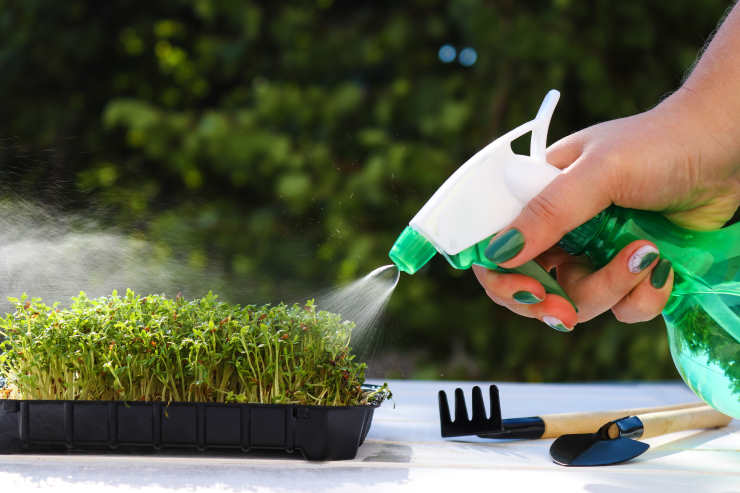
Watercress tastes best during the cooler months of the year. After the plant blooms, the flavor is compromised. Harvesting watercress can begin about three weeks after emergence. Cutting or pruning the plants will encourage them to become thicker and bushier. Cut the plants to about 4 inches (10 cm). Wash the cuttings well and store them in a plastic bag in the refrigerator for a week.
Harvest can continue year-round by adding a boost of vitamins A and C and niacin, ascorbic acid, thiamine, riboflavin, and iron to your ho-hum salad or adding an added zing to compound kinds of butter or dressings.
You may also be interested in:
How to Grow Lavender from Seed?

