How to Propagate Mint: A Step-by-Step Guide
Mint is a versatile herb that can be used in a variety of dishes, teas, and even cocktails. If you’re a fan of mint and want to grow your own, propagating it is an easy and cost-effective way to do so. Propagation is the process of creating new plants from existing ones, and with mint, it’s as simple as taking a cutting and rooting it in water or soil.

To propagate mint, you’ll need to choose a healthy and mature plant to take cuttings from. It’s best to do this in the spring or summer when the plant is actively growing. Once you’ve selected your plant, you can take cuttings by snipping off a stem that’s at least 4 inches long. From there, you can either root the cutting in water or soil, depending on your preference and the resources you have available.
Propagating mint is a great way to expand your herb garden or share your love of mint with friends and family. With just a little bit of knowledge and effort, you can create new plants that will provide you with fresh mint for years to come. In the following sections, we’ll go over the steps for propagating mint in more detail, so you can get started on your own mint-growing adventure.
Understanding Mint Propagation
Types of Mint Cuttings
Mint can be propagated through stem cuttings, root cuttings, and leaf cuttings. Stem cuttings are the most common and easiest way to propagate mint. They can be taken from the tips of mint plants, or from the nodes along the stem. Root cuttings involve taking a section of the root system and planting it in soil. Leaf cuttings involve taking a leaf and planting it in soil, but this method is less reliable than stem or root cuttings.
Best Time to Propagate
The best time to propagate mint is in the spring or early summer when the plant is actively growing. This is when the plant is producing new growth and will root more easily. Mint can also be propagated in the fall, but it may take longer for the cuttings to root.
When taking stem cuttings, it is important to choose healthy, disease-free plants. Cuttings should be about 4-6 inches long and taken from the top of the plant. Remove the lower leaves and any flower buds. Make a clean cut just below a leaf node and dip the cut end in rooting hormone. Plant the cutting in moist soil and keep it in a warm, humid location until roots form.
Different varieties of mint, such as chocolate mint, peppermint, pineapple mint, and apple mint, can all be propagated using the same method. Variegated mint can also be propagated, but it is important to take cuttings from the non-variegated parts of the plant to ensure that the new plant will have the same characteristics as the parent plant.
Overall, propagating mint is a simple and rewarding process that allows gardeners to expand their mint collection or share their favorite varieties with friends and family.
Preparing for Propagation

When propagating mint, it is important to prepare the cuttings properly to ensure successful rooting and growth. This section will cover the key steps to take before propagating mint.
Selecting Cuttings
The first step in preparing for propagation is selecting the right cuttings. Stem cuttings are the most common type of cutting used for propagating mint. Look for healthy stems with new growth that are at least 4-6 inches long. Make sure to choose stems that have at least 2-3 sets of leaves and leaf nodes.
Using Rooting Hormone
Using rooting hormone can increase the chances of successful rooting and growth. Dip the cut end of the stem into the rooting hormone and gently tap off any excess. Rooting hormone can be found at most home and garden centers or online.
It is important to note that rooting hormone is not necessary for propagating mint. Mint is a fast-growing plant and can often root without the use of hormone.
After selecting the cuttings and using rooting hormone, the next step is to pot the cuttings. Use a container filled with potting soil and place the cuttings in the soil. Make sure to keep the soil moist but not waterlogged. Place the container in indirect sunlight and keep the soil moist until the cuttings have rooted.
By following these steps, you can successfully propagate mint at home using stem cuttings. With proper care and attention, your cuttings will grow into healthy plants that can be used for cooking or enjoyed for their fragrance.
Rooting Mint Cuttings
Mint is a popular herb that is easy to grow and propagate. One of the easiest ways to propagate mint is through cuttings. Here are two methods for rooting mint cuttings: water propagation and soil propagation.
Water Propagation Method
Water propagation is a simple and effective way to root mint cuttings. Follow these steps:
- Take a cutting from a healthy mint plant. Cut just below a node, which is where a leaf meets the stem.
- Remove the lower leaves from the cutting, leaving only a few leaves at the top.
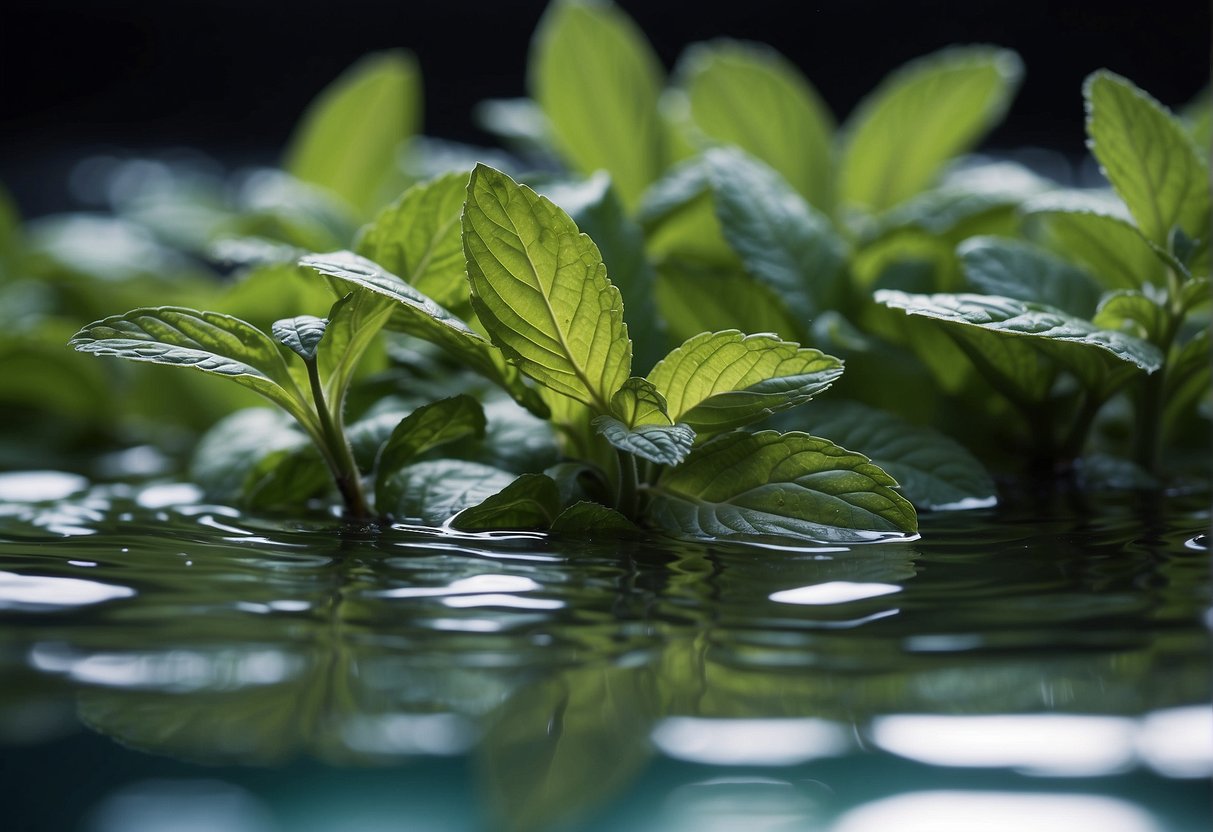
- Place the cutting in a jar or vase filled with water. Make sure the stem is submerged but the leaves are above water.
- Place the jar in a bright, indirect light and change the water every few days.
- After a few weeks, you should see roots growing from the bottom of the stem. Once the roots are a few inches long, you can transplant the cutting into soil.
Soil Propagation Method
Soil propagation is another way to root mint cuttings. Here’s how to do it:
- Take a cutting from a healthy mint plant. Cut just below a node, which is where a leaf meets the stem.
- Remove the lower leaves from the cutting, leaving only a few leaves at the top.
- Fill a small pot with moist soil. Make sure the pot has a drainage hole.
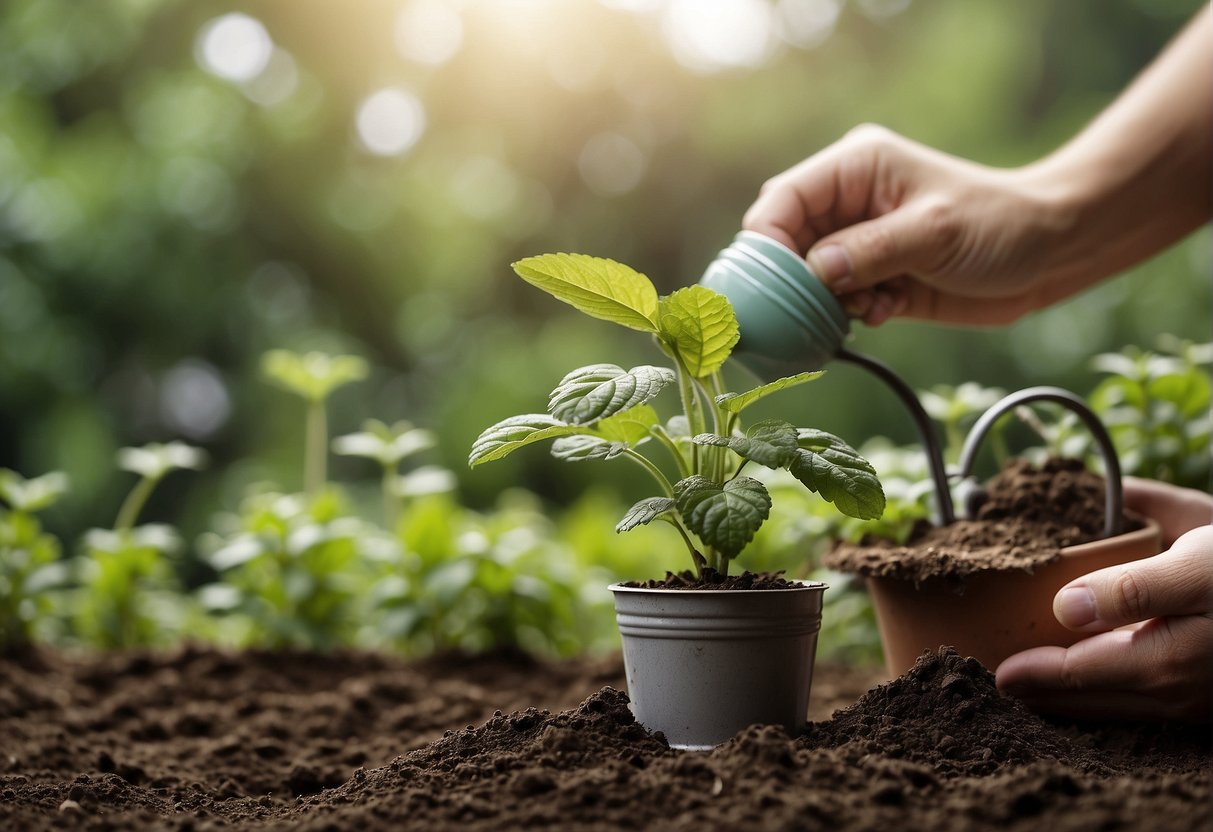
- Make a small hole in the soil with a pencil or your finger and insert the cutting. Firmly press the soil around the base of the cutting.
- Water the soil until it is moist but not waterlogged. Place the pot in a bright, indirect light.
- Keep the soil moist and in a warm, humid climate. After a few weeks, you should see roots growing from the bottom of the pot. Once the roots are a few inches long, you can transplant the cutting into a larger pot or into your garden.
By following these simple steps, you can easily root mint cuttings and grow your own mint plants. Remember to keep the soil moist and provide plenty of light for your mint to thrive.
Transplanting and Aftercare

Transplanting to Pots or Garden
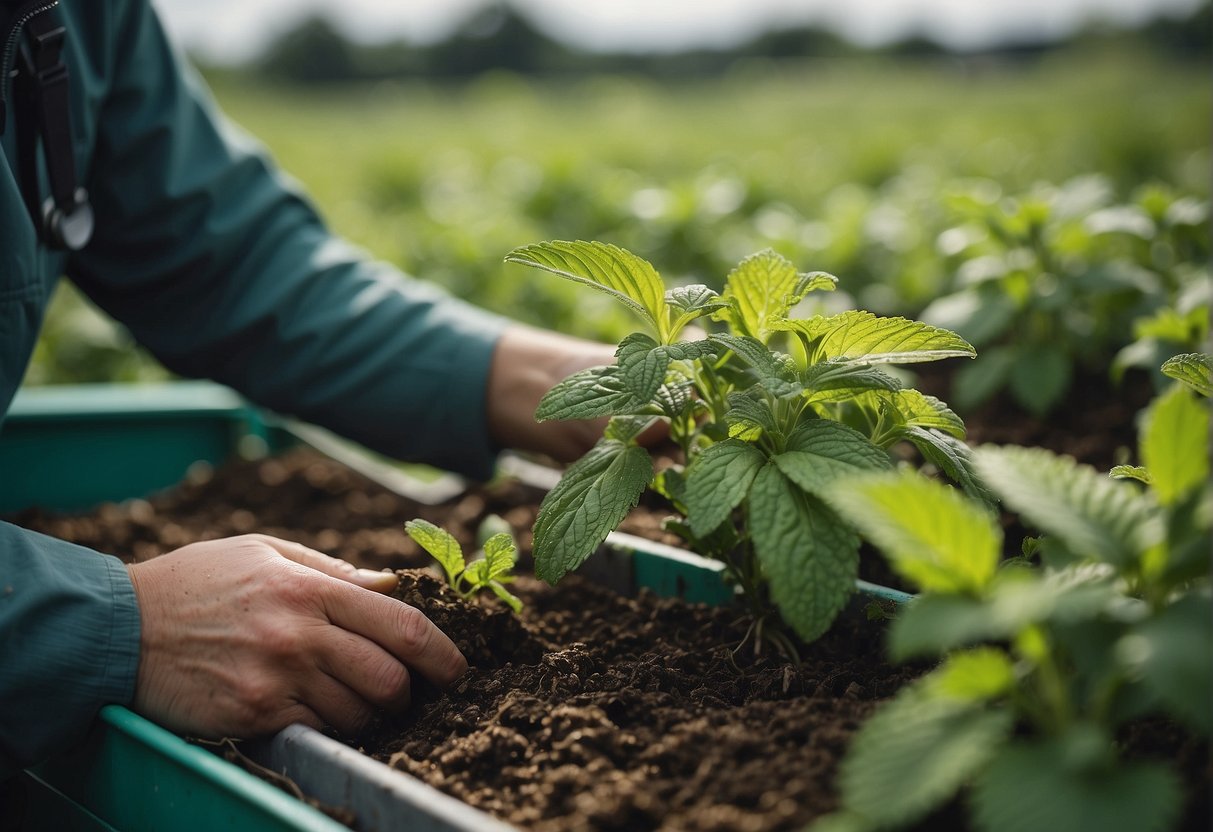
Once the mint cuttings have rooted and grown a few inches tall, it is time to transplant them to their permanent location. Mint can be transplanted to pots or directly into the garden. If transplanting to a pot, choose a container that is at least 6-8 inches deep and wide enough to accommodate the root ball. Fill the pot with a good quality potting mix and make a hole in the center. Gently remove the cutting from its container and place it in the hole. Backfill with potting mix and water thoroughly.
If transplanting to the garden, choose a location that receives partial sun and has well-draining soil. Dig a hole that is slightly larger than the root ball and add some compost to the bottom. Place the cutting in the hole and backfill with soil. Water thoroughly.
Ongoing Care and Maintenance
Mint is a low-maintenance herb that is easy to grow. However, it does require some care to ensure healthy growth. Water the plants regularly, especially during the hot summer months. Mint prefers moist soil, but be careful not to overwater, as this can cause the roots to rot.
Fertilize the plants in late spring or early summer with a balanced fertilizer. This will encourage healthy growth and flowering. Prune the plants regularly to keep them compact and bushy. Pinch off the tips of the stems to encourage branching.
In autumn, cut back the plants to the ground and mulch with a layer of compost. This will protect the roots during the winter months. In spring, remove the mulch and new growth will emerge.
If the plants start to wilt or show signs of disease, remove the affected leaves and dispose of them. Mint can be prone to rust and other fungal diseases, especially in humid conditions.
In a greenhouse, mint can be grown all year round. Provide the plants with plenty of light and warmth, and water regularly. In a large garden, mint can be grown in raised beds to contain its spread. In a medium or small garden, it is best to grow mint in containers to prevent it from taking over the garden.
Pest Management and Harvesting

Dealing with Pests and Disease
Mint plants are generally hardy and resistant to most pests and diseases. However, they can still fall prey to certain insects and fungal infections. The most common pests that affect mint plants are aphids, spider mites, and whiteflies. These pests can be controlled by spraying the plants with a mixture of water and dish soap or neem oil. Beneficial insects like ladybugs and lacewings can also be introduced to the garden to control pest populations.
Mint plants can also be affected by fungal infections, such as powdery mildew and mold. These infections can be prevented by ensuring that the plants are not overcrowded and have good air circulation. If an infection does occur, affected leaves should be removed and destroyed. Mulching around the plants can also help prevent fungal infections.
Harvesting Mint Leaves
Mint leaves can be harvested throughout the growing season. The best time to harvest is in the morning, after the dew has dried but before the sun is too hot. Harvesting can be done by snipping off sprigs of leaves with a pair of clean, sharp pruners.
Mint leaves can be used fresh or dried for later use. To dry mint leaves, tie sprigs together and hang them upside down in a warm, dry place. Once the leaves are dry, remove them from the stems and store in an airtight container.
It is important to note that mint plants are sensitive to frost and should be harvested before the first frost of the season.
Frequently Asked Questions

What are the steps to transplant mint cuttings successfully?
To transplant mint cuttings successfully, follow these steps:
- Cut a healthy stem of mint from the parent plant.
- Remove the lower leaves from the stem, leaving only a few leaves on the top.
- Dip the cut end of the stem in rooting hormone powder.
- Plant the stem in a pot filled with well-draining soil.
- Water the soil, making sure it is moist but not waterlogged.
- Place the pot in a warm and bright location, but avoid direct sunlight.
- Keep the soil moist and wait for the roots to develop.
What is the ideal environment for growing mint indoors?
Mint grows best in a warm and humid environment. To provide the ideal environment for growing mint indoors, follow these tips:
- Choose a location that receives bright, indirect sunlight.
- Keep the temperature between 65-75°F (18-24°C).
- Maintain high humidity by misting the leaves regularly or placing a tray of water near the plant.
- Use well-draining soil and a pot with drainage holes to prevent waterlogging.
How can you effectively grow mint from seeds outdoors?
To effectively grow mint from seeds outdoors, follow these steps:
- Choose a sunny location with well-draining soil.
- Sow the seeds directly into the soil, covering them with a thin layer of soil.
- Keep the soil moist but not waterlogged.
- Thin out the seedlings once they have grown to a few inches tall.
- Harvest the leaves regularly to encourage growth.
What is the expected time frame for mint cuttings to establish roots in water?
Mint cuttings usually take around 2-3 weeks to establish roots in water. However, this can vary depending on the temperature and humidity of the environment.
Is there a difference in success rates when propagating mint in soil versus water?
Mint can be propagated successfully in both soil and water. However, some gardeners may find that mint cuttings root more quickly in water than in soil. Ultimately, the success rate will depend on the conditions provided and the health of the plant material.
How do you manage mint runners for effective propagation?
Mint runners are horizontal stems that grow from the parent plant and produce new shoots. To manage mint runners for effective propagation, follow these tips:
- Allow the runners to grow until they produce new shoots.
- Cut the runner stem between the parent plant and the new shoot.
- Plant the new shoot in a pot filled with well-draining soil.
- Water the soil and keep it moist until the new plant is established.
