DIY Compost Bin for Small Spaces Efficiently Designed for Urban Gardens
Last updated: February 3, 2026
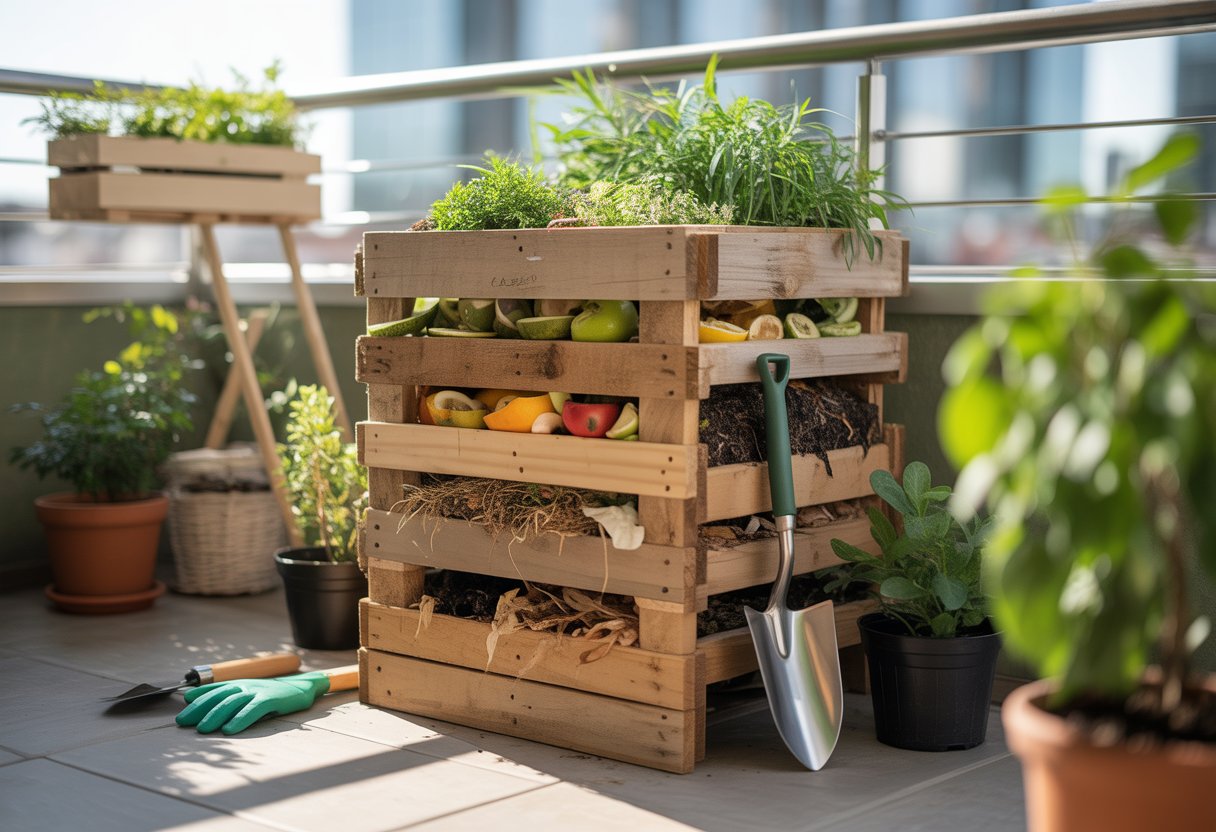
A lot of folks think composting needs a big backyard, but honestly, you can make it work in even the tiniest spaces. A DIY compost bin built for small areas turns kitchen scraps and yard waste into rich soil without hogging all your room.

The trick is to build a compact, well-ventilated bin that’ll squeeze onto your balcony, patio, or that awkward garden corner. This setup slashes waste and lets you live a little greener, even smack in the middle of the city.
With a few basic materials and a bit of clever design, you can whip up a compost bin that actually fits your life. Here’s how to get started on your own small-space compost fix.
Benefits Of DIY Compost Bins For Small Spaces
A small DIY compost bin can turn your food scraps into something actually useful for your plants. It’s a practical way to manage waste, boost plant health, and make nutrient-rich compost right at home.
Reducing Food Waste
A homemade compost bin lets you keep food waste out of the landfill—no need for a giant outdoor pile. Toss in fruit peels, veggie scraps, coffee grounds, and eggshells, all without losing precious space.
This cuts down on how often you take out the trash and can even save you a bit on waste pickup. Plus, food scraps in landfills pump out methane, so composting at home feels like a small win for the planet.
Supporting Indoor Gardening
Small compost bins give indoor gardeners a steady stash of organic material. You can mix your own compost into pots or raised beds and watch your plants perk up.
Homemade compost lets you tweak moisture and nutrients for houseplants or herbs, and it means you can skip chemical fertilizers more often. Healthier plants, fewer chemicals—what’s not to like?
Creating High-Quality Compost
A well-designed bin, even a small one, breaks down scraps into rich compost fast. Good airflow and moisture control—easy enough with a few tweaks—make all the difference.
The finished compost packs nutrients like nitrogen, phosphorus, and potassium. It improves soil, helps it hold water, and keeps those garden microbes happy. Even in a cramped space, you get real gardening benefits.
Choosing The Right Compost Bin Design
Picking a compost bin for a small space means thinking about size, material, and how you’ll actually use it. You want something that works fast and fits wherever you can squeeze it in—inside or out.
Types Of Composting Bins For Limited Space
If you’re short on space, tumblers, worm bins, and countertop composters are all solid choices. Tumblers let you mix things up without breaking your back, and they don’t take over your whole balcony.
Worm bins use red worms to eat up food scraps—these can even live inside if you don’t mind the idea. Countertop composters (sometimes called bokashi bins) are made for indoors and keep smells down with carbon filters.
Your pick depends on how much waste you make and how much air the spot gets. No one wants a stinky kitchen.
Materials And Tools Needed
Most small bins come in plastic, wood, or metal. Plastic is light, cheap, and stands up to weather, so it works inside or out.
Wood gives natural insulation but needs sealing or it’ll rot or attract bugs. You’ll need gloves, a little garden fork or trowel for mixing, and a drill to make air holes.
For worm bins, grab some red wigglers. A mesh screen or two can help keep pests out and air in, especially if you’re composting indoors.
Size And Placement Considerations
Match your bin size to how much waste you make and the space you’ve got. A 5 to 10-gallon bin fits most kitchens or balconies; if you’ve got a tiny backyard, maybe go up to 20 or 30 gallons.
Where you put the bin matters. Outside, partial sun and good drainage help. Inside, find a spot with some airflow, not right next to a heater or a cold draft.
And make sure you can get to it easily—if it’s a pain to turn or add scraps, you’ll probably just stop using it.
Building And Setting Up Your DIY Compost Bin

A solid compost bin needs sturdy construction, plenty of airflow, and the right mix of stuff inside. Build a strong frame, add good ventilation, and layer your greens and browns to kick off the decomposition process.
Step-By-Step Construction Guide
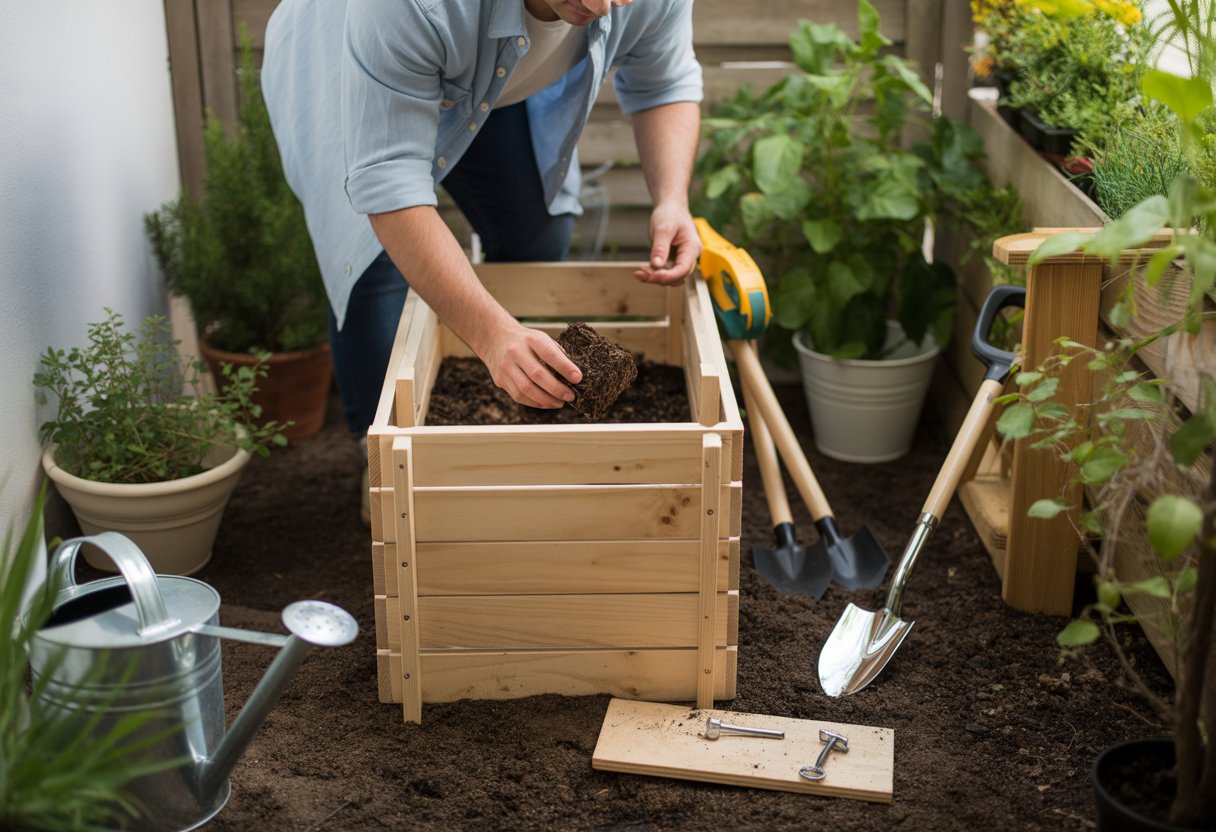
Start with a compact container—a wooden crate or a plastic bin with at least 10-15 gallons is plenty for most folks. Drill holes all around the sides and bottom, about every two inches, for drainage and air.
Go for untreated wood or recycled plastic to keep chemicals out of your compost. Nail or screw the frame together, making sure the corners are tight. If you’re using a plastic bin, the lid should fit well but come off easily.
Add a base or lift the bin up with bricks so air can get underneath. Make sure the bin’s big enough to heat up but not so huge it won’t fit your space.
Initial Setup For Optimal Aeration
Toss some twigs or straw in the bottom to keep air moving from below. This base layer stops everything from getting compacted and soggy.
Aeration is key. Build your bin so you can turn or mix the compost at least once a week. That’s how you get oxygen in for the bacteria doing all the work.
Don’t seal the bin tight. The holes and the raised base keep air flowing. If things start to get packed down, poke through the pile with a stick or compost aerator.
How To Fill The Compost Bin With Green Material
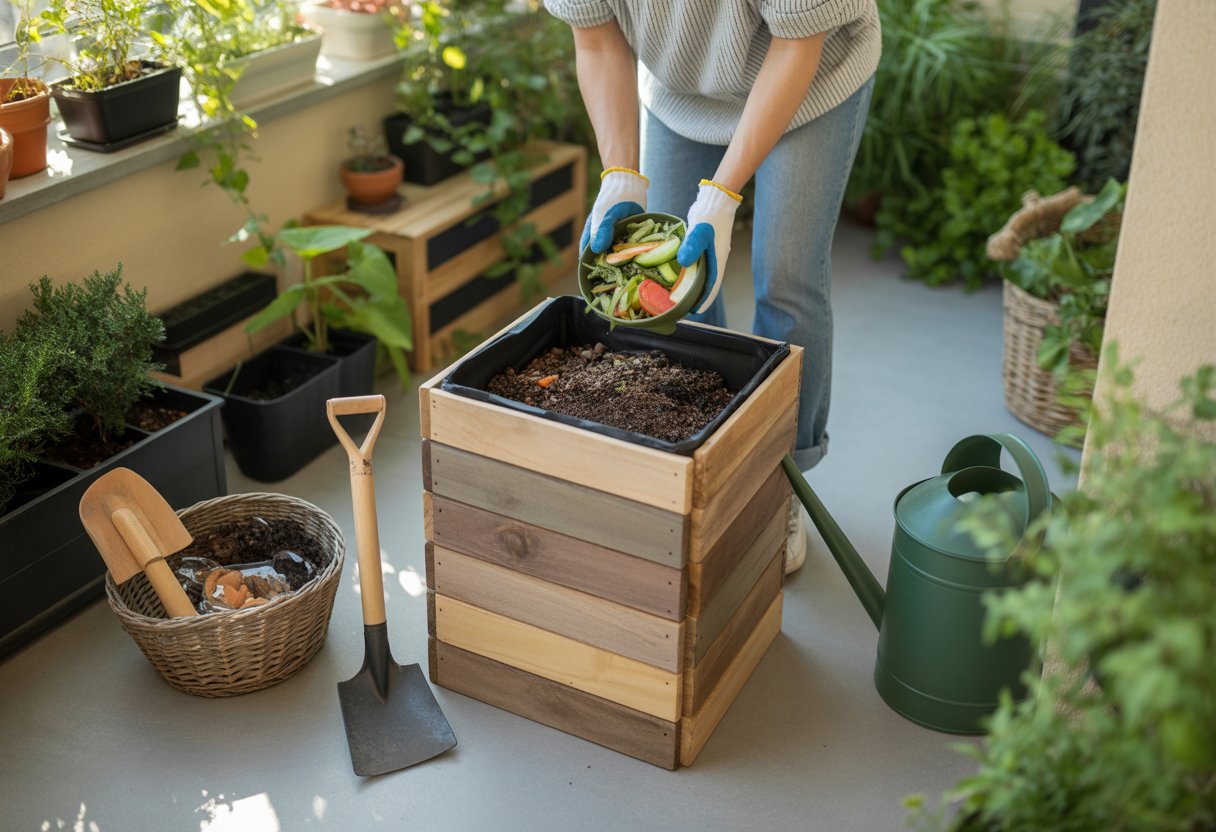
Aim for a mix of green and brown stuff to keep the pile balanced. Greens are things like fruit and veggie scraps, coffee grounds, and fresh grass clippings.
Spread green layers thin so you don’t end up with a wet, stinky mess. Mix in dry browns—shredded paper, dried leaves, cardboard—to soak up moisture and add carbon.
Keep green layers under two inches each time. Too much green can make things slimy and slow everything down. Mixing as you go helps air get in and keeps microbes happy.
Managing The Composting Process In Small Spaces

Composting in a small space takes a little more attention, but it’s totally doable. Keep an eye on your mix, stay on top of any issues, and make sure there’s enough air and moisture.
Maintaining The Right Balance Of Materials
A good compost pile needs both green and brown materials. Greens include fruit peels, veggie scraps, and coffee grounds. Browns are things like dry leaves, shredded paper, and cardboard.
Shoot for about a 2:1 ratio of browns to greens by volume. This helps keep smells down and keeps microbes busy. Chop or tear up bigger pieces so they break down faster.
Turn your compost every week or two to get oxygen in and avoid funky smells. The pile should feel like a wrung-out sponge—too wet and it’ll rot, too dry and nothing happens.
Troubleshooting Common Problems
If your compost smells sour or rotten, you’ve probably got too much moisture or not enough airflow. Try tossing in more dry browns, then turn the pile to let in some oxygen.
When compost breaks down slowly, it’s usually because there are too many browns or not enough greens. Toss in some fresh fruit or veggie scraps and see if that wakes up the microorganisms.
Pests show up when food scraps sit exposed or the bin stays uncovered. Keep the bin closed tight, and skip adding meat or dairy since those just bring in rodents and flies.
![]() Looking for a nursery that carries native plants?
Looking for a nursery that carries native plants?
Browse our native plant nursery directory


