How to Divide Daylilies for Healthy Growth and Maximum Blooms
Last updated: November 7, 2026
Dividing daylilies is a pretty simple task that keeps plants healthy and gets you more blooms. The best way to divide daylilies is to dig up the clump, separate the fans with roots attached, and replant them right away. This wakes up tired plants and keeps them from getting overcrowded.
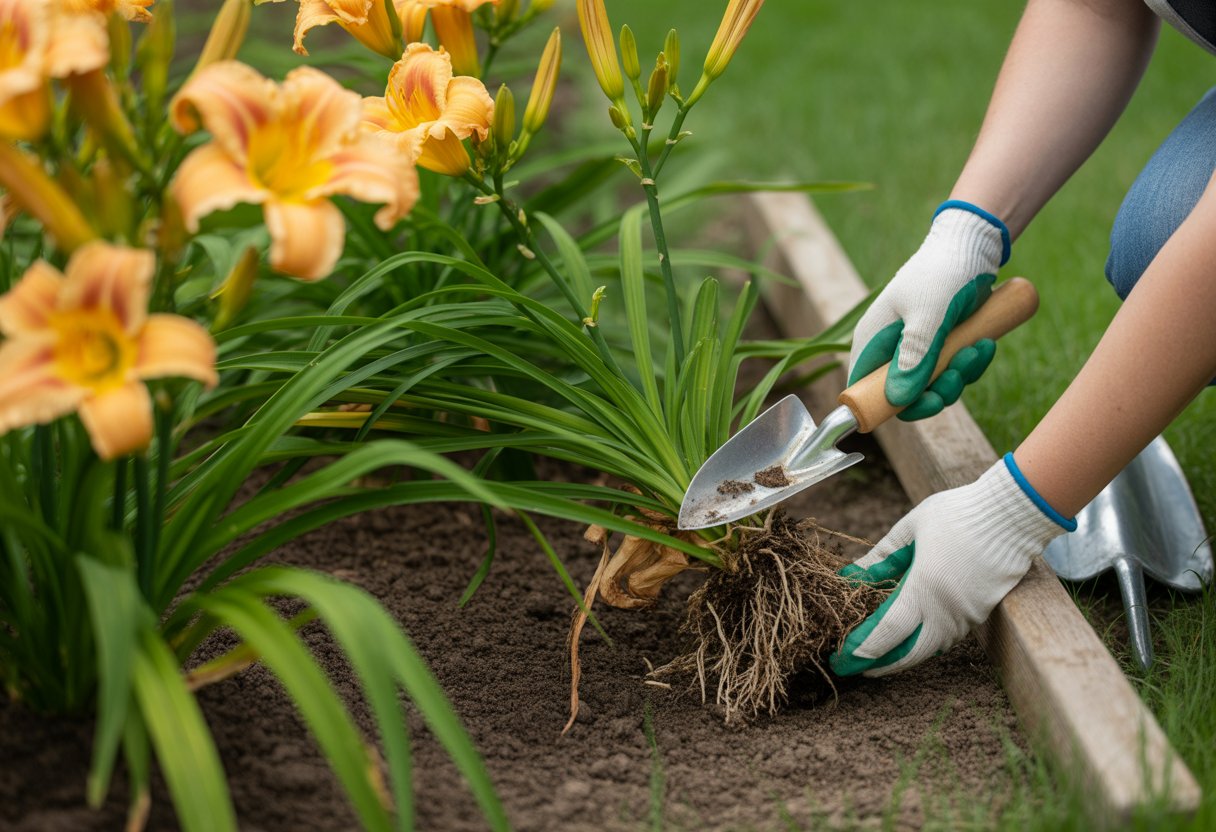
Daylilies, those tough perennials, really do well when you divide them every three to five years. It’s best to do this in early spring or just after they finish blooming so they can settle in before the weather gets wild.
If you want your garden to look better and your plants to last longer, knowing how and when to divide daylilies is a game-changer.
Understanding Daylilies and Their Growth Habits
Daylilies grow in thick clumps that just keep getting bigger. If you know when and why to split them up, you’ll keep their blooms looking great.
Daylilies as Hardy Perennials
These perennials stick around for years, coming back every season. They’re famous for being tough and handling all sorts of climates and soils.
The foliage dies back when it gets cold, letting daylilies save energy in their roots. This makes them perfect for borders or big swathes in the garden.
They don’t need much fussing over, but dividing them once in a while really helps.
Signs That Indicate Division Is Needed
You’ll know it’s time to divide when the clump looks crowded and you see fewer or smaller flowers. Sometimes the middle of the clump even dies out while the edges keep growing.
If your daylily seems sluggish even with good care, the roots are probably jammed up. Once the clump gets bigger than 12-18 inches across, it’s definitely due for a split.
Benefits of Dividing Daylilies
Dividing daylilies gives them a boost and keeps them blooming strong. Better airflow around roots and leaves means fewer diseases.
You’ll also get more plants to spread around or share. Divided clumps settle in faster than plants grown from seed, which is honestly a nice shortcut.
Preparing For Successful Division
Picking the right time, having good tools, and prepping the soil all make dividing daylilies go smoother. Paying attention here means healthier plants and less transplant shock.
Choosing the Right Time to Divide Daylilies
Go for early spring or late summer, after blooming, to divide your daylilies. This gives them time to root before the weather gets rough.
Spring division kicks off strong growth. If you’re doing it in late summer, aim for at least four to six weeks before the first frost.
Try not to divide during heat waves or dry spells—plants just don’t like it. Slightly damp soil makes digging way easier.
Gathering Essential Tools and Materials
You’ll need a sharp spade or garden fork to lift the plants. These help you dig without tearing up the roots.
A hose comes in handy for rinsing soil off the roots, so you can see what you’re doing. Gloves protect your hands from rough roots.
Grab some compost, a trowel, and a container for the divisions. Keep some organic fertilizer nearby for after planting.
Soil Preparation and Amending with Compost
Loosen the soil where you’ll replant, going down about 12-15 inches. Yank out weeds and junk before you add anything.
Mix in some aged compost—roughly one part compost to three parts soil. This helps with drainage and gives roots something good to grow into.
Water the area before planting to settle everything in. After you divide and replant, mulch helps keep moisture in and weeds out.
Step-by-Step Guide to Dividing Daylilies
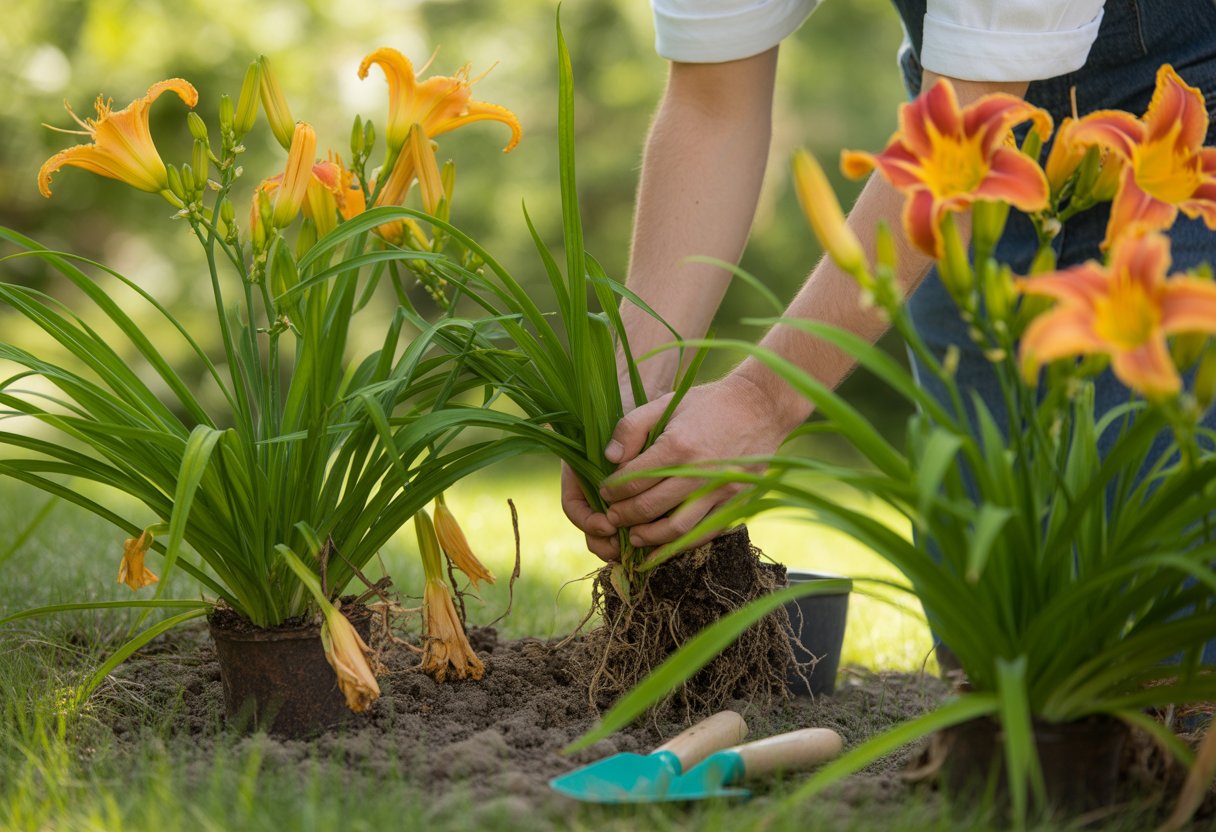
Dividing daylilies means lifting, checking, and splitting the plants so they stay healthy. If you focus on the roots and pick the right sections, you’ll have a much better shot at success.
How to Properly Dig Up and Separate Clumps
Water the daylily clump the day before you dig. That softens the soil and makes the job easier.
Dig about 8–10 inches out from the center using a fork or spade. This keeps you from slicing up the roots.
Lift the whole clump gently, keeping as much soil on the roots as you can. Shake off the extra dirt so you can see what you’re working with.
Use your hands or a knife to break up the clump. Pull off old leaves and any flower stalks before you divide—it helps the plant focus on roots.
Inspecting and Handling the Root System
Check the roots. Healthy ones are firm and white or light brown, not mushy or rotten.
Cut off any dead or soft roots with clean shears. If roots are tangled or packed tight, tease them apart gently.
This helps them spread out after planting. Be careful not to snap the tender tips.
Clear away any dried-up leaves to keep disease away.
Dividing and Propagating Daylily Sections
Split the clump into pieces, each with at least three fans and a solid root system. If you can’t break them by hand, use a sharp knife.
Plant each piece right away, keeping it at the same depth it was before. Water well so the soil settles around the roots.
Wait to fertilize until you see new growth. Remove flower stalks the first year so the plant puts energy into roots and leaves, not seeds.
Transplanting and Caring For Divided Daylilies
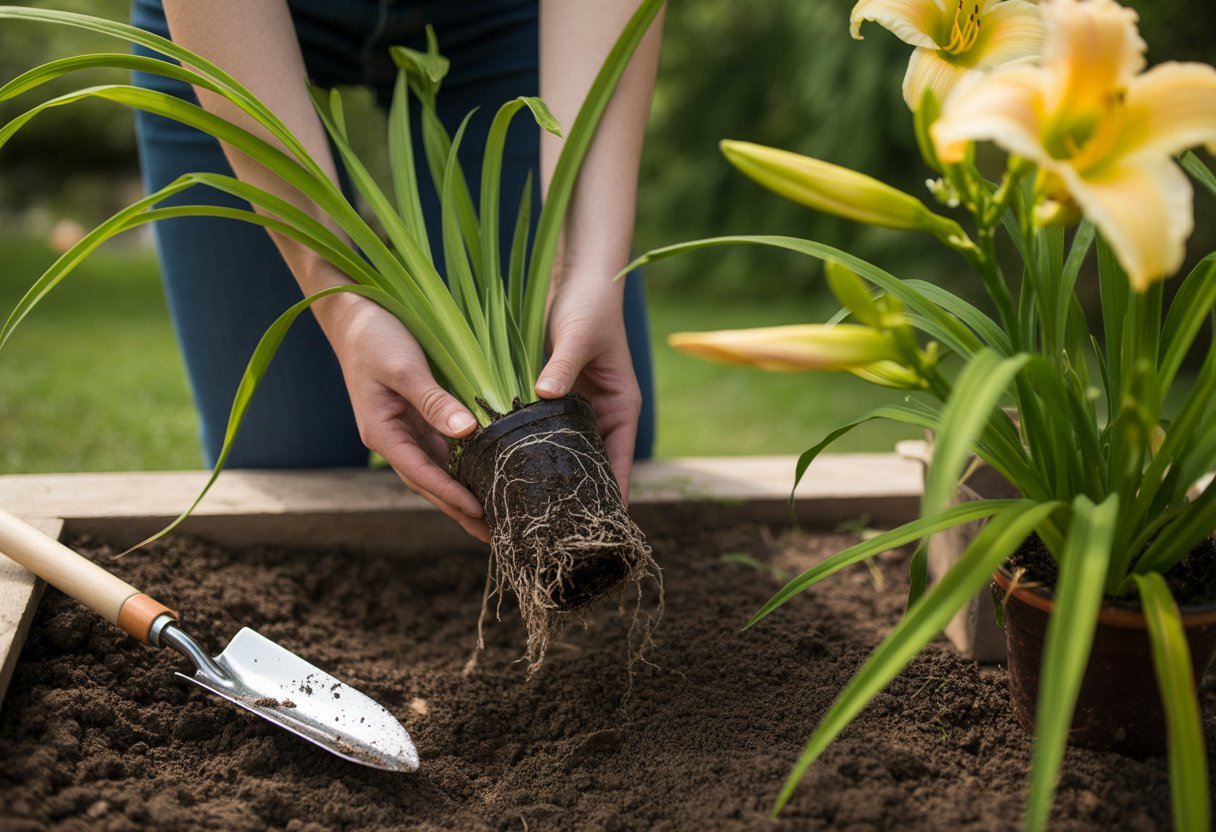
After you divide, where and how you replant matters a lot. Some varieties, especially the fancy hybrids, might be a little more sensitive.
Replanting Divided Daylilies in the Garden
Get those divisions into the ground fast, using well-drained soil. Leave 18 to 24 inches between each clump for airflow and room to grow.
Make the hole deep and wide enough so the roots can spread out. Set the crown just below the soil surface, about an inch deep.
Press the soil in gently—no need to stomp. If you can, transplant when it’s cool or cloudy to cut down on shock.
Watering, Mulching, and Fertilizing After Division
Water thoroughly after planting to settle the soil and hydrate the roots. Keep the soil moist for the first couple of weeks so the new roots can get going.
Don’t drown them, though—roots hate soggy feet. Mulch with 2-3 inches of shredded bark or compost to keep moisture in and weeds down.
Use a balanced fertilizer with equal parts nitrogen, phosphorus, and potassium, but go easy. Too much too soon can overwhelm young divisions.
Tips for Hybrid Varieties and Flower Farms
Hybrid daylilies can bounce back a bit slower after you divide them. Selective breeding sometimes makes them a little less rugged.
They really seem to appreciate transplant spots with some shelter. Paying extra attention to how you handle their roots goes a long way.
Flower farms in places like Vermont usually transplant in early spring or late summer. They try to match up with whatever the local growing season throws at them.
Big operations lean on drills or mechanical tools to get spacing and depth just right. It’s not glamorous, but it works.
Farms keep an eye on soil pH and tweak fertilization to help flowers thrive. They also watch closely for pests and disease, especially when divided plants are settling in.