How To Troubleshoot a Lawn Mower Engine That Only Turns Halfway
Last updated: February 7, 2026
Have you ever experienced a situation where your lawn mower is hard to start, or the mower engine does not turn over completely and only turns halfway? If yes, it must have held you wondering whether it is possible to troubleshoot engine trouble and if possible, how to troubleshoot a mower engine that only turns halfway?
First, remove the whole Hood Assembly, Hood, Spark plug & check the existing Gap between the Valves. Then, adjust the Top Valves in the Primary, as well as the other Valve on the Intake Cam, and clean the Exterior Parts. Finally, reinstall all the Parts & test the Engine.
Keep reading this following article and learn the detailed way of troubleshooting a mower engine only turns halfway.
What Causes the Problem?
If your lawn mower engine suddenly stopped working as it is supposed to and does not turn over all the way, it might be due to improper adjustment of the valves on the primary and intake Cam because overhead valves prevent the mower engine from working properly.
Such commotion can also arise due to other potential defects like loose, dirty, or disconnected Spark Plug and clogged or dirty Air Filter.
It might be occurring because the fuel is not reaching the engine as it is supposed to, and in that case, you need to inspect the fuel condition, flow, fuel lines, fuel filters, and carburetor to confirm whether there’s any chance of leaks or blockage.
6 Steps to troubleshoot a mower engine that only turns halfway:
Lawn mower users often encounter a common issue as their mower gets older overtimes and that is the mower only turning over halfway and then abruptly shutting off.
Isn’t it too annoying to handle the middle of nowhere?
That’s why I have decided to present a quick, easy, and cost-effective DIY method of troubleshooting a lawn mower that only turns halfway.
Things required to troubleshoot:
Have a proper glance at the required tools and materials:
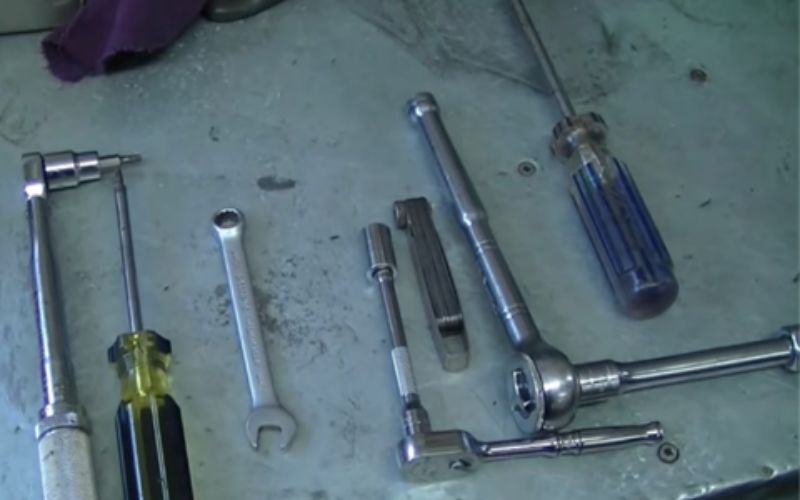
| Tools | Materials |
| Torque Wrench with a t25 Socket bit | RTV Silicone |
| A t20 Torx Screw driver | 3m Scotch Brite pads |
| 10-millimeter Wrench | New Gasket (if required) |
| A quarter inch Ratchet with an extension | New Spark Plug (if necessary) |
| 10-millimeter Socket | Card Cleaner |
| Feeler gauge | |
| 3/8 Ratchet with a 5/8 Socket | |
| Flat Screwdriver | |
| Safety Glasses & Gloves |
Step 1- Remove the whole Hood Assembly & Hood:
Most probably, what you need to do now is adjust the valves on your mower engine because overhead valves prevent the engine from working properly.
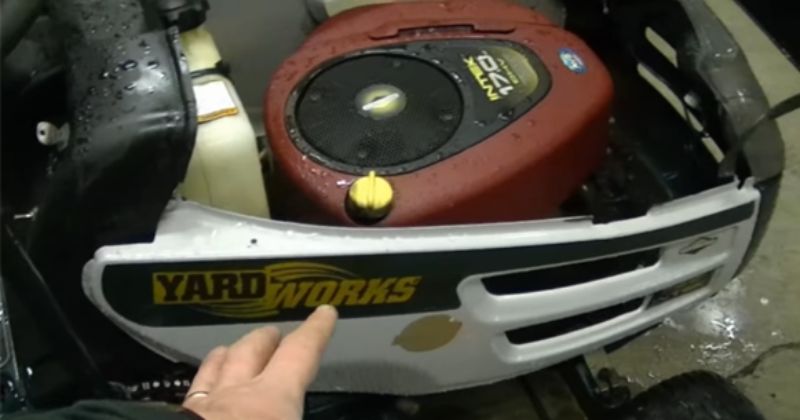
First, remove all the connecting bolts that hold the hood onto the body.
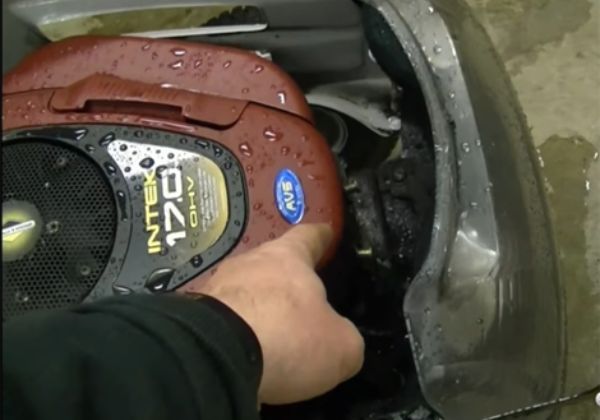
Then, you can remove the front end of your mower.
Tips: If you are good at such repairing tasks, you might be able to adjust the valves without even removing the hood.
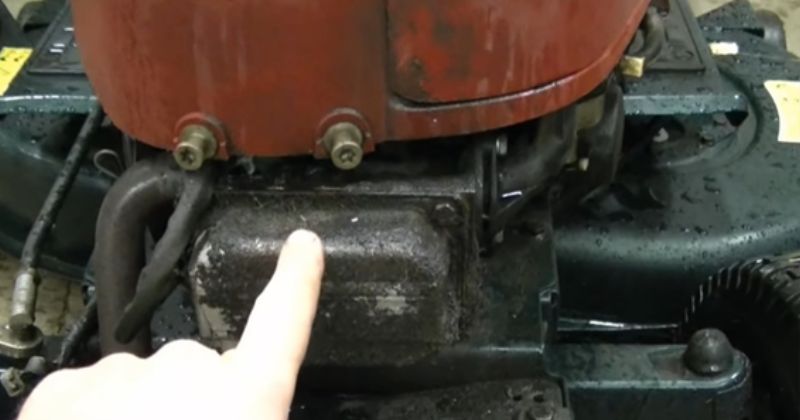
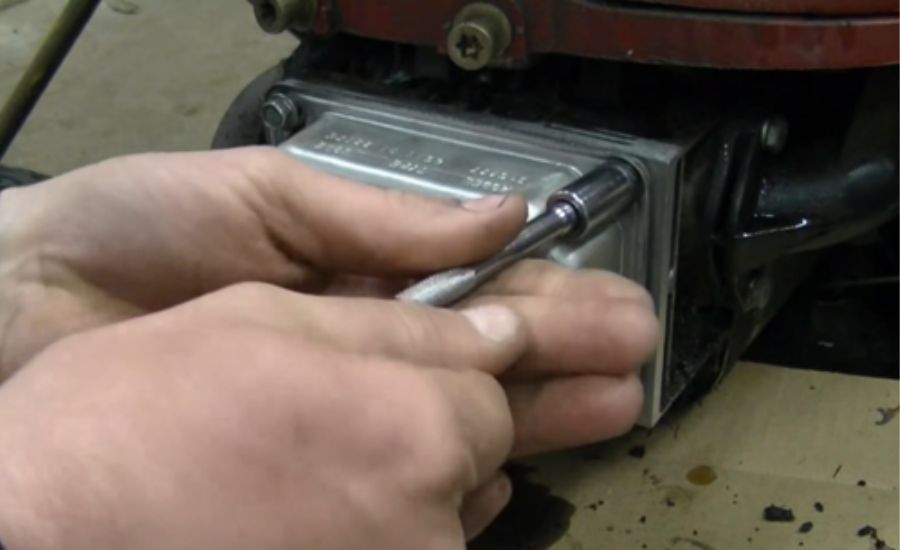
This is the cover that needs to come off to adjust the valves.
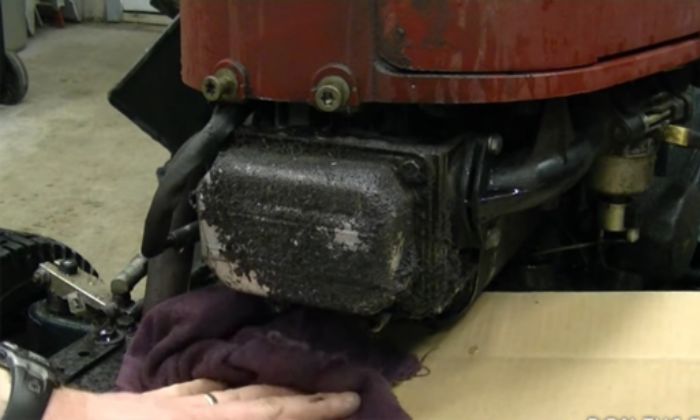
Also, remember to put a piece of cardboard and rag under here because a little amount of oil will come out while removing the cover.
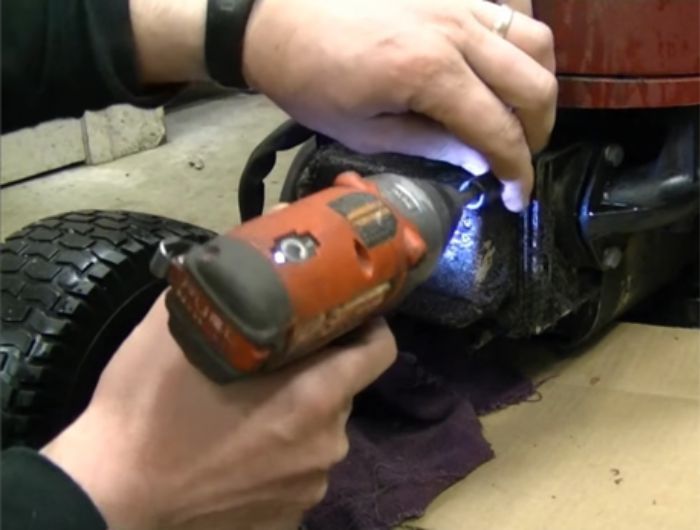
Now, use a 10-millimeter Socket and remove the four bolts.
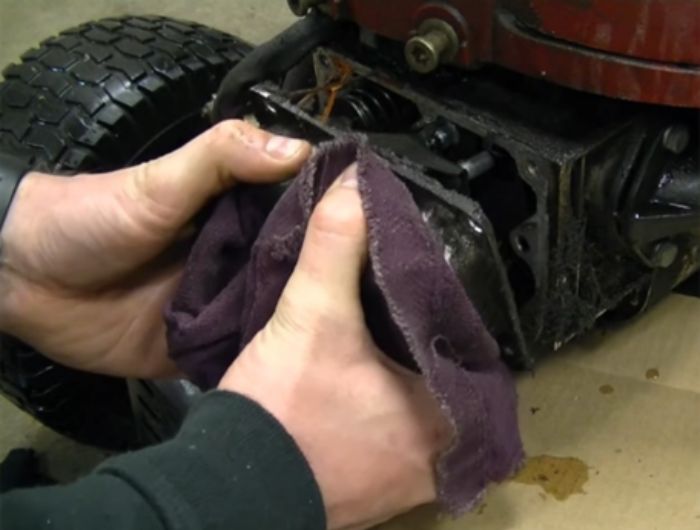
Then, remove the cover by hand.
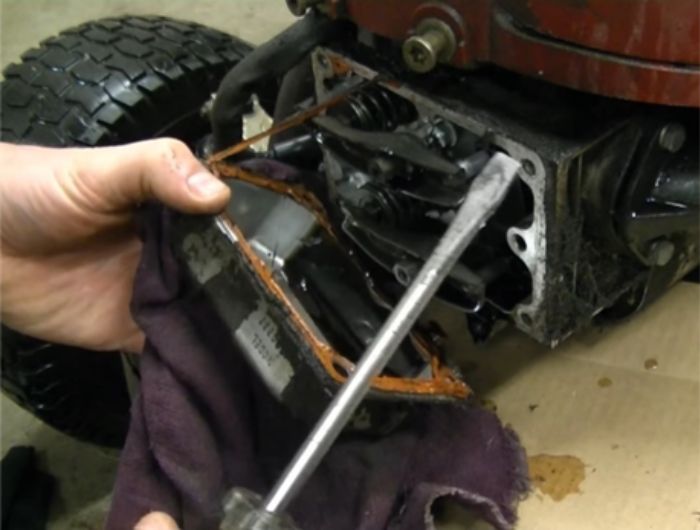
If you cannot, you can use a flat screwdriver to pry it off, and you can see it here by this silicone.
Step 2- Remove the Spark plug & Check the Existing Gap between the Valves:
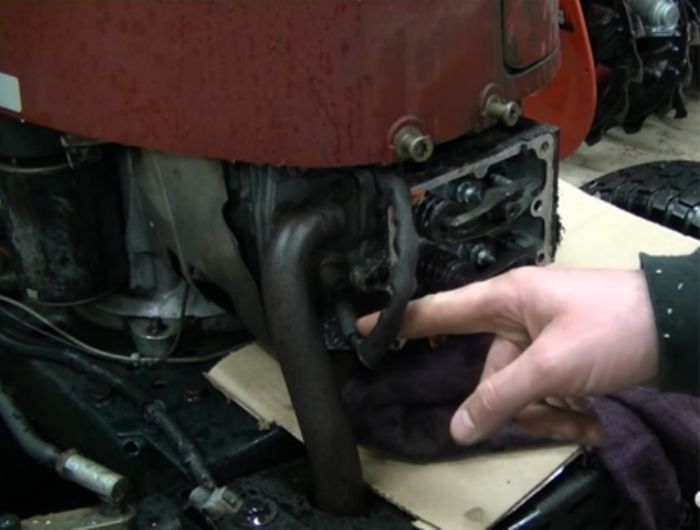
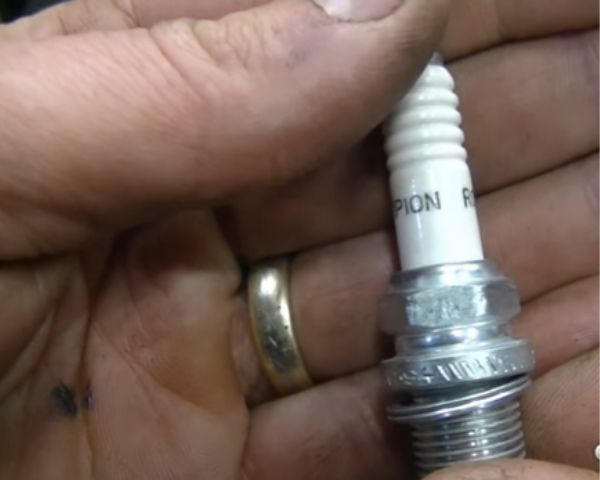
Next, you need to remove the spark plug, which is usually located right here on the riding or lawn mower.
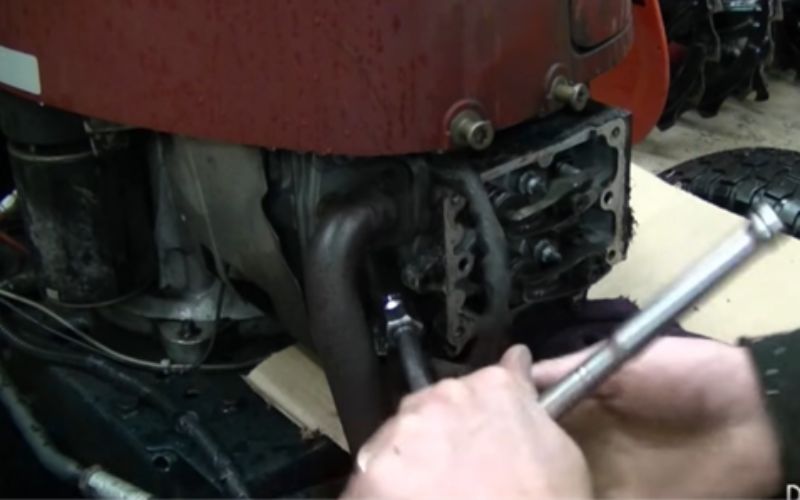
Thus, use the 5/8 spark plug socket by removing the plug. It will be easier to turn the engine over by hand when adjusting the valves.
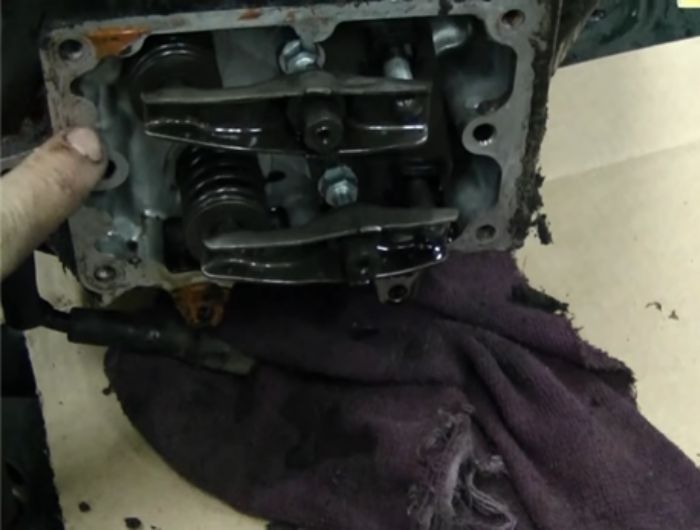
Here you can see the existing gap between the valves.
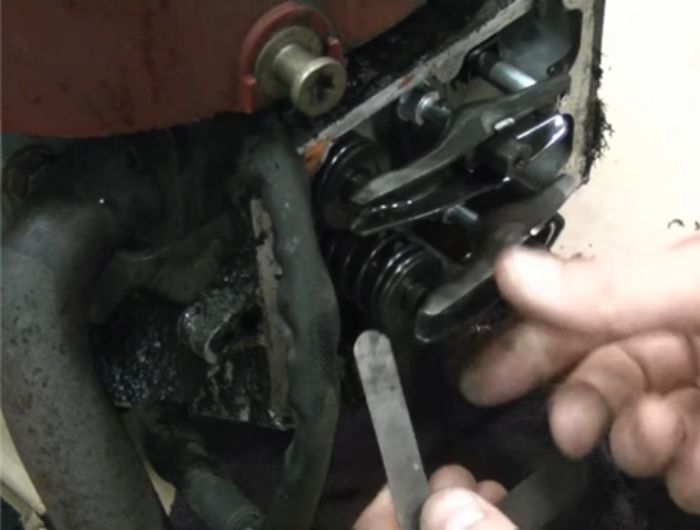
You can usually adjust these valves here with the rocker arm between three to four thousandth of an inch.
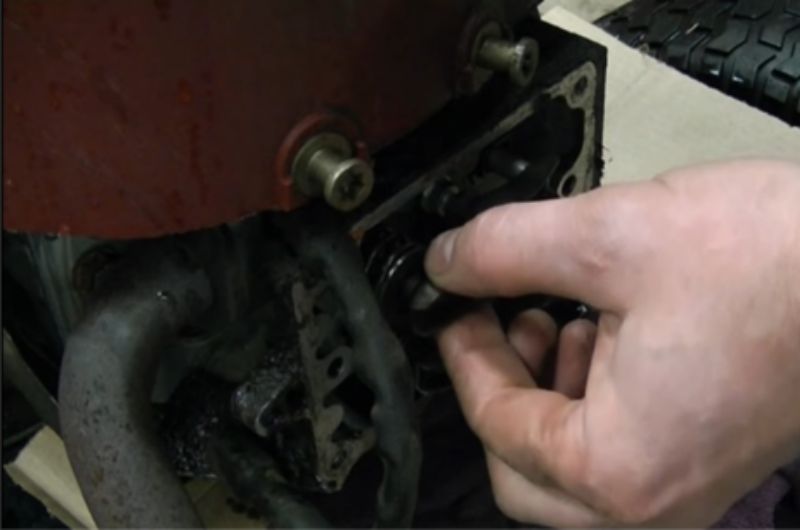
But the existing gap is much wider, and that’s the reason why it is so hard to turn over.
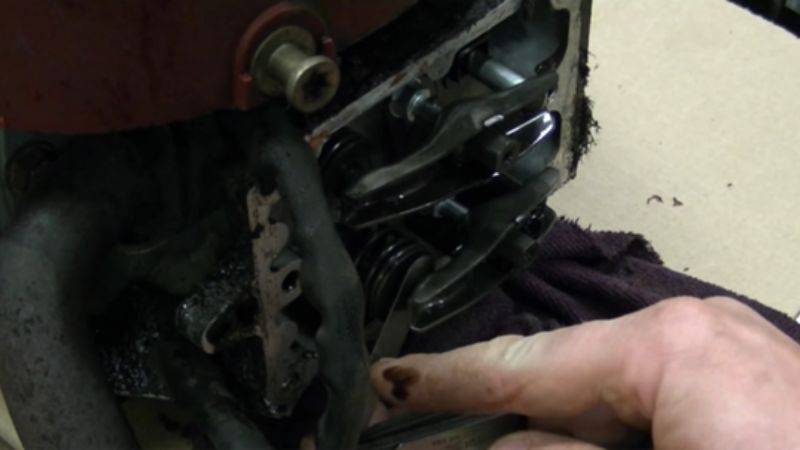
You can put a 17 thousandth-of-an-inch feeler blade here, but the gap is four times bigger than it should be.
Step 3- Adjusting the Top Valves in the Primary:
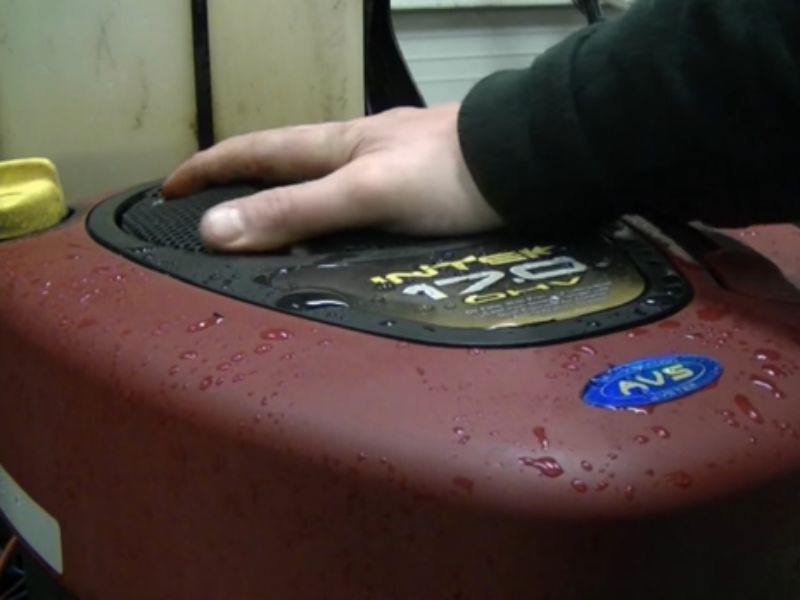
Turn the engine by hand until one valve is open and adjust the other. Then, continue repeating the same technique for all valves.
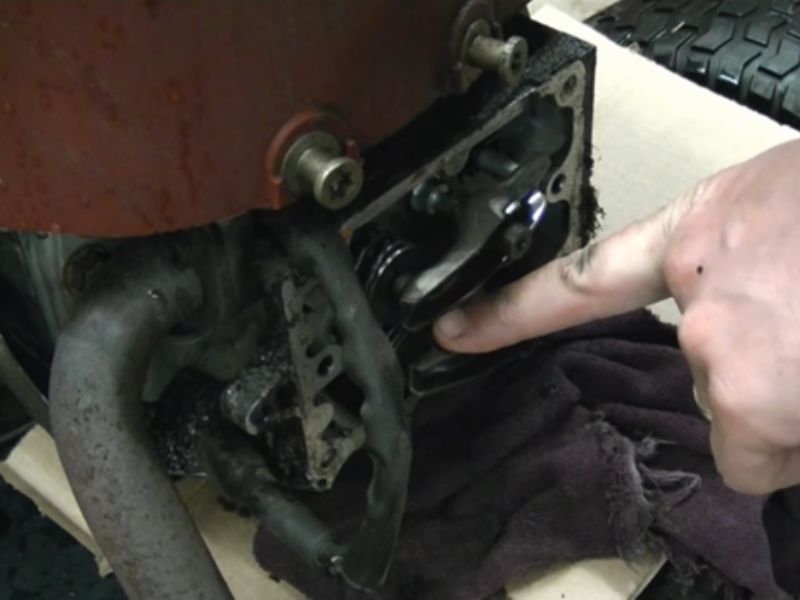
Now that you have opened or pushed in the valve, you need to adjust the top valve.
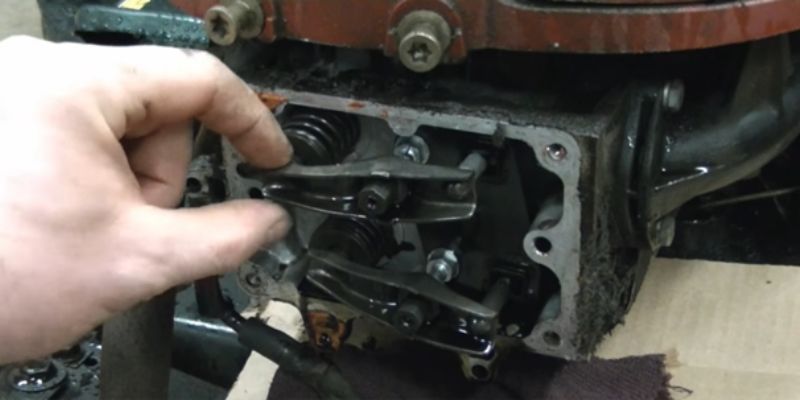
For this task, you will need a 10-millimeter wrench and a t25 Torx screwdriver.
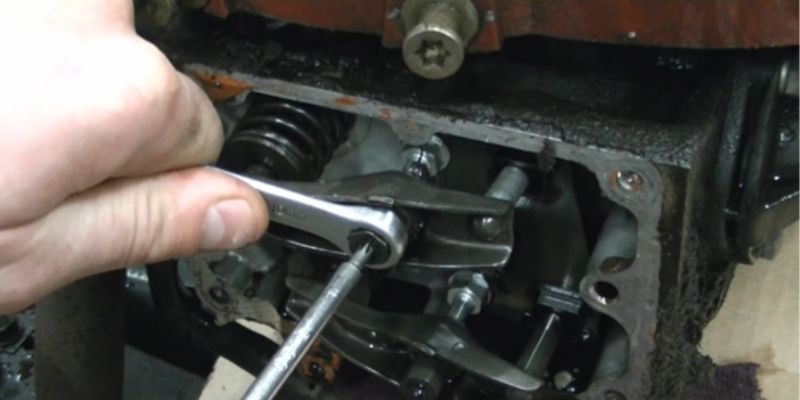
Next, you need to hold the 10-millimeter nut and undo the Torx screw from the inside.
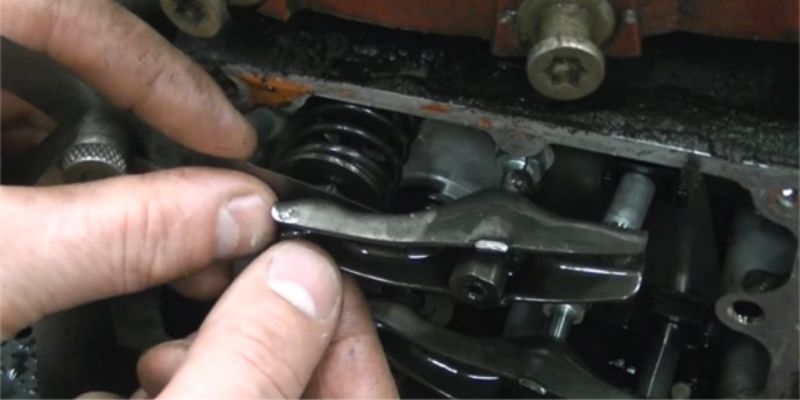
You need to adjust this at four-thousandths of an inch and have the feeler gauge ready to stick in between the valve as well as the rocker’s arm.
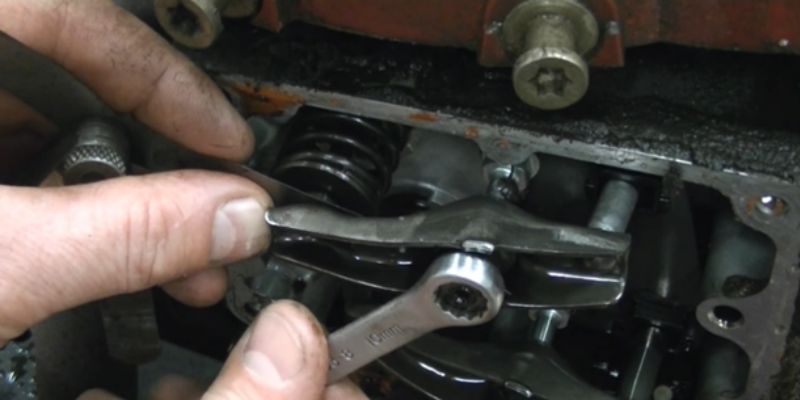
Now, if you want to close the gap, turn it clockwise with the 10 millimeters, not the wrench. You will notice that the feeler blade is getting tighter in there.
Basically, you should adjust it nice and snug in there, it shouldn’t be too loose or too tight.
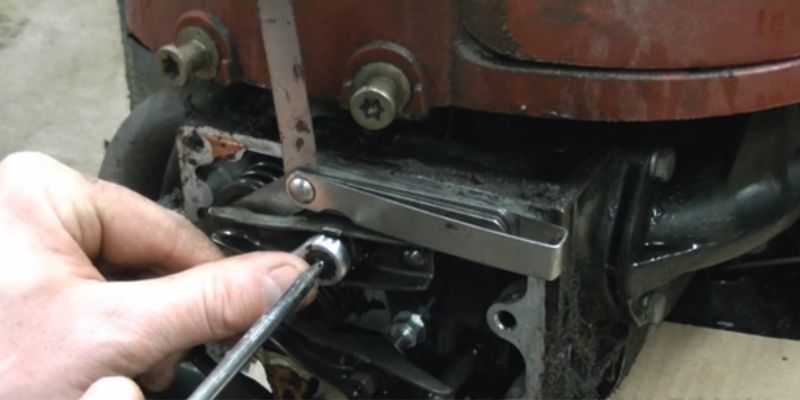
Then, hold the nut and tighten up the Torque screw.
Step 4- Adjust the Other Valve on the Intake Cam:
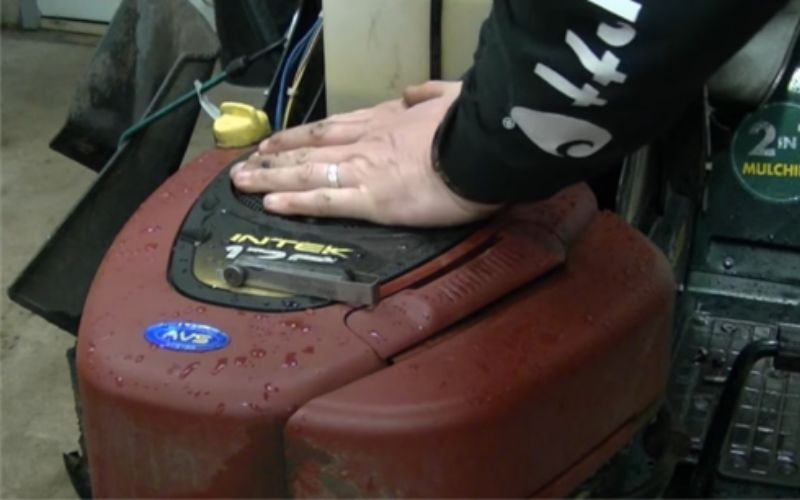
First, turn the engine until the other valve is closed.
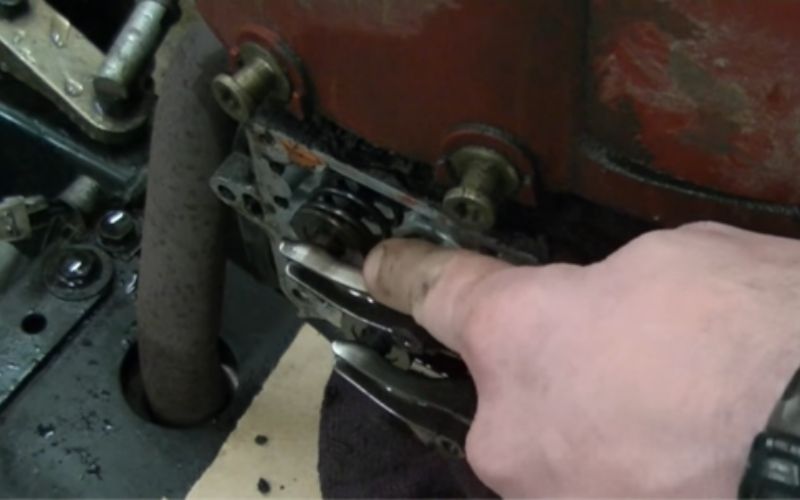
This one shown in the image is open.
Now, repeat the same procedure like setting the feeler gauge in and tightening up the 10-millimeter nut.
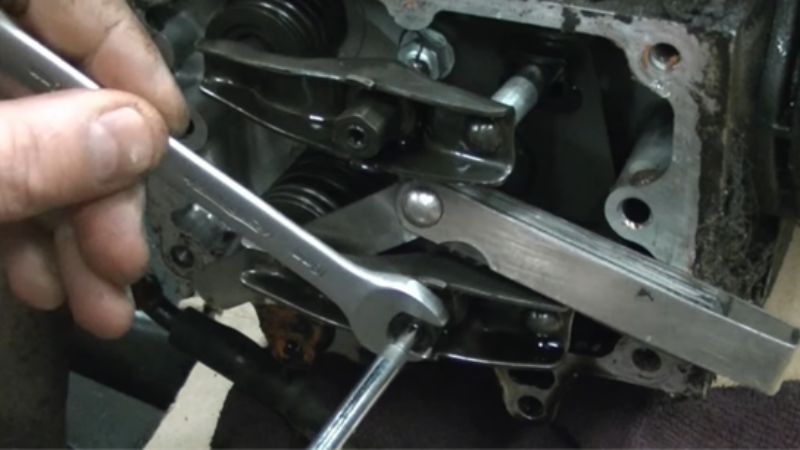
If you cannot turn the nut in deep enough, you should loosen the Torque screw again ahead and loosen that enough.
Now check the feeler blade in there whether it’s nice and snug or not.
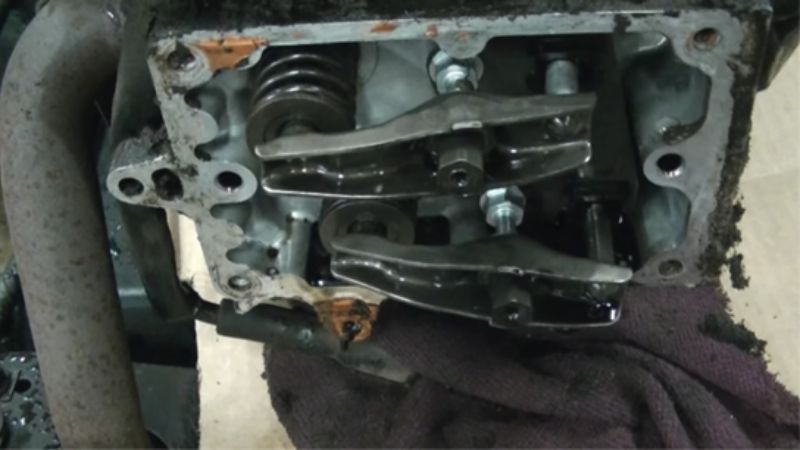
Next, turn the engine over a few turns to recheck.
Step 5- Cleaning the Exterior Parts:
If it looks good as shown in the picture, all you need to do is clean the exterior part over where the gasket goes, and if there’s no gasket, they must have used the RTV silicone there.
In that case, you have to remove all the stuff before re-installing the cover.
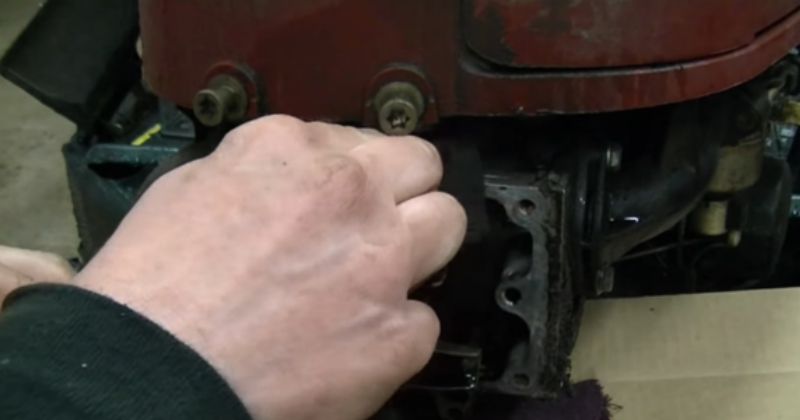
So, ensure it’s all clean around the head because the engine will not cope properly when it is excessively dirty.
You can use 3m Scotch Brite pads on your die grinder to wipe off any excess oil.
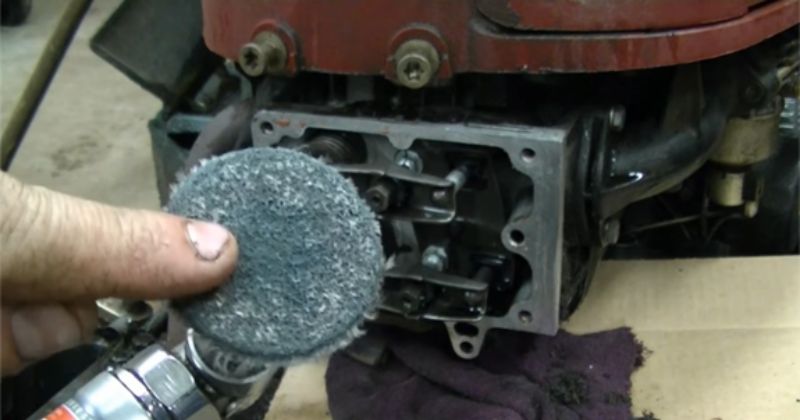
It’s also a good idea to change the oil while you are working on it.
Now, use a Scotch Brite pad to clean the gasket surface area.
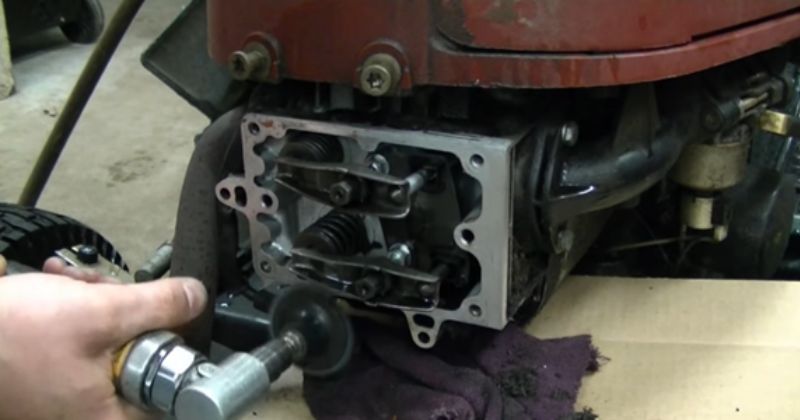
Next, spray the card cleaner to wash off the excess dirt and wipe them off properly.
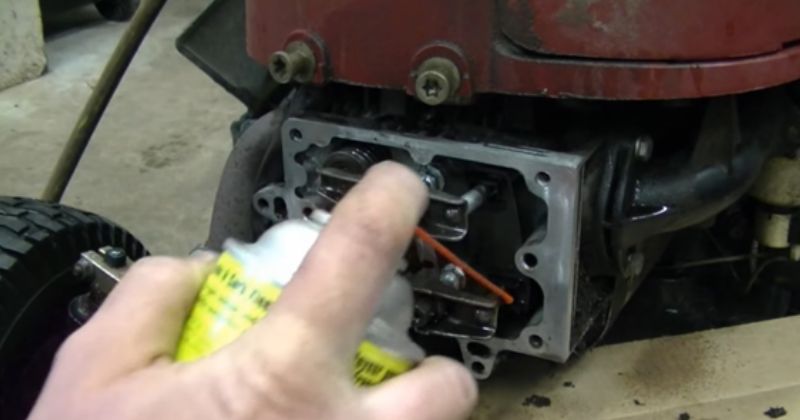
Remember to get that excess oil out of here.
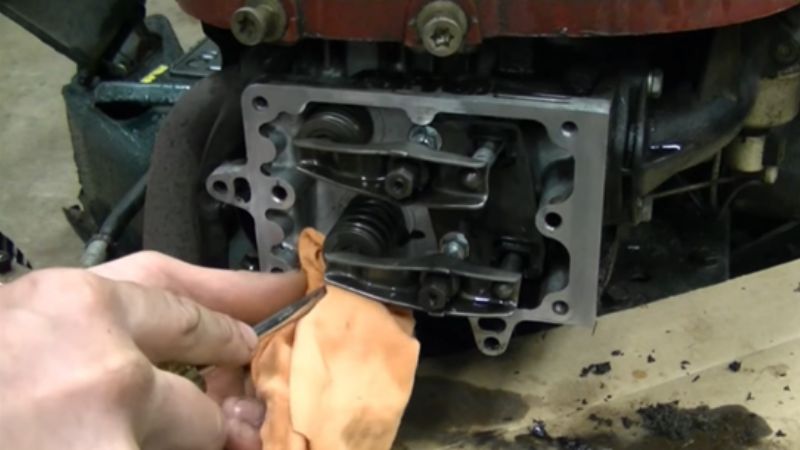
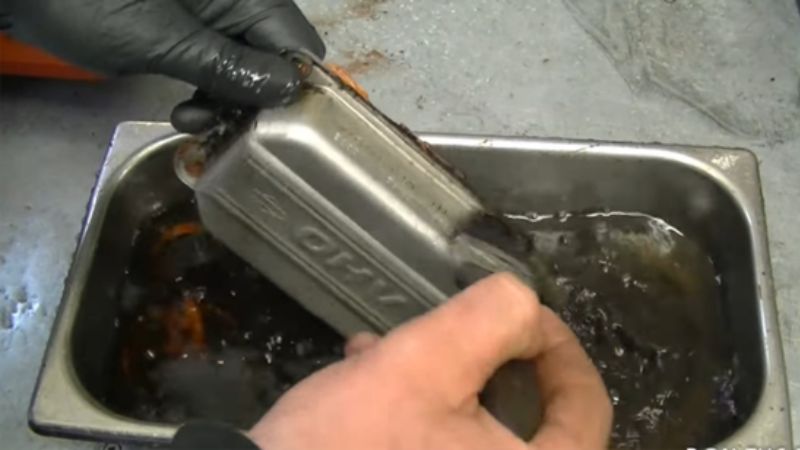
While you are cleaning the exterior areas, put the valve cover into soap and old fuel mixture to wash the dirt off.
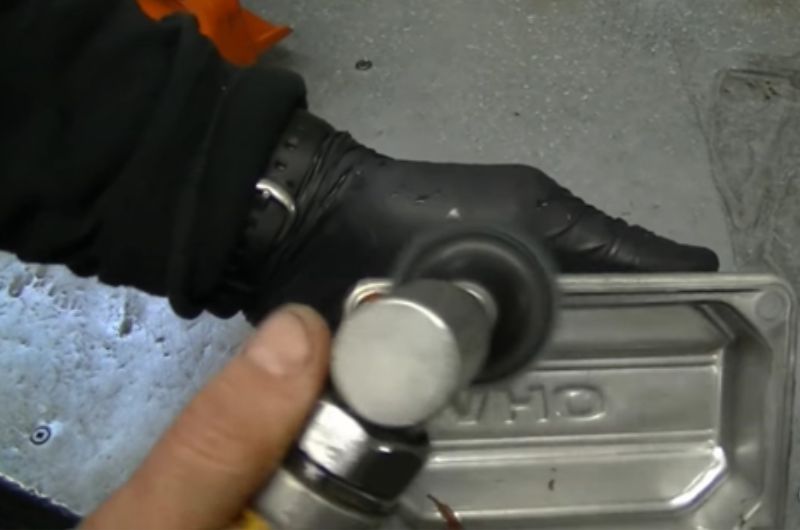
Then use the Scotch Brite pad again and put it on the die grinder to dispose of the old fuel.
Step 6- Reinstall the Parts & Test the Engine again:
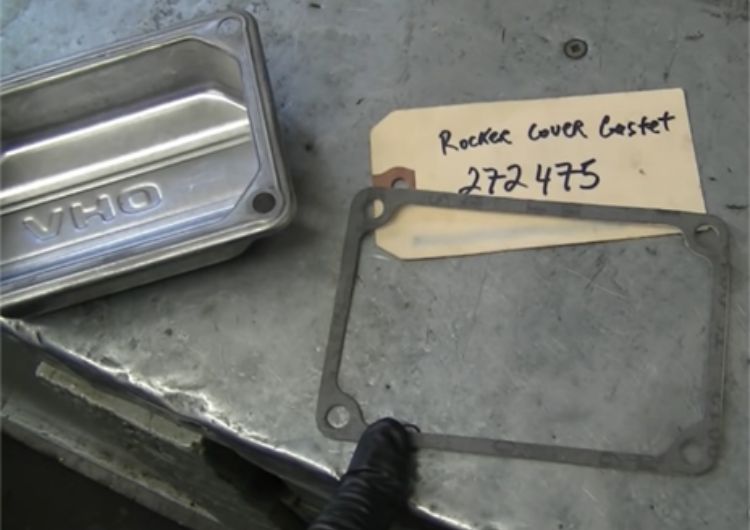
This is the new gasket, which you are going to insert in there for the rocker cover.
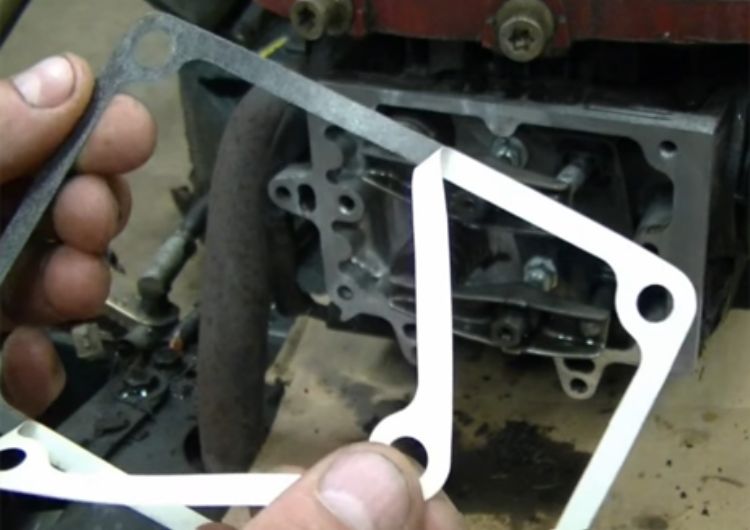
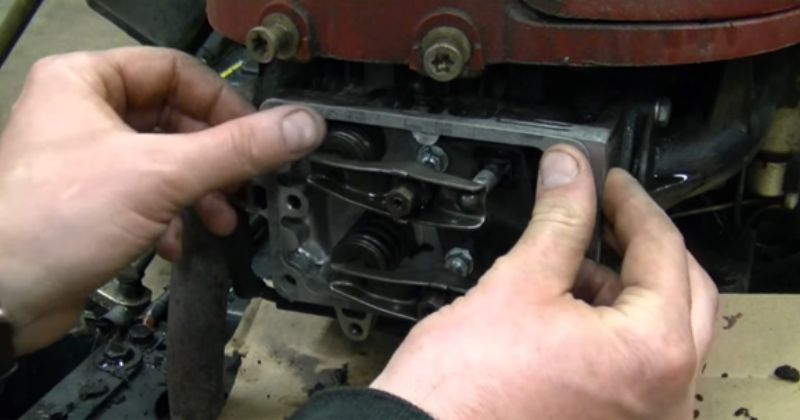
First, remove the paper film from the new gasket and attach it carefully to the head.
However, you can also apply a small amount of RTV ultra black silicone on the cover before putting it back.
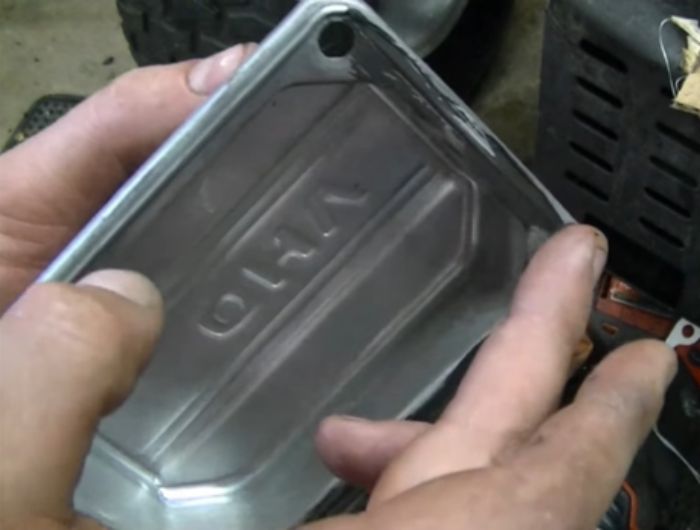
Now just reinstall the cover in its position and tighten up the screws securely.
If your mower spark plug looks severely damaged, install a new one before proceeding further.
Finally, restart the engine to test whether it’s working properly or still turns over only halfway
Warning:
Performing such repairing tasks can be hazardous. Thus, make sure you have enough expertise to perform them. Remember to first read your mower’s instructions manual before operating, servicing, or troubleshooting it.
Frequently Asked Questions
How can you unstick your lawn mower engine?
Your lawn mower engine got seized up due to either contaminated engine oil or a defective spark plug. Thus, remove the spark plug to check it and drain the engine oil. Then, spray some penetrating oil into the cylinder and try cranking the motor manually. Next, add fresh engine oil and reinstall the spark plug or replace it with a new one.
Does a Crankshaft turn freely?
Yes, it can turn freely only if the crankshaft is mounted on the block without the heads or pistons attached.
Is it possible to turn the crankshaft pulley by hand?
Yes, you can. But you should attach a large socket on the crankshaft’s front bolt and remember to attach a long ratchet wrench too.
Is it possible to spin a lawn mower engine backward?
Yes, when you hit an immovable object, the mower engine will start spinning backward.
Can you turn a mower flywheel by hand?
Yes, you can and watch this video to learn the details process of doing so.
Final Verdict
Initially, the whole troubleshooting method might seem complicated, but if you thoroughly follow all the instructions described in today’s article, it will become much easier and quicker to finish the job.
Remember, you can only get the best outcome if you follow all the instructions to troubleshoot a Mower engine only turns halfway.
Related Posts:


