How to Grow Mint from Cuttings: A Step-by-Step Guide
Mint is a versatile herb that can be used in a variety of dishes and beverages. Growing mint from cuttings is a cost-effective and easy way to propagate the plant. By following a few simple steps, anyone can successfully grow mint from cuttings.
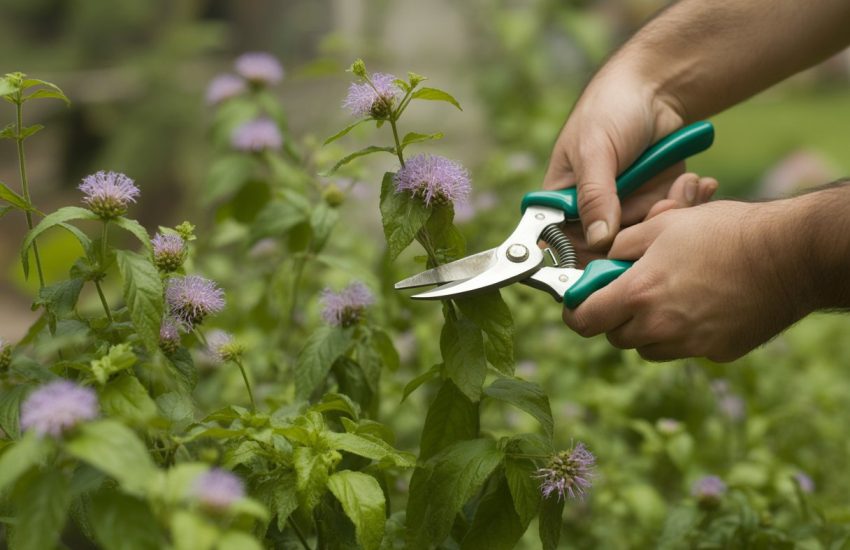
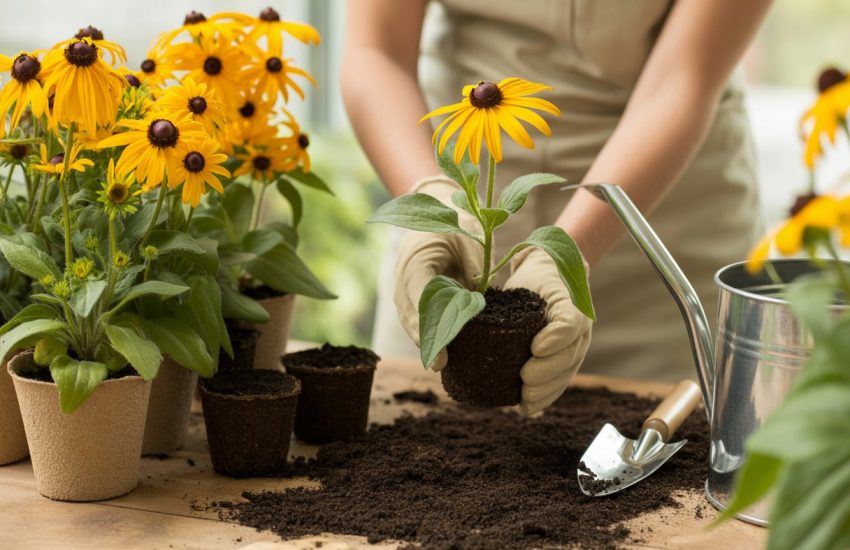
To begin, select a healthy mint plant and take a cutting that is about 4-6 inches long. Remove the lower leaves from the stem, leaving only a few at the top. Dip the cut end of the stem in rooting hormone and plant it in a pot filled with moist potting soil. Place the pot in a warm, bright location, but avoid direct sunlight.
Over the next few weeks, the cutting will begin to grow roots and new leaves. Be sure to keep the soil moist and avoid overwatering. Once the plant has established itself, it can be transplanted into a larger pot or into the ground. With proper care, the mint plant will continue to thrive and provide fresh leaves for culinary and medicinal purposes.
Understanding Mint Cuttings
What Are Mint Cuttings
Mint cuttings are sections of a healthy mint stem that are removed from the parent plant and used to propagate new plants. These cuttings are usually taken in the spring or early summer when the mint is actively growing.
To ensure the success of your mint cuttings, it is important to choose a healthy stem that is free from disease or pests. The stem should be at least 4-6 inches long and have several sets of leaves.
Benefits of Propagating Mint
Propagating mint from cuttings is a simple and cost-effective way to expand your mint garden. It is also a great way to ensure that the mint you are growing is healthy and disease-free.
By propagating mint from cuttings, you can also control the growth and shape of your plants. This is especially useful if you are growing mint in containers or if you have limited garden space.
In addition, propagating mint from cuttings allows you to experiment with different varieties of mint. There are many different types of mint, each with its own unique flavor and aroma. By propagating mint from cuttings, you can easily try out new varieties without having to purchase new plants.
Overall, understanding mint cuttings is essential to successfully propagate mint. By choosing a healthy stem and understanding the benefits of propagating mint, you can easily expand your mint garden and experiment with different varieties of this versatile herb.
Preparation for Propagation
Selecting the Right Cutting
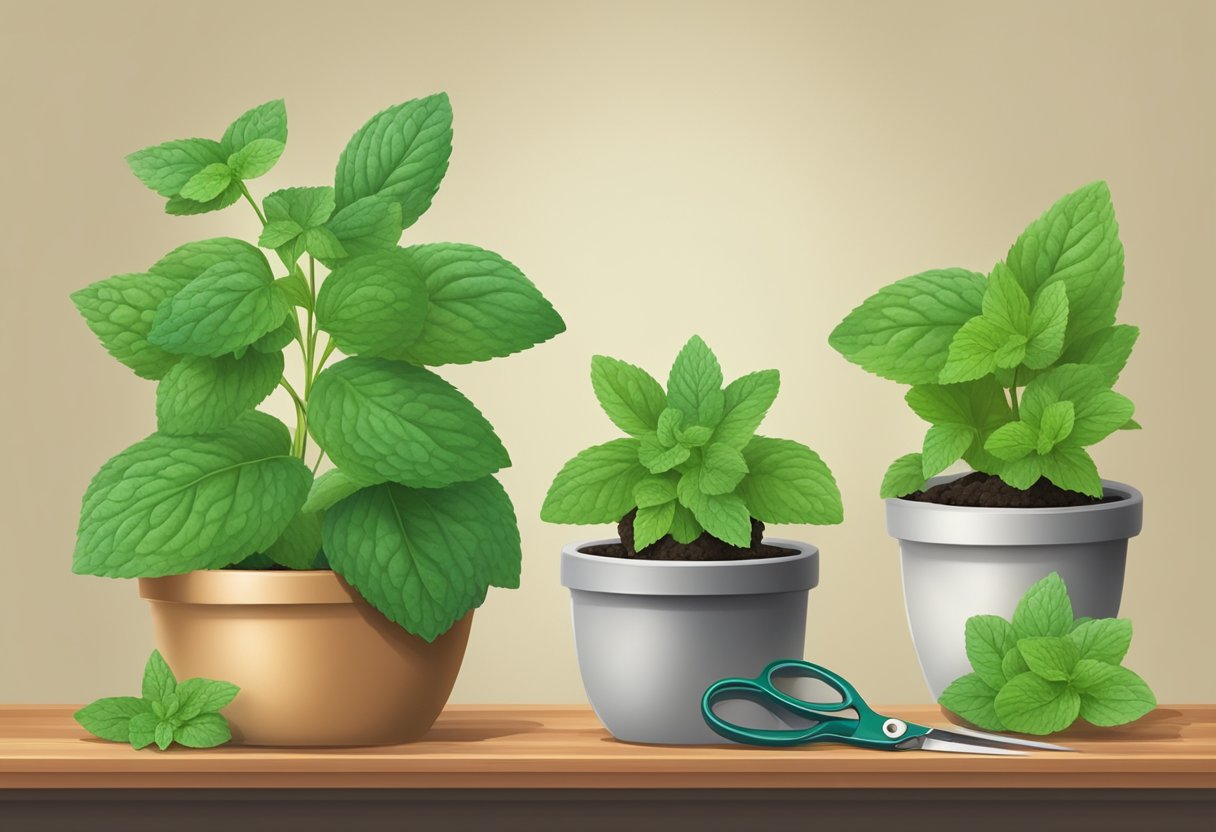
Before starting the propagation process, it is important to select the right cutting. The stem should be healthy and disease-free, with at least two nodes. Nodes are the points on the stem where leaves emerge. It is best to choose a stem that is not flowering, as it will have more energy to devote to root development.
Tools and Materials Needed
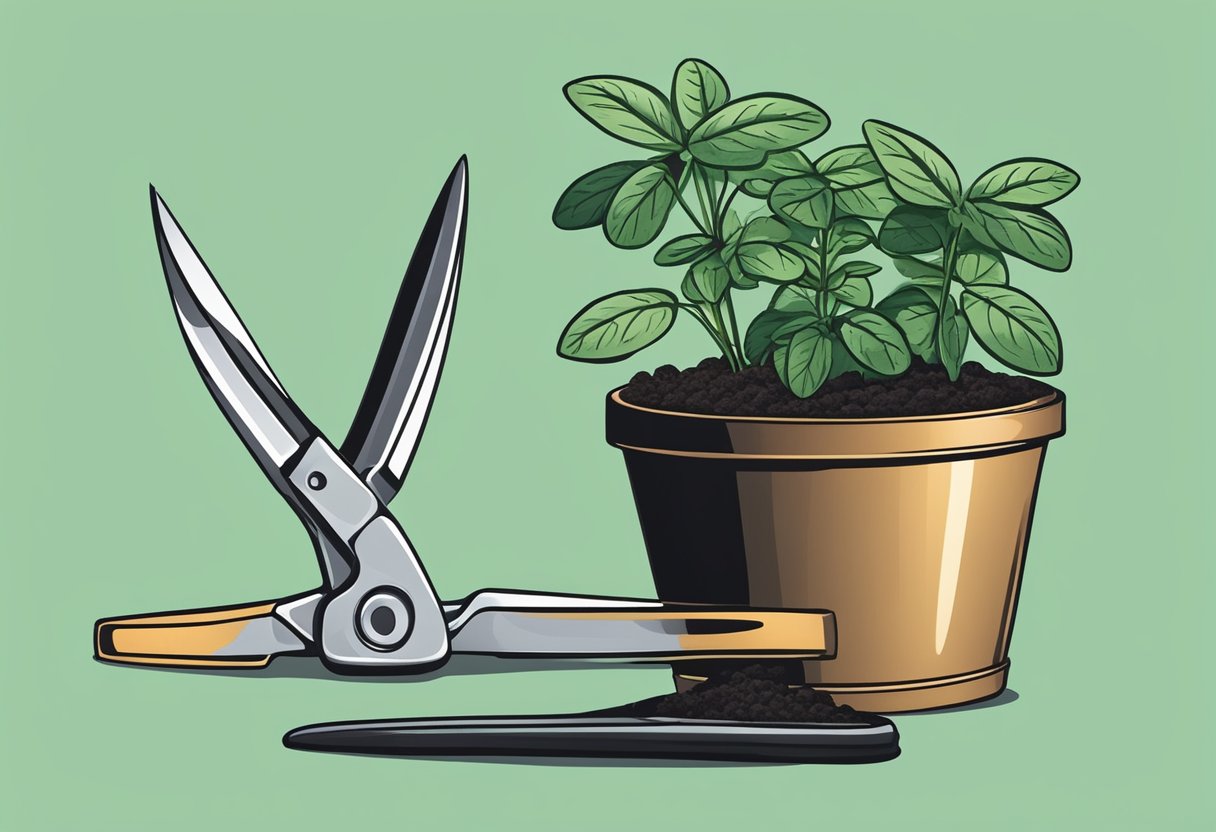
To propagate mint from cuttings, a few tools and materials are needed. Pruning shears are necessary to make a clean cut on the stem. A rooting hormone can be used to encourage root growth, although it is not necessary. Perlite is a good medium to use for rooting, as it is lightweight and allows for good drainage.
Overall, preparing for propagation requires selecting the right cutting and having the necessary tools and materials on hand. With these in place, the next step is to begin the propagation process.
Rooting Mint Cuttings
Mint is a versatile herb that is easy to grow from cuttings. Rooting mint cuttings is a simple process that can be done in soil or water. Here are the steps to successfully root mint cuttings.
Rooting in Soil
- Cut a stem from a mature mint plant that is at least 4 inches long. Make the cut just below a leaf node.
- Strip the leaves from the bottom 2 inches of the stem.
- Dip the cut end of the stem in rooting hormone powder.
- Plant the stem in moist potting soil, burying it up to the first set of leaves.
- Keep the soil moist and in a warm, bright location.
- In a few weeks, the mint will begin to grow new leaves and roots.
Rooting in Water
- Cut a stem from a mature mint plant that is at least 4 inches long. Make the cut just below a leaf node.
- Strip the leaves from the bottom 2 inches of the stem.
- Place the stem in a glass of water, making sure the cut end is submerged.
- Change the water every few days to prevent the growth of bacteria.
- In a few weeks, the mint will begin to grow new roots.
- Once the roots are at least an inch long, transplant the mint into moist soil.
Whether rooting in soil or water, it is important to keep the mint cuttings in a warm, bright location and to keep the soil or water moist. With these simple steps, anyone can successfully root mint cuttings and enjoy fresh, homegrown mint.
Caring for New Mint Plants
Light and Temperature
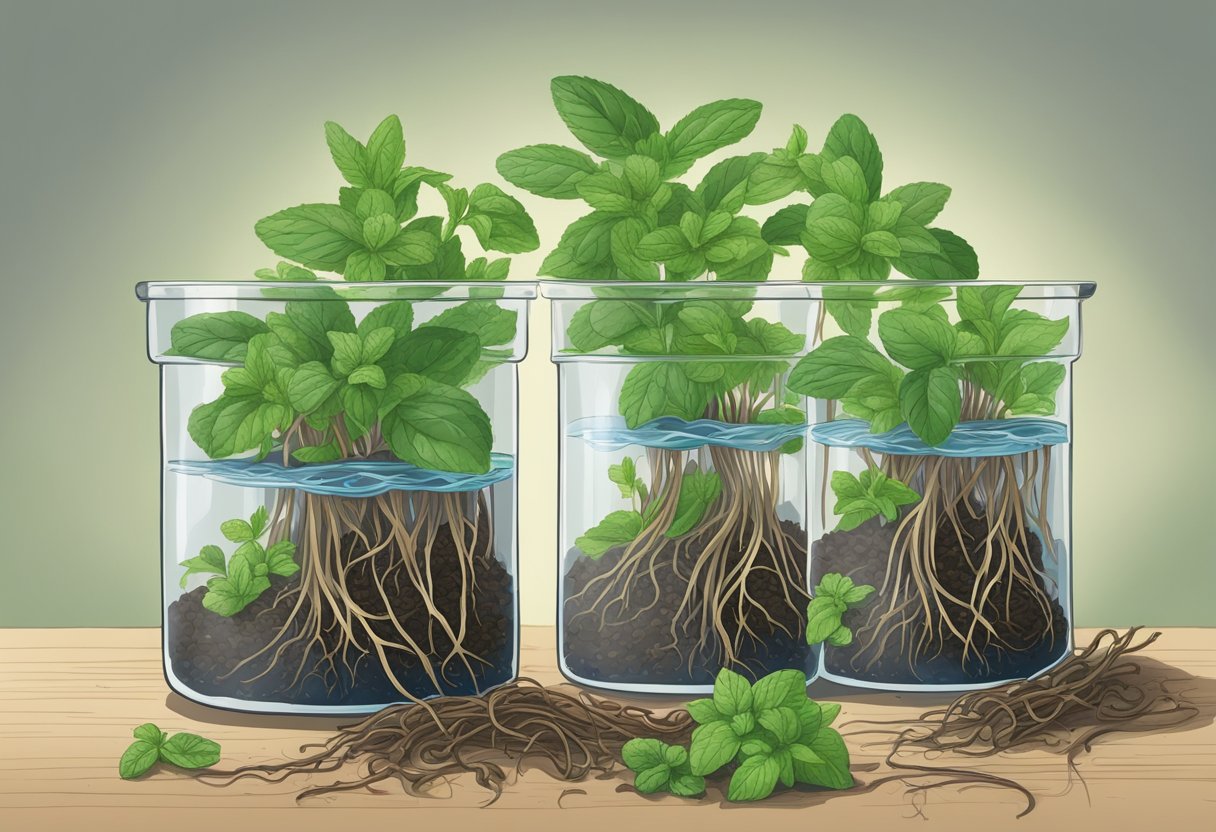
Mint plants thrive in bright, indirect light, but they can also tolerate some shade. It is important to avoid placing them in direct sunlight, as this can scorch the leaves. Mint plants also prefer cooler temperatures, ranging from 60-70°F (15-21°C). If the temperature rises above 80°F (27°C), the plants may become stressed and wilt.
Watering and Humidity
Mint plants require moist soil to grow properly, but they do not like to be waterlogged. It is important to water them regularly, but allow the soil to dry out slightly between waterings. Mint plants also prefer higher humidity levels, so it is a good idea to mist them with water occasionally. This will help prevent the leaves from drying out and becoming crispy.
Soil and Fertilization
Mint plants prefer well-draining soil that is rich in organic matter. A good potting mix for mint plants should contain equal parts of peat moss, perlite, and vermiculite. It is also important to fertilize mint plants regularly, as they are heavy feeders. Natural fertilizers such as fish emulsion are a good choice for mint plants, as they provide the necessary nutrients without the risk of chemical buildup in the soil.
By following these simple care instructions, new mint plants can thrive and provide a fresh supply of leaves for culinary use.
Transplanting and Acclimatization
When to Transplant
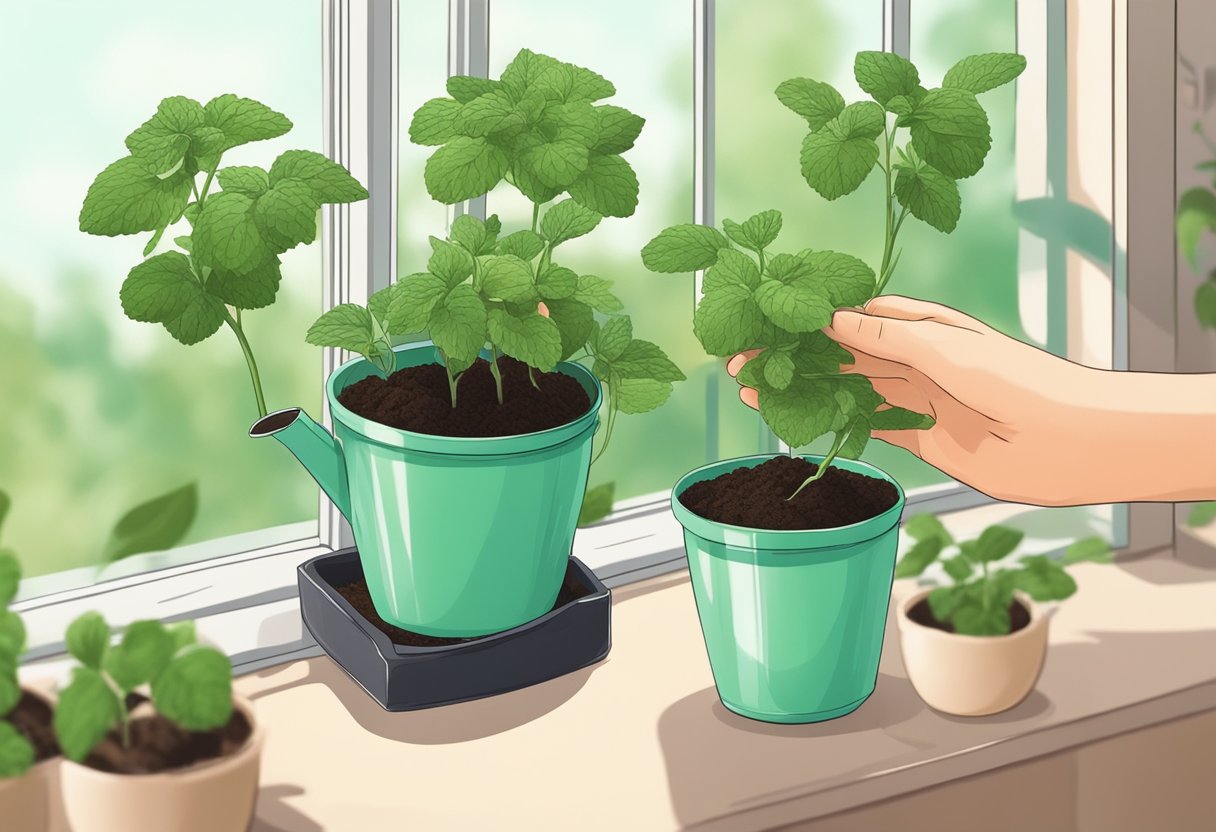
Once the mint cuttings have developed roots that are at least an inch long, it’s time to transplant them. This usually takes about 2-3 weeks. It’s important to wait until the roots are well established before transplanting, as this will give the plant the best chance of survival.
Avoiding Transplant Shock
Transplant shock can occur when a plant is moved from one environment to another. To avoid transplant shock, it’s important to acclimatize the mint cuttings before transplanting them. This can be done by gradually exposing the cuttings to the new environment over a period of several days.
When transplanting the mint cuttings, it’s important to choose a pot that is at least 6 inches in diameter and has drainage holes to prevent water from accumulating and causing root rot. Fill the pot with well-draining soil and make a hole in the center for the cutting. Place the cutting in the hole and gently pack the soil around it. Water the plant thoroughly and place it in a location that receives bright, indirect sunlight.
New growth should appear within a few weeks. It’s important to continue to water the plant regularly and to fertilize it every 2-3 weeks with a balanced fertilizer. With proper care, the mint plant should thrive and provide fresh leaves for use in cooking or for making tea.
Maintaining a Healthy Mint Plant
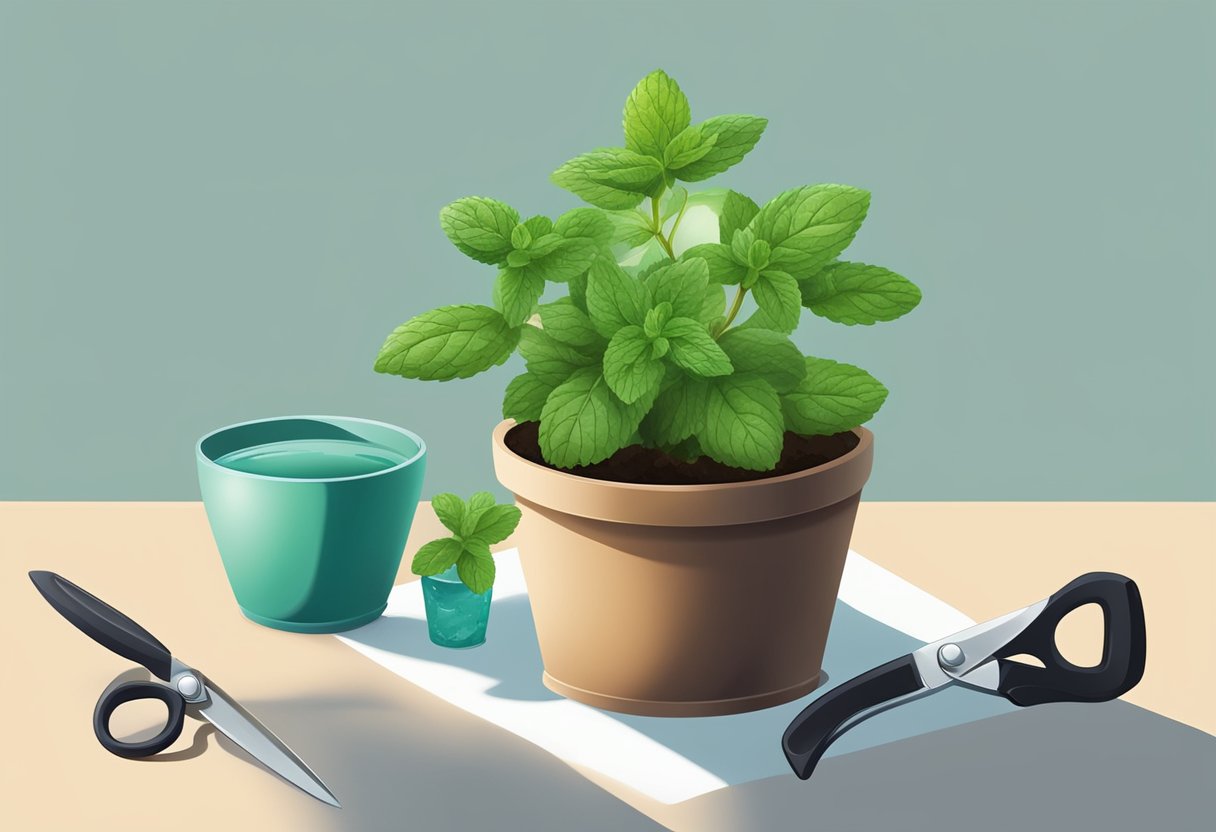
Growing mint from cuttings can be a rewarding experience, but it’s important to maintain a healthy plant to ensure a bountiful harvest. Here are some tips to keep your mint plant healthy and thriving.
Pruning and Harvesting
Regular pruning is essential to maintain the health of your mint plant. Pruning helps to promote new growth and prevent the plant from becoming too leggy. It’s best to prune your mint plant regularly to keep it from getting too tall and spindly.
When harvesting your mint, it’s important to only take a few leaves at a time. This will allow the plant to continue growing and producing new leaves. Be sure to harvest your mint before it flowers, as this can affect the flavor of the leaves.
Pest and Disease Management
Mint plants are susceptible to a variety of pests and diseases, including mint rust and fungal diseases. To prevent these issues, it’s important to keep your mint plant healthy and well-maintained.
Regularly inspect your mint plant for signs of pest infestation or disease. If you notice any issues, remove affected leaves or branches immediately to prevent the spread of the problem. You can also use organic pest control methods, such as neem oil or insecticidal soap, to keep pests at bay.
In conclusion, maintaining a healthy mint plant is essential for a successful harvest. By following these tips for pruning and pest management, you can ensure that your mint plant stays healthy and productive.
Advanced Tips for Growing Mint

Using Greenhouses
For those who are looking to grow mint in a controlled environment, a greenhouse is a great option. Greenhouses can help to regulate temperature and humidity levels, which are important factors for the growth of mint.
When using a greenhouse to grow mint, it is important to maintain a consistent temperature between 65-70°F (18-21°C) and humidity levels between 50-70%. This can be achieved by using a humidifier or by placing a tray of water in the greenhouse.
It is also important to ensure that the mint plants receive enough sunlight. Place the mint plants in a location where they will receive at least 6 hours of sunlight per day.
Creating a Herb Garden
Mint is a great addition to any herb garden. When creating a herb garden, it is important to consider the size of the garden.
For a small herb garden, it is best to plant mint in a pot to prevent it from taking over the garden. For a medium-sized garden, mint can be planted in a designated area with other herbs. For a large garden, mint can be planted in a separate bed to prevent it from spreading too much.
When planting mint in a herb garden, it is important to ensure that the soil is well-draining. Mint prefers slightly acidic soil with a pH between 6.0-7.0.
In conclusion, using a greenhouse or creating a herb garden are both great options for growing mint. By following these tips, you can ensure that your mint plants will thrive and provide you with delicious herbs for cooking and other uses.
Frequently Asked Questions

What is the best method for rooting mint cuttings in water?
The best method for rooting mint cuttings in water is to take a stem cutting that is about 4-6 inches long with several sets of leaves. Remove the lower leaves and place the cutting in a jar of water. Make sure to change the water every few days to prevent bacteria from forming.
How long does it typically take for mint cuttings to root and grow?
It typically takes about 2-3 weeks for mint cuttings to root and start to grow. Once the roots are about 1-2 inches long, the cutting can be transplanted into soil.
Can mint be successfully grown indoors from cuttings?
Yes, mint can be successfully grown indoors from cuttings. Make sure to place the cutting in a well-draining pot with good quality potting soil and place it in a bright area with indirect sunlight.
What are the necessary steps to propagate mint from cuttings at home?
To propagate mint from cuttings at home, take a stem cutting that is about 4-6 inches long with several sets of leaves. Remove the lower leaves and place the cutting in a jar of water. Change the water every few days and wait for the roots to grow to about 1-2 inches long. Once the roots are established, transplant the cutting into soil.
How do you ensure mint cuttings do not rot when trying to root them in water?
To ensure mint cuttings do not rot when trying to root them in water, make sure to change the water every few days and keep the jar in a bright area with indirect sunlight. Avoid overcrowding the jar with too many cuttings and make sure to remove any leaves that are submerged in the water.
Is it possible to grow mint from cuttings purchased from a store?
Yes, it is possible to grow mint from cuttings purchased from a store. Make sure to select healthy-looking cuttings with several sets of leaves and follow the necessary steps for rooting and transplanting the cutting into soil.

