How to Propagate Viburnum: Step-by-Step Guide for Successful Growth
Last updated: January 29, 2026
Propagating viburnum is actually pretty approachable, even if you’re not a seasoned gardener. If you want to expand your landscape or just share a few plants with friends, you can do it.
The most effective method for propagating viburnum is to take semi-hardwood cuttings in late summer and root them in a well-draining medium. This technique usually gives reliable results and keeps the same look and feel as the parent plant.

Handle viburnum cuttings gently and give them the right conditions to spark root development. Good timing, healthy stems, and a bit of rooting hormone can really tip the odds in your favor.
Once roots show up, you can start getting the new plants used to outdoor life before moving them to the garden. That transition takes some patience, but it’s worth it.
If you know how to propagate viburnum, you can multiply these versatile shrubs without fussing with seeds. Seeds are just slower and honestly, a bit unpredictable.
Best Methods to Propagate Viburnum
You’ve got options for viburnum propagation—stem cuttings or layering both work well. The right timing, prep, and a dusting of rooting hormone will boost your chances.
Propagation by Softwood Cuttings
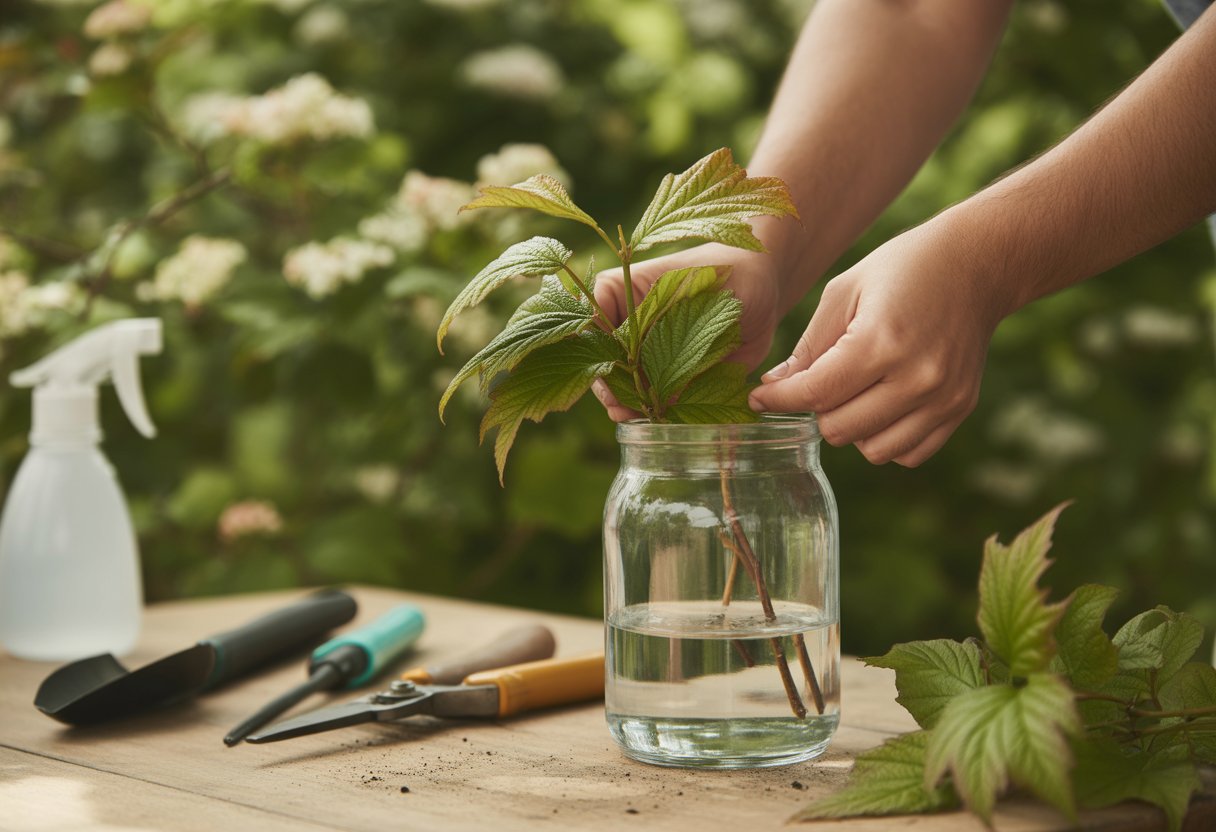
Take softwood cuttings in early spring when new shoots are still green and flexible. Snip sections about 4 to 6 inches long just below a leaf node, and pull off the lower leaves while leaving a few up top.
Dip the cut end into rooting hormone powder to help roots develop. Stick the cutting into a moist, well-draining mix—something like perlite and peat moss does the trick.
Cover with plastic or tuck into a propagation tray to keep humidity high. Keep them out of direct sunlight.
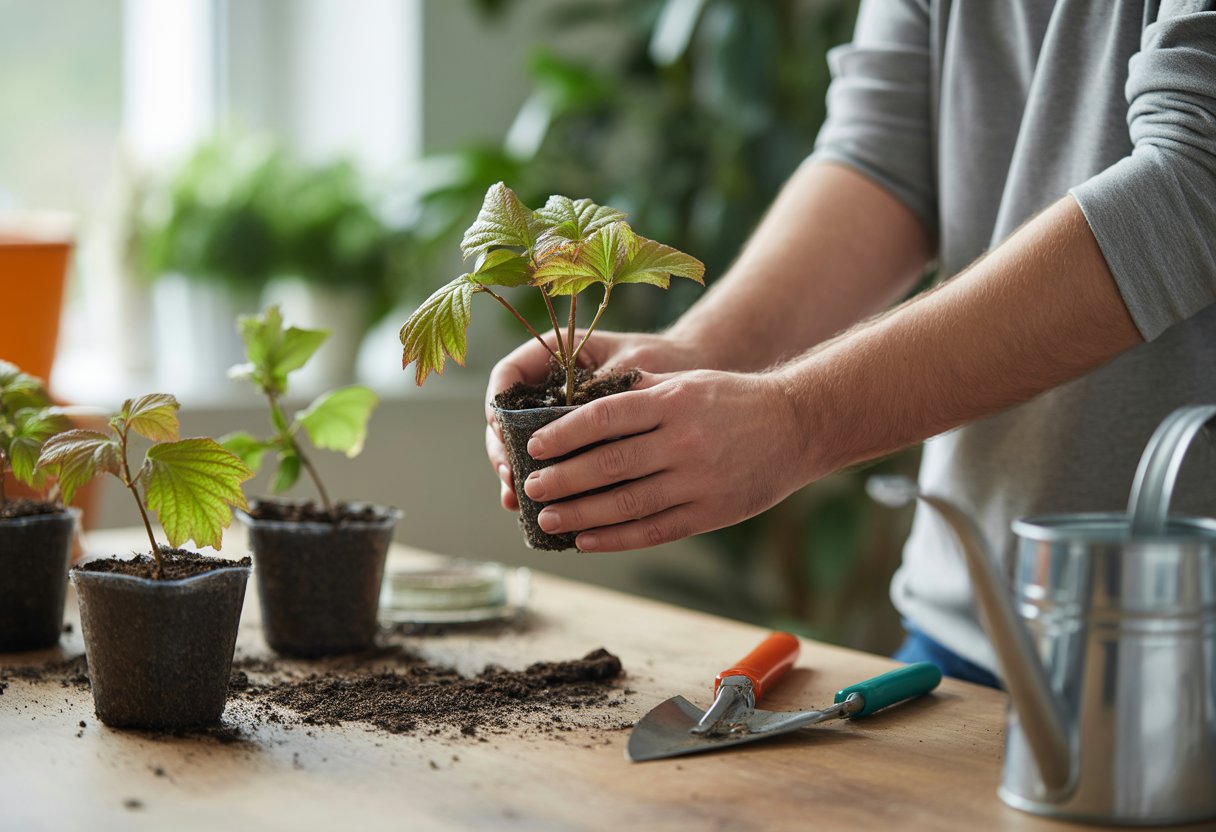
Roots usually pop up in 3 to 4 weeks. Once you see roots, transplant the cuttings into pots or out in the garden.
Propagation by Hardwood Cuttings
For hardwood cuttings, wait until late autumn or winter when the plant’s dormant. Pick old, woody stems about as thick as a pencil and cut them into 6 to 8 inch pieces with several nodes.
Leave the leaves off, but you can still dab the bottom end in rooting hormone for a better shot at success. Plant the cuttings vertically in a bed or container filled with moist sand or potting mix, burying about two-thirds of the length.
Keep the medium moist and shield the cuttings from harsh frost. It can take several months, but you’ll usually see new growth by spring.
Layering Technique
With layering, you bend a low-growing stem down to the ground and bury part of it, but keep it attached to the parent plant. Lightly wound the buried section to get roots started at the node.
Pin the stem down with a peg or stone and cover it with soil, leaving the tip sticking out. Keep the area damp while roots form.
Layering takes longer, but it’s got a high success rate since the stem still gets nutrients from the parent. After roots form, snip the new plant free and transplant it. Spring or early summer works best for this.
Step-by-Step Guide to Successful Rooting
Getting roots to form really comes down to the right environment and solid materials. Pay attention to your medium, hormone use, and the growing setup—those details matter.
Preparing the Rooting Medium
The best rooting medium balances drainage and moisture. Mix peat moss and perlite about half and half.
Peat moss keeps things damp, while perlite lets air in and stops soggy roots. Make sure the mix is moist, not dripping wet, when you plant.
Skip heavy garden soil—it compacts and chokes out oxygen. If you’re feeling thorough, sterilize the medium to cut down on infection risk.
Applying Rooting Hormone
Rooting hormone powder encourages those stubborn roots to show up. Dip the base of the cutting in water first so the powder sticks, then coat the end lightly.
Tap off any extra powder to avoid fungus issues. Use a hormone meant for woody plants for the best results. This step makes root formation way more likely, sometimes in just a few weeks.
Potting and Growing Conditions
Pot up the cuttings soon after you use the hormone, and use a moist, well-drained rooting mix. Containers need drainage holes—no one wants soggy roots.
Set the pots in a warm, shaded spot with indirect light. Water regularly to keep things moist but not soaked.
A plastic cover or mini greenhouse helps keep humidity up, which roots love. Don’t put cuttings in direct sun or in wind—both can dry them out and ruin your efforts.
Caring for Newly Propagated Viburnum

Once you’ve got new viburnum plants, the real work starts. Placement, soil, and basic care all count if you want strong roots and healthy growth.
Choosing Sun and Shade Requirements
Most viburnum varieties, like Viburnum macrocephalum, do best in full sun to partial shade. Aim for at least 4-6 hours of direct sunlight a day for good blooms and color.
In hotter spots, a bit of afternoon shade helps prevent leaf scorch. Avoid deep shade—it slows growth and means fewer flowers.
When you pick a spot, balance light with shelter from harsh wind. Young plants stress easily, and wind just makes it worse.
Transplanting and Planting Viburnum
Move your new viburnum once roots are solid but before buds start. Dig a planting hole twice as wide as the root ball, but not deeper.
Loosen up the soil around the hole for better drainage and root spread. Mixing in compost adds nutrients.
Plant at the same depth as the pot—don’t bury the crown. Gently firm the soil around the roots and keep the stem above ground.
Give each plant 3-5 feet of space for air flow and room to grow. That’s about it—after that, just keep an eye on them and enjoy the results.
Watering, Mulching, and Pruning
Regular watering matters a lot during that first growing season. Try to keep the soil moist, but don’t let it get soggy.
Aim for deep watering once or twice a week, though honestly, it depends on how much rain you get. Use your judgment—plants don’t love extremes.
Spread a 2-3 inch layer of mulch around the base, but keep it away from the stem. Mulch helps lock in moisture and keeps the soil temperature a bit steadier.
After the first year, prune lightly to shape the plant or snip off any weak, damaged stems. Heavy pruning right after planting? Not a great idea—it can really stress young viburnum and slow down how quickly it settles in.


Does anyone know if this works well in zone 8? I’m in Idaho and our winters are pretty harsh.
Hi Nick, you might have luck at local nurseries or online suppliers. Check out our nursery directory for options near you: https://plantnative.org/category/nursery/ -Plant Native Team