How to Propagate Asters: Step-by-Step Guide for Healthy Growth
Last updated: September 17, 2026
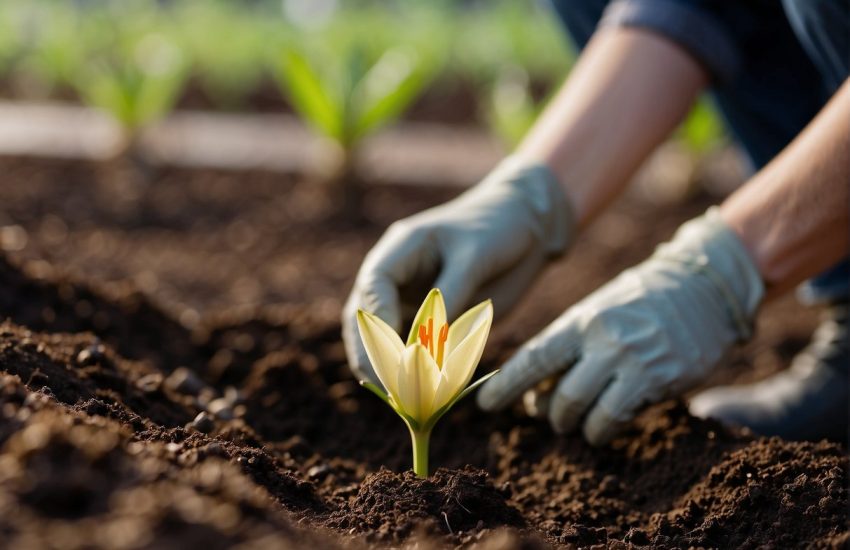
Asters are beloved flowering perennials in the Asteraceae family, prized for their vibrant late-season blooms. You can propagate asters by division or cuttings, making it easy to grow new plants that share the qualities of the parent.
Dividing established clumps in early spring or fall is the most reliable way to propagate asters. This method really encourages vigorous growth and loads of flowers.
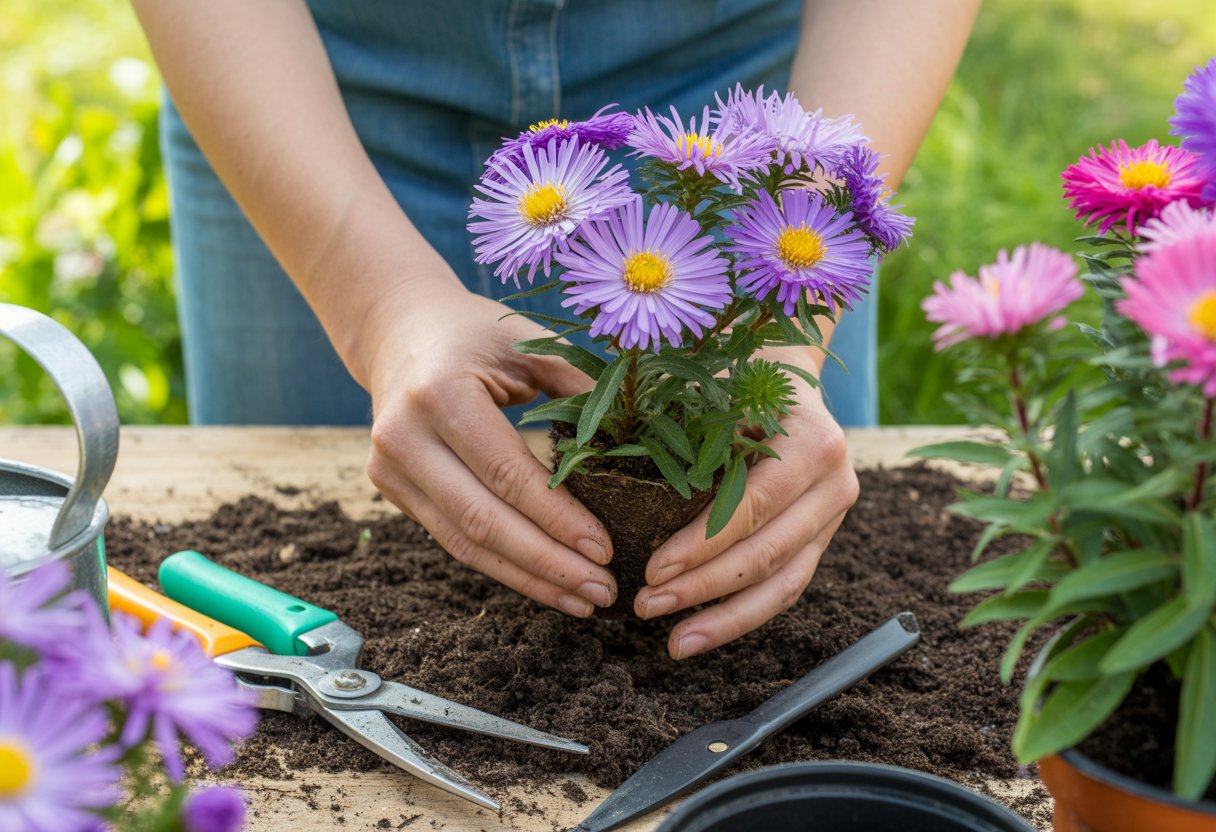
Growing asters from cuttings works well too, especially if you want to expand your collection without messing with seeds. Softwood cuttings taken in late spring or early summer usually root pretty easily, as long as you give them the right conditions.
Both methods are straightforward and let you keep the classic aster bloom and toughness.
Essential Conditions for Propagating Asters
Getting asters to propagate well really comes down to the right environment, soil, and a bit of attention to water and mulch. These factors shape how quickly roots develop and how healthy your plants get.
Choosing the Right Location
Asters love full sun but can handle partial shade if that’s what you’ve got. Full sun gives you those stronger, brighter blooms.
They do best in USDA zones 3 to 8. Good air circulation helps keep diseases away.
Try to avoid spots where they’ll compete with big trees or shrubs for water and nutrients. Give them enough space for roots to spread and for you to water and care for them easily.
Ideal Soil and Moisture Requirements
Asters need well-draining soil or you’ll risk root rot. Mixing in perlite or coarse sand helps water move through the soil.
They like their soil slightly acidic to neutral, so aim for a pH between 6.0 and 7.0. Loamy soil that holds moisture but doesn’t get soggy is the sweet spot.
Keep the soil consistently moist while they’re rooting, but not soaked. Heavy clay soils that stay wet aren’t a good match for asters.
Watering and Mulching Basics
Water your asters regularly when you’re propagating them, keeping the soil consistently moist at first. Once established, they can handle a bit of drought, but young plants need that moisture to grow strong roots.
Don’t overwater—soggy soil invites fungus. Water at the base so the leaves stay dry.
A layer of organic mulch helps keep soil moist and cuts down on weeds. Mulch also keeps root temperatures more even, which is especially helpful if the weather swings around.
Propagation Techniques for Asters
You can propagate asters by seeds, division, or cuttings. Each method has its quirks, but all need a bit of care to keep plants healthy and avoid shock.
Timing matters, and a gentle touch goes a long way for strong roots and happy plants.
Propagating from Seeds
Starting asters from seed takes patience and a little know-how. Some types, like New York asters and New England asters, need a cold period before they’ll sprout.
Put the seeds in the fridge at about 4°C for 4–6 weeks before sowing. Fill a tray with a well-draining seed mix, sprinkle seeds thinly on top, and cover with a fine layer of soil.
Keep the temperature between 18–21°C. Water so the soil stays damp but not soggy.
Seeds usually sprout in 10 to 21 days. Once you see true leaves, thin out the seedlings so they aren’t crowded.
Transplant carefully—asters like aromatic and calico aster can be touchy. Moving them early helps avoid transplant shock.
Division Method
If you’ve got mature asters like wood aster or smooth blue aster, division works really well. It keeps the parent plant healthy and gives you new clumps.
Go for division in early spring or late fall when the plant isn’t actively growing. Dig up the whole clump and use a sharp spade or knife to split it, making sure each piece has both roots and shoots.
Trim off any dead or damaged roots. Plant the divisions right away, spacing them based on how big they’ll get.
Keep the soil moist while they recover. Division also helps prevent overcrowding and keeps air flowing, which cuts down on disease.
Cuttings and Other Methods
You can take stem cuttings from asters like china aster or smooth blue aster in early summer. Pick healthy, non-flowering shoots about 4–6 inches long.
Strip off the lower leaves and dip the cut end in rooting hormone. Stick the cuttings in a moist, sterile tray.
Cover with plastic to keep humidity up and give them bright, indirect light. Roots usually form in 2–4 weeks.
Some folks also try basal cuttings in spring or layering, but honestly, those are less common. No matter the method, handle new plants gently to avoid shock.
Care and Maintenance After Propagation
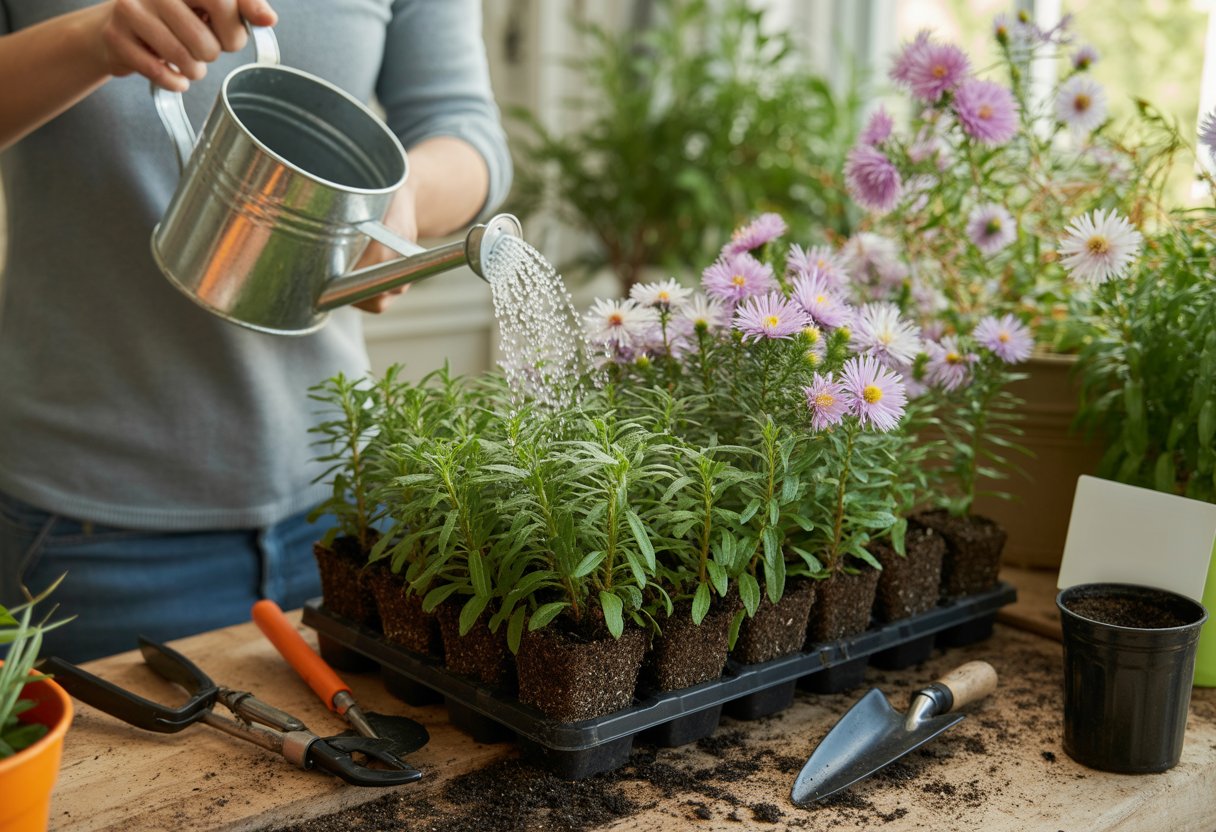
Asters need a little TLC after propagation to get established. Pay attention to watering, soil, fertilizer, and pruning—those details make a real difference.
Vibrant flowers and pollinator visits are your reward if you stick with it.
Initial Care and Watering
New asters want steady moisture but hate being waterlogged. Well-draining soil is key.
Water deeply once or twice a week, adjusting for weather and soil. Mulch around the base to help hold moisture and keep roots cool.
Keep mulch a few inches away from the stems to avoid stem rot. If you’re growing white-flowered types, water in the morning to cut down on fungus.
Check soil moisture often. You want it moist, not soggy.
Fertilizing and Soil Health
Asters do great in rich, loose soil. About a month after propagating, use a balanced, slow-release fertilizer for flowering perennials.
Don’t overdo it—too much fertilizer means lots of leaves but fewer blooms. Mix in compost or aged manure to boost soil texture and fertility.
This also helps pollinators by encouraging more flowers. Keep soil pH around 6.0 to 7.0 for best results.
Pruning, Deadheading, and Support
Pruning helps asters grow bushier and bloom more. Snip off weak or damaged stems.
Deadhead spent flowers to stop seed formation and keep them blooming longer. For taller types, add stakes or cages if you’re in a windy spot.
A light trim in late summer keeps plants tidy and removes any diseased bits. Better air flow means fewer pests and problems.
Common Problems and Their Solutions
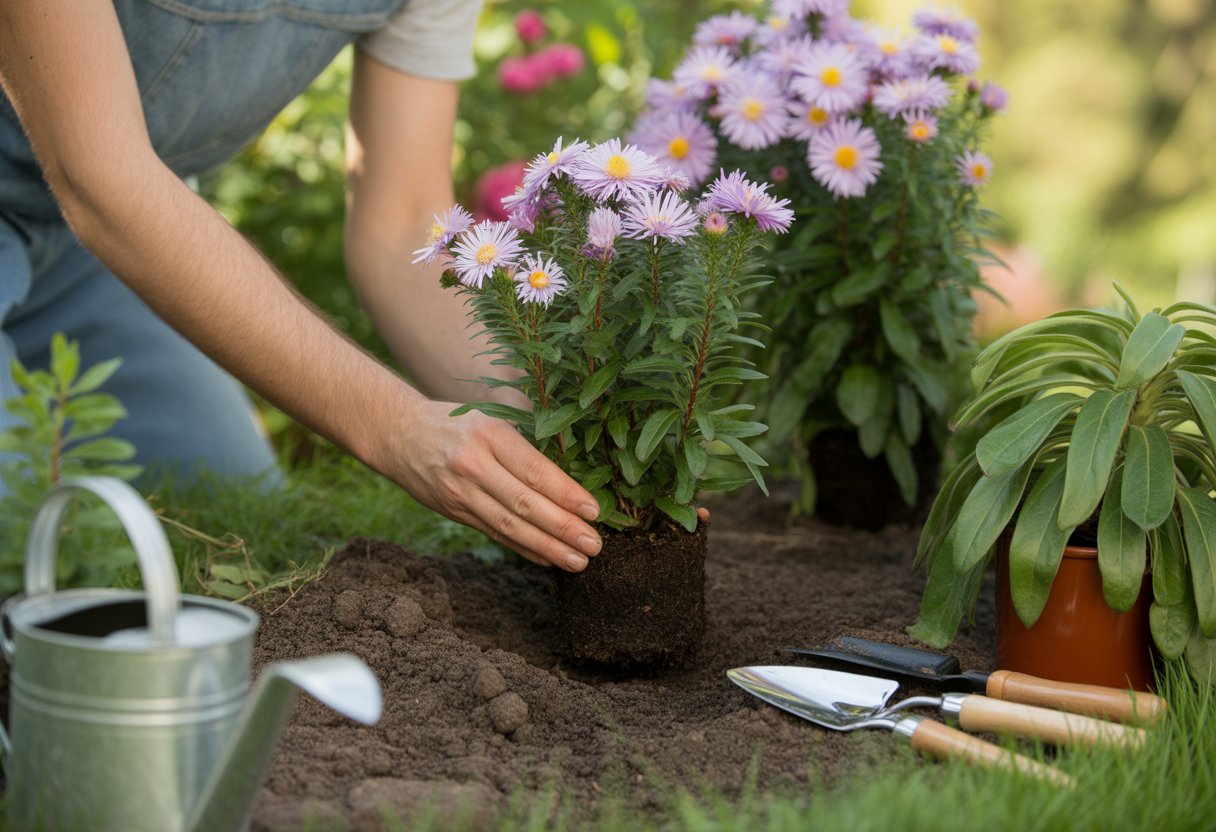
Asters aren’t immune to trouble—pests, diseases, and the occasional misstep can all pop up. Spotting issues early and knowing what to do can save your plants.
Pests and Diseases
Lace bugs sometimes show up, leaving leaves stippled and yellow. Check regularly and use insecticidal soap if you see them.
Powdery mildew is a common problem, especially when it’s humid. Remove any affected leaves and improve air flow to keep it in check.
Transplant shock can hit if you move asters during hot or dry spells. Water well and give them some shade for a few days to help them adjust.
Watch out for overwatering—it leads straight to root rot. Always make sure your soil drains well.
Avoiding Common Mistakes
Asters can run into trouble if they’re planted too close together. When that happens, they end up fighting for nutrients and sunlight.
Give them some breathing room—adequate spacing really helps them grow strong and healthy. Overwatering is another pitfall; young plants don’t appreciate soggy roots.
Only water when the top inch of soil actually feels dry. Some folks reach for regular garden soil, but that’s not ideal here.
Garden soil holds onto too much moisture. Instead, grab a light propagation mix that’s sterile and drains well.
This kind of medium helps roots develop and keeps fungal problems at bay. Keep an eye on moisture and how the plants look—your asters will thank you.