Tomato Grow Bags Drying Out Every Day: How to Audit Your Watering Setup
Last updated: November 6, 2026
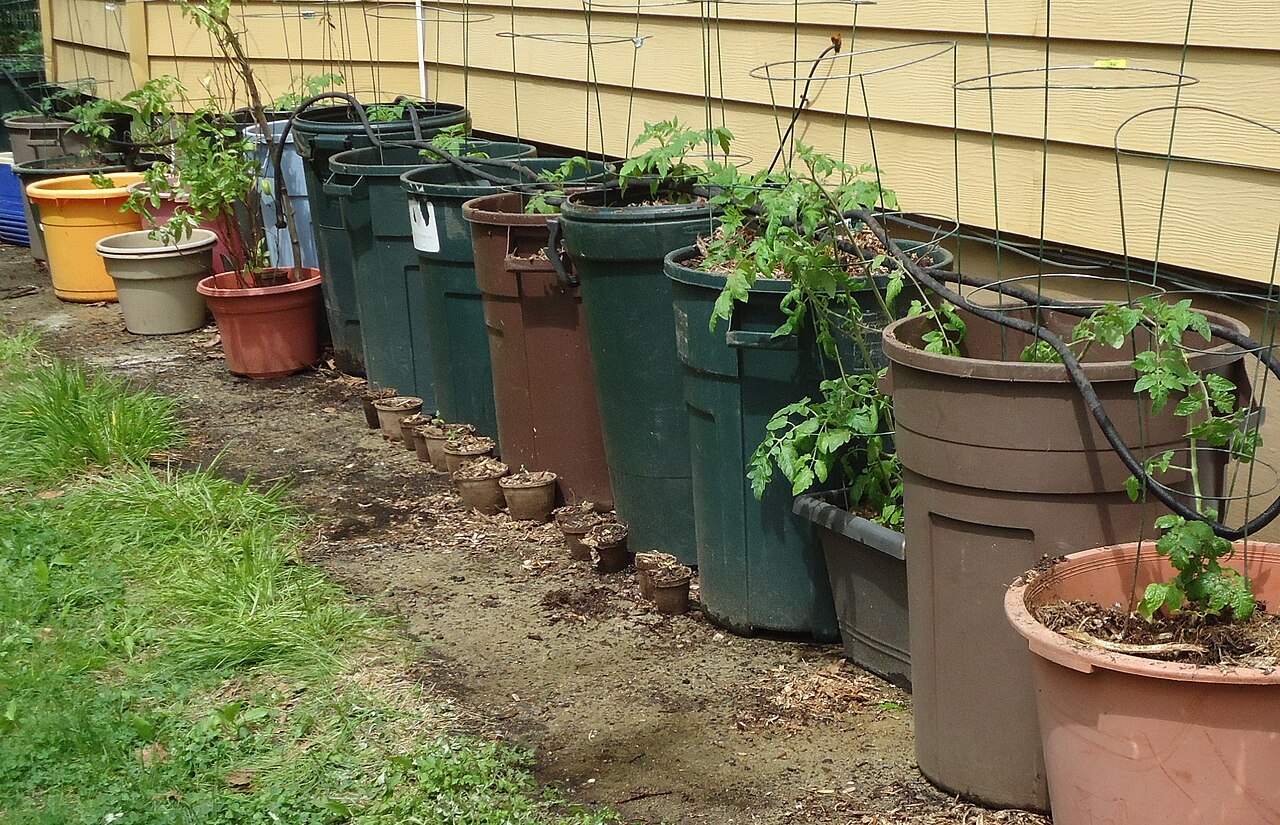
You water your tomato grow bags in the morning. By late afternoon the mix is dry again and the leaves are drooping.
Some daily watering is normal for container tomatoes in summer. But if a bag can’t make it from one watering to the next, the setup is working against you, and the plant is paying for it in stress and fruit quality.
Before you buy another gadget, audit what you already have. This guide walks through the checks in order, from the bag itself to the way the water goes in.
The Short Answer
University of Maryland Extension notes that some containers need water every day in hot, dry weather. When a tomato bag can’t hold out for even one day, the usual causes are:
- A bag too small for the plant, especially a big indeterminate variety.
- Water running straight through dry, shrunken mix instead of soaking in.
- Light, frequent watering that only wets the top few inches.
- Heat from pavement, walls, or decking, plus wind.
- A root-bound bag late in the season, with more roots than mix.
- No mulch on the surface and no buffer such as a saucer, reservoir, or drip line.
Why Grow Bags Dry Out Faster Than Garden Beds
A tomato in the ground can send roots down and sideways into a huge volume of soil. A tomato in a bag has only the mix you gave it, and a large summer plant can pull a lot of water out of that mix in one sunny day.
Fabric adds its own twist. Maryland Extension explains that grow bags “air prune” roots: when a root tip reaches the open air at the bag wall, it stops lengthening and branches. That gives you a dense, fibrous root mass that stays inside the mix.
That’s good for root health. The trade-off is that the bag wall breathes, and as a general rule porous containers lose water faster. Maryland Extension makes the same point about clay, ceramic, concrete, and wood pots compared with plastic or metal.
What Drains a Grow Bag
| Plant size | More leaves, more water lost. A plant in midsummer uses far more than a June transplant. |
| Mix volume | The bag is the plant’s whole water tank. Small bag, small tank. |
| Bag walls | Fabric breathes and loses water through the sides as well as the top. |
| Site heat | Concrete, brick, decking, and metal store and release heat around the bag. |
| Wind | Moving air pulls water from leaves and from the bag surface. |
Each row is something you can check and change. Work through them in the order below, because the first few explain most cases.
Check 1: Compare Bag Size to Plant Size
This is the big one. Maryland Extension advises matching container size to plant size, counting both top growth and roots, and warns against squeezing large plants into small containers.
Its own example is useful: indeterminate tomatoes grown in 25-gallon pots. They can be grown smaller, but the Extension notes the plants grow larger and produce more fruit as container size increases.
Look at the variety label. Bush or dwarf types are bred for small spaces, while vining types keep growing all season. If you’re unsure which you have, our guide to determinate and indeterminate tomatoes explains the difference.
- Compact or patio variety in a modest bag: size is probably fine. Keep checking.
- Tall vining variety in a small bag: the bag is likely the main cause. Daily drying is the expected result.
- Two or more plants sharing one bag: each plant is drinking from the same small tank.
For a full rundown on choosing bag sizes, see our guide to picking the right grow bag for tomatoes.
Check 2: Watch Where the Water Goes
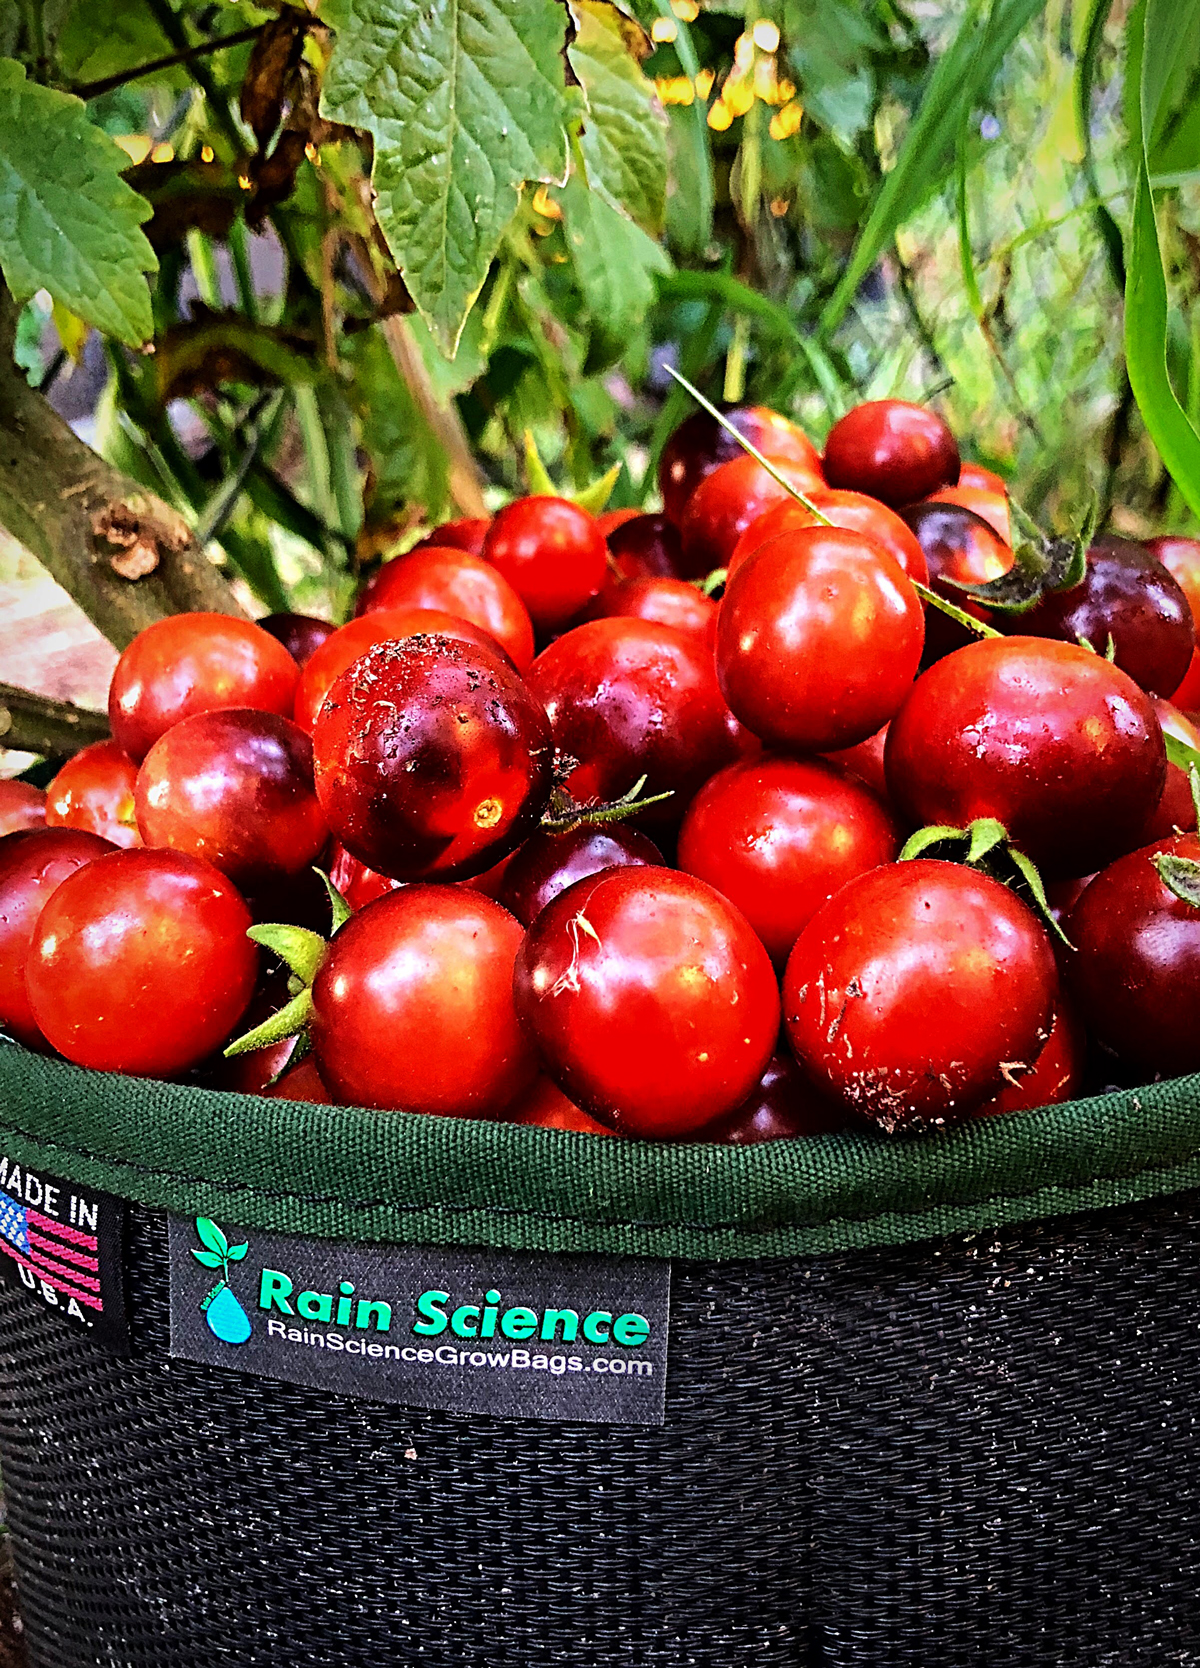
Water the bag the way you normally do, then watch. If water rushes out of the sides and bottom within seconds, it probably isn’t soaking in at all.
Peat- and bark-based potting mixes are hard to rewet once they dry out completely. The mix can shrink away from the fabric, leaving a gap at the edge that channels water straight down and out.
Push a finger or a thin stick down beside the stem a few minutes after watering. If the center is still dry while the bag is dripping, you have a rewetting problem, not a drying problem.
- Water slowly in two or three passes, a few minutes apart, so the mix has time to absorb.
- For a badly dried bag, set it in a tub or deep tray of water for a while so it soaks up from the bottom.
- Press the mix back against the walls if it has pulled away, and top up any sunken spots.
Check 3: Measure How Deep Your Water Reaches
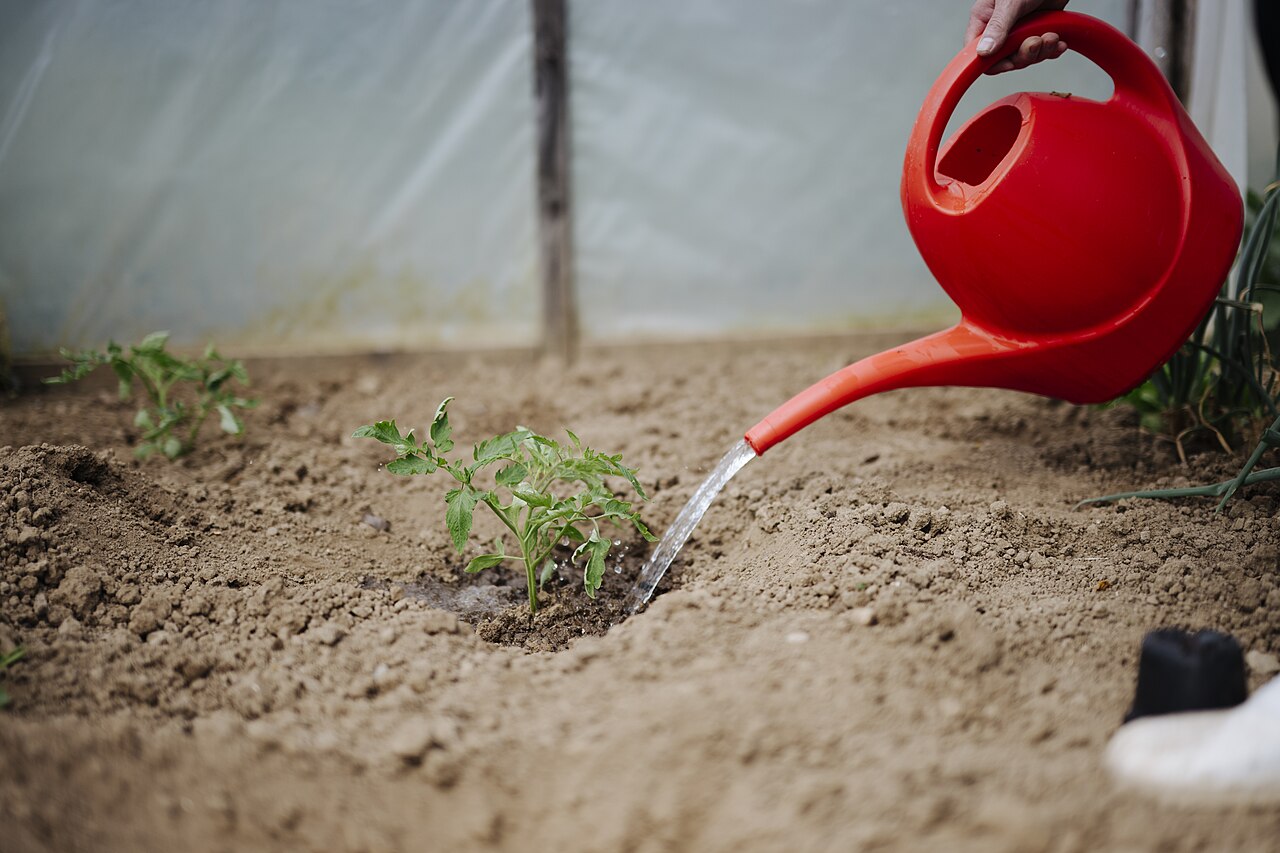
University of Minnesota Extension advises soaking the soil thoroughly every time you water tomatoes. Light watering encourages shallow roots and leaves plants more exposed to heat and drought stress.
The same guide suggests a simple test for garden beds: dig down with a trowel to see how far the moisture went. In a bag, you can do the same with a finger, a thin dowel, or a cheap moisture probe.
A quick sprinkle that darkens the surface can look like a full watering. If the lower half of the bag is dry, the plant is effectively living in a much smaller container than you bought.
Aim to water until some drains from the bottom. Maryland Extension notes that drainage also flushes out excess fertilizer salts, which build up faster in containers that are only ever topped up lightly.
Check 4: Map the Heat Around the Bag
Tomatoes need full sun, and Maryland Extension recommends 6 to 8 hours of direct sun for warm-season crops like tomatoes. So moving bags into shade isn’t the answer.
The problem is the heat around the bag. Maryland Extension notes that brick, stone, concrete, blacktop, decking, and metal reflect or absorb and re-release solar heat, raising the temperature around plants and adding heat stress.
A bag sitting on a south-facing driveway or against a sunny wall is cooking from below and from the side. A bag on a windy rooftop or balcony loses water faster still.
- Lift bags off hot pavement onto pot feet, bricks, or a slatted shelf.
- Group bags together so they shade each other’s sides.
- Shield the lower part of the bag, not the plant, from the hottest afternoon sun with a low board or a row of smaller pots.
- On very exposed sites, a windbreak such as a trellis panel or a fence slows drying.
Heat around the bag stresses more than the roots. Long hot spells can also cause tomato flowers to drop without setting fruit.
For more ideas on keeping water in the ground during hot spells, see our guide to waterwise gardening in hot climates.
Check 5: Look for a Root-Bound Bag
A bag that held water for two days in June and now dries by dinnertime in August may simply be full of roots. As roots fill the mix, there is less space left to hold water.
Signs to look for include roots matting the inside of the bag, mix that feels hard and springy, and water that pools on top before draining away.
You can’t repot a fruiting tomato mid-season without setting it back. Instead, increase the water supply (Checks 6 and 7) and plan a larger bag next year.
Check 6: Review the Mix
Containers need potting mix, not garden soil. Our guide to growing tomatoes in grow bags covers mix selection in detail.
A very coarse, fast-draining mix with lots of bark or perlite drains freely but holds less water. Perlite is useful, but more isn’t always better in a hot, breezy spot. Our guide on how much perlite to add to soil explains the balance.
One thing not to do: Maryland Extension warns that rocks, gravel, or pot shards in the bottom of a container don’t improve drainage. They can raise the water table and leave the mix waterlogged.
If the mix is several seasons old and has broken down into fine, dusty particles, refresh or replace it for next year. Worn-out mix often sheds water when it’s dry and stays soggy when it’s wet.
Check 7: Rethink How Water Reaches the Bag
Once the bag, mix, and site are as good as you can make them, look at delivery. A hand-watered bag depends on you being home at the right time, every day.
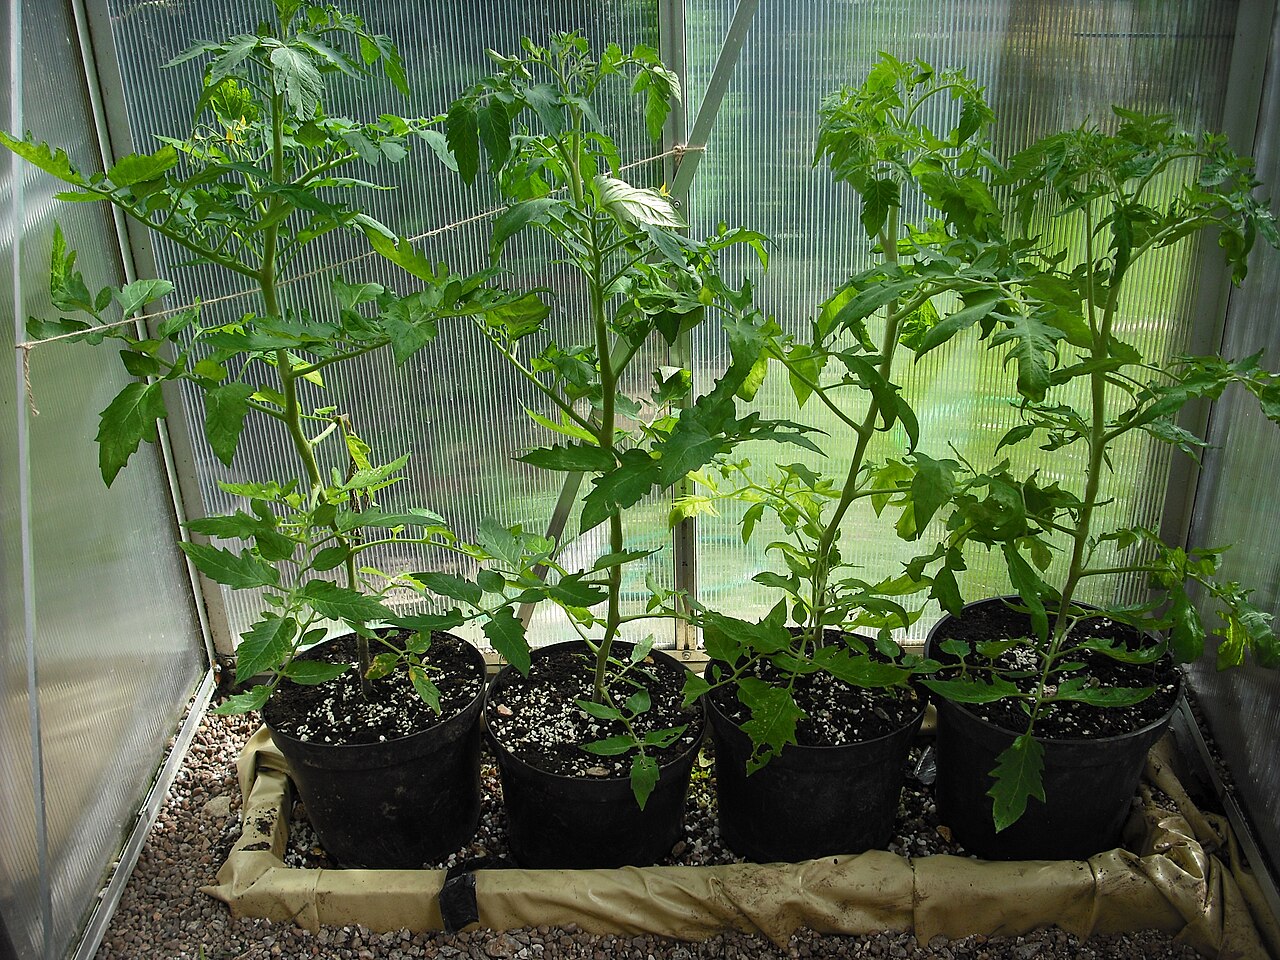
Drip lines on a timer are the most reliable fix for a row of bags. One or two emitters per bag, run once or twice a day in peak summer, keeps moisture steady without guesswork. Our drip irrigation tips for beginners explain emitters and scheduling, and our DIY drip irrigation guide covers building a simple system.
Reservoirs and self-watering containers are the other route. Maryland Extension describes self-watering containers as a good choice for edibles: the mix sits above a water reservoir and water wicks upward. They conserve water and nutrients and let you leave containers for a few days.
Saucers under bags catch run-off for the plant to take back up. Maryland Extension advises emptying them regularly so standing water doesn’t cause root rot or breed mosquitoes.
Check 8: Mulch the Surface
Minnesota Extension recommends mulching garden tomatoes with 3 to 4 inches of weed-free straw, herbicide-free grass clippings, or other organic material, which helps keep soil moisture.
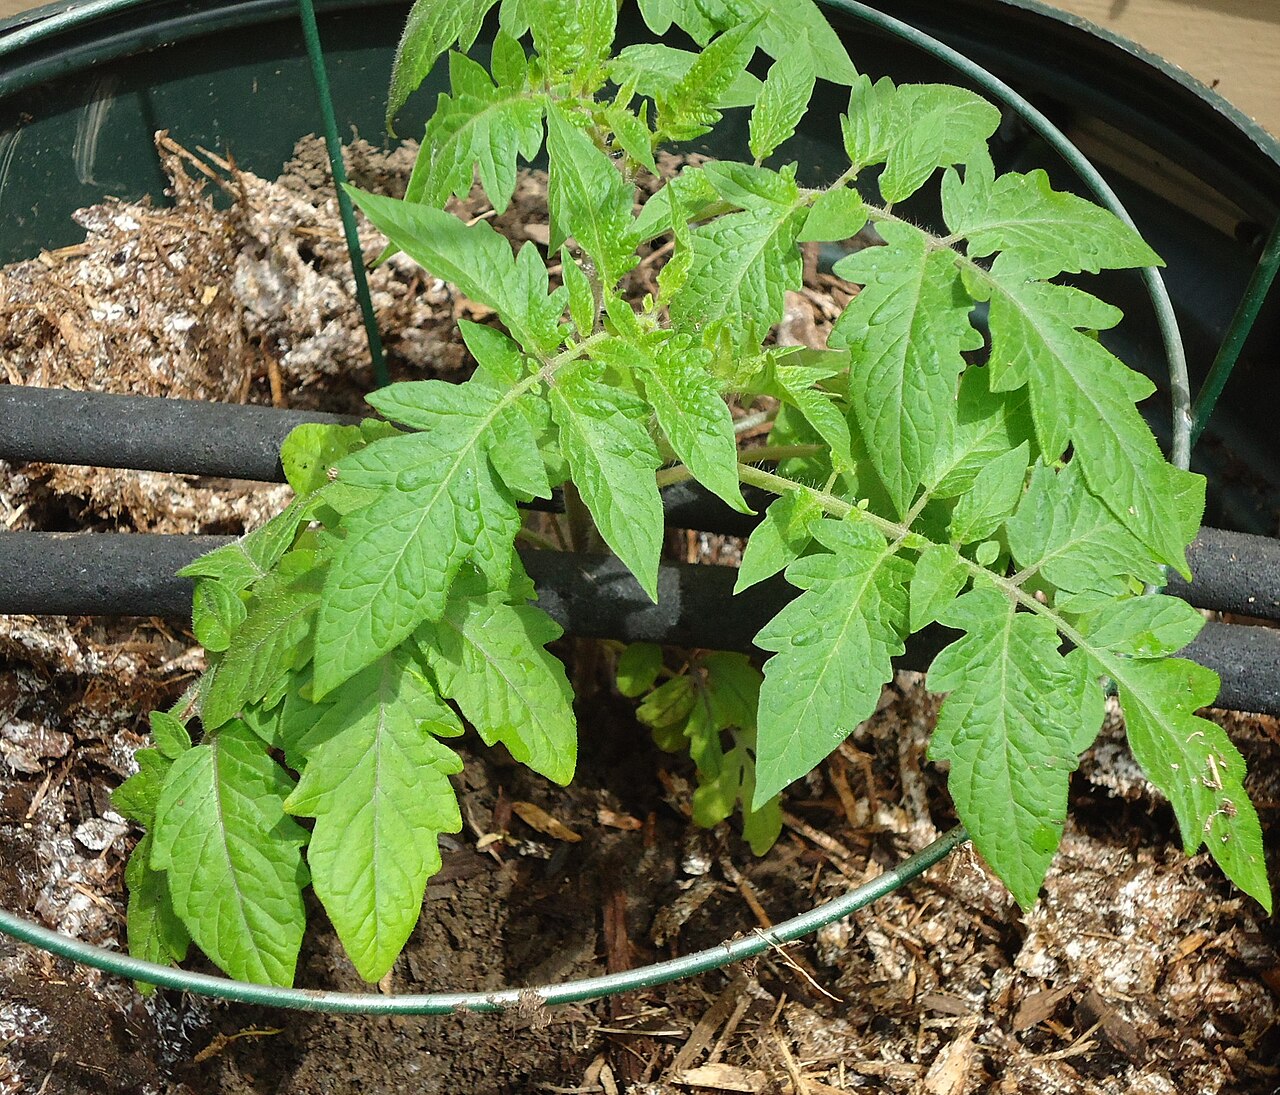
In a bag, a thinner layer of straw, shredded leaves, or fine bark over the mix works on the same idea. It shades the surface and slows evaporation from the top of the bag. Leave a little space around the stem.
Troubleshooting at a Glance
| Water pours straight out | Mix has dried and shrunk. Water in slow passes or soak the bag from below. |
| Top wet, bottom dry | Watering too lightly. Water until it drains from the base. |
| Big plant, small bag | Add drip or a reservoir this year. Size up next year. |
| Bag on hot paving or a sunny wall | Raise it, group bags, shade the bag sides. |
| Drying got worse in late summer | Likely root-bound. Water more often now and plan a larger bag. |
| Bare mix surface | Add a light organic mulch. |
What to Do Right Now
If the plant is wilting in the afternoon and the mix is dry, water it slowly and deeply now, in a couple of passes. Then check it again first thing the next morning.
Don’t judge by midday leaves alone. On hot days, tomatoes can droop in the afternoon and recover by evening. If leaves are limp in the early morning while the mix is dry, the plant is genuinely short of water. Stiff leaves rolled into tubes are a different issue, explained in our guide to tomato leaves curling after a hot day.
Avoid the boom-and-bust cycle. Minnesota Extension links fluctuating soil moisture during fruit growth to blossom-end rot, and its tomato disorder guide ties growth cracks to rain or watering after a dry spell. Steady, predictable moisture matters more than the exact amount on any one day. Our guide to cracked tomatoes after rain covers that problem in detail.
Then fix one thing at a time. For most gardeners, the order is: water deeper, add mulch, raise or shade the bag, and add a drip line or reservoir.
A Season-by-Season Plan
- Before planting: choose a bag sized for the variety, fill it with fresh potting mix, and pick a sunny spot that isn’t directly on hot paving. Our step-by-step tomato planting guide covers setting plants in.
- Early summer: water deeply when the top inch or two is dry. Add mulch once the mix has warmed. Install drip or a reservoir now, before plants get big.
- Midsummer: check moisture morning and evening during heat waves. Expect daily watering and possibly twice a day for large plants.
- Late summer: watch for root-bound bags. Keep moisture steady while fruit sizes up.
- Fall: note which bags dried fastest and why. Empty, clean, and dry bags before storing, and plan bigger bags or a different spot for those plants next year. Clean cages and stakes at the same time; see how to clean and store tomato supports.
New to container tomatoes? Our beginner’s guide to growing tomatoes covers variety choice, support, and feeding.
Frequently Asked Questions
Is it normal to water tomato grow bags every day?
In hot, dry summer weather, yes. Maryland Extension notes that some containers need daily watering in those conditions. It becomes a problem when a bag can’t last from one watering to the next, or when the plant wilts in the morning.
Should I water grow bags in the morning or evening?
Morning is usually best, so the plant starts the hot part of the day with full moisture. On very hot days, check again in late afternoon and water if the mix is dry a couple of inches down.
Do fabric grow bags dry out faster than plastic pots?
Generally, yes. Fabric is porous, and Maryland Extension notes porous containers dry out more quickly than non-porous ones. The benefit is air-pruned, fibrous roots that stay inside the mix.
What size grow bag does a tomato need?
It depends on the variety. Compact bush types can manage in smaller containers, while large vining types grow bigger and yield more as container size increases. Maryland Extension shows indeterminate tomatoes grown in 25-gallon pots.
Can I put a saucer under a grow bag?
Yes. A saucer catches run-off the plant can draw back up. Empty it regularly so water doesn’t stand for long, which can lead to root rot and mosquitoes.
Sources
- University of Maryland Extension, Growing Vegetables in Containers and Salad Tables: daily watering in hot weather, porous containers, heat from hard surfaces, fabric bags and air pruning, container size for tomatoes, drainage and saucers.
- University of Maryland Extension, Growing Vegetables in Containers: sun requirements for warm-season crops.
- University of Maryland Extension, Self-Watering Containers: how reservoir containers work.
- University of Minnesota Extension, Growing tomatoes in home gardens: deep watering, consistent moisture, mulching, and checking moisture depth.
- University of Minnesota Extension, Tomato disorders: growth cracks after watering following drought.