Build a Native Garden Budget: Plants, Site Preparation, Watering, and Replacements
Last updated: November 7, 2026
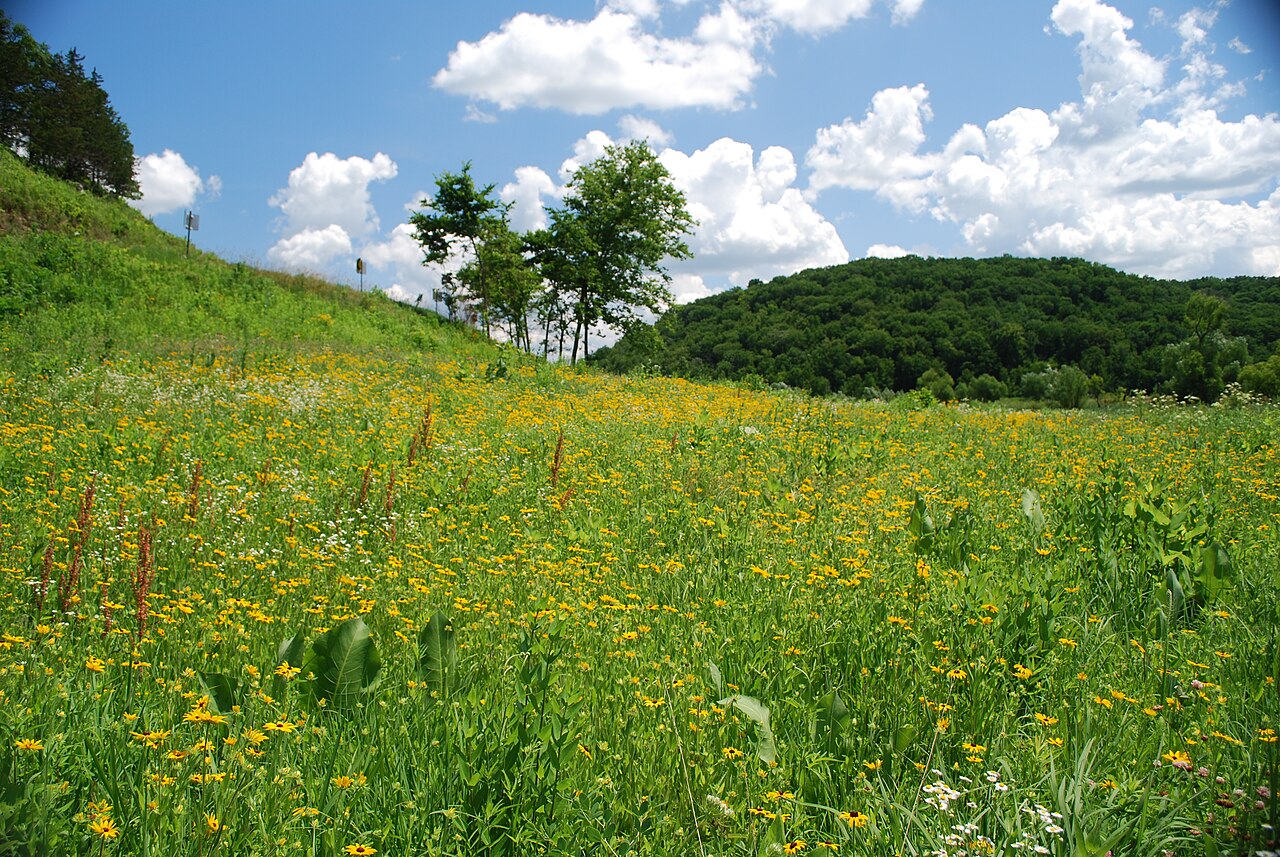
A native garden is cheaper to run than a lawn once it is established, but getting it there has real costs. Plants, site preparation, mulch, water, and replacements all add up, and most first budgets leave at least one of them out.
Prices vary too much by region and season for any article to give you a reliable dollar figure. What does hold everywhere is the quantities: how many plants, how much mulch, how much water, and how many replacements a bed of a given size needs.
This guide shows you how to calculate each of those, gives a worked example for a 200-square-foot lawn conversion, and explains where spending more saves money later.
Plan at a Glance
| Site | A sunny lawn area converted to a native bed or small meadow |
| Size | The example uses a 10-by-20-foot bed (200 sq ft) |
| Sun | Full sun to part sun for the example plants |
| Soil | Average soil; get a soil test before buying amendments |
| Maintenance | Highest costs in year one; low ongoing costs after establishment |
| Best regions | The method works anywhere; plant examples suit much of the eastern and central US |
Start With a Site Assessment, Not a Shopping List
The cheapest native garden is one where the plants match the site, because you are not paying to replace plants that were never going to thrive. University of Minnesota Extension’s prairie garden guide says to learn your site’s drainage, sun and shade, and soil type before choosing plants.
The same guide recommends a soil test to find pH and organic matter. A soil test through your state’s extension lab is usually one of the smallest line items in the budget, and it can stop you from buying amendments you do not need.
Measure the area and subtract paths and features to get the net planting area. Every quantity below is calculated from that number.
Budget Line 1: Plants or Seed
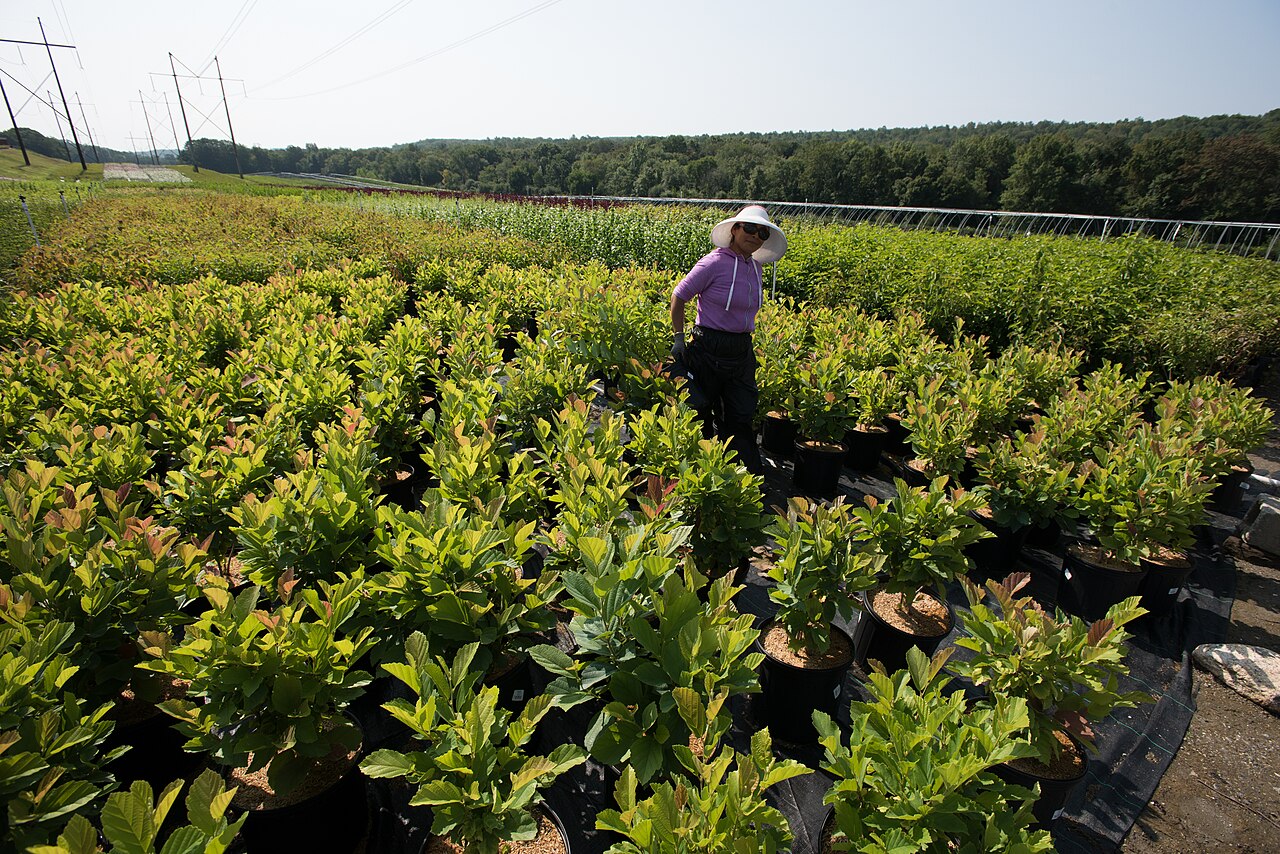
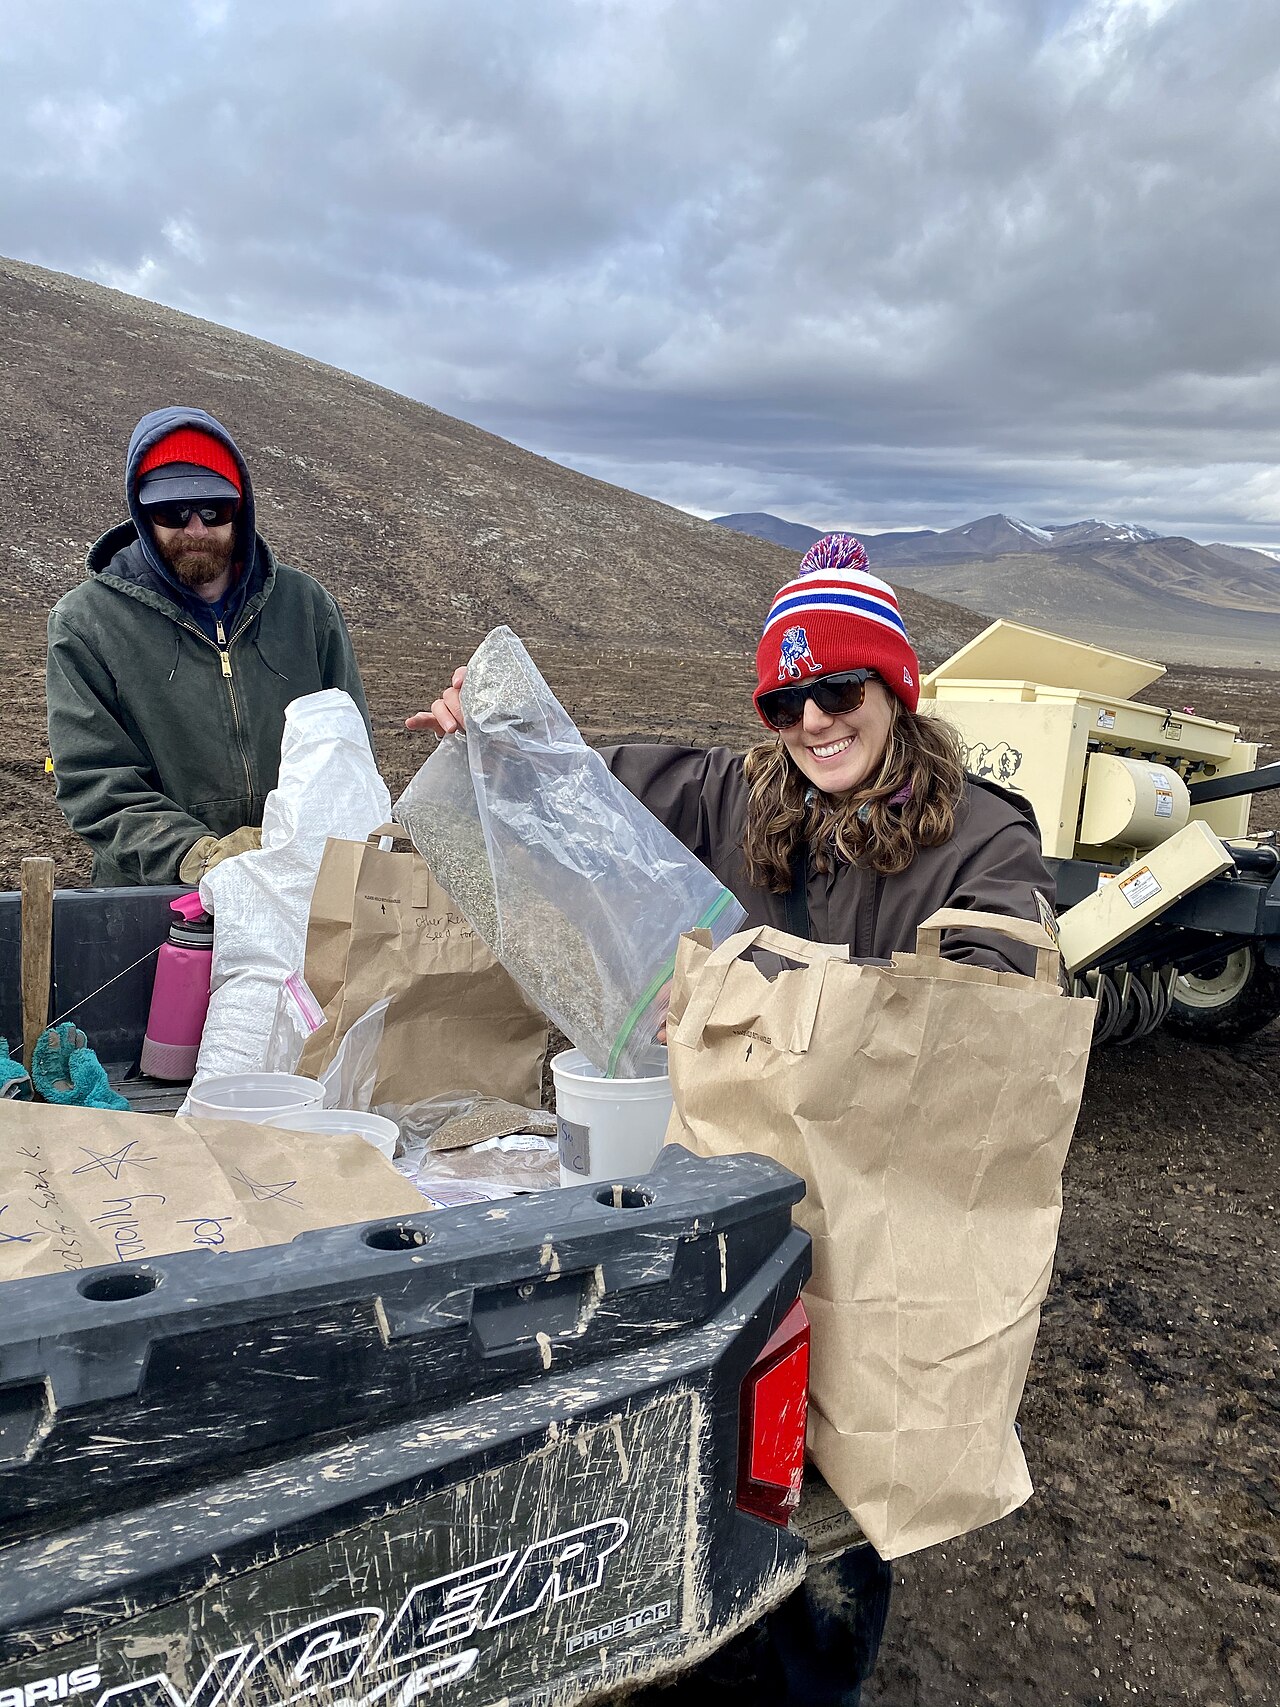
This is usually the largest cost, and your choice of plants or seed changes it more than anything else. Illinois Extension’s backyard prairie guide notes that seeding is less expensive and easier for larger areas but slower to establish.
Plants make it easier to tell natives from weeds, and Illinois Extension notes they may be the best option for species that are hard to start from seed. UMN adds that plants establish quickly and may flower the first year, while seed can take two to five years to reach full size.
To count plants: multiply the net area by 144, then divide by the square of your spacing in inches. Our guide to native plant spacing and bed coverage works through this in detail.
To estimate seed: UMN gives a general rule of thumb of 30 seeds per square foot, with grasses as low as 20 and wildflowers as high as 60. Seed is sold by weight, so check the seeds-per-ounce figure on the label or ask the seller to size a mix for your square footage.
Many gardeners split the difference: plants in the most visible part of the bed and seed in the back or in larger areas.
Budget Line 2: Site Preparation
Lawn has to be killed or removed before planting, and each method has a different cost.
- Smothering: UMN describes covering grass with a dark plastic sheet, tarp, or plywood for at least two months before planting. It costs little if you already own a tarp, but it takes time.
- Sheet mulching: Cardboard topped with mulch. Cardboard is often free, but the mulch on top is a real cost.
- Sod removal: Fast, but you either rent a sod cutter or do heavy work by hand, and you then need to dispose of or reuse the sod.
- Herbicide: The Xerces Society’s meadow establishment guide describes repeated non-selective herbicide treatments over a growing season for seeded sites. If you use this route, follow the label exactly and price the product and any sprayer.
Time is part of the cost. Methods that take a full season, such as smothering or repeated treatments, save money but delay planting.
Our comparison of sheet mulching vs. sod removal helps you choose by site and timing.
Budget Line 3: Mulch
Mulch keeps soil moist and holds back weeds while plants fill in. The NOFA Organic Land Care Program’s plug planting guide recommends 2 to 4 inches of mulch right after planting.
To calculate mulch: cubic yards = net area in square feet × depth in inches ÷ 324. A 200-square-foot bed needs about 1.2 cubic yards at 2 inches, 1.9 at 3 inches, and 2.5 at 4 inches.
Bulk mulch is sold by the cubic yard, and bagged mulch is usually sold in cubic feet. One cubic yard equals 27 cubic feet, so 1.9 cubic yards is about 51 cubic feet, or about 26 two-cubic-foot bags.
Budget Line 4: Water
New plantings need water before their roots establish. NOFA recommends watering plugs for about an hour every four days in mild spring weather, or every three days in hot summer weather, for the first three weeks.
Illinois Extension notes that the first year may need an occasional deep watering if rain is short, and that watering should not be needed in the second year except in extreme drought.
To estimate water: one inch of water over one square foot is about 0.62 gallons. A 200-square-foot bed takes about 125 gallons per inch of water applied. Multiply by the number of waterings you expect in year one to see whether a hose, soaker hose, or timer is worth buying.
Budget Line 5: Replacements
Some plants will die in the first year from drought, rabbits, frost heave, or a poor match with the site. Plan for it rather than treating losses as a surprise.
Set aside money for about 5 to 10 percent of your plant count as replacements in year two. On the example bed, that is four to seven plants.
Replacement is also where a seeded area may need a top-up. If a patch shows few native seedlings by the end of the second season, budget for plugs to fill it.
Budget Line 6: Tools and Ongoing Costs
Most of the tools you need are ones lawn owners already have: a spade, a hand trowel, a hose, and a mower or string trimmer. Additions to consider are a half-moon edger for clean bed edges and a soaker hose for the first year.
Ongoing costs drop after establishment. Illinois Extension says not to fertilize prairie plantings, because prairie plants do not need it and it encourages weeds. That removes a line item most lawns carry every year.
Budget Worksheet: 200-Square-Foot Example
Quantities for a 10-by-20-foot sunny bed. Multiply each quantity by your local price.
| Line item | How to estimate | Example quantity |
|---|---|---|
| Container plants | Area × 144 ÷ spacing², by zone | About 67 plants, plus spares |
| Plugs (alternative) | One per square foot on a 12-inch grid | 200 plugs |
| Seed (alternative) | About 30 seeds per square foot | About 6,000 seeds |
| Soil test | One sample per area with similar soil | 1 test |
| Site preparation | Method chosen: tarp, cardboard, sod removal or herbicide | 200 sq ft covered |
| Mulch at 3 inches | Area × depth ÷ 324 | About 1.9 cubic yards |
| Water, year one | About 125 gallons per inch on 200 sq ft | 6–7 waterings in the first three weeks, then dry spells |
| Replacements | 5–10% of plant count | 4–7 plants in year two |
| Edging and tools | Half-moon edger, soaker hose if needed | As needed |
Plant Palette: Where to Spend and Where to Save
Some species are cheap to grow from seed and fill in fast. Others are slow or tricky, and buying them as plants is money well spent.
Plant Palette
Budget notes from the Wildflower Center plant database. Confirm each species is native to your area before buying.
| Plant | Role | Height | Sun / moisture | Native range (LBJ) | Budget note |
|---|---|---|---|---|---|
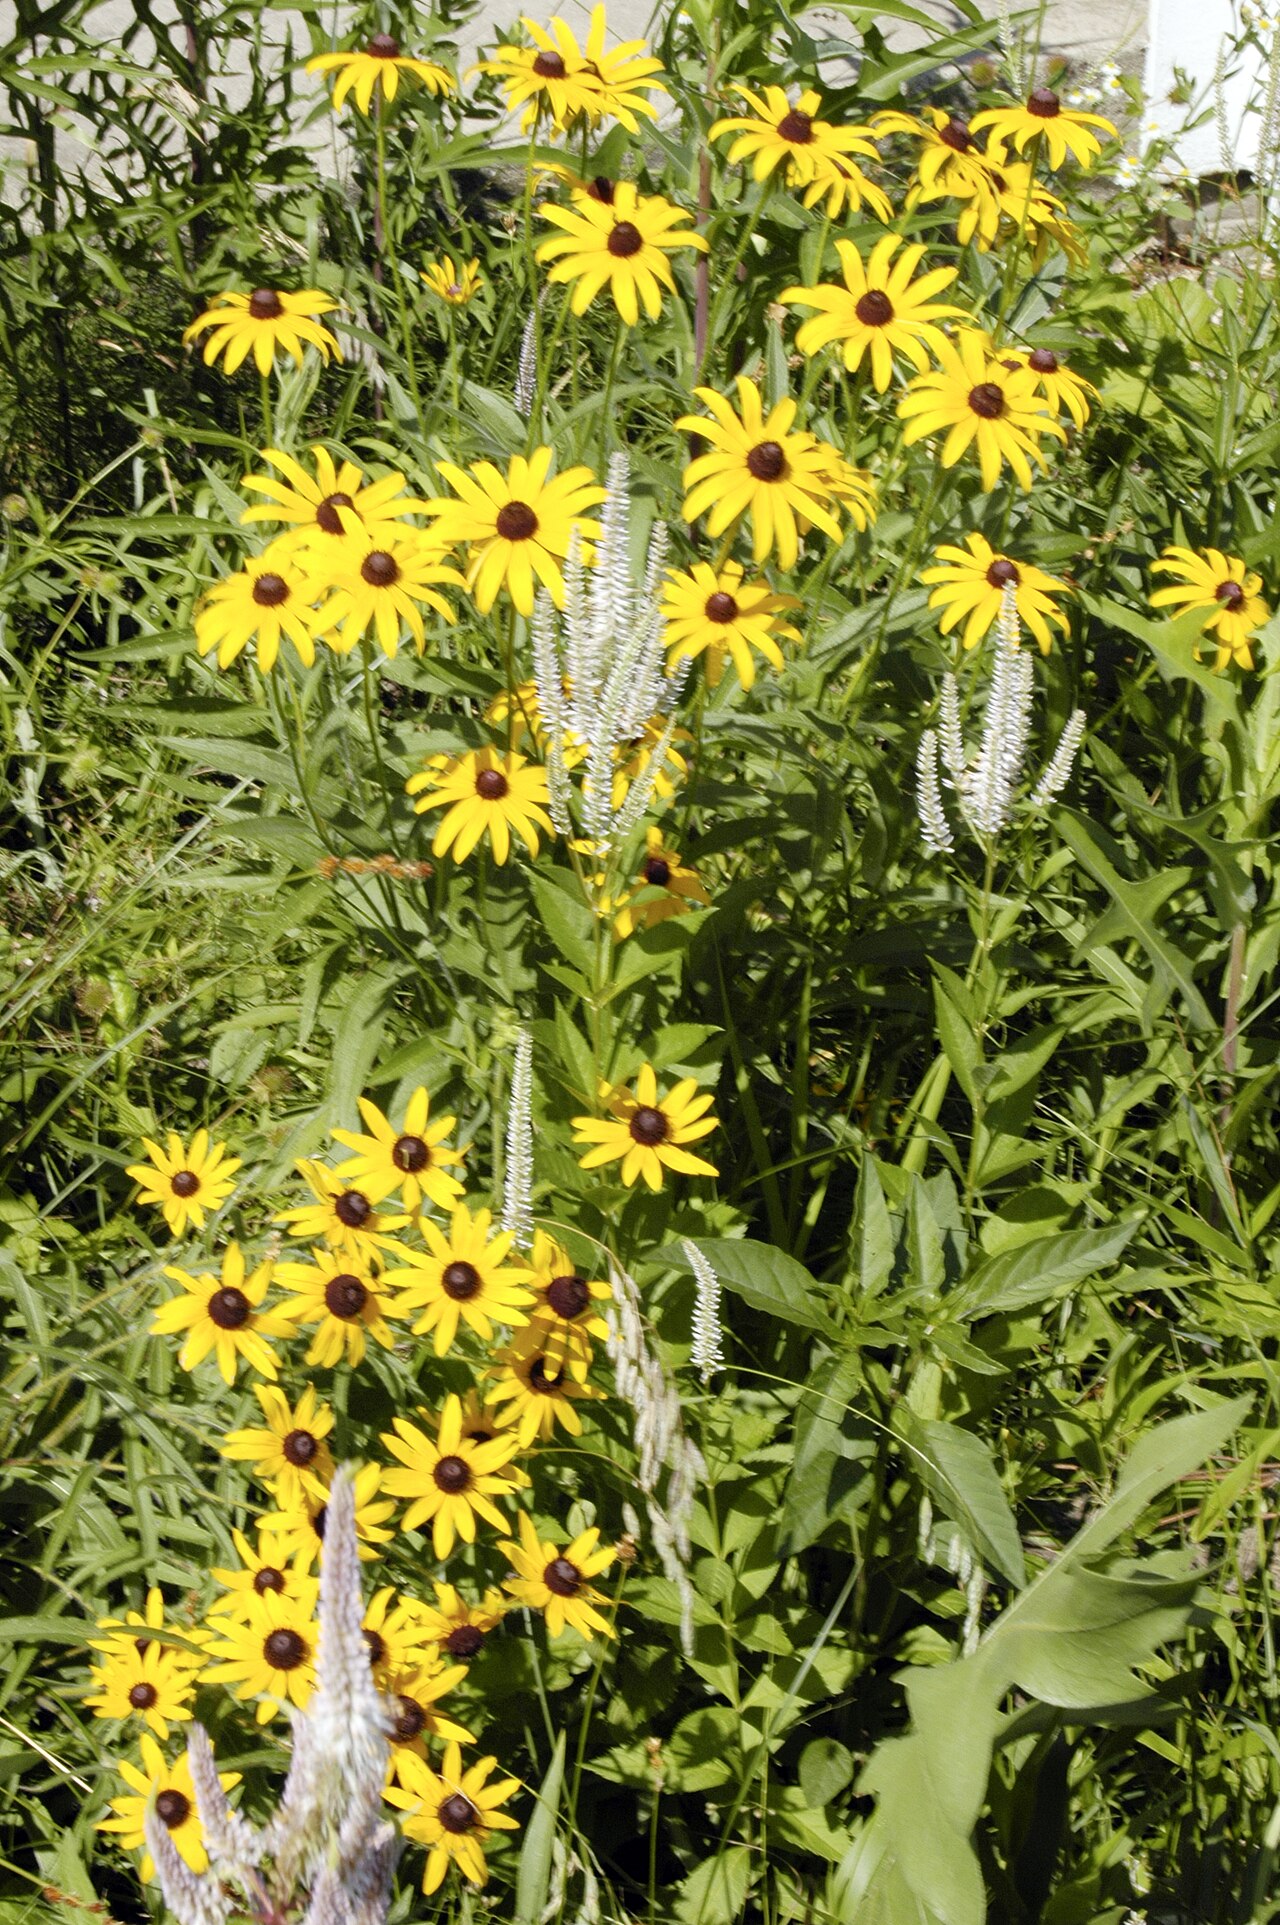
| Black-eyed Susan | Fast filler | Up to about 3 ft | Sun to part shade; dry to medium | W. MA to Man. & WY, south to FL & NM | Save: acts as an annual, biennial or short-lived perennial |
| Lanceleaf coreopsis | Fast filler | 1–3 ft | Sun to part shade; dry | FL to e. TX & n. NM, north to VA, Ont., MI, WI, MO & CO | Save: easy to grow and self-sows readily |
| Little bluestem | Matrix grass | 2–4 ft | Full sun; dry to medium | Most of the US east of the Rockies | Save: readily reseeds |
| Wild bergamot | Midsummer flower | 2–4 ft | Sun to part shade; medium | Most of the US east of the Rockies | Either: plants for the front, seed in back |
| Purple coneflower | Long-lived flower | 3–4 ft | Sun to part shade; medium | GA to NE TX, north to NC, OH, IL & IA | Either |
| Butterfly weed | Accent | 1–2 ft | Sun; dry to medium | New England to FL, west to TX, north through CO to MN | Spend: 2–3 years to flower from seed; transplant carefully |
| Prairie dropseed | Edge grass | 2–3 ft | Sun to part shade; dry to medium | Que. to Sask., locally south to NC, KY, e. TX & CO | Spend: slow growing and slow to establish |
The Wildflower Center also notes that black-eyed Susan can become aggressive in ideal conditions and lanceleaf coreopsis can become weedy. Use these cheap fillers for quick color, not as the backbone of the bed.
Regional swaps matter for the budget too. Plants grown far outside your region may struggle and need replacing.
In Florida, choose a long-lived flower other than purple coneflower, whose native range stops at Georgia. In the dry western Plains, look at blue grama in place of prairie dropseed.
Ways to Stretch the Budget
- Phase the project. Convert and plant one section per season, and grow your own plants from seed for the next phase.
- Use plugs for large areas. They cost less per plant, and NOFA’s one-plug-per-square-foot rule gives a dense stand within about a year.
- Seed the back, plant the front. Spend on plants where people look and seed where they do not.
- Shop native plant sales. Local native plant societies, conservation districts, and arboreta often hold spring and fall sales.
- Accept divisions. Neighbors with established native beds often have plants to divide in spring or fall.
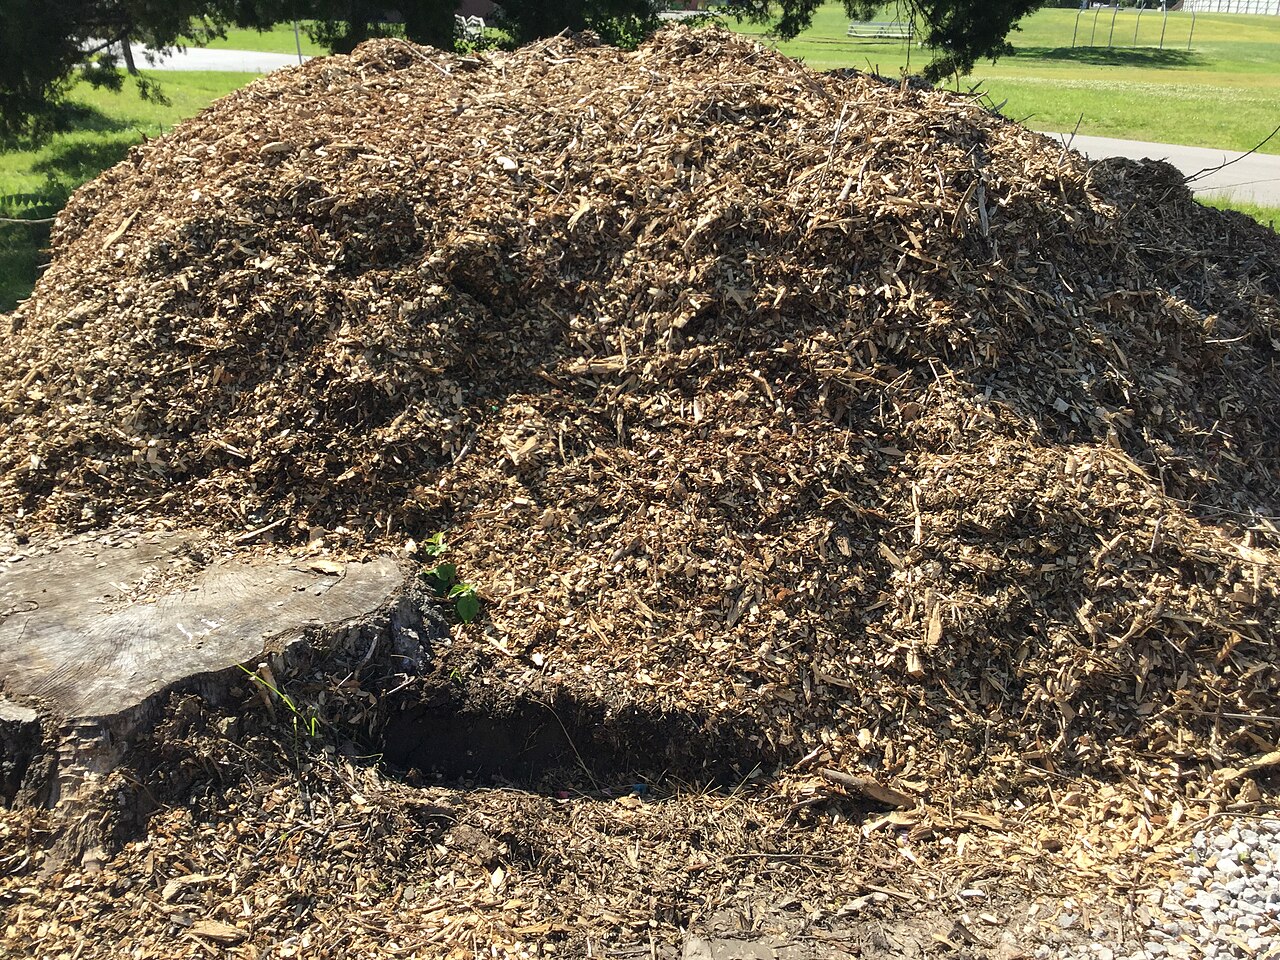
- Get free mulch. Some municipalities and tree services give away wood chips; ask what is in the load before you accept it.
Installation Steps With Budget Checkpoints
- Measure the site, get a soil test, and calculate the net planting area.
- Choose plants, seed, or a mix, and price the full plant list before buying anything else.
- Choose a site preparation method that fits both your budget and your timeline.
- Order mulch in bulk once you know the area and depth.
- Plant, water in, and mulch. Keep receipts and a planting map.
- Track losses through the first season and buy replacements for the fall or the next spring.
First Three Years: Where the Money Goes
- Year one: Most of the spending happens here: plants or seed, site preparation, mulch, and watering. Expect regular weeding or mowing.
- Year two: Replacements for losses, a mulch top-up where soil shows, and less watering. Illinois Extension says watering should not be needed except in extreme drought.
- Year three: Low costs. Cutback in late winter, occasional weeding, and dividing plants you can use to expand the garden for free.
For what the planting will look like as it grows, see our guide to a new native planting in years one, two and three. Plan access for maintenance with a mown path through the bed. For more on reducing lawn, see lawn reduction strategies for homeowners, and for mulch choices, our guide to mulching techniques for native gardens.
Mistakes to Avoid
- Budgeting only for plants and forgetting mulch, water, and replacements.
- Buying cheap plants that are not native to your region, then replacing them.
- Skipping the soil test and buying amendments native plants do not need.
- Buying slow species like prairie dropseed as seed and expecting a finished look in year one.
- Spending the whole budget in year one with nothing left for replacements.
📋 Price only plants that appear on your regional list: Illinois, Iowa and Missouri, Nebraska, Kansas and eastern Colorado, or Kentucky and Tennessee.
Frequently Asked Questions
Is it cheaper to start a native garden from seed or plants?
Seed is cheaper, especially for large areas, according to Illinois Extension. Plants cost more but establish faster, may flower in the first year, and are easier to tell from weeds.
How much mulch do I need for a native bed?
Multiply the area in square feet by the depth in inches and divide by 324 to get cubic yards. NOFA recommends 2 to 4 inches after planting.
How much should I set aside for replacing plants?
A reserve for 5 to 10 percent of your plant count covers typical first-year losses. Buy replacements in fall or the following spring.
Do native gardens need fertilizer?
Illinois Extension advises against fertilizing prairie plantings, because prairie plants do not need it and fertilizer encourages weeds.
When do the costs of a native garden drop?
After establishment. Illinois Extension notes watering is rarely needed after the first year, and ongoing work shifts to an annual cutback and occasional weeding.
Sources
- University of Minnesota Extension: Planting and Maintaining a Prairie Garden (site assessment, soil testing, smothering, seeding rates)
- University of Illinois Extension: Backyard Prairies and Pollinator Meadows
- NOFA Organic Land Care Program: How to Effectively Establish Native Plant Plugs
- Xerces Society: Establishing Pollinator Meadows from Seed
- Lady Bird Johnson Wildflower Center Native Plant Database: species notes and native distribution