Air Plant Brown Tips or Base Rot? How to Tell Which Problem to Investigate
Last updated: November 6, 2026
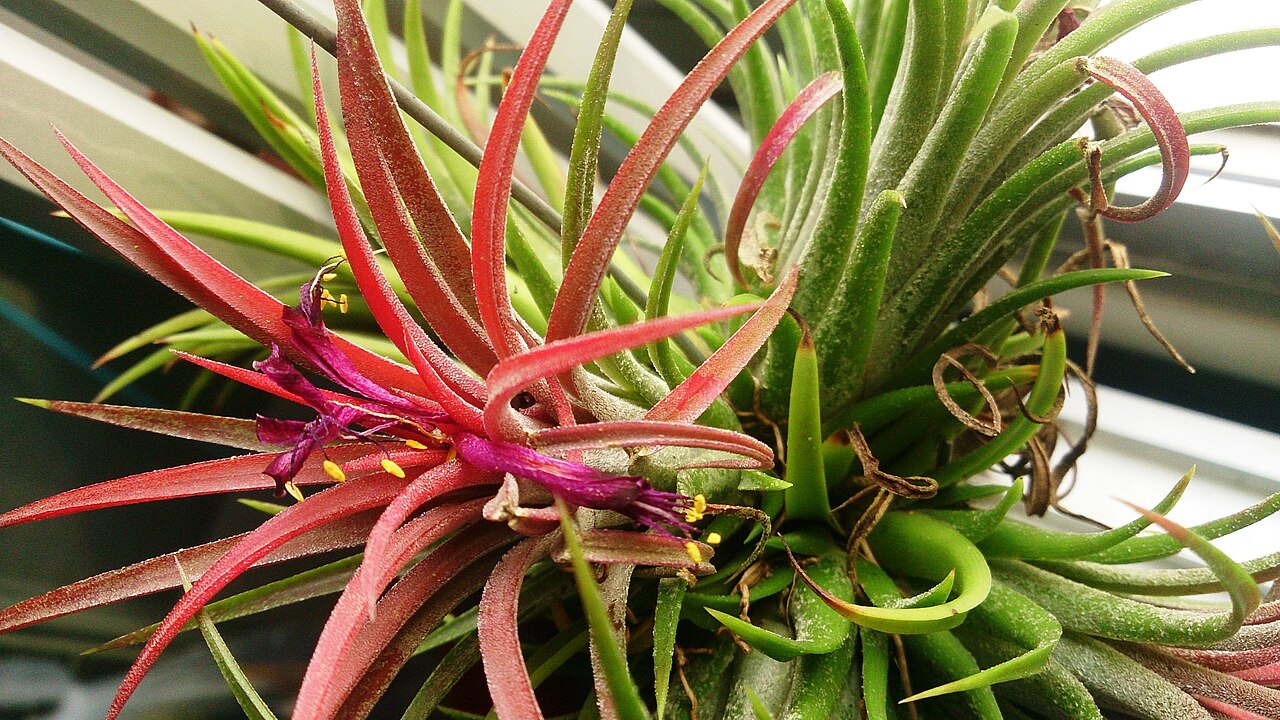
Your air plant is turning brown, and you’re not sure whether it’s thirsty or drowning. That’s a fair question, because the two problems need opposite fixes.
Brown, crispy leaf tips usually mean the plant is drying out faster than it’s being watered. A dark, soft base usually means water sat in the center too long. Treating one as the other makes it worse.
This guide walks you through where to look, what each sign means, and what to change. Most checks take a minute and only need your eyes and fingers.
The Short Answer
Start by finding where the brown begins:
- At the leaf tips, with curling or dull leaves: the plant is underwatered or sitting in very dry, moving air. Water more thoroughly, not more often by mist alone.
- At the base or center, dark and soft: water is collecting where the leaves meet. That points to rot. Dry the plant fully and change how you water.
- Only on the oldest outer leaves, dry and papery: that’s usually normal leaf turnover. Trim or gently pull them off.
- Bleached or scorched patches mid-leaf: too much direct sun. Move it to bright, filtered light.
How Air Plants Drink, and Why It Matters Here
Air plants (Tillandsia) are epiphytes in the bromeliad family. Their roots only anchor them. Water and nutrients come in through tiny scales on the leaves called trichomes.
Those scales soak up water fast when the plant is wet. That’s why a thorough soak or drenching works, and why a light mist often isn’t enough indoors.
The weak point is the center. Leaves overlap tightly at the base, and water can pool there. Wild plants hang on branches where gravity and moving air dry them quickly. A plant sitting upright in a dish doesn’t get that help.
Tips vs. Base: What Each Sign Points To
| Brown, crisp tips | Too little water, or dry air moving across the leaves. |
| Curled or rolled leaves | Dehydration. Leaves roll inward as the plant loses water. |
| Dull, faded color | Usually thirst, sometimes low light. |
| Dark, soft base | Water held in the center too long. Treat as rot. |
| Center leaves pull out easily | Advanced rot at the core. The main rosette is usually lost. |
Check 1: Find Where the Brown Starts
Hold the plant in good light and turn it slowly. Look at three zones: the leaf tips, the middle of each leaf, and the base where every leaf joins.
Tip browning starts at the very end of the leaf and creeps backward. The tissue is dry and crisp, and the rest of the leaf is still firm and gray-green.
Rot starts at the base and moves outward. The tissue there looks darker, wet, or translucent rather than dry. If brown shows up in both places, deal with the base first, since that’s the part that can kill the plant.
Check 2: Do the Gentle Tug Test
Pinch one of the younger leaves near the middle of the rosette and give it a very light tug. On a healthy plant, it holds firm.
If center leaves slide out with almost no resistance, or the base feels mushy when you press it gently, that’s the classic sign of rot. Outer leaves that come away dry and papery are a different story. Those are usually old leaves that have finished their job.
Don’t keep pulling to see how far it goes. Once you know the answer, stop and move on to the fixes below.
Check 3: Read the Leaf Shape and Color
Clemson’s Home & Garden Information Center lists the signs of an air plant that isn’t getting enough water: leaves that curl or roll, a dull color, and brown tips. University of Florida’s Gardening Solutions also points to curled or rolled leaves as a sign of dehydration.
If you see those three together, you have your answer. The plant is thirsty, and rot is unlikely to be the main problem.
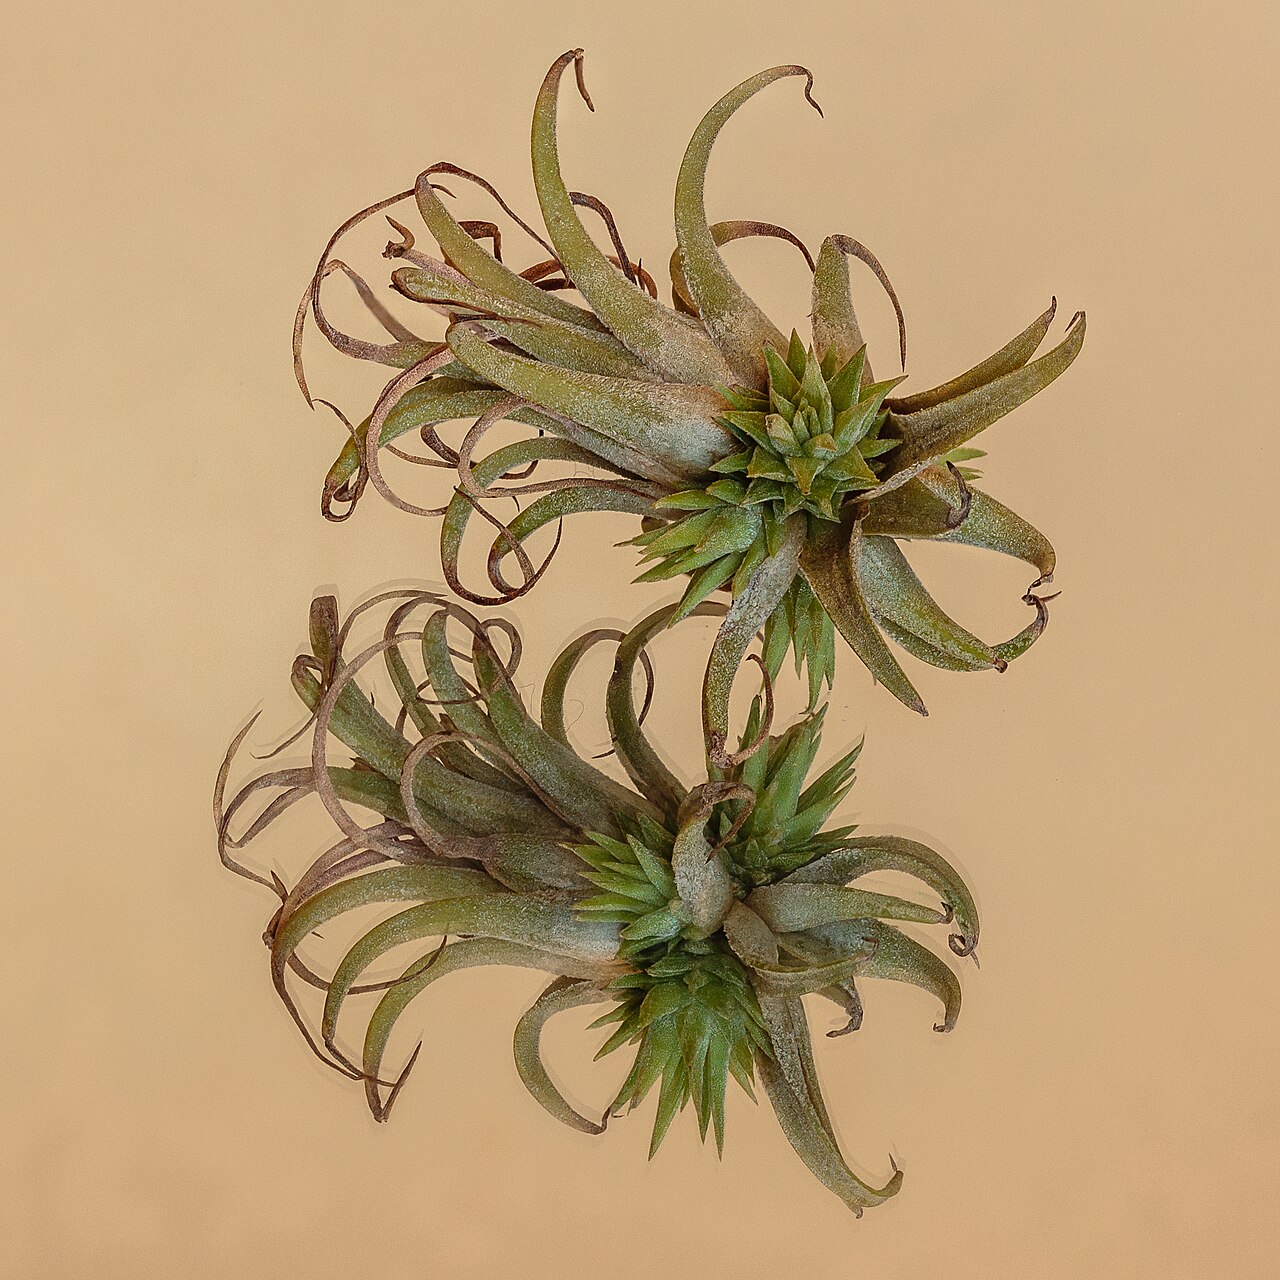
Keep in mind that some species curl naturally. If your plant has always had twisting leaves, compare how tight and crisp they look now to how they looked when it arrived.
Check 4: Look Honestly at How You Water
Misting is the most common reason for brown tips indoors. The University of Wisconsin’s horticulture program notes that Tillandsia tends to dehydrate in the dry air of most homes and that misting is not adequate on its own.
Clemson recommends watering about once a week by misting well or submerging the plant for 20 to 30 minutes. UF suggests a good weekly misting until water runs off the plant. Either way, the leaves should be fully wet, not just dewy.
This is the opposite of how you’d treat a succulent in a pot, where you water the soil and let it dry deeply. An air plant has no soil reservoir, so each watering has to wet the leaves themselves.
Plants with thin, green leaves generally want more water than heavily silvered, fuzzy ones. Clemson’s bromeliad factsheet advises growing soft green tillandsias a little moister and silvery ones with less water and more light. Our complete air plant care guide covers basic watering routines in more depth.
Check 5: Look at How It Dries
Now the other side. If the base is the problem, the issue is usually what happens after watering, not how much water the plant got.
Clemson notes that excess water can collect between the leaves around the center, and recommends gently shaking the plant and turning it upside down to drain. That step helps prevent rot. NC State’s Plant Toolbox gives the same advice for Tillandsia xerographica: shake it out and dry it upside down after soaking to prevent crown rot.
Ask yourself a few questions. Do you put the plant straight back after soaking? Does it go into a closed globe or a cup? Does it stay wet for many hours? If the answer to any of these is yes, rot at the base makes sense.
If you live in a humid climate, see our step-by-step guide to drying air plants after watering in a humid home.
Plants with a bulb-like base or a tight, cupped rosette are at higher risk, because water has more places to hide.
Check 6: Check the Display Container
Both UF and Clemson make the same point: whatever you mount or display an air plant on, the material shouldn’t hold water.
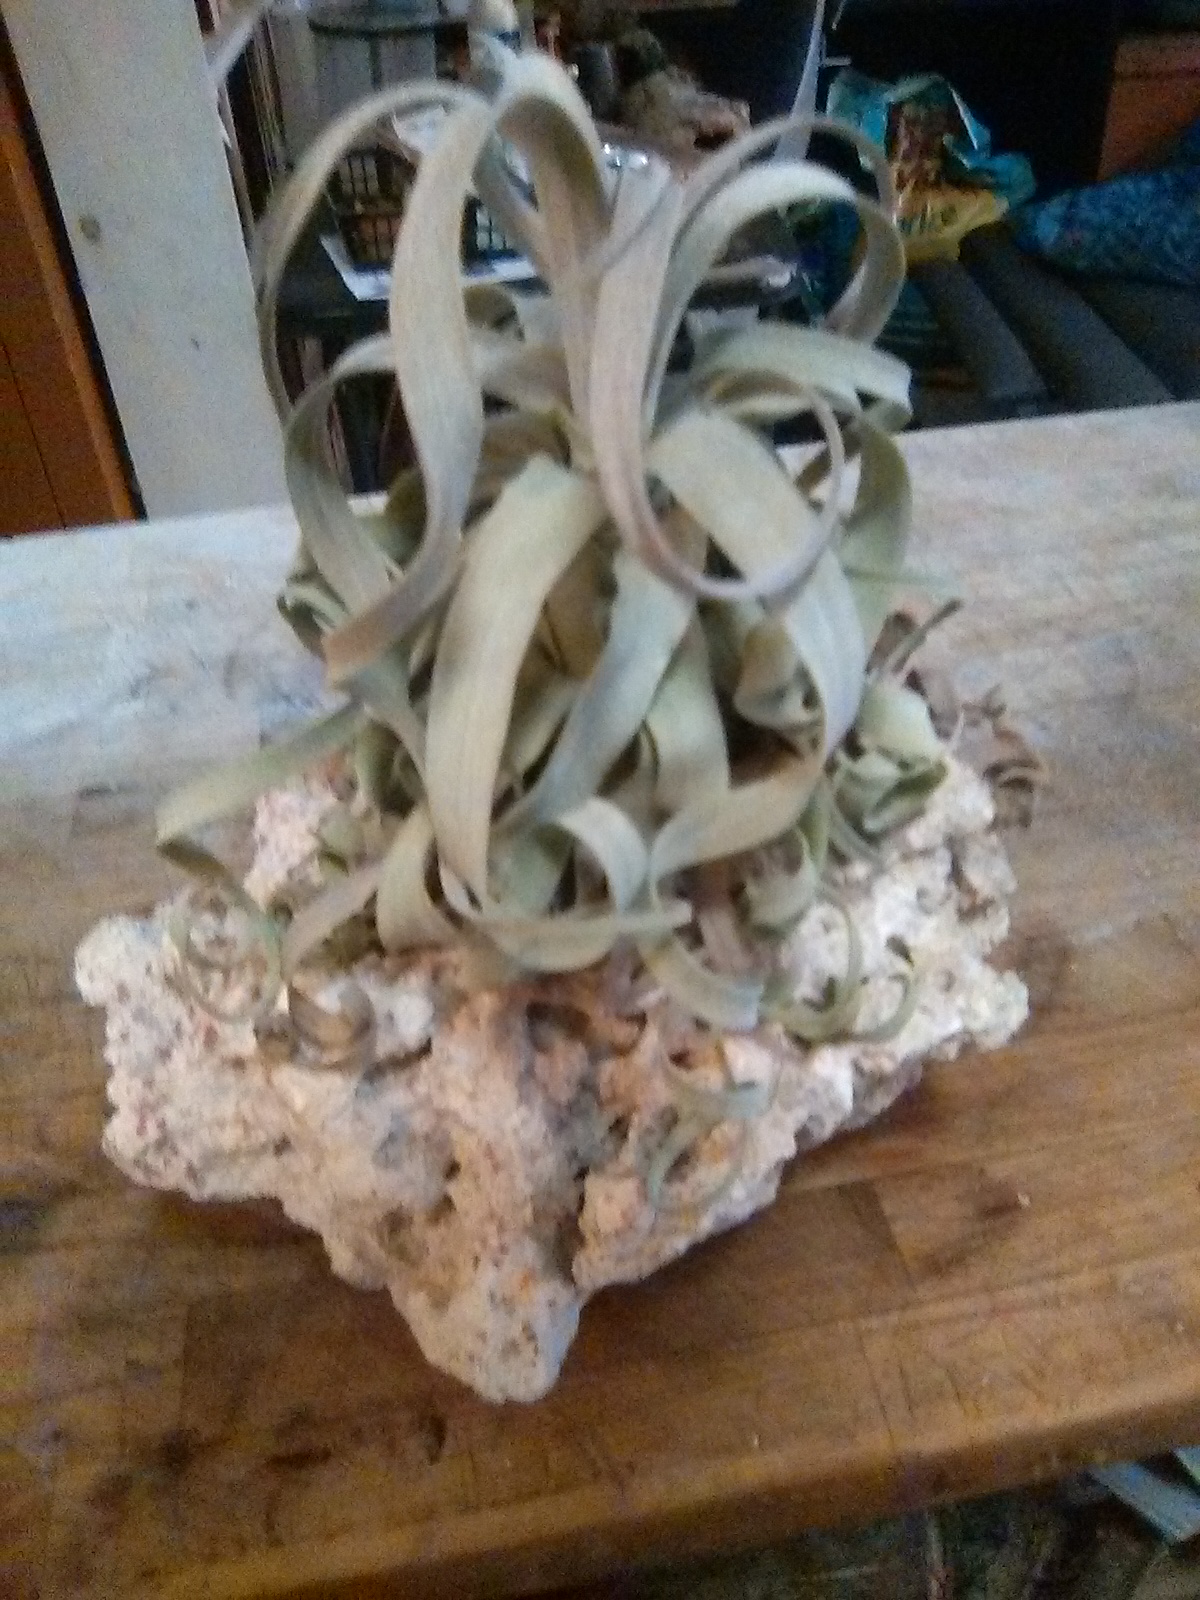
Moss, soil, solid ceramic cups and closed glass globes all trap moisture against the base. Wet bark can do the same if the plant is wedged into a crevice. Open wire, dry driftwood and shallow dishes that stay dry work better.
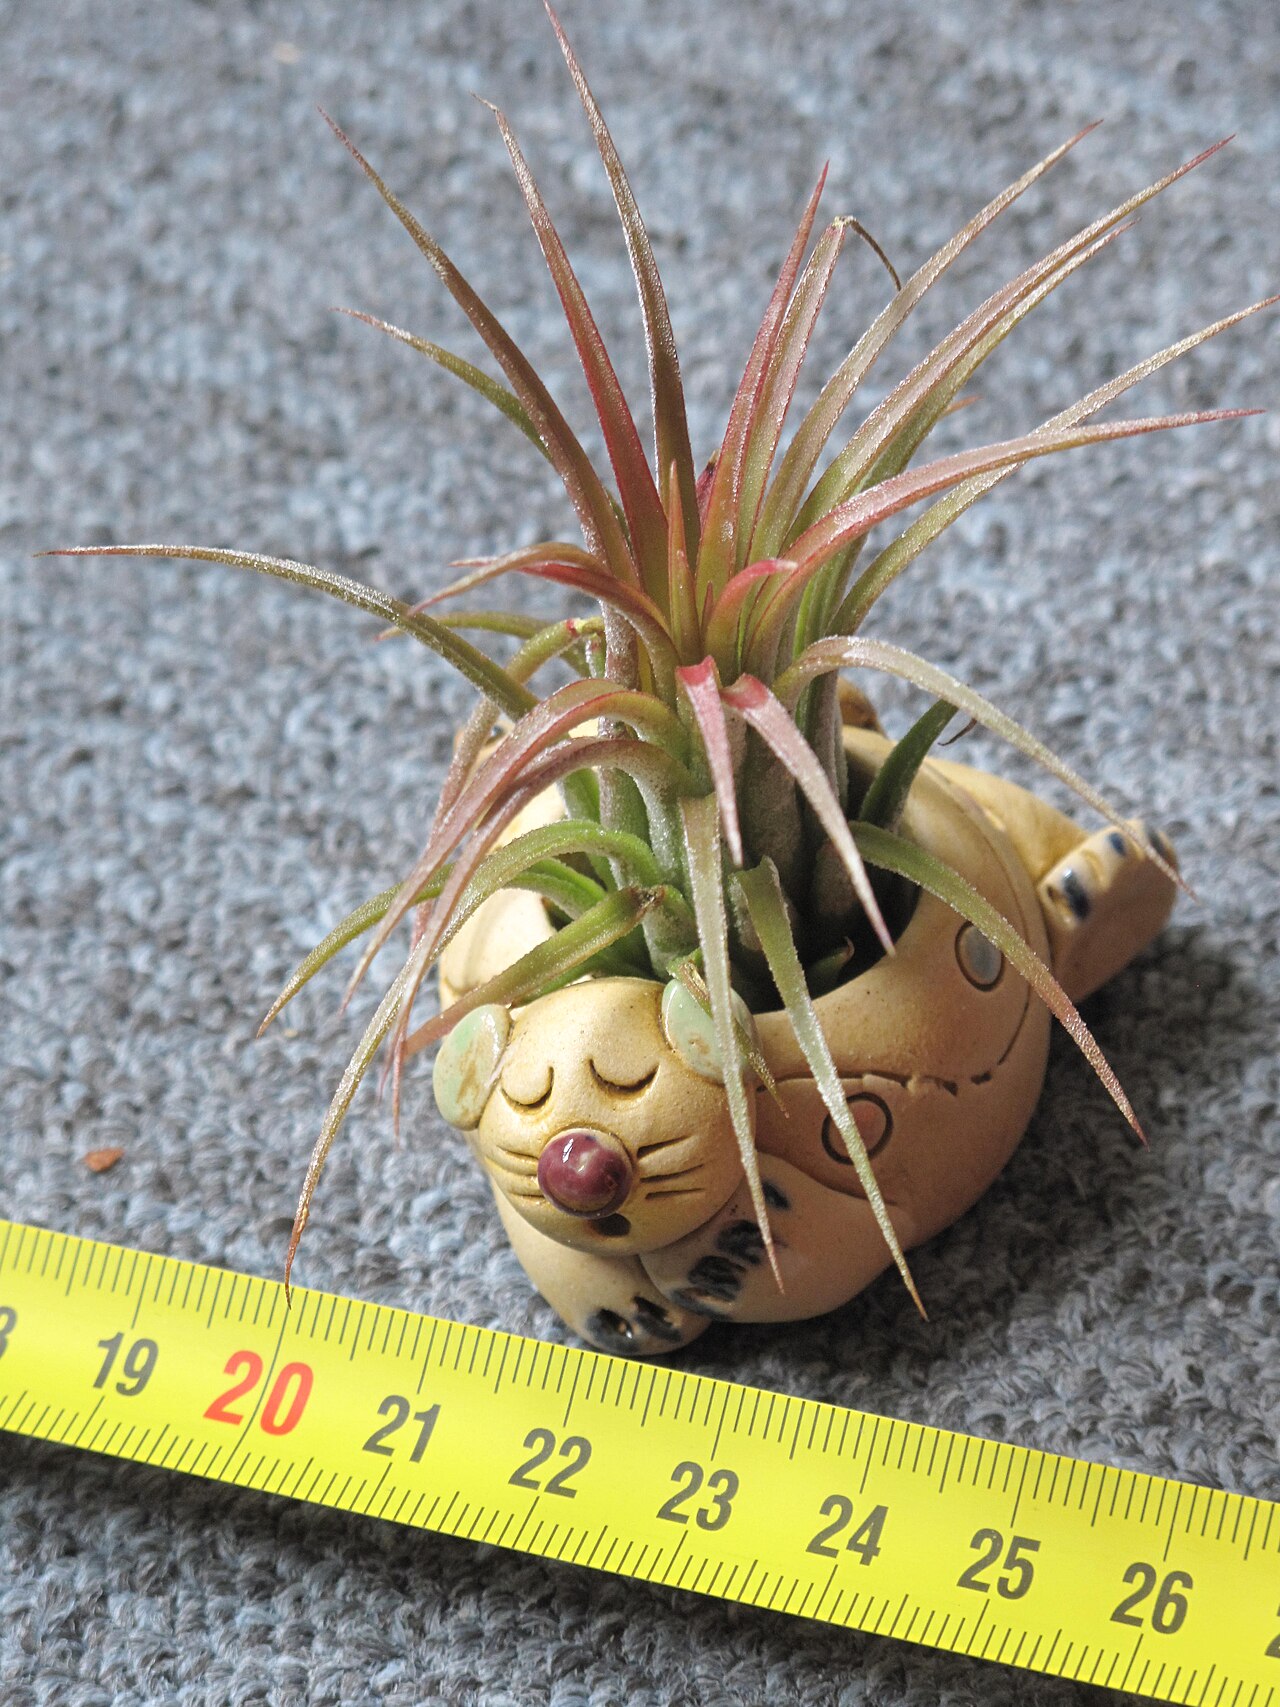
If you love a particular container, keep it. Just let the plant dry completely somewhere airy first, then set it back in. Our roundup of air plant holders covers designs with good ventilation and drainage.
Check 7: Consider Air Movement and Dry Heat
Moving air is good for air plants, up to a point. Clemson notes that air circulation helps the plant dry between waterings and helps prevent disease.
But Wisconsin’s guidance adds a caution: when the air is very dry, strong air movement can cause leaf tips to dry out and die. A plant beside a heating vent or under a ceiling fan in winter can brown at the tips even with regular watering.
NC State notes that home heating and air conditioning can affect humidity, so a plant may need more water at those times. If the browning started when the heat came on, or while you were away with the house closed up, that’s a strong clue. Our air plant travel checklist covers prepping plants before a trip. A room humidifier helps some homes; our guide to humidifiers for indoor plants compares options.
Check 8: Rule Out Sun Scorch and Normal Aging
Brown isn’t always about water. Too much direct sun can scorch leaves. Clemson and UF both recommend bright, filtered light rather than direct sun through the glass.
Scorch looks different from tip burn. It tends to show up as bleached, tan or brown patches on the side of the plant facing the window. If you’ve recently moved the plant to a brighter spot, that’s the likely cause. Wisconsin advises acclimating bromeliads to brighter conditions gradually over several weeks.
The opposite problem, a dim spot, shows up as faded color and slow growth rather than brown tips. If no window gives bright, filtered light, a small LED grow light can fill the gap. Our guide to air plants under grow lights covers distance, hours and warning signs.
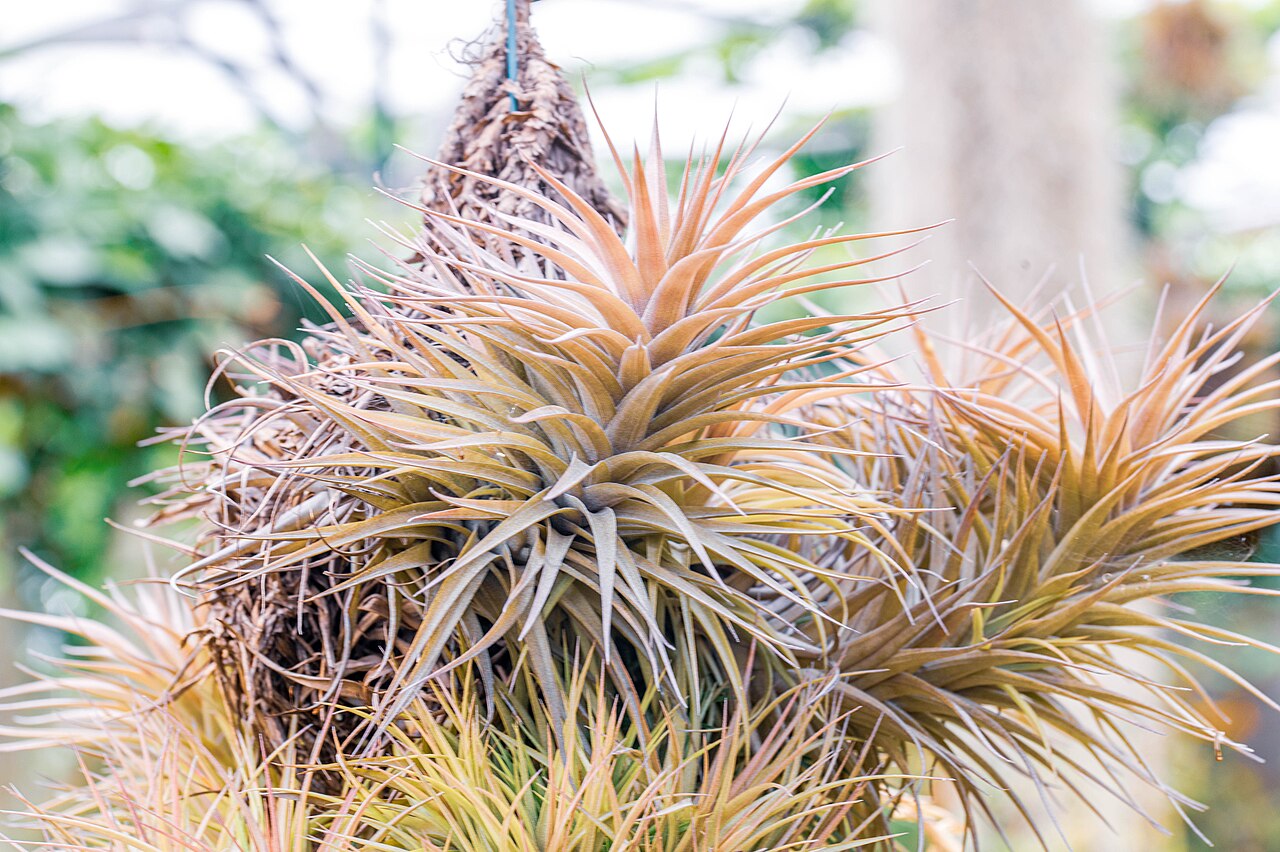
Also remember the life cycle. UF and Clemson both note that the mother plant slowly dies after it flowers while new pups grow from its base. A plant that bloomed this year and is now browning from the outside in may simply be finishing its life. Check for pups before you assume something went wrong; our guide to air plant pups explains when to leave them attached.
Troubleshooting at a Glance
| Crispy tips, curled leaves, misting only | Underwatered. Switch to a weekly soak or a drenching rinse. |
| Tips browning since the heat came on | Dry, moving air. Move it away from vents and water a little more often. |
| Dark, soft base, plant kept in a cup or globe | Rot from trapped water. Dry fully, change the display, drain upside down. |
| Center leaves fall out | Advanced rot. Save any healthy pups and discard the rest. |
| Bleached patches on one side | Sun scorch. Move to bright, filtered light. |
| Only the bottom leaves are dry | Normal aging. Trim them off. |
| Bloomed recently, now fading | Natural decline after flowering. Look for pups. |
What to Do Right Now
If it’s tip browning: give the plant a thorough soak. Shake it, then let it dry upside down in an airy spot. Going forward, water fully once a week and more often during heating season. You can snip crispy tips at an angle with clean scissors for looks. The brown tissue won’t turn green again.
If it’s early rot (soft spot at the base, center still firm): stop watering until the plant is completely dry. Peel off any soft outer leaves. Keep it upside down or on its side in a bright, airy place for a day or two. When you resume watering, soak briefly, shake hard and dry upside down every time.
If it’s advanced rot (center leaves pull free): the main rosette usually can’t be saved. Look for healthy pups at the base and separate any that are firm and green. Then give them a fresh start with careful drying.
If it’s sun or aging: move the plant to bright, filtered light, trim the dead material, and keep up normal care.
A Season-by-Season Plan
- Spring: resume a steady weekly soak as growth picks up. Check that display containers are dry and open.
- Summer: outdoor plants in light shade may need water more often in heat. Drain them well after rain or watering.
- Fall: before the heat comes on, move plants away from vents. Watch the tips for the first signs of drying.
- Winter: indoor air is driest now. Water thoroughly, but always shake and dry upside down so the center doesn’t stay wet in cool rooms.
Want a native relative instead? Spanish moss (Tillandsia usneoides) is a Tillandsia native to the southeastern U.S. Our Spanish moss care guide explains how to grow it, and our bromeliad guide introduces the wider family.
Frequently Asked Questions
Should I cut the brown tips off my air plant?
You can, for appearance. Use clean scissors and cut at an angle to keep a natural point. Trimming won’t fix the cause, so adjust watering or air movement too.
Can an air plant recover from rot?
If only a few outer leaves are soft and the center is firm, it often can with full drying and better watering habits. If the center leaves pull out, the main plant is usually lost, but healthy pups can be saved.
Is misting enough for air plants?
Usually not indoors. The University of Wisconsin notes that misting isn’t adequate in the dry air of most homes. Clemson and UF recommend a thorough weekly misting to runoff or a 20 to 30 minute soak.
Why is my air plant brown at the bottom but fine on top?
Check whether the brown leaves are dry and papery or soft and dark. Dry outer leaves are normal turnover. Soft, dark tissue at the base points to rot from water trapped in the center.
How do I prevent rot after soaking?
Shake the plant gently, then let it dry upside down in a spot with good air movement before putting it back in its holder. Clemson and NC State both recommend this step.
Sources
- Clemson Cooperative Extension Home & Garden Information Center, Air Plants (HGIC 1515): weekly misting or 20–30 minute soak, shaking and upside-down drying to prevent rot, signs of underwatering, air circulation, flowering and pups.
- Clemson Cooperative Extension Home & Garden Information Center, Bromeliads: soft green vs. silvery tillandsias and their light and water needs.
- University of Florida IFAS Gardening Solutions, Air Plant – Tillandsia: bright indirect light, weekly misting to runoff, curled leaves as dehydration, mounts that don’t hold water.
- University of Wisconsin–Madison Extension, Wisconsin Horticulture, Bromeliads: Tillandsia dehydration in home air, misting not adequate, dry air and leaf-tip dieback, light acclimation.
- North Carolina Extension Gardener Plant Toolbox, Tillandsia xerographica and Tillandsia: drying upside down to prevent crown rot, HVAC effects on humidity, common problems.
- Wikipedia, Tillandsia: trichomes, holdfast roots and habitat.