Common Milkweed Spreading Beyond the Bed: A Boundary Maintenance Guide
Last updated: November 6, 2026
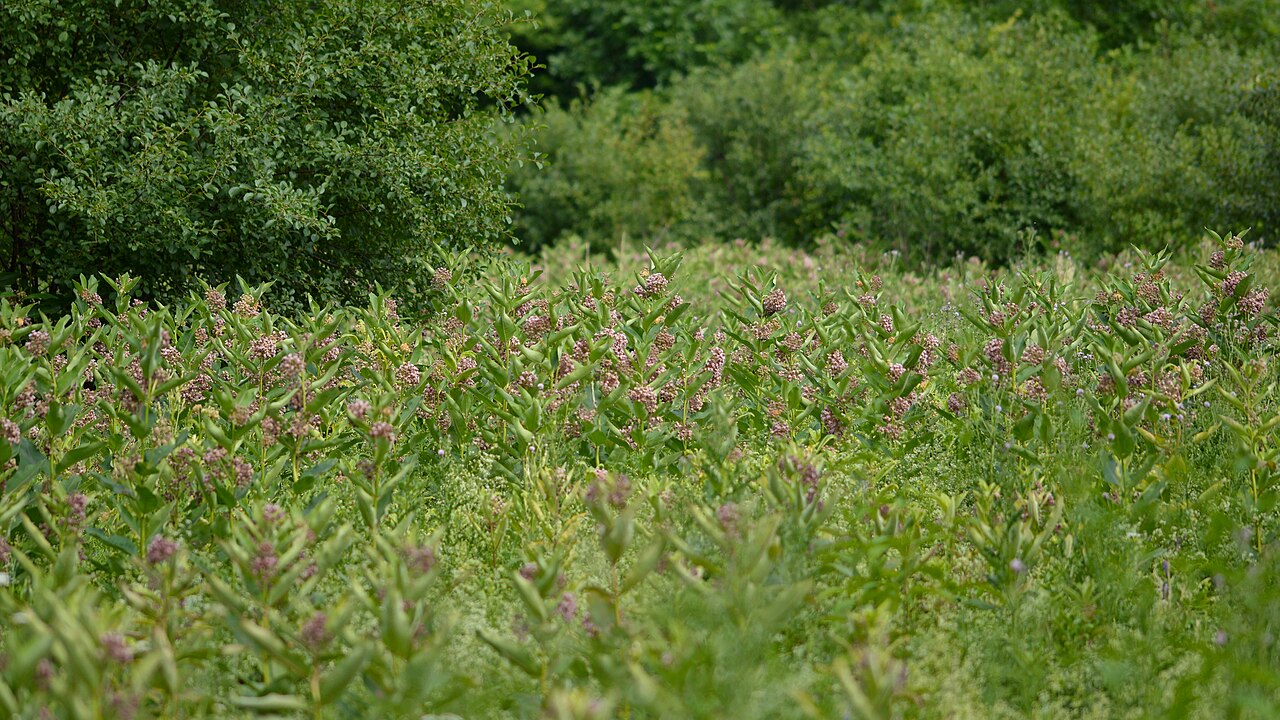
A few years ago you planted common milkweed for the monarchs. Now it’s coming up in the path, under the neighboring shrubs, and in the lawn.
That’s not a sign you did something wrong. Spreading is how this plant lives, and it’s a big reason it supports so many monarchs. But you can still decide where it lives in your yard.
This guide explains how common milkweed travels, then walks you through a boundary routine that keeps the patch where you want it without spraying or giving up on the plant.
The Short Answer
Common milkweed (Asclepias syriaca) spreads mainly by thick underground roots that send up new shoots, and secondarily by wind-blown seed. To keep it in bounds:
- Pick a firm boundary and accept the patch inside it.
- Install a deep edge where the patch meets paths, lawn, or other beds.
- Remove escaped shoots again and again through the season. One pull won’t do it.
- Mow regularly along any lawn edge.
- Manage pods before they split if you don’t want seedlings.
- Check for monarch eggs and caterpillars before removing any stem.
How Common Milkweed Spreads
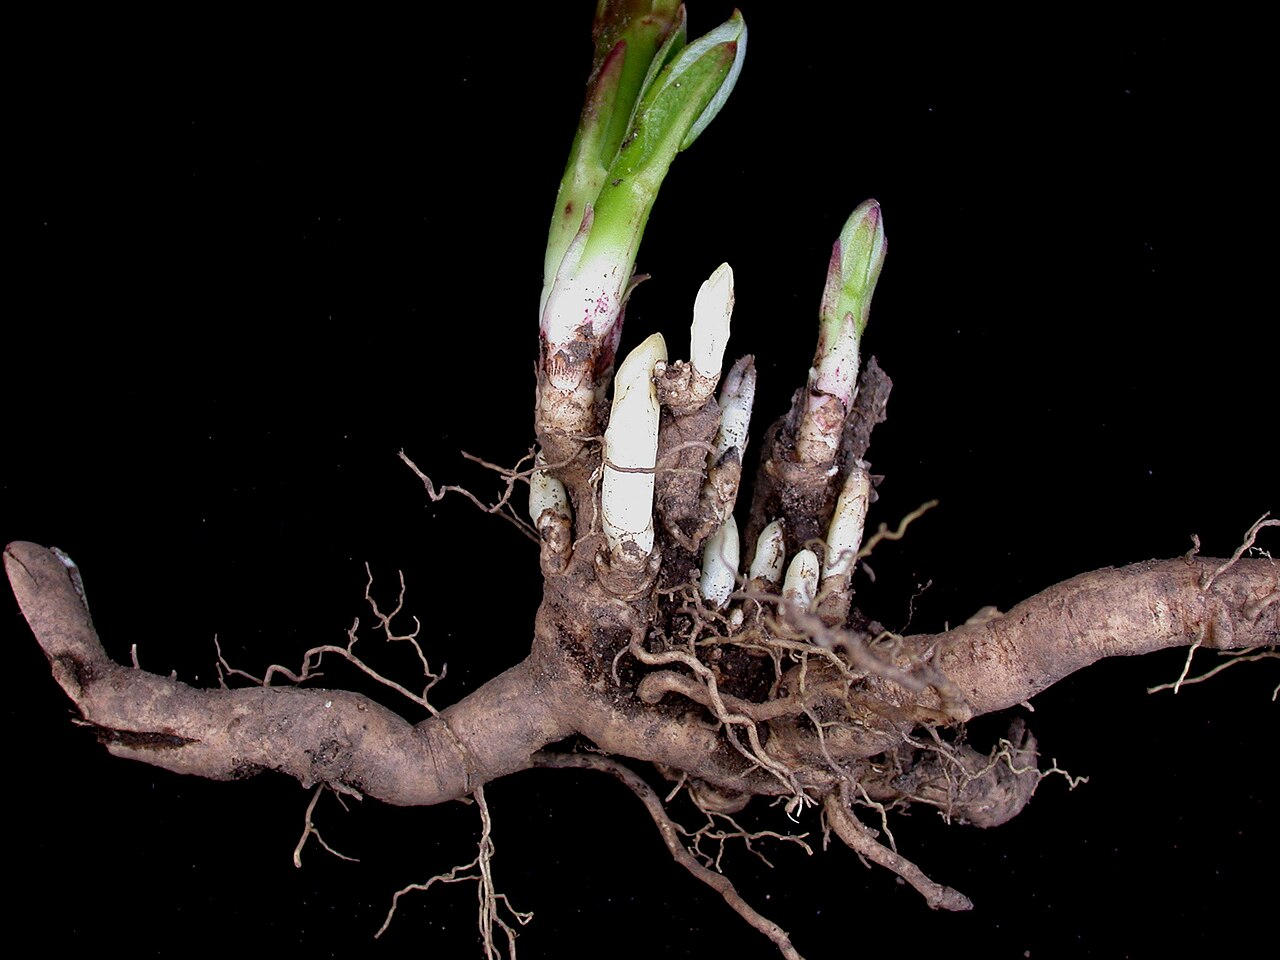
Below ground, a mature plant has a large system of thick, white, horizontal storage roots. Cornell’s weed science profile notes that in deep, well-drained soil, roots can reach 8 feet down.
Those horizontal roots carry buds that sprout into new stems. According to SARE’s Manage Weeds on Your Farm, root growth can spread a colony up to 10 feet per year, and root pieces as small as an inch can produce shoots.
The same source notes that vegetative spread usually starts in the plant’s second or third year. That’s why a well-behaved first-year planting can seem to “suddenly” take off.
Spreading Facts That Shape Your Plan
| Where new shoots come from | Mostly from roots in the top 12 inches of soil, though some can emerge from much deeper. |
| How fast it can move | Up to 10 feet per year by root growth. |
| Regrowth after cutting | Strong. Even young plants resprout when clipped at ground level. |
| Weakest point | Root reserves are lowest in mid to late summer. |
| Seed | Wind-borne. Pods can hold seed into late winter. |
The USDA Forest Service advises establishing common milkweed only where its spread can be tolerated. If you already have it in a tight spot, the steps below help you live with it.
Step 1: Decide Where the Patch Is Allowed
Walk the yard and mark the area where milkweed is welcome. Use stakes, flags, or a garden hose laid on the ground.
Make the zone bigger than the current patch, not smaller. A boundary that fights the plant’s natural size is a boundary you’ll lose. Good spots are sunny areas that adjoin something easy to mow or edge, like a lawn or a path.
Then mark the problem edges: places where the patch meets shrubs, perennial beds, vegetable gardens, a fence line, or a neighbor’s yard. Those edges get the most attention.
Step 2: Install a Deep Edge Where It Matters
A shallow decorative edge won’t stop roots. Because most shoots come from roots in the top foot of soil, a solid barrier sunk about a foot deep intercepts the zone that produces most escapes.
Be realistic, though. Some roots run deeper and can pass beneath, so treat a barrier as a way to cut down on escapes, not end them.
- Where the patch meets a path: a deep edging strip plus a hard path surface makes stray shoots easy to spot and remove.
- Where it meets another bed: sink a barrier along the full length of the shared edge, with the top just above soil level.
- Where it meets lawn: a mowing strip of bricks or pavers set flush with the soil lets the mower cut right to the edge. Our guide to edging a garden with bricks walks through the installation.
Dig the trench carefully. Cutting through roots is fine, but every chopped piece left in loose soil outside the boundary can sprout, so remove the pieces as you go.
Step 3: Remove Escaped Shoots, Then Keep Removing Them
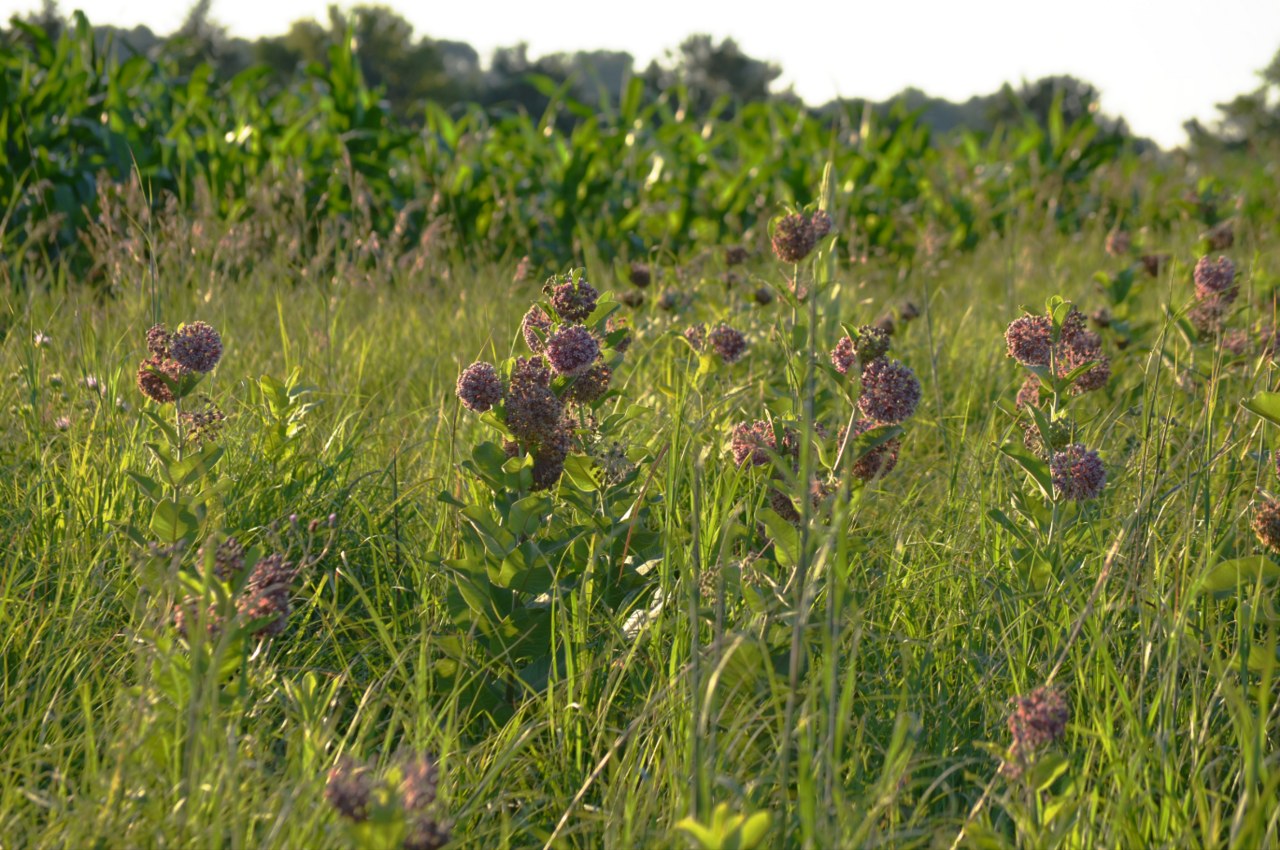
This is the core of boundary maintenance, and persistence is what makes it work.
Cut or pull each escaped shoot at or just below the soil surface. Wear gloves, since the milky sap is sticky and can irritate skin, and keep it away from your eyes.
Don’t expect one round to finish the job. SARE notes that plants past the four-leaf stage resprout fully, often with multiple shoots, when clipped at ground level. What works is repeated removal that keeps cutting new shoots before they can send energy back to the roots.
Timing helps. Cornell and SARE both report that root energy reserves bottom out from about July through September. Staying on top of shoots through midsummer drains the escaped roots faster than spring-only weeding.
Avoid tilling or digging up a large area to get rid of runners. Root fragments as small as an inch can resprout, so chopping roots into pieces can multiply the problem.
Step 4: Use Mowing and Competition at the Edges
Lawn is one of the best boundaries you can have. SARE notes that frequent mowing, as in alfalfa hay fields, reduces common milkweed’s vigor, while a single mowing per year doesn’t help.
Regular lawn mowing along the patch edge works the same way. Shoots that pop up in the turf get cut again and again until the roots give up.
Dense neighbors help too. SARE reports that shade from a dense leaf canopy substantially reduced common milkweed’s root reproduction. A thick planting of sturdy perennials or grasses beside the patch leaves stray shoots less room and light.
Step 5: Manage the Seed Pods
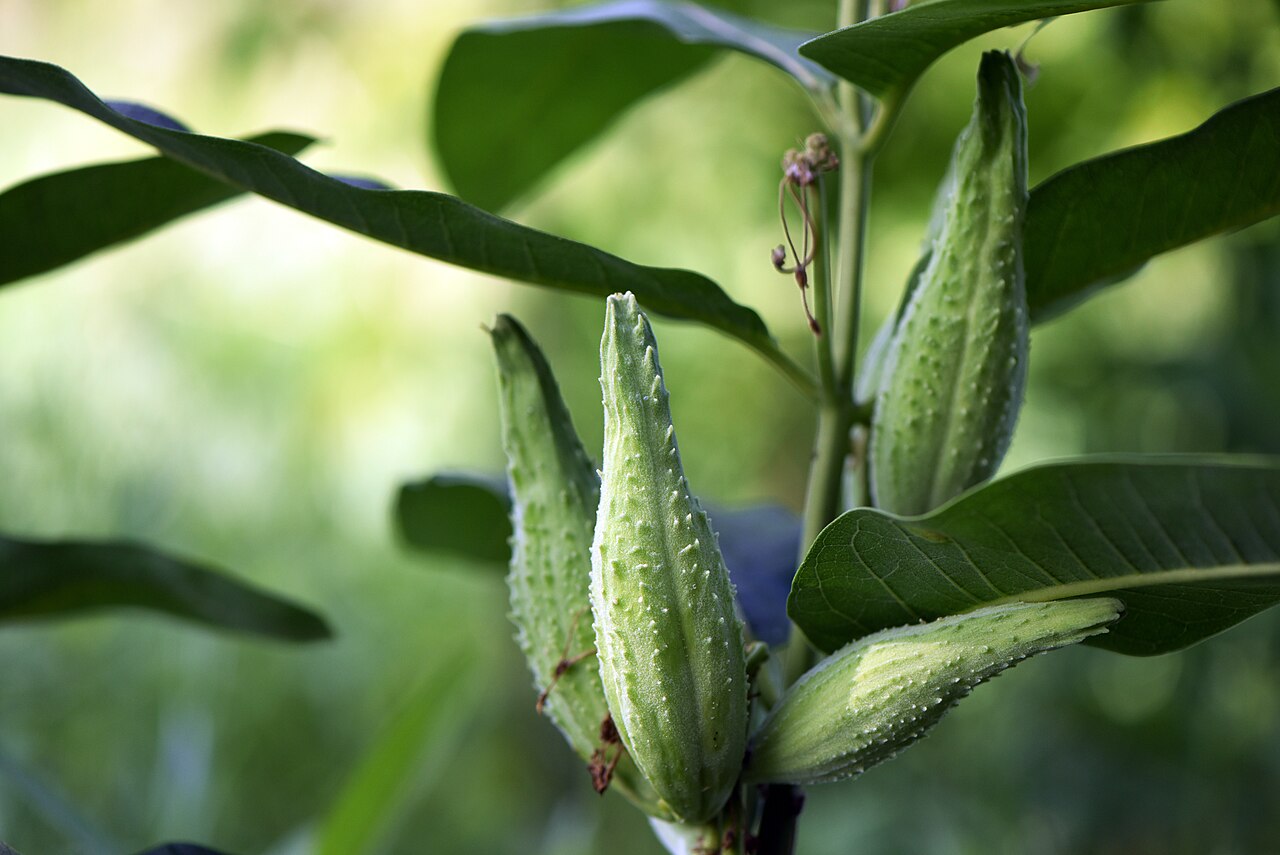
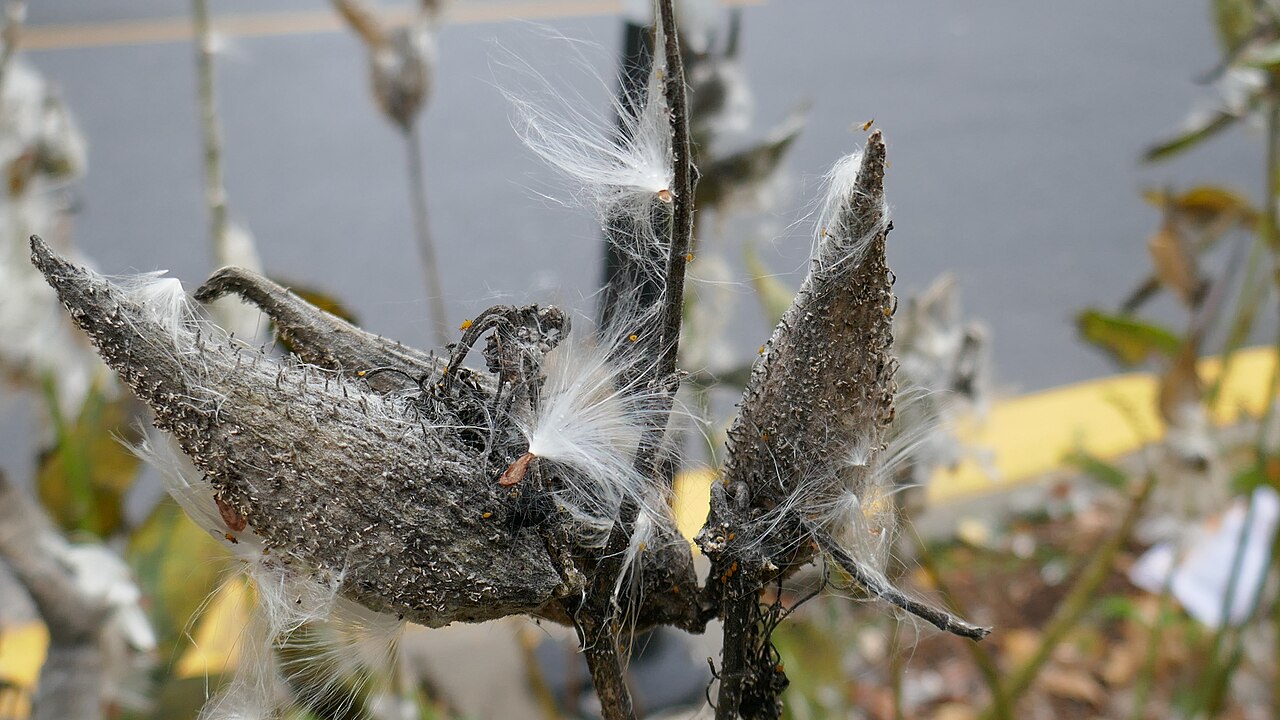
Roots do most of the spreading, but seeds start brand-new patches elsewhere. SARE notes that a stalk typically produces four to six pods with 100 to 425 seeds each, and seeds can cling to open pods for months.
If seedlings are a problem, you have two options:
- Remove pods while green, before they turn tan and split.
- Bag ripening pods with a mesh bag or rubber band so the seed doesn’t blow away, then collect it to share or sow where you want more milkweed.
Leaving some pods is fine if your yard has room. Just remember that the fluff carries seeds well beyond your boundary.
Step 6: Check for Monarchs Before You Cut
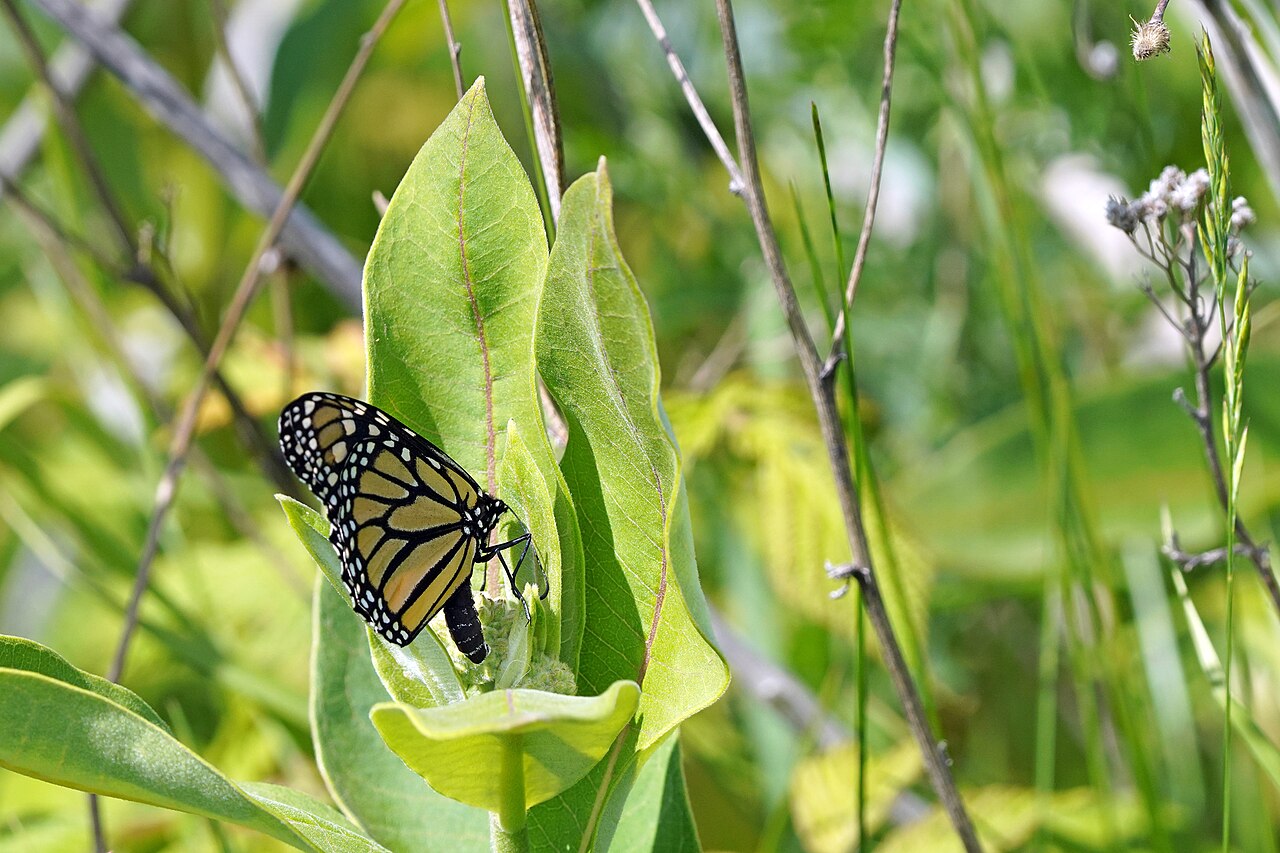
The shoots you’re removing are often the ones monarchs like best. Wikipedia’s common milkweed account notes that monarch females prefer young, quickly growing shoots with tender foliage for laying eggs.
Before removing any stem from late spring through fall, turn over the top leaves and look for tiny cream-colored eggs and small caterpillars. If you find them, either leave that stem until they’ve moved on or snip the leaf and place it on a milkweed inside your boundary.
Not sure what’s on the leaves? Our guide to identifying what’s eating milkweed leaves covers monarchs and the other common visitors.
Quick Reference
| Shoots in the lawn | Keep mowing regularly. Add a mowing strip at the bed edge. |
| Shoots in a neighboring bed | Cut repeatedly at soil level. Install a deep barrier along the shared edge. |
| Shoots in a path or patio crack | Pull or cut as they appear. Easy to spot, easy to manage. |
| Seedlings appearing far away | Remove or bag pods before they split. |
| Patch crossing into the neighbor’s yard | Talk first, then barrier and repeat cutting on your side. |
| Eggs or caterpillars on a stray shoot | Leave it for now or move the leaf inside the boundary. |
Is Common Milkweed Right for This Spot?
Sometimes the honest answer is no. NC State Extension notes that common milkweed naturalizes and takes up quite a bit of space, and that its wild, rangy form isn’t ideal for borders.
Keep it if you have a sunny meadow corner, a strip along a fence, or a lawn edge you mow anyway. Those are spots where its spread is a feature.
Consider a different milkweed if the patch is squeezed into a small formal bed. Butterfly weed grows from a deep taproot and spreads mainly by seed. Swamp milkweed forms a clump and, according to Monarch Watch, is slow to spread by seed. Both still host monarchs.
If you decide to move it: relocating is hard because of the deep roots, and leftover pieces will resprout. Expect to keep cutting shoots in the old spot for a season or more. Root cuttings dug in early spring can start a new patch where you want one, as our guide to propagating milkweed describes.
Avoid broad herbicide use around a milkweed patch. Anything that kills an escaped shoot can also harm the plants and insects you’re trying to keep, and runoff or drift can reach the main patch. If you’re considering any chemical control, ask your county Extension office first.
A Season-by-Season Boundary Plan
- Early spring: walk the boundary and repair edging. Shoots usually don’t appear until after the last frost, so this is the easiest time for construction.
- Late spring: first shoots appear. Start cutting escapes, checking for monarch eggs first.
- Summer: keep cutting every week or two. Mow lawn edges on schedule. Mid to late summer removal hits the roots when reserves are lowest.
- Late summer: remove or bag pods if you don’t want seedlings.
- Fall: mark the boundary for next year. Leave stems inside the patch standing for winter interest and as markers, as noted in our guide to milkweed not returning in spring.
If the boundary area includes a wet corner where milkweed struggles, our guide to swamp milkweed wilting in damp soil can help you pick the right species. For starting new plants indoors, see milkweed seedlings stretching indoors.
📋 More on this plant: read the full Common Milkweed (Asclepias syriaca) profile, or see it in our native plant list for New Hampshire, Maine & Vermont.
Frequently Asked Questions
How fast does common milkweed spread?
Root growth can spread a colony up to 10 feet per year, according to SARE. Spreading by roots usually begins in the plant’s second or third year.
How deep should a root barrier be for common milkweed?
Most new shoots come from roots in the top 12 inches of soil, so a barrier about a foot deep intercepts most of them. Some roots go deeper, so expect occasional escapes and keep cutting them.
Will pulling milkweed shoots kill the roots?
Not after a single pull. Common milkweed resprouts strongly. Repeated cutting through the growing season, especially in mid to late summer, gradually exhausts the escaped roots.
Does mowing control common milkweed?
Frequent mowing reduces its vigor, while mowing once a year doesn’t. That’s why a regularly mown lawn edge makes a good boundary.
Can I stop common milkweed from spreading by seed?
Yes. Remove pods while they’re green, or bag ripening pods and collect the seed before it blows away.
Sources
- SARE, Manage Weeds on Your Farm, Common milkweed: emergence depth, spread rate, resprouting, root reserves, mowing, shade, and seed production.
- Cornell University Weed Science, Common milkweed weed profile: root system, depth, and management timing.
- USDA Forest Service, Plant of the Week: Common Milkweed: rhizomes, colony formation, and siting advice.
- North Carolina Extension Gardener Plant Toolbox, Asclepias syriaca: naturalizing habit and garden use.
- Wikipedia, Asclepias syriaca: spread from propagative roots and monarch preference for young shoots.
- Monarch Watch, Asclepias incarnata profile: swamp milkweed’s slow spread.