Watering Winterberry After Planting: Checking Moisture Below the Mulch
Last updated: November 6, 2026
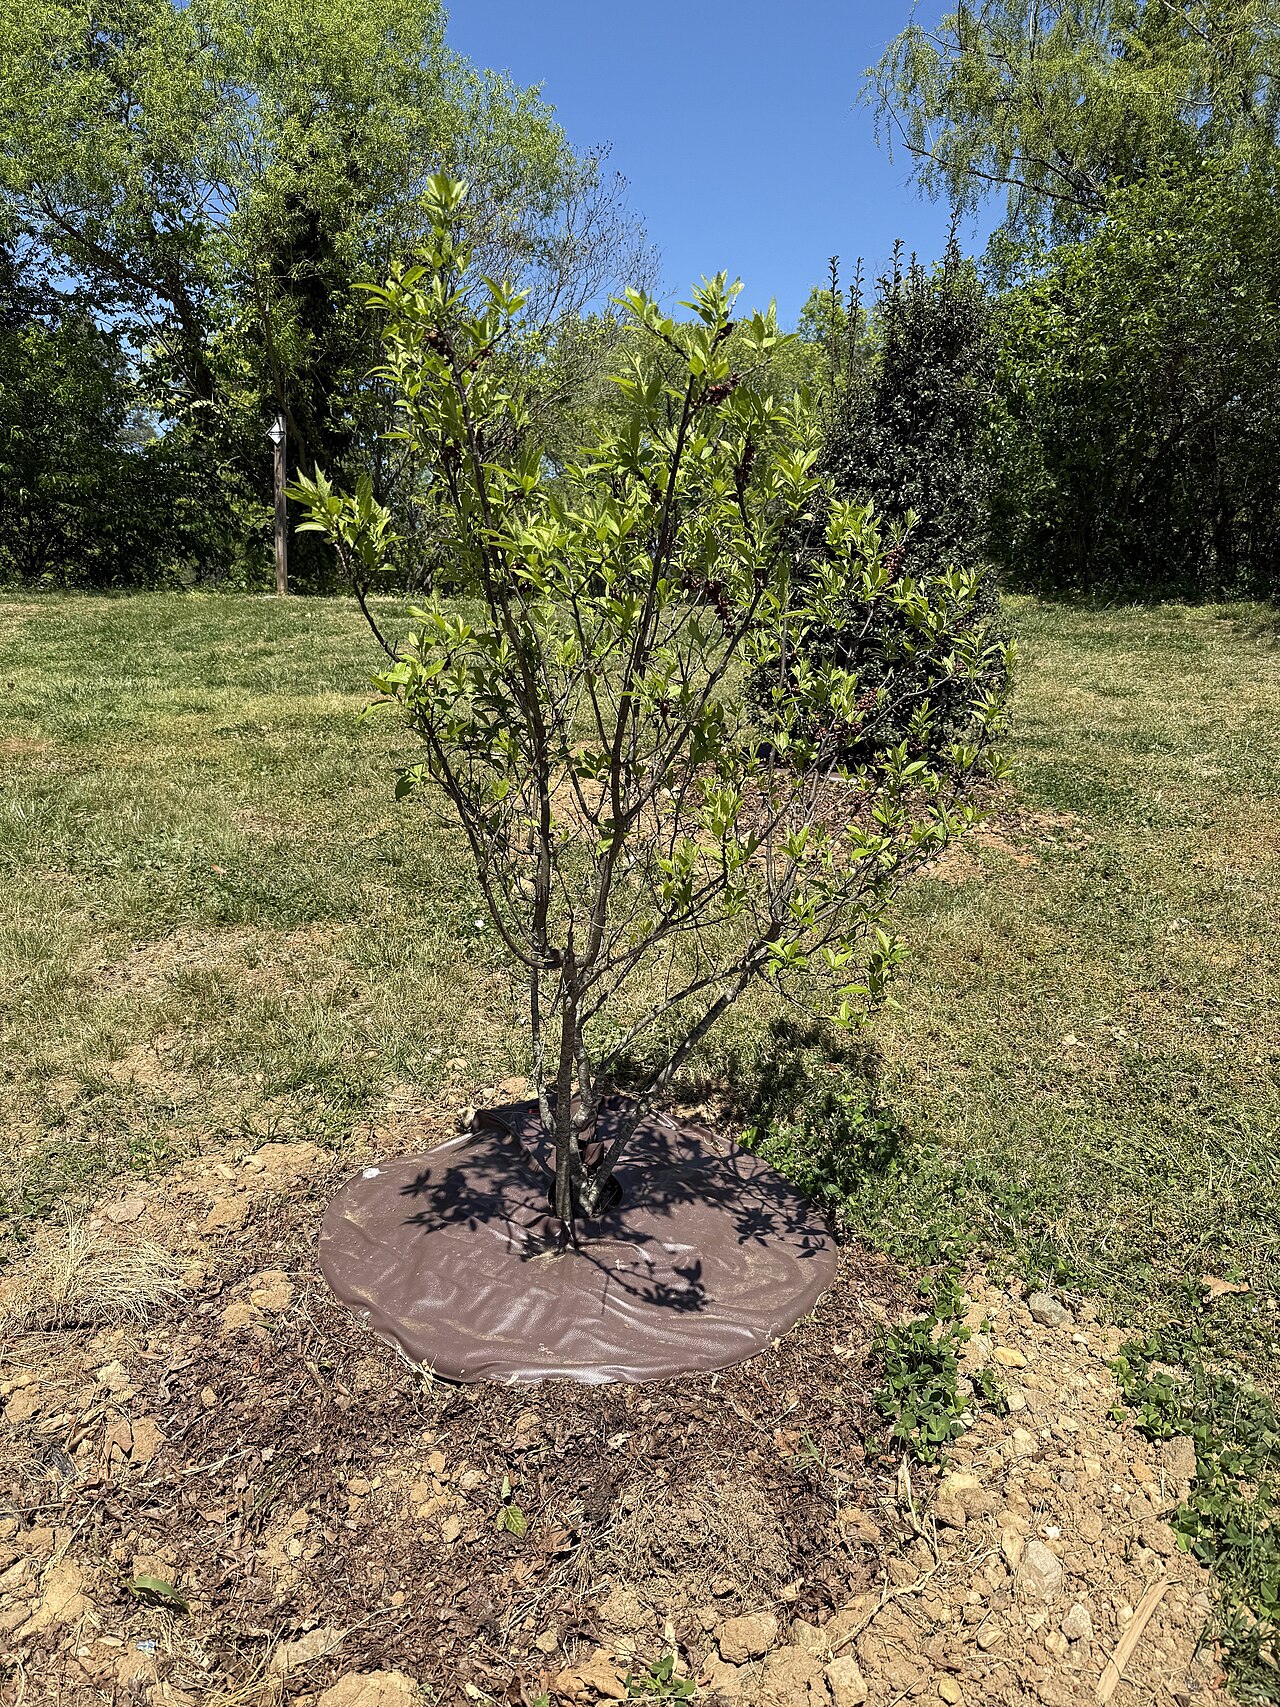
Winterberry holly grows wild in swamps and along pond edges, so it’s easy to assume a new one needs lots of water. It does like steady moisture. But a new shrub can drown just as easily as it can dry out, and the mulch on top often hides which one is happening.
The fix isn’t a fixed schedule. It’s a habit: checking the soil below the mulch, in the root ball itself, before you turn on the hose.
This guide shows where to check, how deep to dig, and how much water to give at each stage of the first two years.
The Short Answer
- Check, don’t guess. Pull the mulch aside and test the soil 5 to 6 inches down, both in the root ball and just outside it.
- The root ball dries first. It can be dry while the surrounding soil and mulch feel damp.
- Water slowly and deeply over the root ball when it’s dry, then let it drain.
- Typical rhythm: very frequent checks for the first two weeks, then every few days, then weekly through the first two growing seasons.
- Keep mulch 2 to 3 inches deep and off the stems.
- Don’t stop in fall. Keep checking until the ground freezes.
Why New Winterberry Needs Careful Watering
Winterberry is native to wetlands across eastern North America. The Lady Bird Johnson Wildflower Center rates its water use as high and lists swamps, stream banks, and pond edges as native habitat. NC State Extension says it needs moist soil.
It is also sensitive to dry spells. NC State notes it may abort fruit set in dry soil. A University of Maryland Extension answer reports winterberries shedding leaves, flowers, and unripe berries when they get a bit too dry between waterings, often before they wilt.
For a new plant, the risk is concentrated in the root ball. Nursery roots stay inside it for months. UMass Extension points out that the root mass dries out faster than the backfilled soil around it.
That’s why a quick look at the surface, or even at the soil beside the plant, can mislead you.
Step 1: Find the Root Ball Under the Mulch
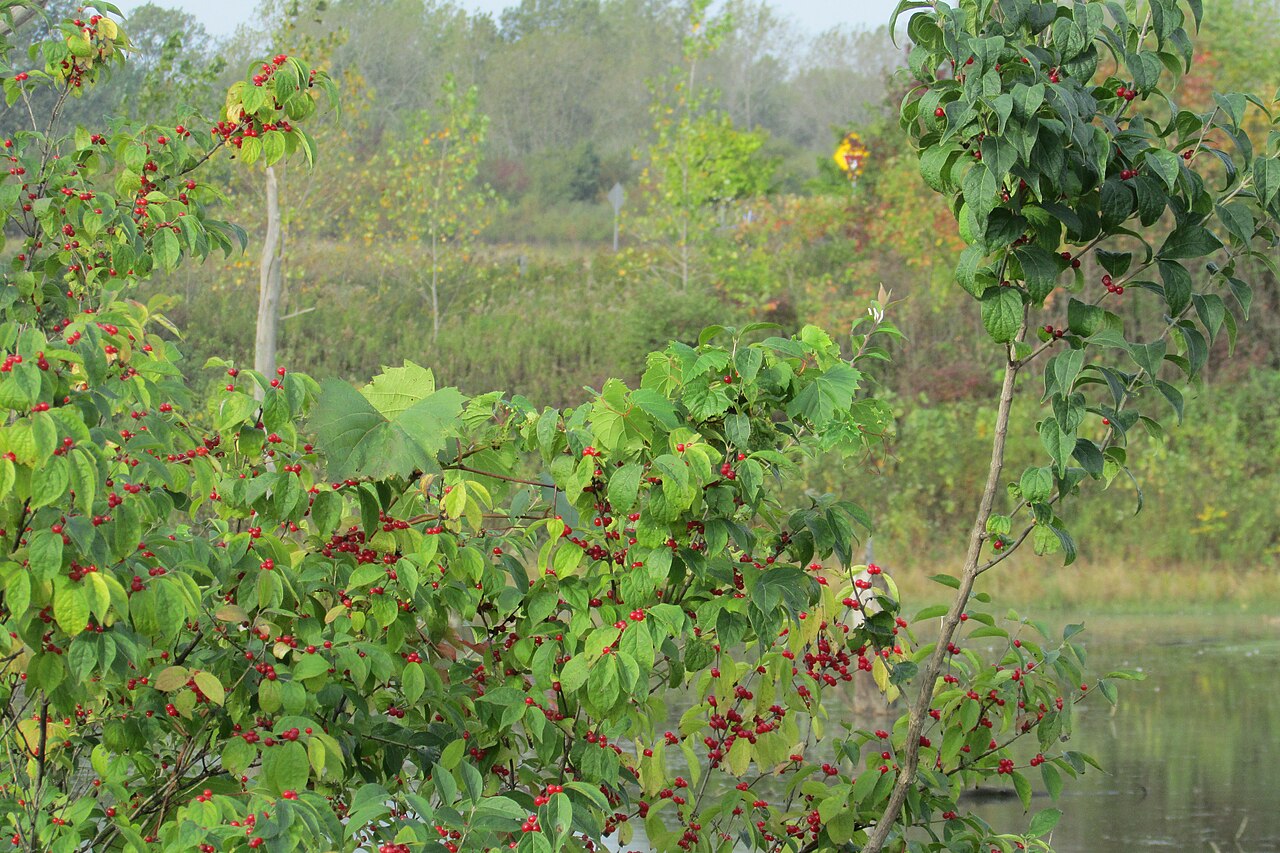
Mulch is good for new shrubs. It slows evaporation and moderates soil temperature. But it also hides what’s going on underneath.
Pull the mulch aside next to the main stems until you see soil. You’re looking for the edge of the original nursery root ball, usually a different color or texture from the surrounding garden soil.
Container plants are often grown in a light, bark-based potting mix. As general practice, expect that mix to dry faster than heavier garden soil, and check it separately.
Step 2: Test Moisture at Root Depth
University of Maryland Extension recommends checking soil 6 inches down with a trowel, hand shovel, or screwdriver. The Maryland winterberry answer suggests about five inches next to the roots. UMass Extension recommends probing gently to 12 inches with a spade.
Test in two places:
- Inside the root ball, a few inches from the stems.
- Just outside it, in the backfill, where new roots need to grow.
Squeeze a pinch of soil from each spot:
- Dry and crumbly: water now.
- Cool and damp, holds together loosely: wait and check again in a day or two.
- Wet and sticky, or water seeps out: skip watering. Roots need air as well as water.
Step 3: Water Slowly, Directly Over the Roots
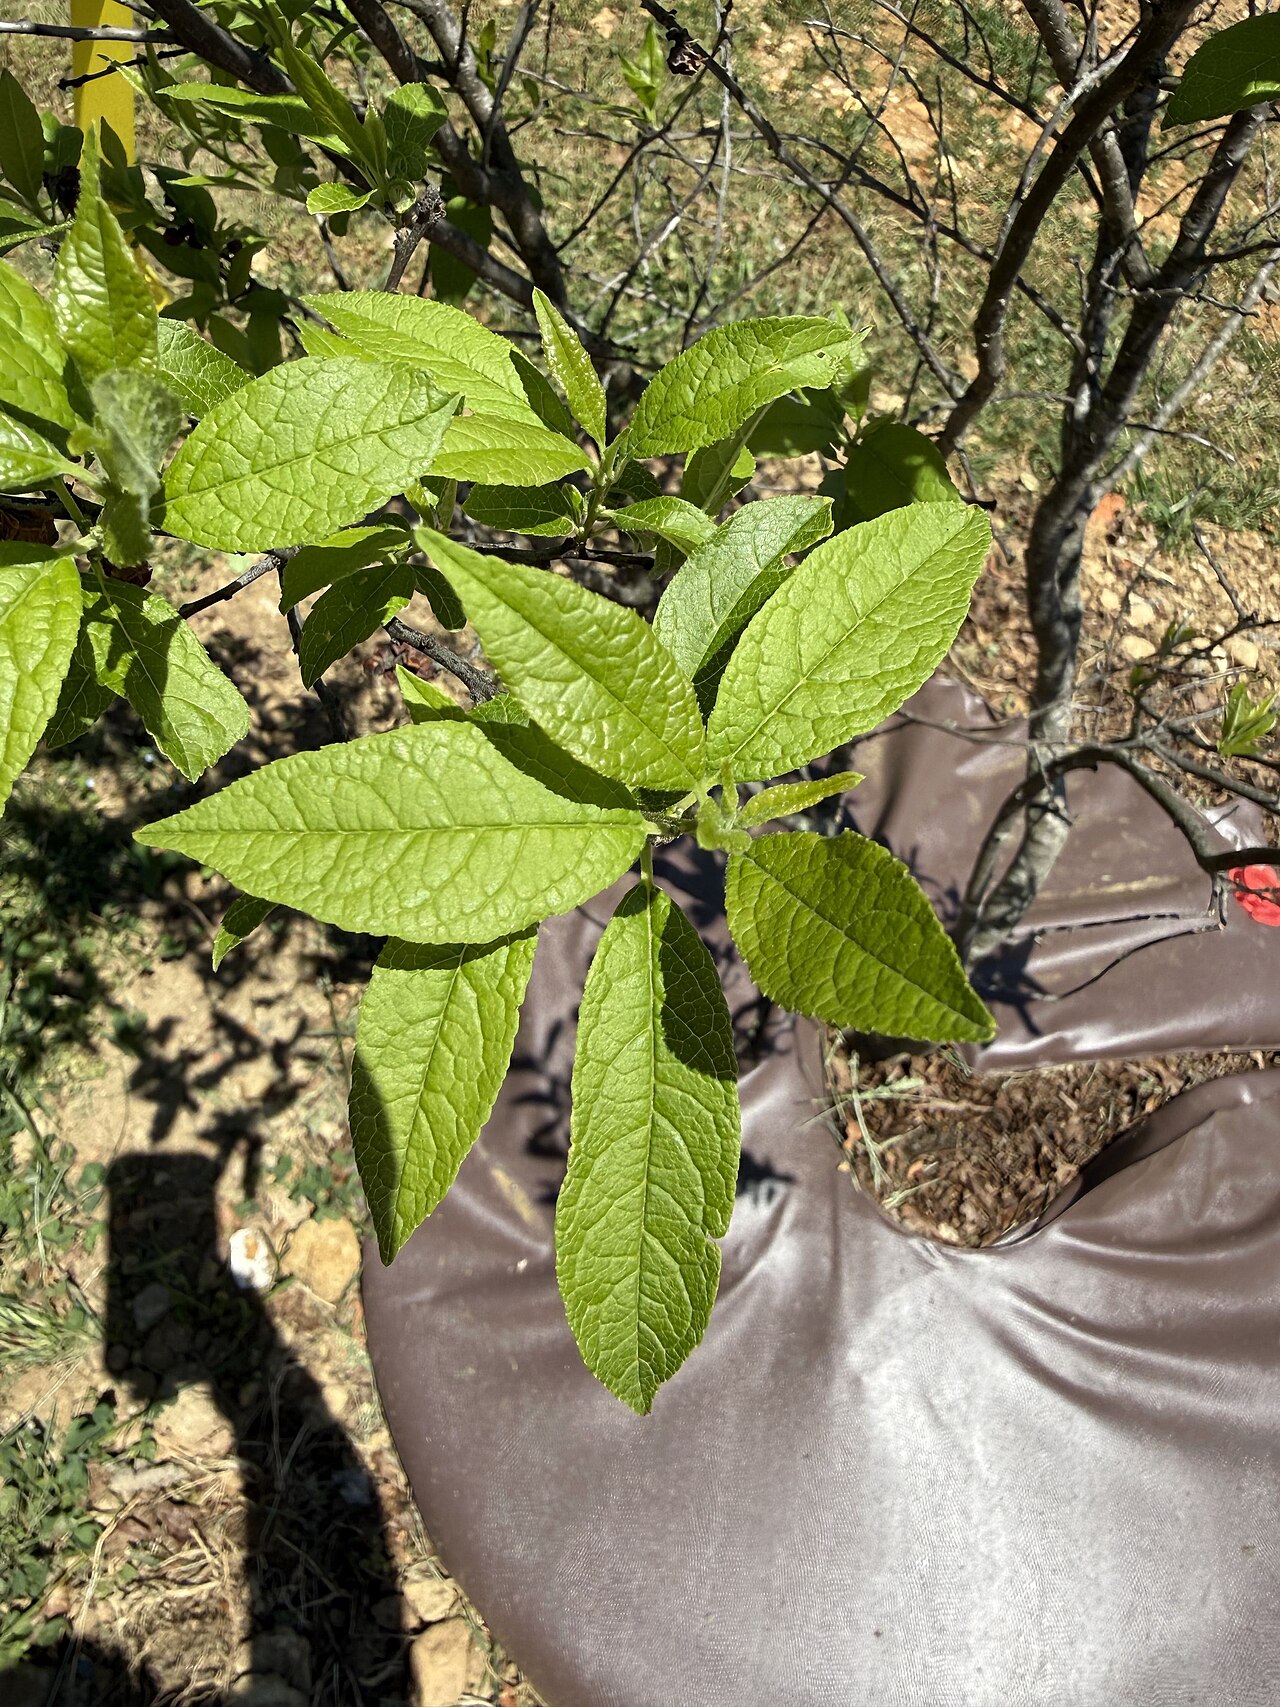
When the root ball is dry, apply water right over it at a slow trickle so it soaks in instead of running off. University of Minnesota Extension suggests making a low ring of soil, 3 to 4 inches high, at the edge of the root zone to hold the water while it seeps in.
Also wet the backfill around the root ball. Minnesota Extension notes that keeping the backfill moist encourages roots to grow out into it.
How much? Sources give different starting points:
- University of Minnesota Extension: for new shrubs, apply one quarter to one third of the volume of the nursery container at each watering, increasing as roots spread.
- UMass Extension: about 10 gallons applied twice a week will wet a 20 to 24 inch root ball, equal to about 1 inch of rain.
Either way, the test is what happens underground. Maryland Extension suggests waiting about four hours, then checking moisture at 6 inches in several spots to confirm the water reached the roots.
Step 4: Follow a Schedule, Then Adjust It
A schedule gives you a reminder to check, not permission to skip checking. University of Minnesota Extension gives this rhythm for new trees and shrubs:
First-Year Watering Rhythm (University of Minnesota Extension)
| Weeks 1 – 2 | Water daily. |
| Weeks 3 – 12 | Water every 2 to 3 days. |
| After 12 weeks | Water weekly until roots are established. |
| Rain | Only skip a watering after substantial rain, such as over an inch in a day. |
Maryland Extension takes a check-first approach instead: check daily for the first two weeks and water if the top 6 inches feel dry, then check at least weekly for the first two years. UMass Extension adds that if less than an inch of rain has fallen in 5 to 7 days, new plantings need water.
Those intervals assume ordinary garden soil. Clay holds water much longer; sand drains fast. Maryland Extension suggests observing how quickly your soil dries after rain and adjusting.
For winterberry, that means two common situations call for different habits:
- Rain garden or low, wet spot: check before every watering. The soil may already be soaked, and extra water only crowds out air.
- Ordinary or sandy bed: expect to water more often than the schedule in hot weather. This is the site where winterberry drops leaves and fruit.
Step 5: Get the Mulch Right
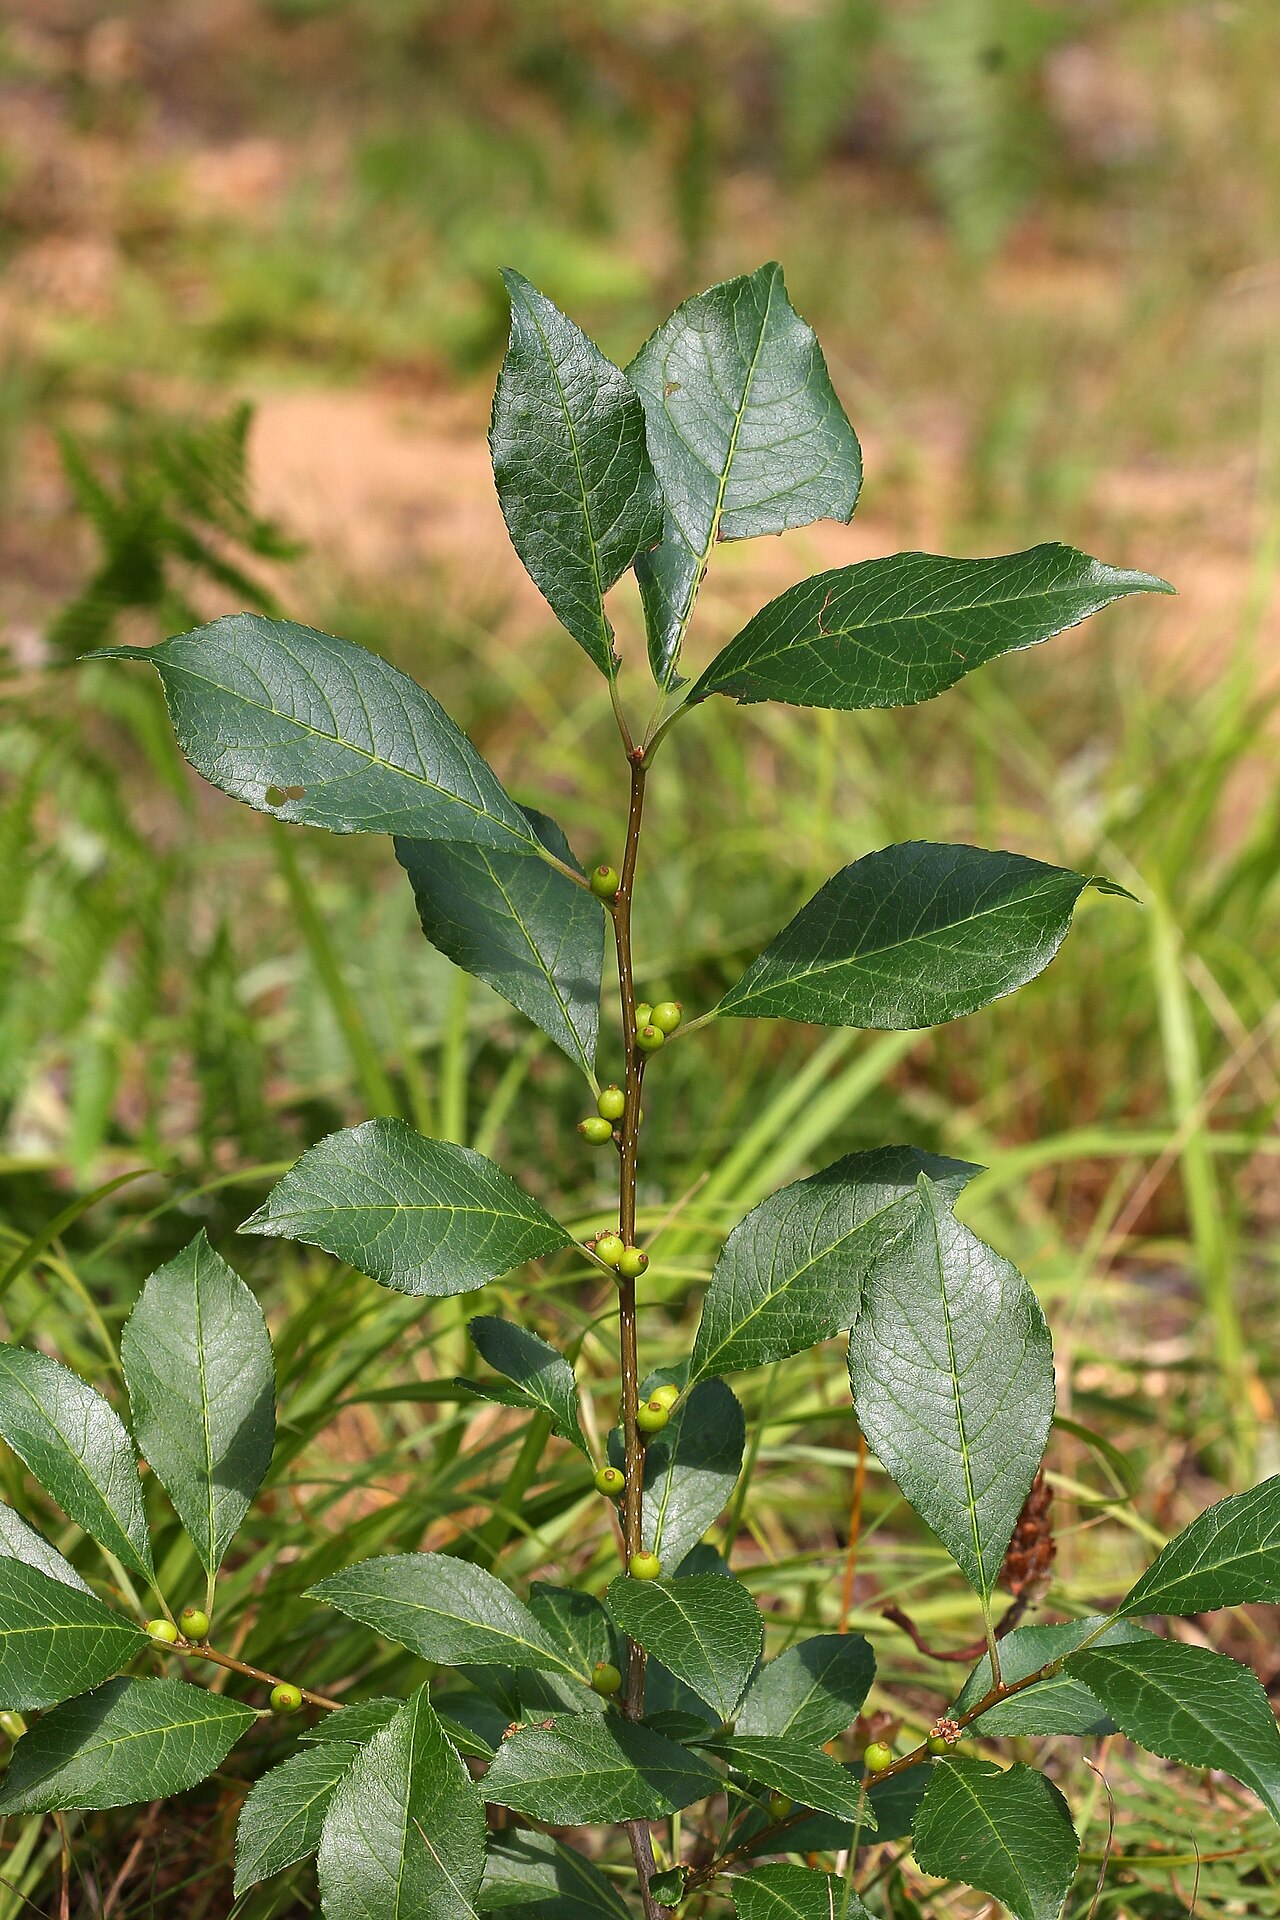
University of Minnesota Extension recommends a 3-inch layer of organic mulch, extending several feet beyond the shrub’s drip line. Maryland Extension suggests keeping it 2 to 3 inches thick. Leave the base of the stems bare.
Deeper isn’t better. Minnesota Extension warns that thick mulch can stop rain or irrigation from reaching the root zone, encourage roots to grow up into the mulch, and reduce oxygen around the roots. In poorly drained soil it can keep things too wet.
Clear grass away from the planting, too. Turf roots compete hard for water in the top few inches of soil. For more on materials and depth, see our guide to mulching native gardens.
Step 6: Keep Going Through Fall
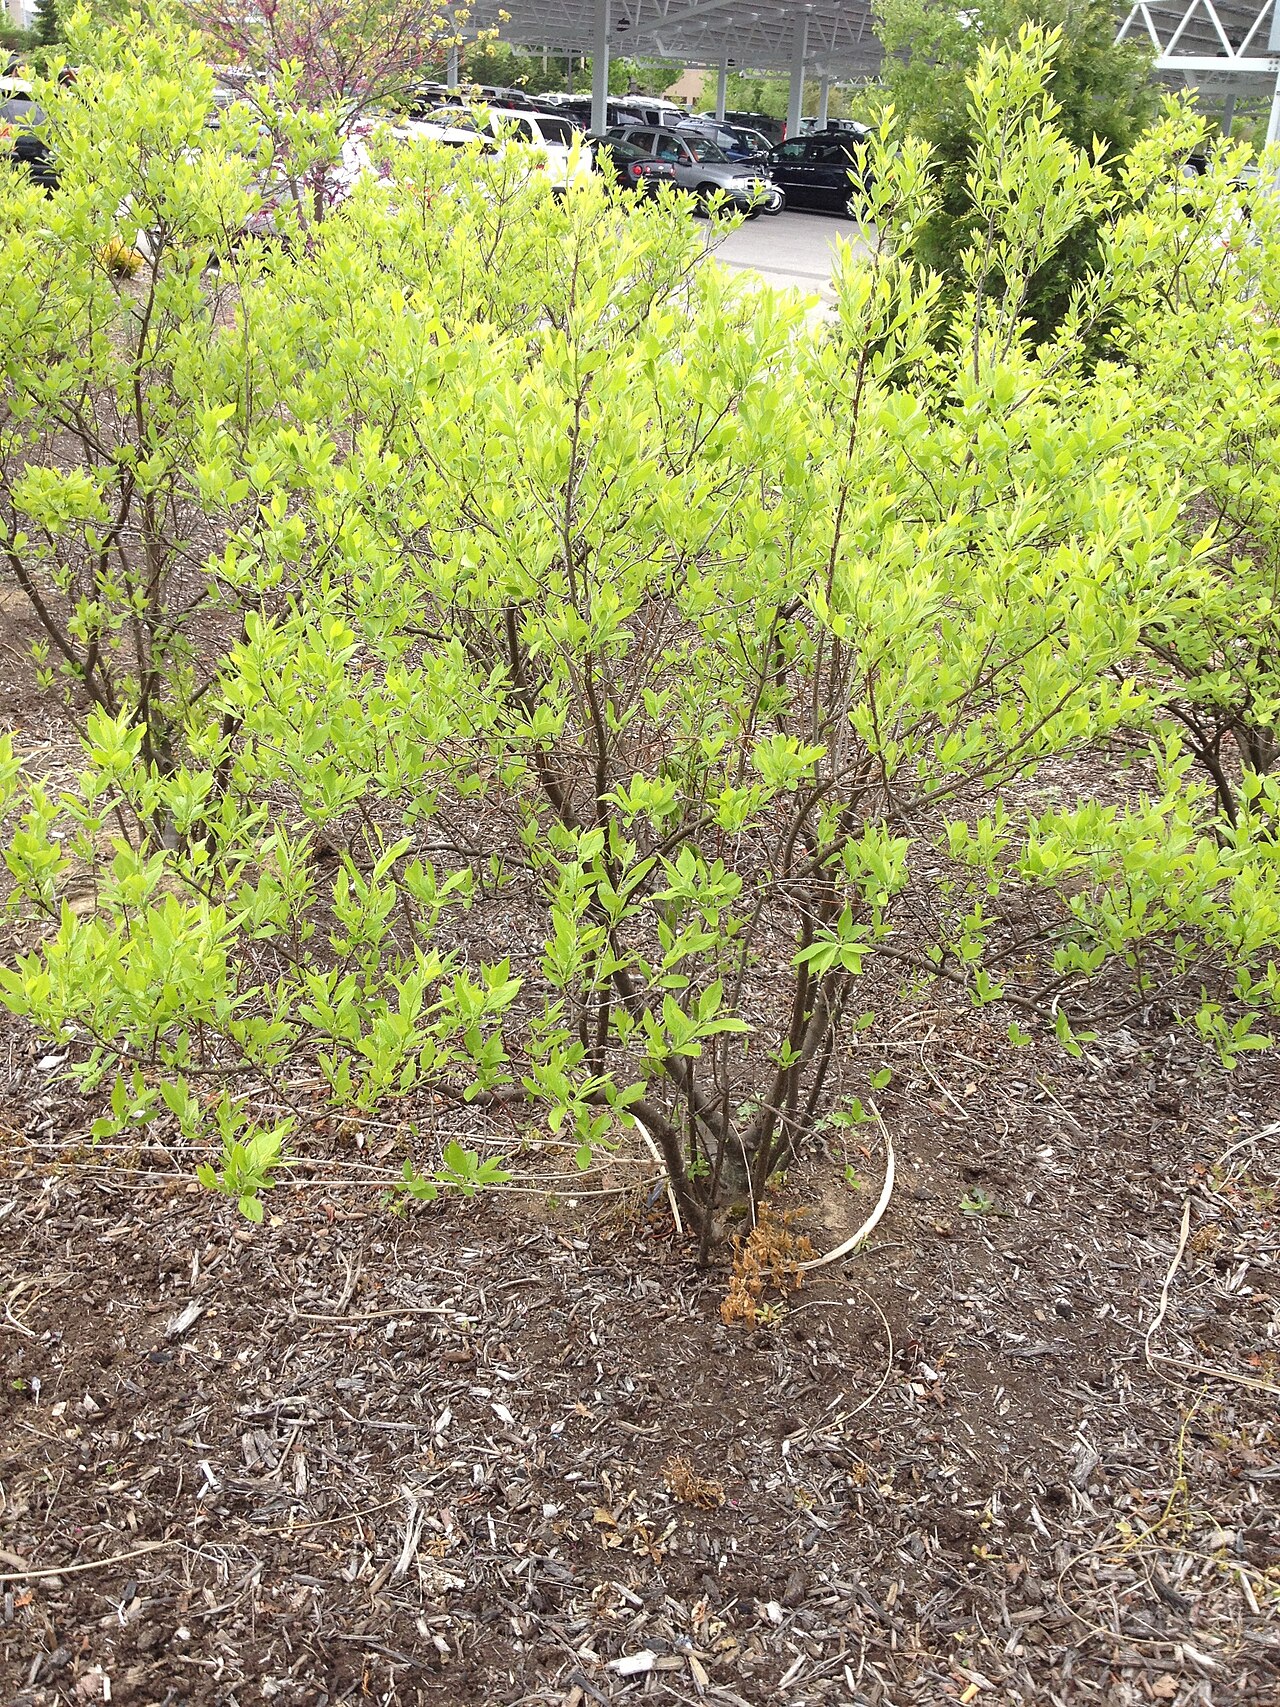
It’s tempting to stop watering once summer heat breaks. UMass Extension calls fall one of the most critical times to supplement rainfall, and recommends weekly watering as needed until the ground freezes.
Piedmont Master Gardeners suggest early autumn as the ideal time to plant winterberry, so roots can establish before winter. If you plant then, your watering routine starts in fall, not spring.
How Long Until It’s Established?
University of Minnesota Extension considers a shrub established when its roots spread as wide as its canopy. In Minnesota, that likely takes at least two growing seasons. Maryland Extension recommends weekly checks for the first two years.
After that, a winterberry in a reasonably moist site usually needs water only during real droughts. Piedmont Master Gardeners note that winterberry in a drier site may need watering periodically during hot, dry weather even when mature.
Quick Reference
| Root ball dry 5–6 in. down | Water slowly over the root ball and backfill. |
| Root ball damp, surface dry | Wait. Recheck in a day or two. |
| Water pooling or soil sticky | Skip watering. Check drainage and mulch depth. |
| Leaves yellowing or dropping in summer | Check moisture first; see the leaf-loss guide. |
| Green berries dropping | Likely dry soil during fruit set; see winterberry berries disappearing. |
| Fall, no rain for a week | Keep watering until the ground freezes. |
Mistakes to Avoid
- Judging by the surface. Mulch can feel damp while the root ball is dry.
- Light, frequent sprinkling. UMass and Maryland both advise deep, infrequent watering instead.
- Overwatering a wet site. Too much water can kill plants; roots need air.
- Mulch volcanoes. Keep mulch off the stems and no deeper than about 3 inches.
- Stopping in September. Fall drought still matters to a new shrub.
If your new shrub is already dropping leaves, our guide to winterberry losing leaves in summer walks through the other possible causes. The same root-ball check applies to other moisture-loving natives; see our guide to watering a newly planted spicebush.
A Season-by-Season Plan for the First Two Years
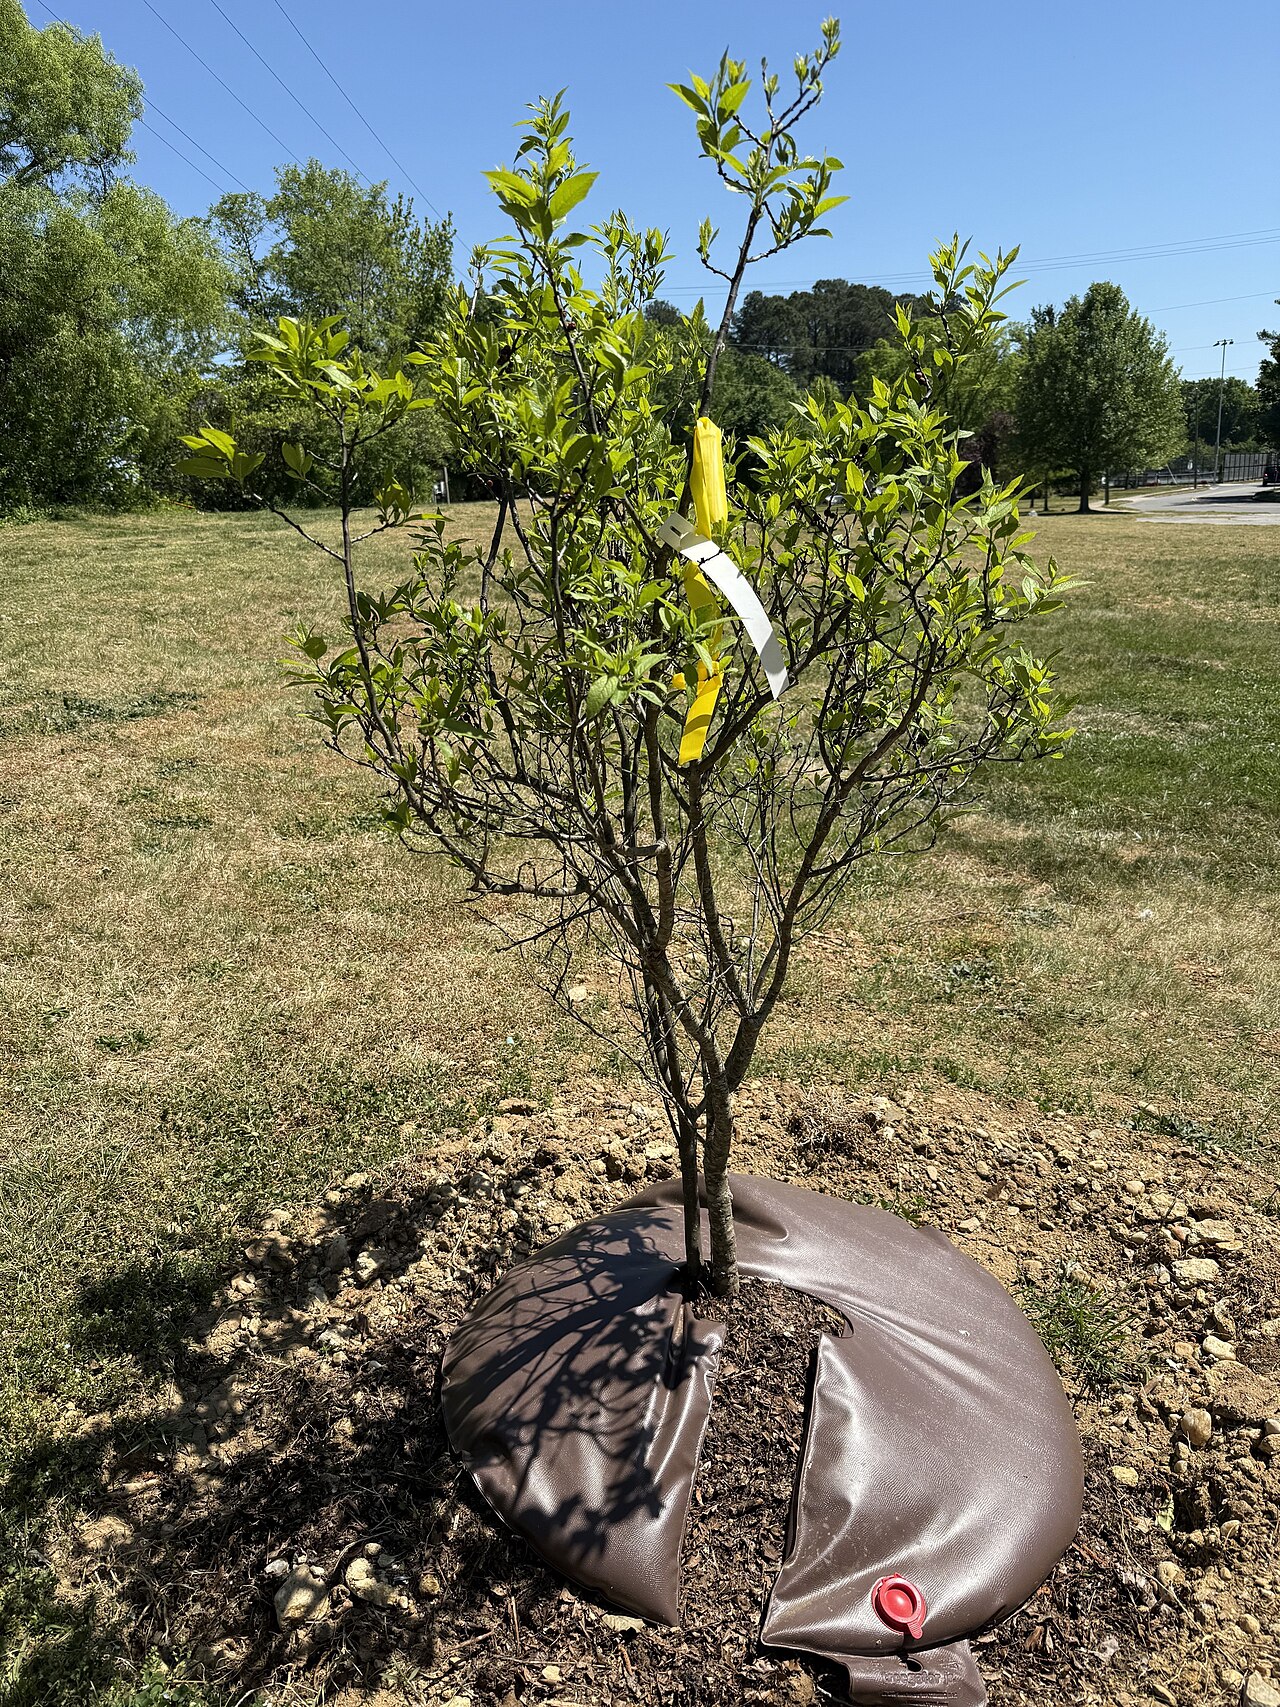
- At planting: water thoroughly to settle soil around the roots. Mulch 2 to 3 inches deep, stems clear.
- First 2 weeks: check the root ball daily; water when it’s dry at root depth.
- Rest of the first summer: check every few days, then weekly. Water deeply when dry.
- First fall: keep weekly checks until the ground freezes.
- Second year: check weekly through the growing season, especially during bloom and fruit set.
📋 More on this plant: read the full Winterberry Holly (Ilex verticillata) profile, or find it in our native plant lists for New Hampshire, Maine & Vermont, Connecticut, Massachusetts & Rhode Island, New York, Pennsylvania & Northern New Jersey, Delaware, Southern New Jersey & Long Island, Maryland, Virginia & West Virginia, North Carolina & South Carolina, Georgia, Alabama & Mississippi, Kentucky & Tennessee, Ohio & Indiana, Michigan, Wisconsin & Eastern Minnesota, and Arkansas, Louisiana, Eastern Oklahoma & Eastern Texas.
Frequently Asked Questions
How often should I water a newly planted winterberry?
University of Minnesota Extension suggests daily for the first two weeks, every 2 to 3 days through week 12, then weekly. Always check the root ball first, and skip watering if it’s still damp.
Can you overwater winterberry?
Yes, even though it tolerates wet soil. A new plant’s roots still need air, and soil that stays soggy from constant watering can damage them. Check before watering, especially in clay or rain gardens.
How deep should I check the soil?
About 5 to 6 inches down, in the root ball and just outside it. UMass Extension suggests probing deeper, to about 12 inches, with a spade.
Should I water winterberry in fall?
Yes, for new plantings. UMass Extension calls fall one of the most critical times and recommends weekly watering as needed until the ground freezes.
Does winterberry need watering once it’s established?
Usually only in drought, especially in drier sites. Established plants in moist soil manage on rainfall, but dry soil during bloom can still cost you berries.
Sources
- University of Minnesota Extension, Watering newly planted trees and shrubs: watering intervals, container-volume guideline, soil reservoir, keeping backfill moist, mulch depth and turf competition, establishment time.
- UMass Extension, Watering New Plantings: root ball drying faster than backfill, probing to 12 inches, 10 gallons twice weekly, fall watering until the ground freezes.
- University of Maryland Extension, Watering Trees and Shrubs: checking at 6 inches, weekly checks for two years, deep infrequent watering, checking four hours after watering, 2 to 3 inch mulch.
- Ask Extension (University of Maryland Extension answer), Winterberry holly disease: winterberry shedding leaves, flowers and unripe berries when too dry; checking about five inches down.
- North Carolina Extension Gardener Plant Toolbox, Ilex verticillata: moist soil needs and fruit abortion in dry soil.
- Piedmont Master Gardeners (Virginia), Winterberry Holly: early autumn planting, periodic watering on drier sites.
- Lady Bird Johnson Wildflower Center, Ilex verticillata: high water use and native wetland habitat.