Protecting a Newly Planted Pawpaw From Sun and Water Stress
Last updated: November 5, 2026
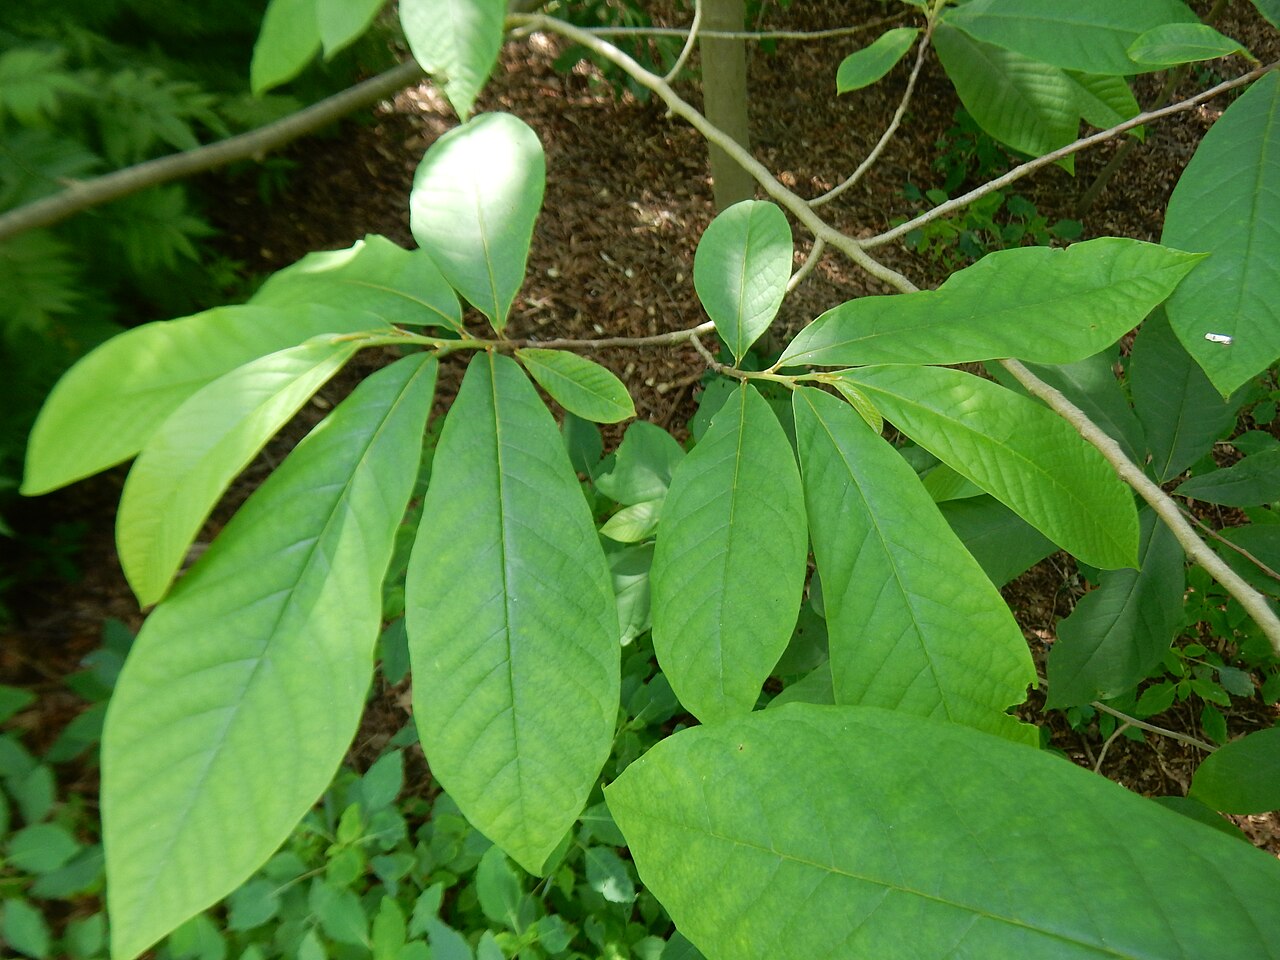
You finally planted a pawpaw. A few weeks later the leaves look pale, curled, or crispy at the edges, and the little tree hasn’t grown an inch.
Newly planted pawpaws are famously slow to settle in. The reasons are built into the species: it evolved in the shaded understory of moist forests, and its roots don’t recover quickly from being moved.
The good news is that the first two years are the hard part. Give a young pawpaw shade, steady moisture, and a little wind protection now, and Kentucky State University notes that growth accelerates once the root system is established.
The Short Answer
A new pawpaw (Asimina triloba) needs more babying than most native trees for its first one to two seasons:
- Shade it. Young pawpaw shoots are very sensitive to full sun. Use shade cloth or a tree shelter the first year.
- Water deeply and consistently, especially in the first two years. Pawpaw is not drought tolerant.
- Keep drainage good. Pawpaw roots won’t survive waterlogged soil, so more water isn’t always better.
- Mulch and weed a wide circle around the trunk.
- Block wind to protect the large leaves.
- Remove shade gradually in year two or three so the tree can build up to full sun for fruit.
Why New Pawpaws Struggle in Sun and Drought
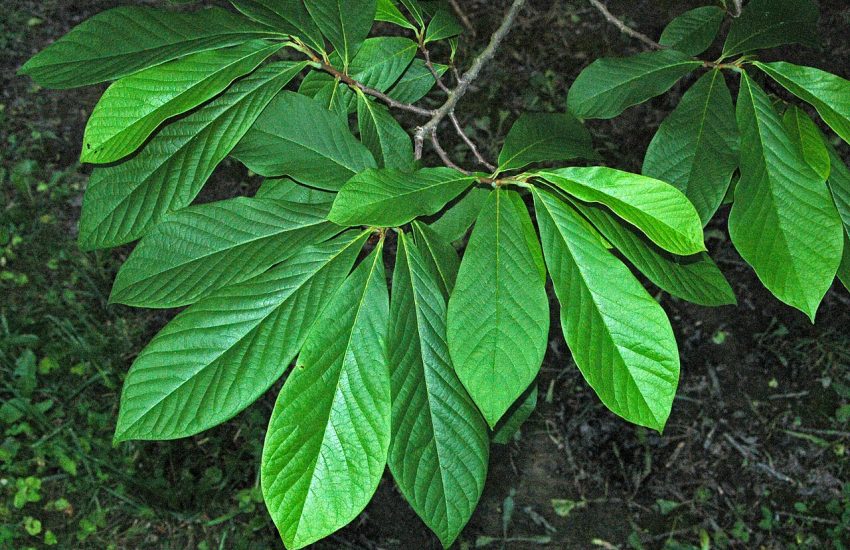
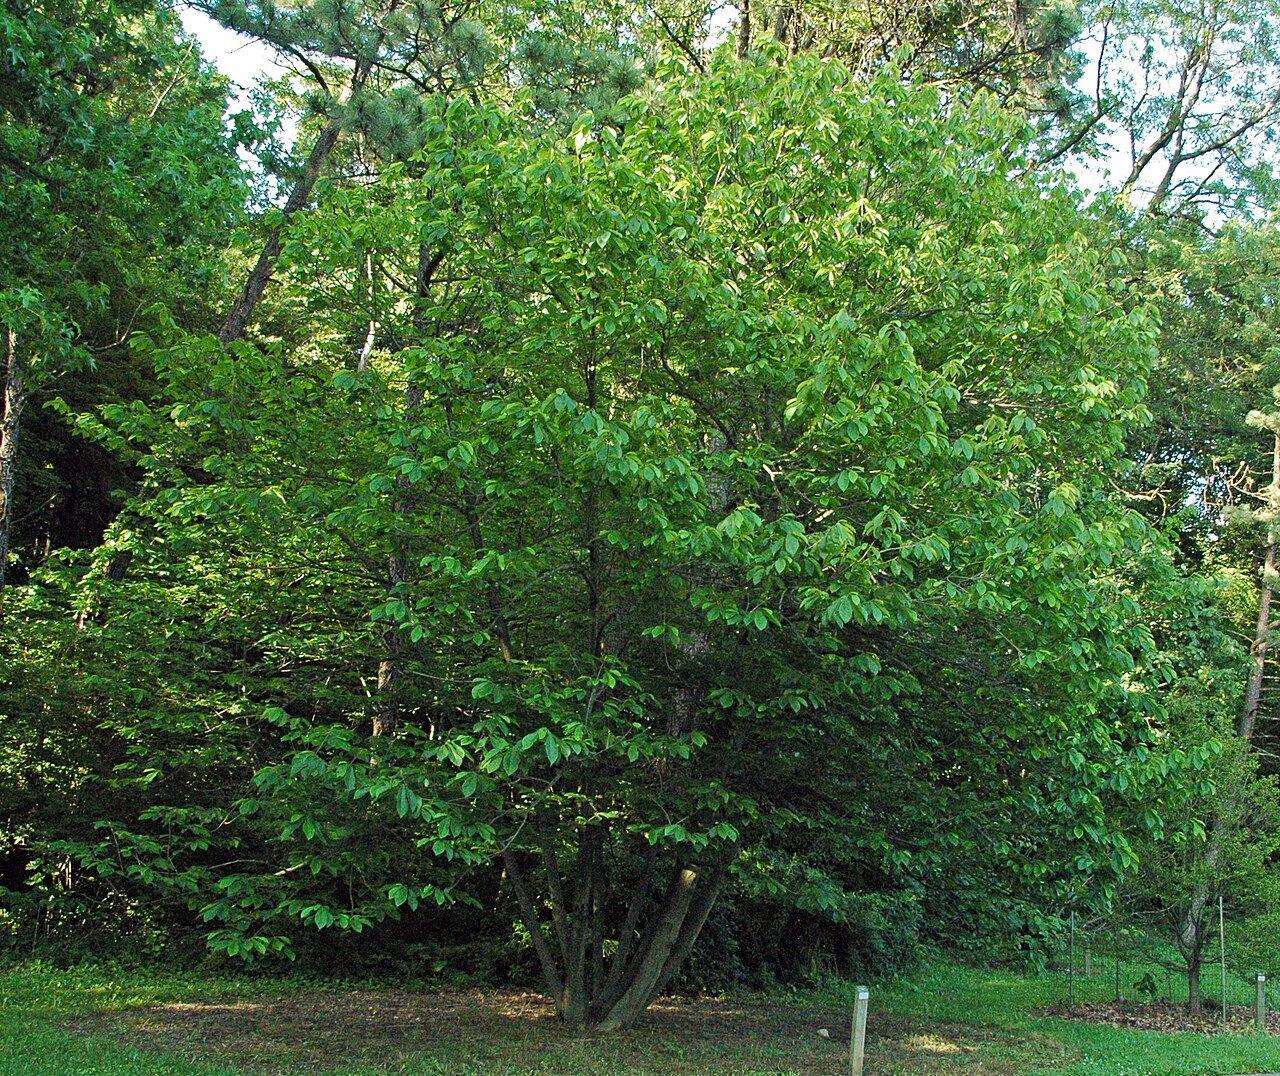
In the wild, pawpaw grows mostly as an understory tree in rich bottomlands and stream valleys. Kentucky State University and Purdue explain why: germinating seedlings are extremely sensitive to full sunlight, which can kill them, so in nature they establish under the shade of larger trees.
The roots add a second challenge. Pawpaws have a long taproot and fleshy, brittle roots with very few fine root hairs. Any root loss at planting leaves a big-leaved top supported by a small, slow-to-recover root system.
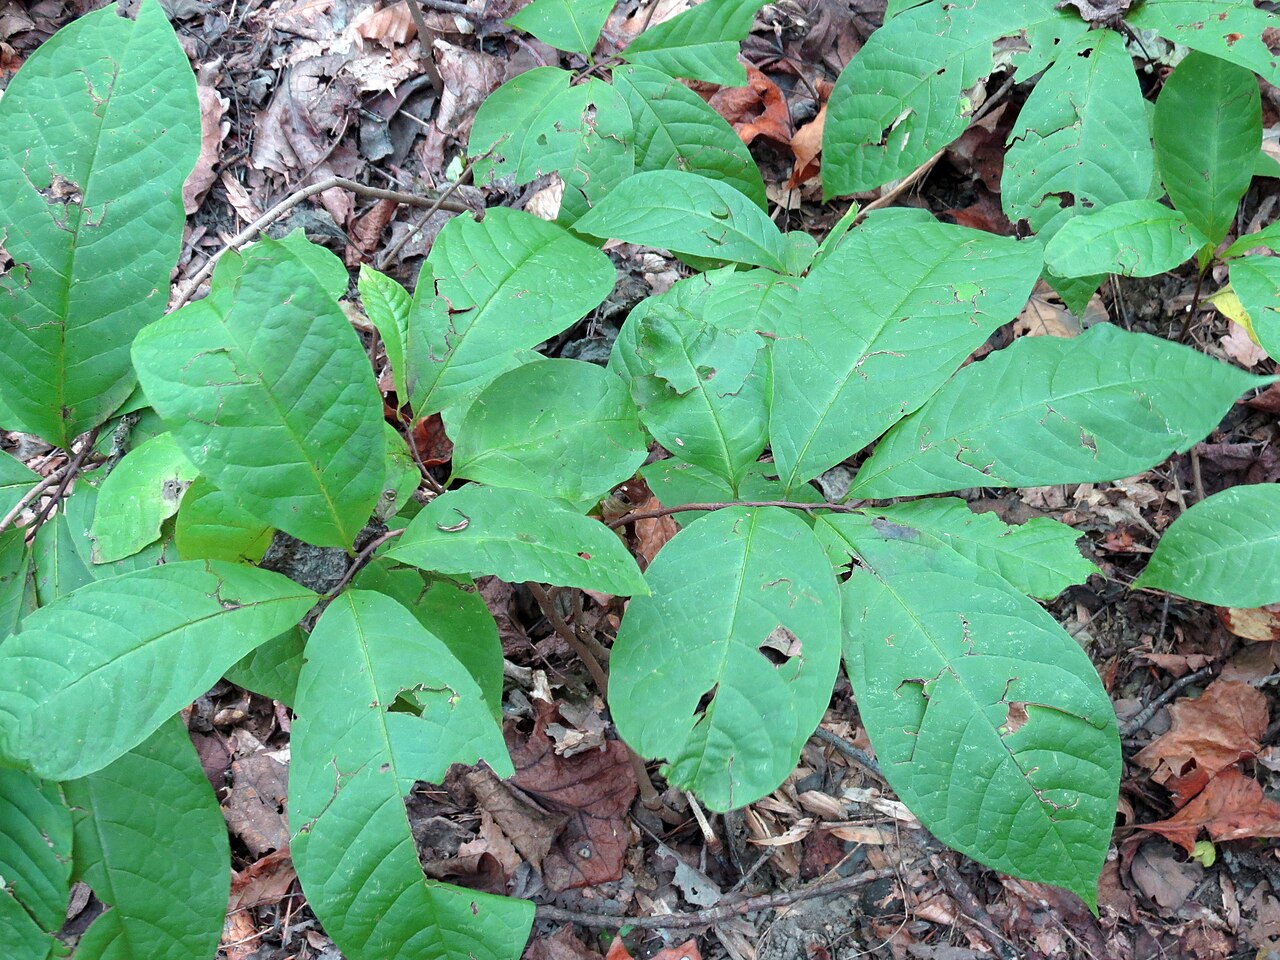
Those large leaves lose a lot of water on hot, windy days. When the roots can’t keep up, the leaf edges are the first tissue to suffer. That’s why sun stress and water stress usually show up together on a new pawpaw.
The First Two Years at a Glance
| Planting day (spring) | Plant from a container as growth begins. Water in thoroughly. Shade goes up the same day. |
| Year 1, spring – summer | Partial shade, deep watering during dry spells, weed-free mulched circle. Expect little top growth. |
| Year 1, fall – winter | Leaves yellow and drop normally. Keep mulch in place. |
| Year 2 | Keep watering in dry weather. Shade may still be needed, especially for small trees or hot sites. |
| Year 3 onward | Growth usually picks up. Remove remaining shade gradually. Water only in prolonged drought. |
Step 1: Start With the Right Tree and the Right Week
Much of the stress a new pawpaw faces is locked in on planting day. Two choices make the biggest difference.
Buy container-grown trees. Kentucky State University reports that container-grown pawpaws may establish better than field-dug trees, because digging damages the long taproot and delicate roots. Alabama Extension notes that bare-root pawpaw transplants have erratic survival.
Plant in spring. Kentucky State University and Purdue both found transplanting succeeds best in spring, as new growth begins or soon after. Clemson allows fall planting but prefers early spring, and Purdue’s transplanting rules say spring, not fall or winter.
Avoid digging small “trees” from a wild patch. Clemson Extension notes that these are often root suckers with only a few brittle roots, and they frequently fail to establish.
Step 2: Plant It So Water Goes to the Roots
Choose a spot with deep, fertile, well-drained soil. Purdue and Kentucky State University both stress that good drainage is essential and that pawpaws won’t survive waterlogged soil.
Dig a hole about twice as wide as the root ball but no deeper. Set the tree so the top of the root ball sits at or slightly above the surrounding grade. With grafted trees, Alabama Extension advises keeping the graft union several inches above the soil line.
Handle the root ball gently. Slide the pot off rather than pulling the tree by its stem, and keep the soil around the roots intact as much as possible.
Backfill with the native soil, then water slowly until the whole planting area is soaked. Kentucky State University recommends watering newly planted trees immediately after planting.
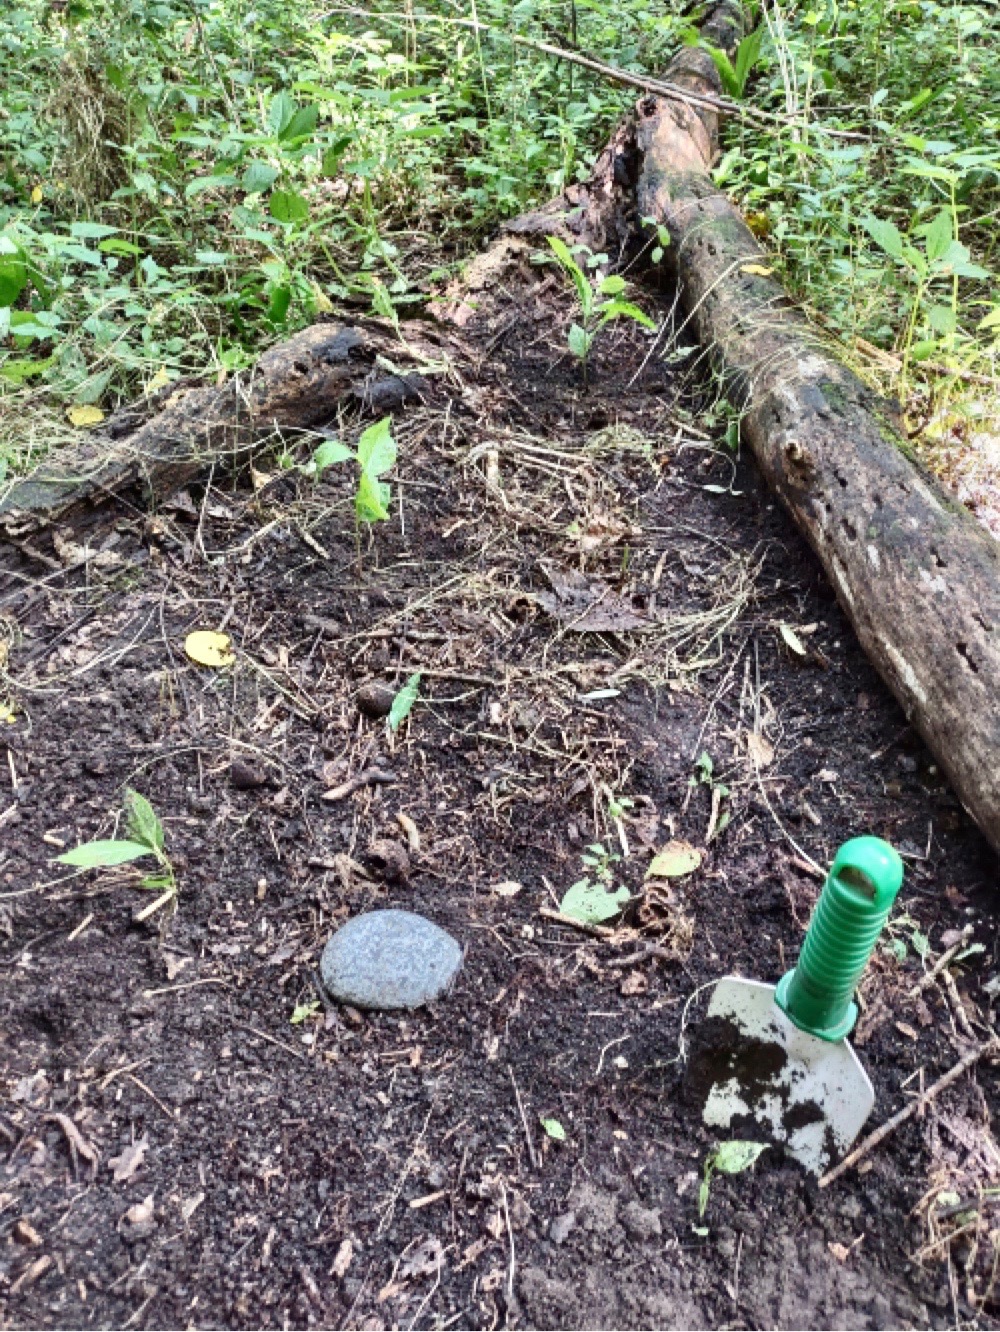
Clear grass and weeds from a circle at least a few feet wide around the trunk. Clemson Extension calls weed control necessary during establishment, which can last a year or more. Turf and weeds compete directly for the water your tree needs.
If your soil is heavy clay that holds water for days after rain, read our guide on improving clay soil before planting. Alabama Extension suggests planting on raised berms where drainage is poor.
Step 3: Put Up Shade the Same Day
Of all the steps here, this one does the most to prevent sun stress.
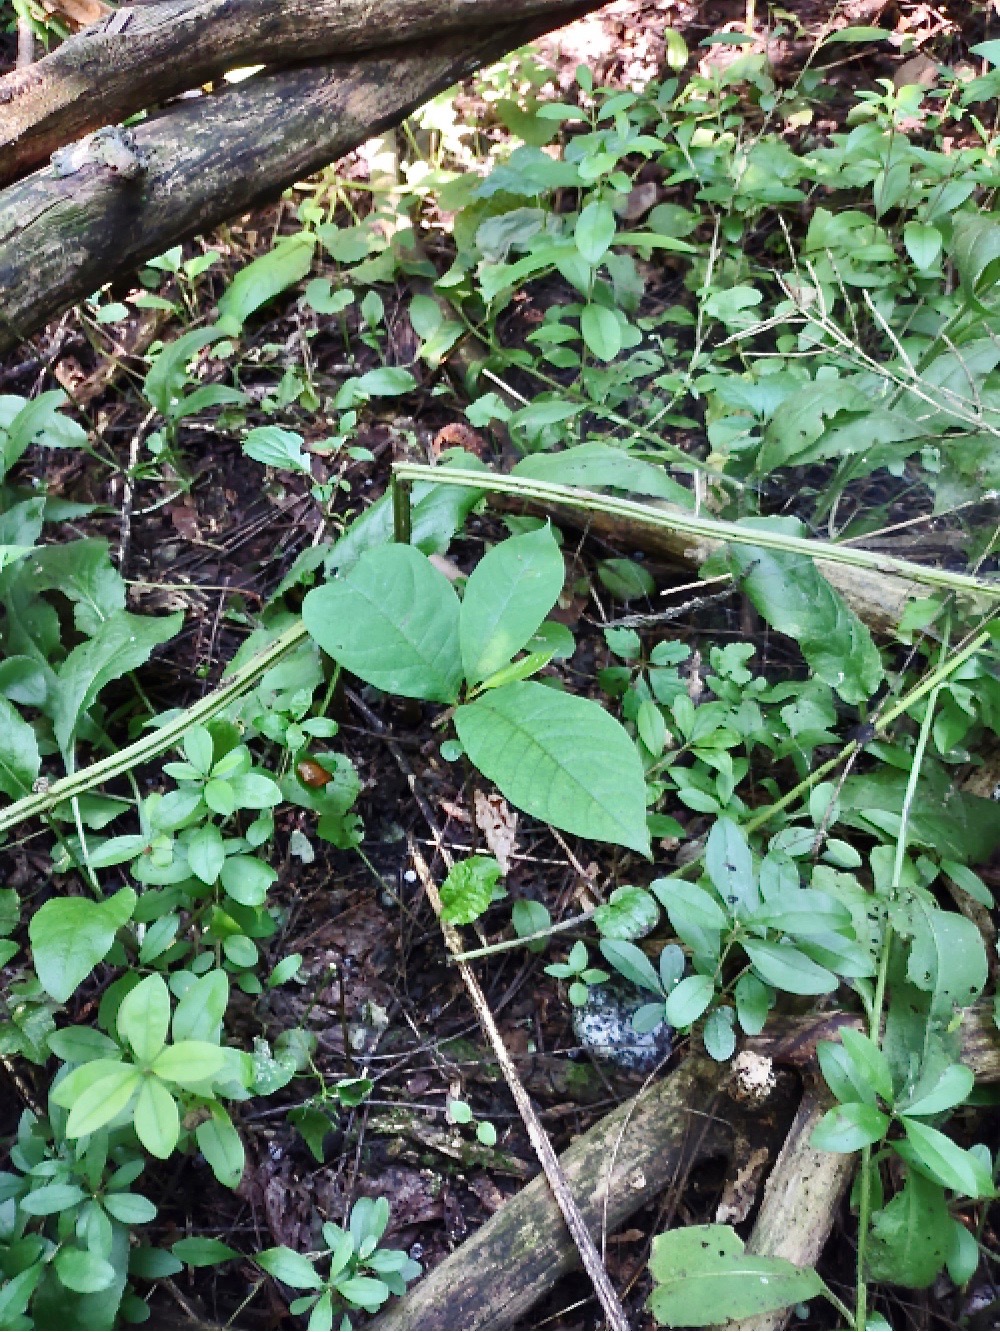
Kentucky State University says transplant shock can be reduced by giving newly planted trees temporary partial shade. Its pawpaw FAQ calls light to moderate shade ideal for establishing young seedlings and newly transplanted trees.
How much protection to give depends on the tree’s size:
- Trees under about 2 feet: Alabama Extension recommends suspending 33 percent shade cloth above each transplant on tomato cages or similar supports during the establishment year.
- Trees under about 3 feet: Clemson Extension recommends shading for the first year with tree guards or tree shelters.
- Larger trees: a shade-cloth panel on the south and west sides still helps on hot, open sites.
Leave airflow around the tree. A loose shade-cloth canopy over cages lets heat escape, while a fully wrapped tree can trap heat on still days.
Planting where a larger tree or building already gives afternoon shade is the easiest option of all. A spot with morning sun and afternoon shade suits a young pawpaw well, but remember you’ll want more sun later for fruit.
Step 4: Water Deeply, Then Check Before Watering Again
Kentucky State University says pawpaws require adequate soil moisture, especially in the first two years after planting. Alabama Extension is blunter: pawpaws are not drought tolerant, and 1 to 2 inches of water per week leads to the best growth.
For a home tree, that translates into a few practical habits:
- Water slowly and deeply so moisture reaches the whole root ball and the soil around it. A hose trickling at the base, a soaker hose, or drip emitters work better than a quick spray.
- Check before you water. Push a finger or a trowel a few inches into the soil beside the root ball. If it’s still moist, wait.
- Count rain. A rain gauge tells you whether nature already did the job that week.
- Watch the original root ball. Potting mix can dry out faster than the surrounding soil, so check it directly in the first summer.
If you have several young trees, a simple drip line pays for itself in saved time. Our drip irrigation tips for beginners walk through the setup.
Overwatering is a real risk too. Soil that stays soggy cuts off air to the roots, and pawpaw doesn’t tolerate waterlogging. Wilting leaves in wet soil point to a drainage problem, not thirst.
Step 5: Mulch a Wide Circle
Mulch keeps soil moisture steadier and suppresses weeds. Clemson Extension calls mulching very beneficial for pawpaws, and The Morton Arboretum recommends 3 to 4 inches of organic mulch such as woodchips, leaf mold, or bark to reduce leaf scorch on stressed trees.
Spread mulch in a wide circle and pull it back a few inches from the trunk. Water thoroughly so the moisture goes through the mulch and into the soil. Our guide to mulching techniques for native gardens covers depth and materials.
Alabama Extension adds one caution: mulch can attract mice and voles. Keep it away from the trunk and check the bark at the base in winter.
Step 6: Block Wind and Reflected Heat
Kentucky State University and Purdue both recommend some protection from wind because of pawpaw’s large leaves. Wind speeds up water loss and can shred tender new foliage.
The Morton Arboretum notes that scorch is often worse on the side of a plant most exposed to prevailing winds, strong sun, or reflected heat from brick walls or asphalt. A young pawpaw set beside a south-facing wall or a driveway faces all three.
If the tree is already in an exposed spot, a temporary burlap or shade-cloth screen on the windward side helps. For future plantings, choose a site sheltered by shrubs, a fence, or a building.
Step 7: Ease Off the Shade Gradually
Shade is a nursery tool, not a permanent arrangement. Kentucky State University says pawpaw fruit production is greatest on mature trees in full sun, and heavily shaded trees produce very few fruits.
Most guides call for shade in the first year, and sometimes the second. Once the tree is pushing healthy new growth, start removing protection in stages:
- Remove shade cloth on an overcast stretch rather than right before a heat wave.
- Take off one side first, often the east side, and leave afternoon protection a little longer.
- Watch the new leaves for a week or two. If edges brown, put partial shade back and try again later in the season.
Our general guide to caring for young saplings covers staking, trunk protection, and other early-years tasks that apply to pawpaw too.
Stress Symptoms at a Glance
| Pale, bleached, or yellow-white patches on top leaves | Likely too much direct sun. Add shade cloth or a tree shelter. |
| Brown, crispy leaf edges in hot, dry weather | Water stress or scorch. Water deeply, mulch, and add shade on the sun side. |
| Drooping leaves that recover by morning | Afternoon heat stress. Check soil moisture and add afternoon shade. |
| Wilting while soil is wet | Poor drainage or root damage. Stop watering and let the soil dry slightly. |
| Torn or ragged large leaves | Wind exposure. Add a windbreak screen. |
| Healthy leaves but almost no new growth | Normal for the first year or two while roots establish. Keep up care. |
What to Do If Your New Pawpaw Is Already Stressed
If the tree is already showing damage, work through these in order:
- Check the soil first. Dig a few inches beside the root ball. Dry means water deeply now. Soggy means hold off and look at drainage.
- Add shade today. Even an old sheet or a patio umbrella can bridge the gap until you set up shade cloth.
- Don’t fertilize a stressed tree. The Morton Arboretum advises against summer fertilizer when soil is dry, since it can injure roots.
- Leave damaged leaves on. A partly scorched leaf still shades the stem and keeps some working green tissue. It will drop in fall.
- Look for new growth. Fresh, healthy leaves at the tip mean the tree is recovering, even if older leaves look rough.
A pawpaw that drops all its leaves in midsummer isn’t necessarily dead. Scratch a small spot of bark on the main stem with a fingernail. Green tissue underneath means it’s alive and may releaf, so keep watering and shading it.
A Season-by-Season Plan for the First Two Years
- Spring (planting): plant a container-grown tree as growth begins. Water in, mulch, and put shade up the same day.
- Late spring – summer: water deeply when the top few inches of soil are dry. Keep the mulched circle weed-free. Watch leaf edges after hot, windy days.
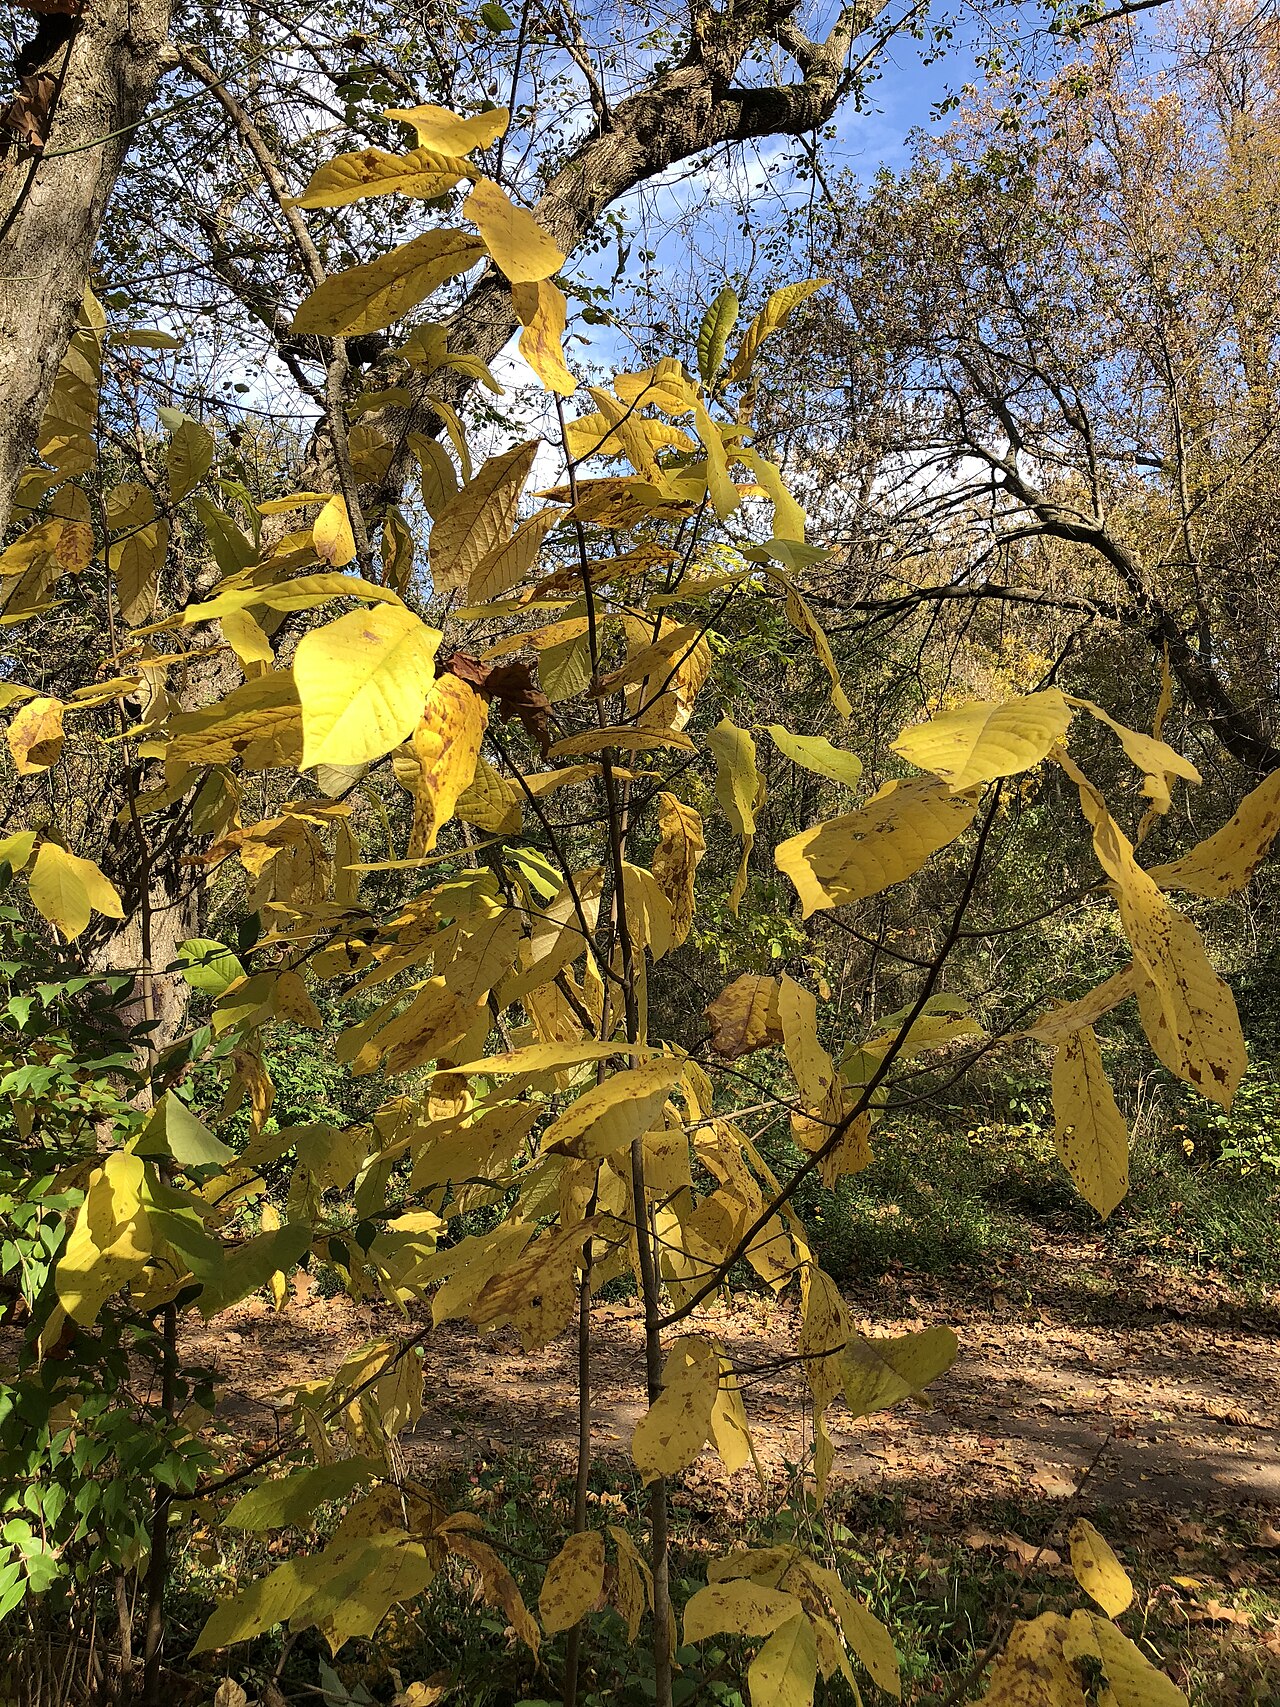
- Fall: yellow fall color and leaf drop are normal. Keep watering during dry autumn spells until the leaves fall.
- Winter: check the base of the trunk for vole damage under mulch. Pruning is rarely needed on a young tree.
- Year two: repeat the summer routine. Begin removing shade in stages once the tree is growing well.
Once your tree is established and flowering, the next challenge is fruit. Our pawpaw pollination checklist explains why a lone tree rarely fruits and how to fix it.
📋 More on this plant: read the full Paw Paw (Asimina triloba) profile, or see it in our native plant lists for Georgia, Alabama & Mississippi, Delaware, Southern New Jersey & Long Island, Illinois, Iowa & Missouri, Ohio & Indiana, Maryland, Virginia & West Virginia, and North Carolina & South Carolina.
Frequently Asked Questions
Can a newly planted pawpaw take full sun?
Not well in its first season. Kentucky State University, Purdue, and Clemson all recommend partial shade for the first year, and sometimes the second. Mature pawpaws handle full sun and fruit best there.
How often should I water a new pawpaw?
Often enough that the root zone never dries out, without keeping it soggy. Alabama Extension cites 1 to 2 inches of water per week for best growth. Check the soil a few inches down before each watering, and count rainfall.
Why isn’t my new pawpaw growing?
Slow top growth in the first year or two is normal. Kentucky State University notes that growth is slow while the root system establishes, then accelerates. Healthy leaves with little new growth are not a warning sign by themselves.
Should I fertilize a newly planted pawpaw?
Focus on water, shade, and weed control first. Kentucky State University mentions that light, regular feeding with a balanced fertilizer early in the season may help young trees, but never feed a drought-stressed tree. A soil test shows whether you need to at all.
Can I use a plastic tree tube on a pawpaw?
Clemson Extension lists tree shelters as one way to shade pawpaws under about 3 feet tall in their first year. Check inside the shelter regularly during hot weather, and remove it once the tree is established.
Sources
- Kentucky State University, Pawpaw Planting Guide: seedling sun sensitivity, root system, container-grown trees, spring transplanting, watering and temporary shade for new trees.
- Kentucky State University, Pawpaw FAQ: shade for establishing trees, full sun for fruit.
- Purdue Extension, HO-220: Growing Pawpaws: drainage, wind protection, shading and watering for the first two years.
- Alabama Cooperative Extension System, Pawpaw Production Guide: 33 percent shade cloth, water needs, berms, graft height, mulch and voles.
- Clemson Cooperative Extension HGIC, Pawpaw: tree shelters for small trees, root-sucker transplants, weed control, mulching.
- The Morton Arboretum, Leaf Scorch: scorch symptoms, exposure to wind and reflected heat, deep watering and mulch.